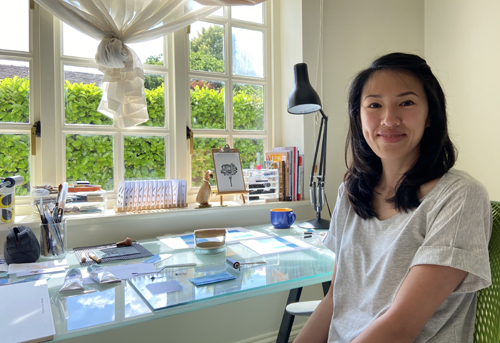
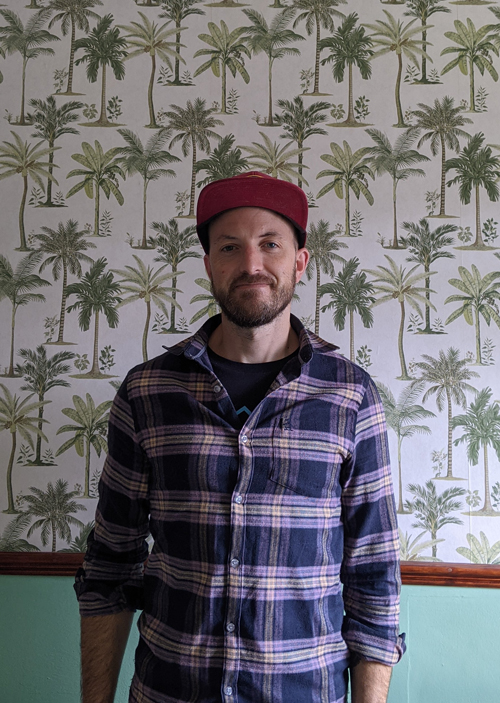
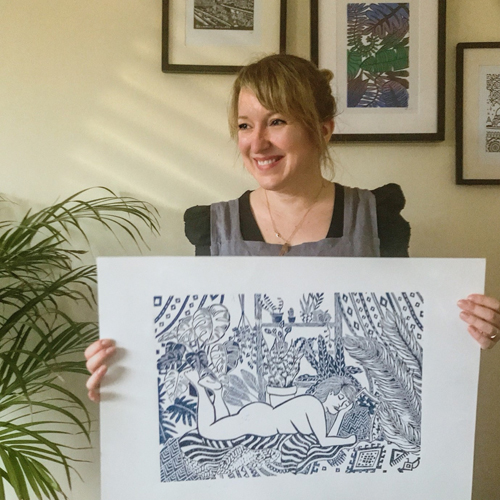
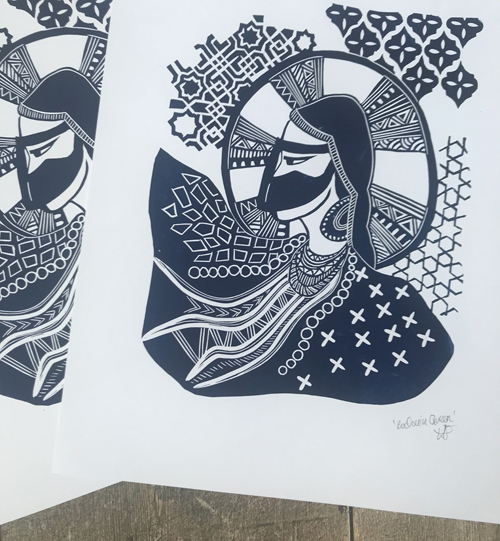
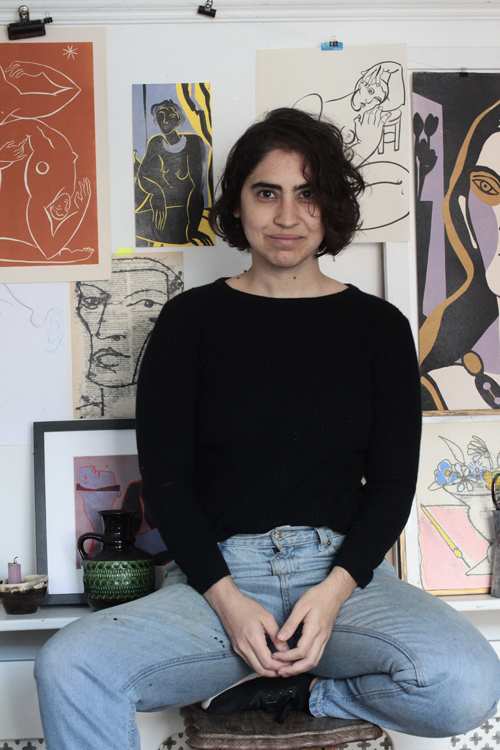
Hi! my name is Sofia Salazar. I’m a textile designer from Argentina, and I’ve been living in Norwich for the past 8 years. I come from a family of makers and in my practice, I try to explore and experiment with almost every technique I learn about. Although at the beginning I used to work a lot more on textiles, mostly doing embroidery, in the last few years I’ve shifted almost completely to printmaking; Cyanotypes, linocut, woodcuts, screenprinting, pochoir and even kitchen litho.
Describe your printmaking process.
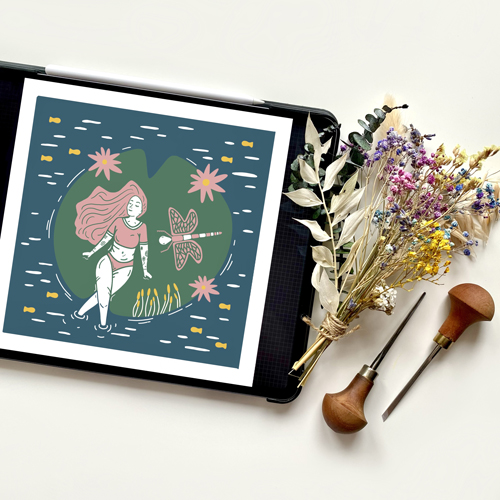
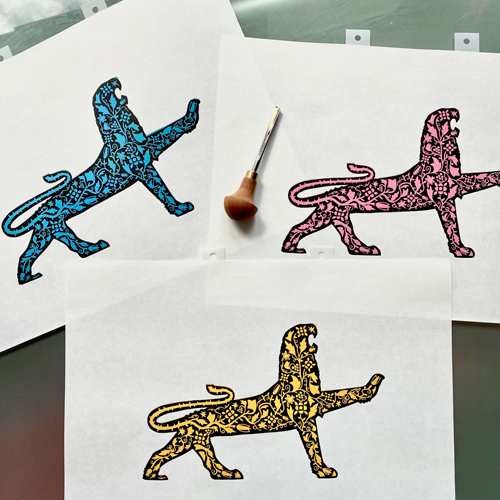
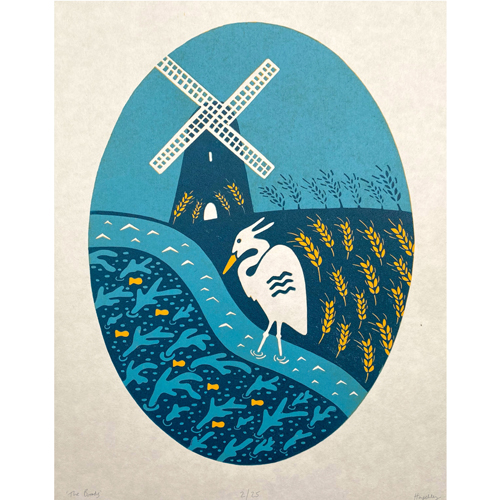
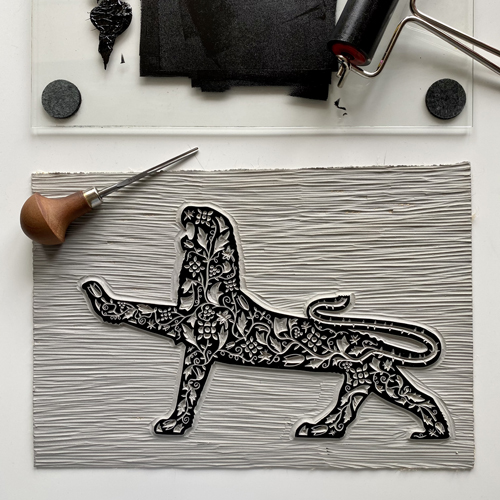
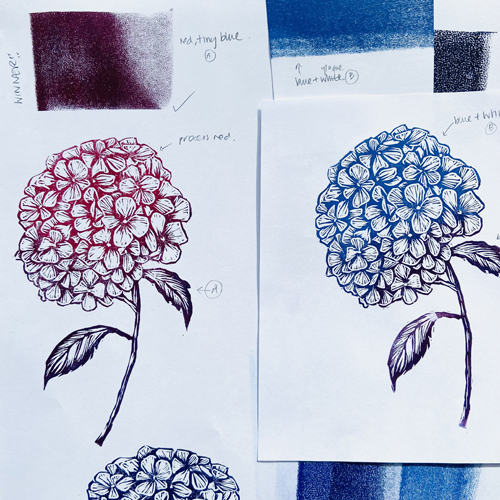
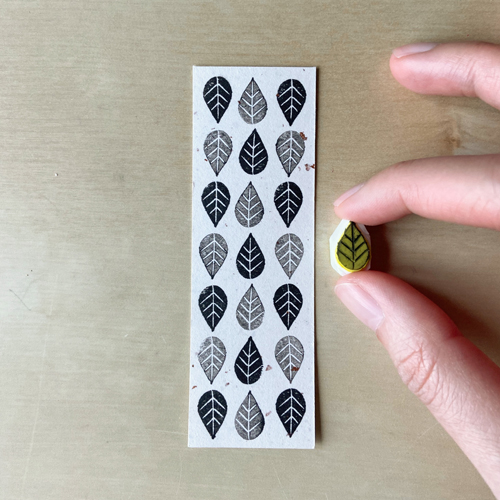
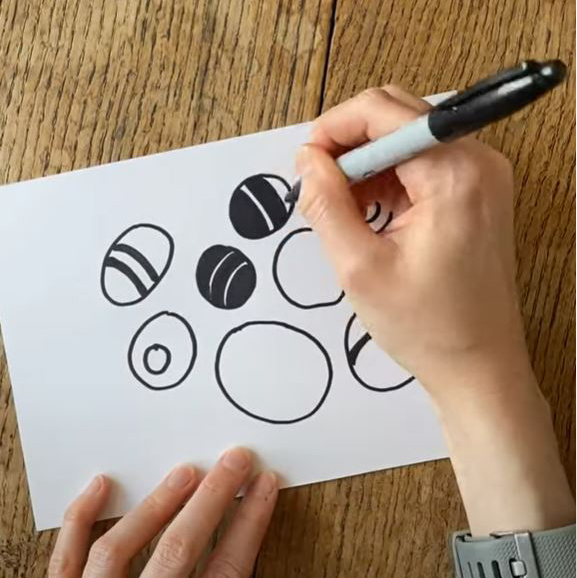
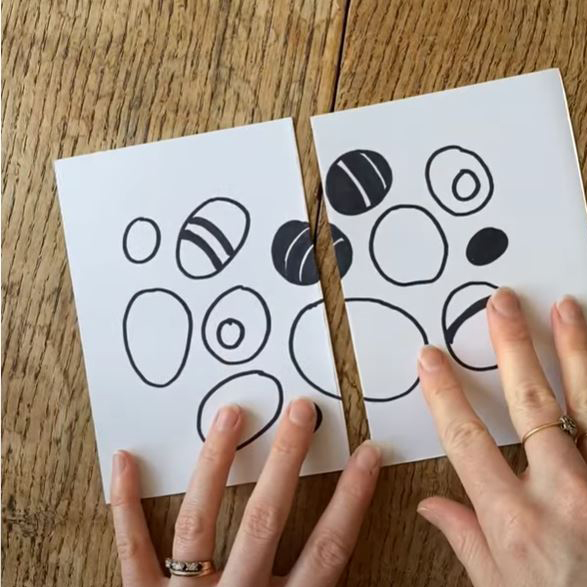
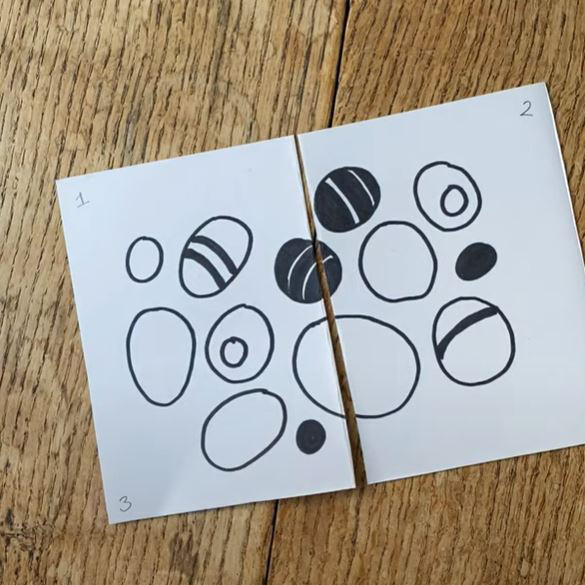
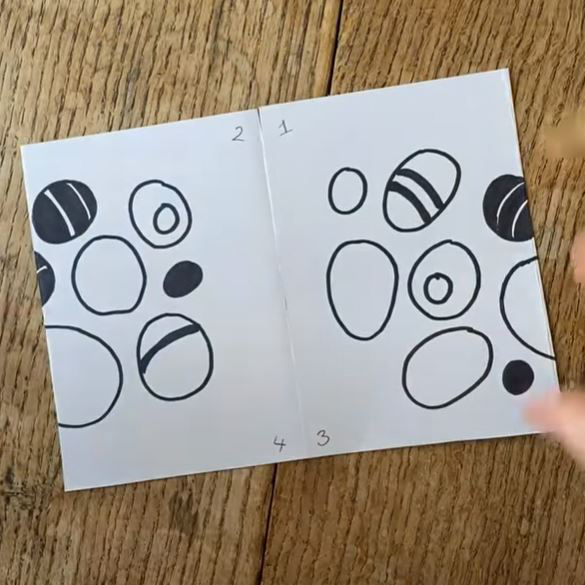
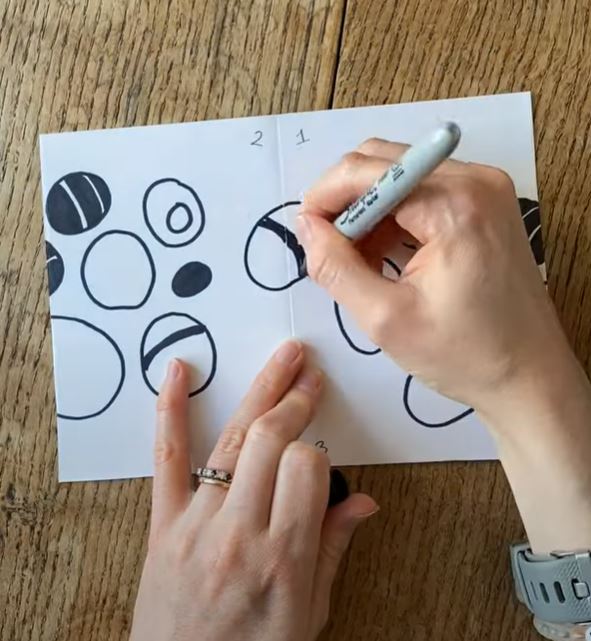
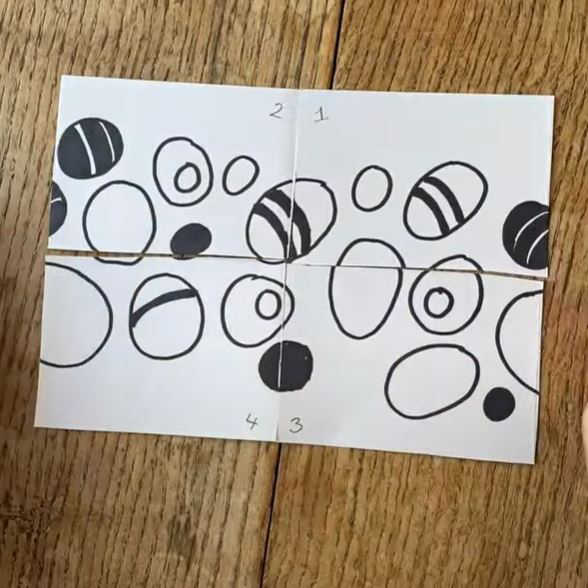
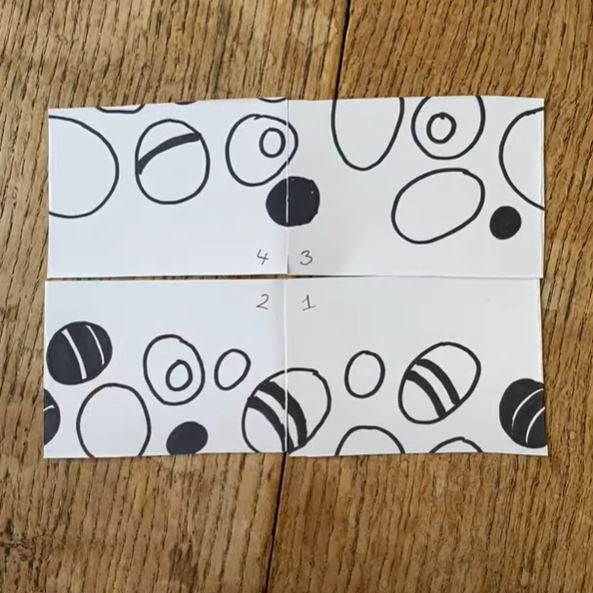
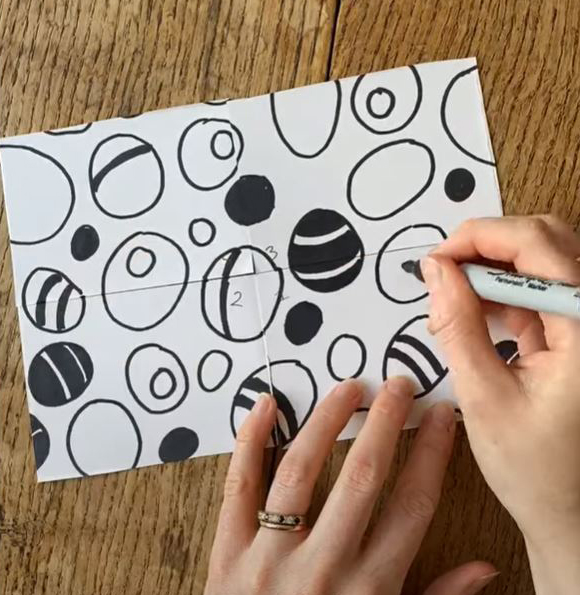
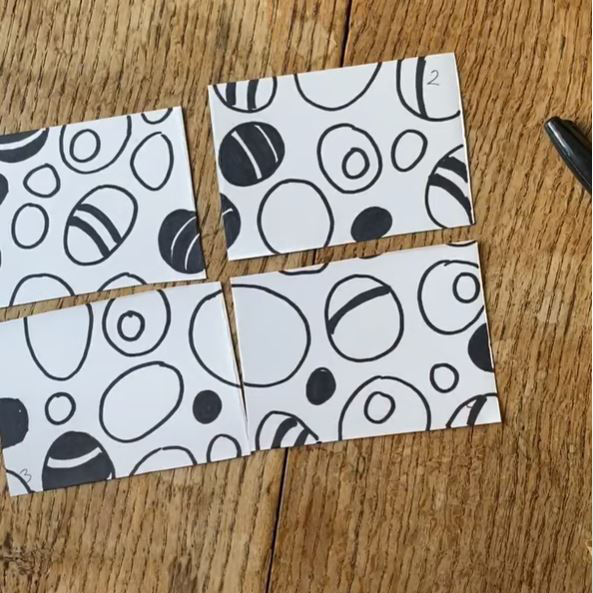
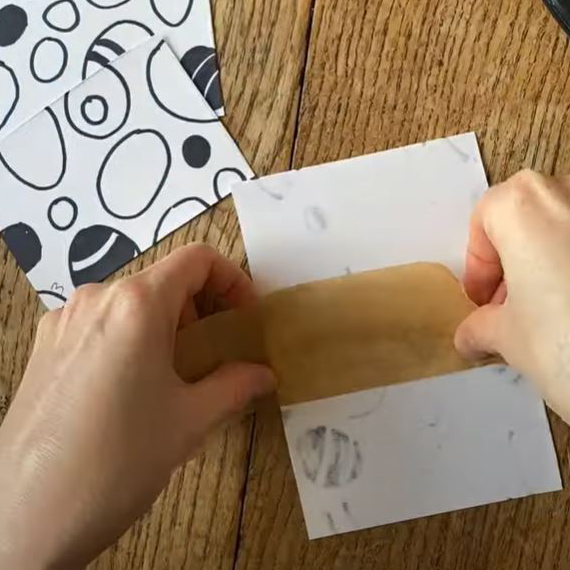
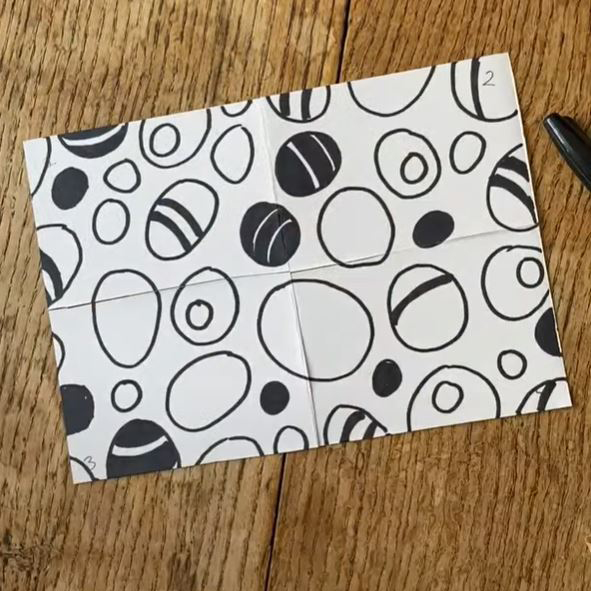
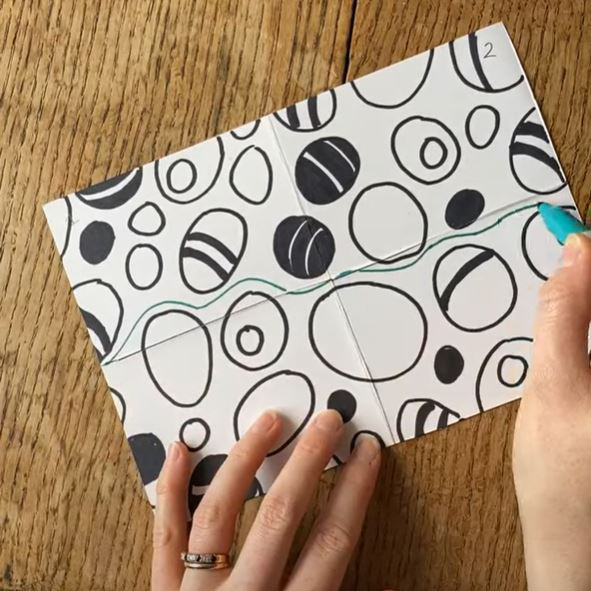
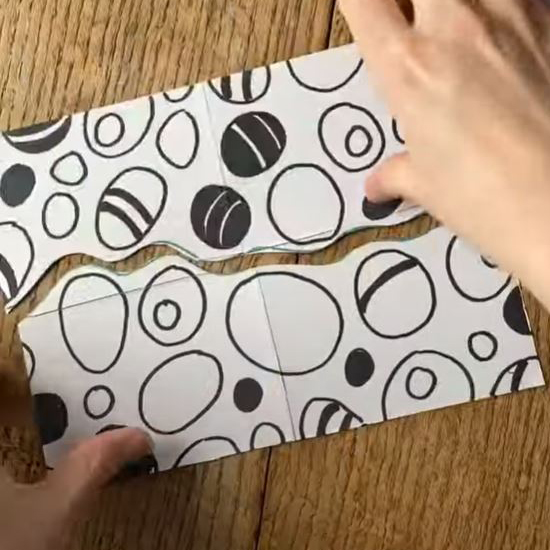
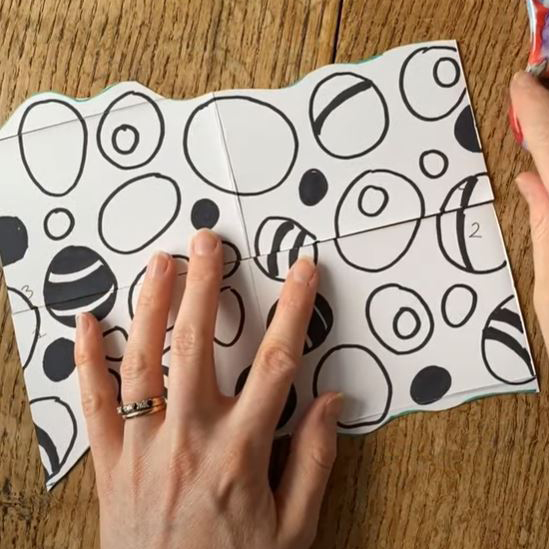
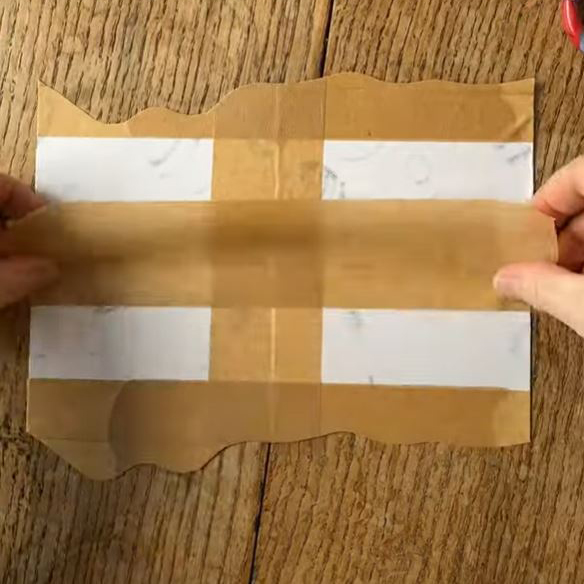
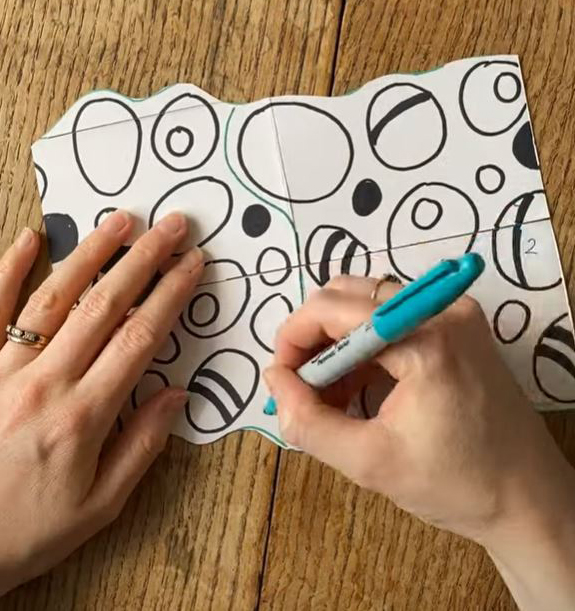
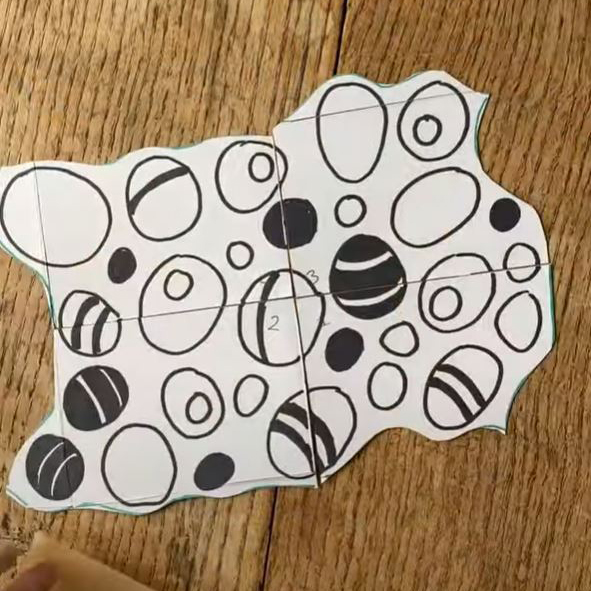
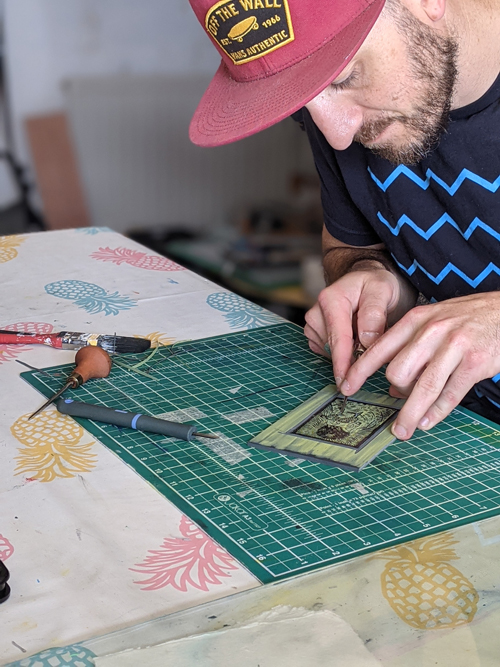
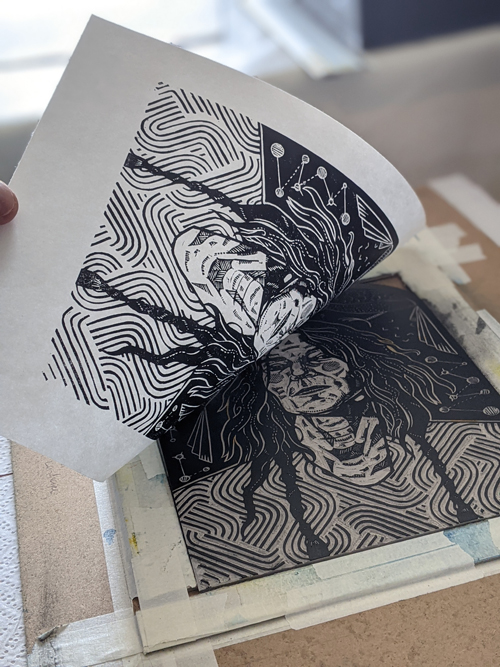
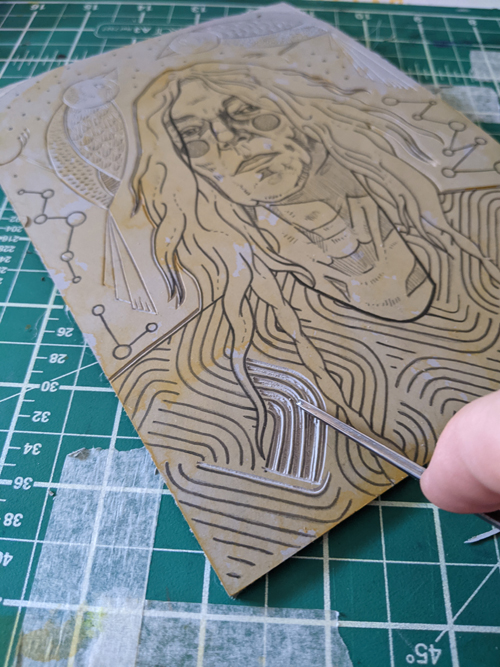
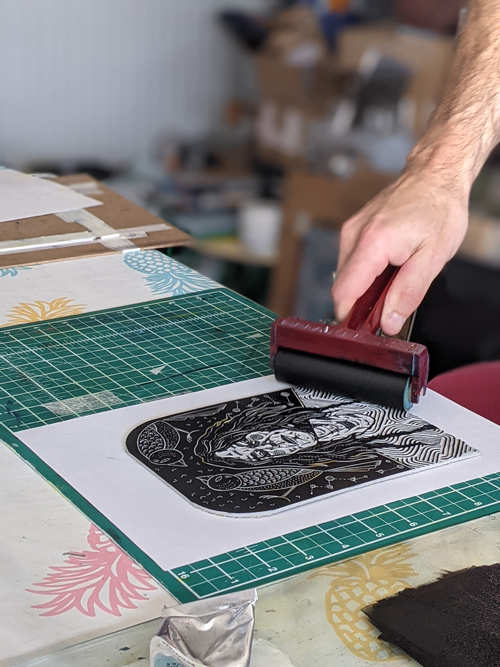
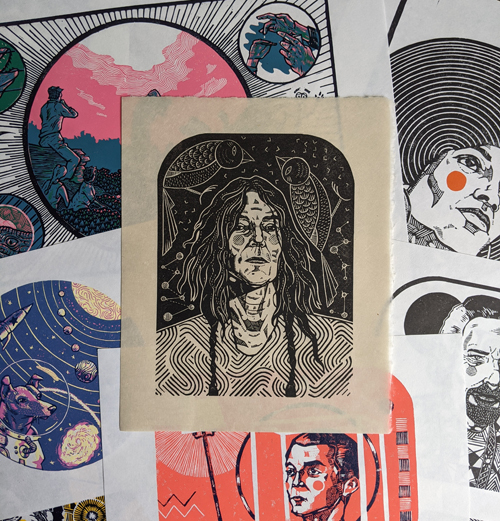
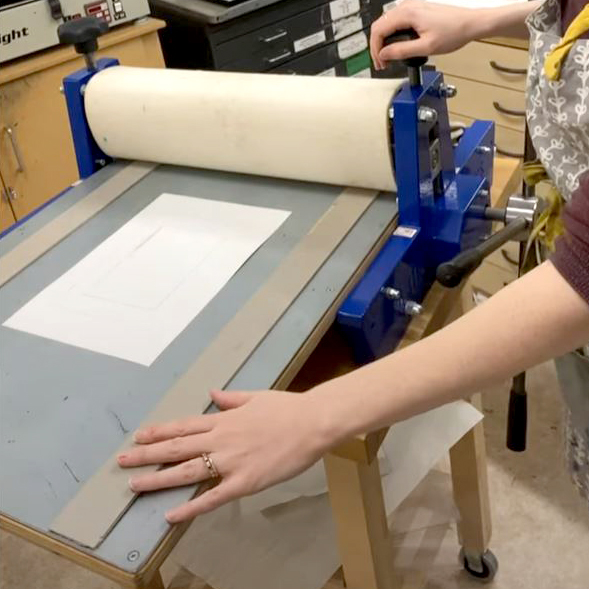
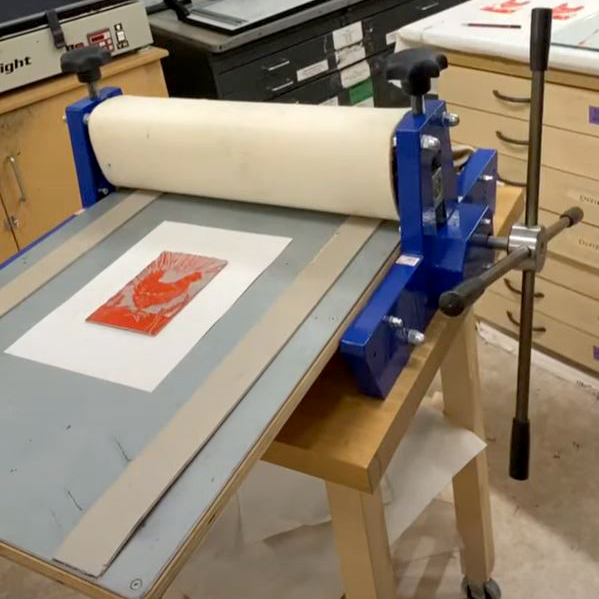
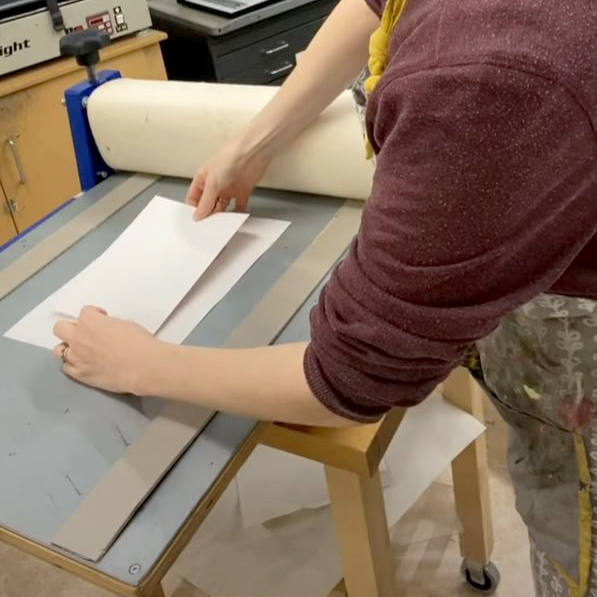
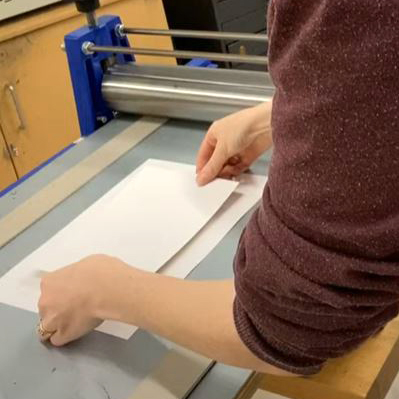
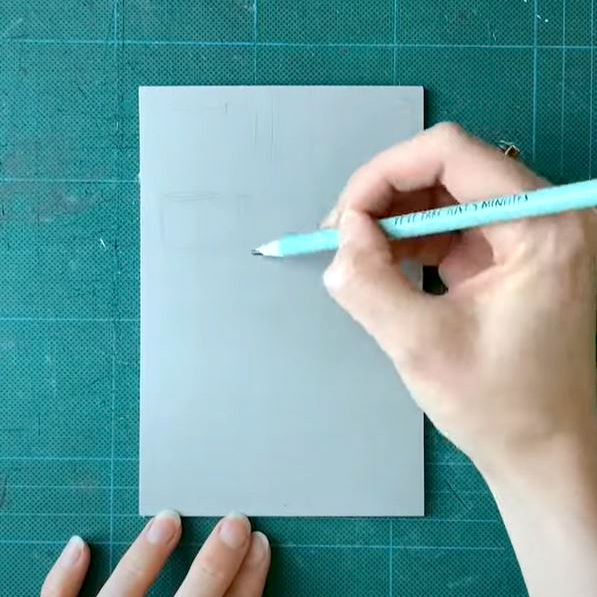
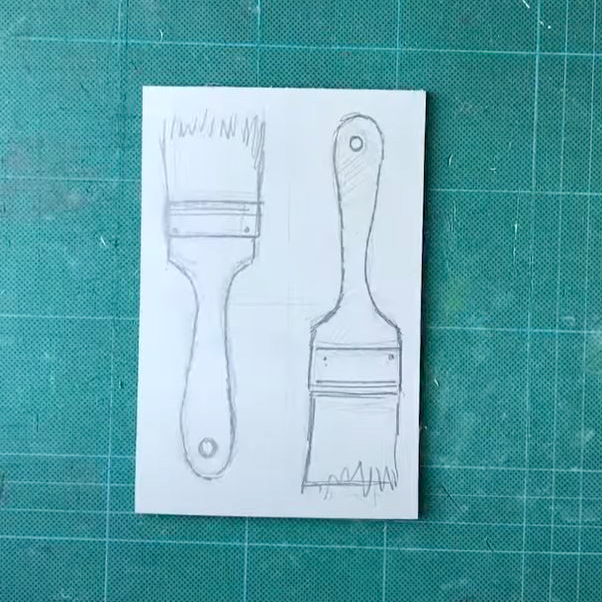
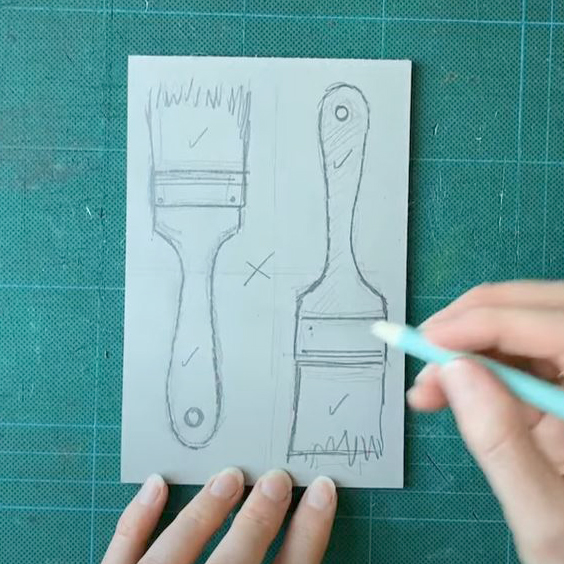
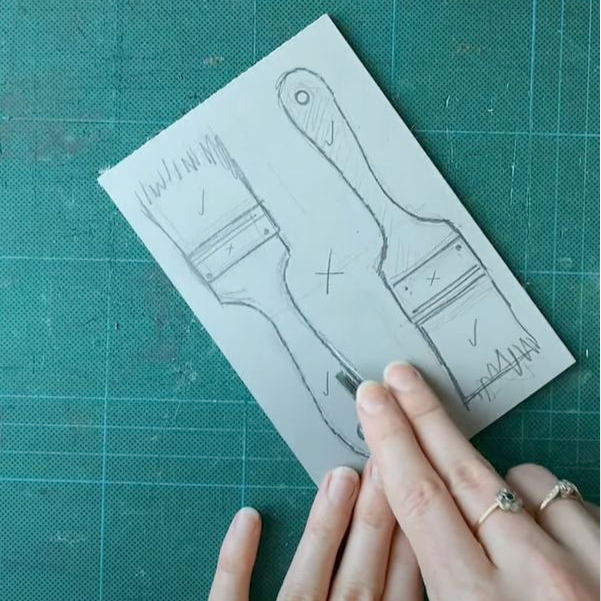
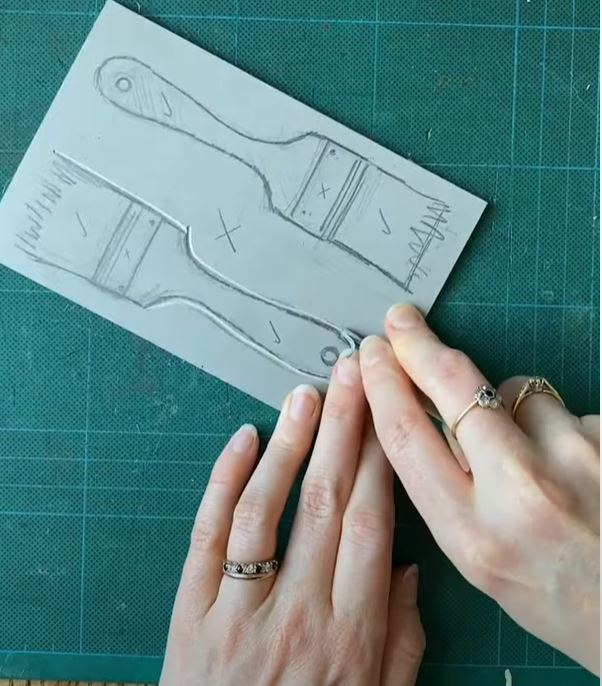
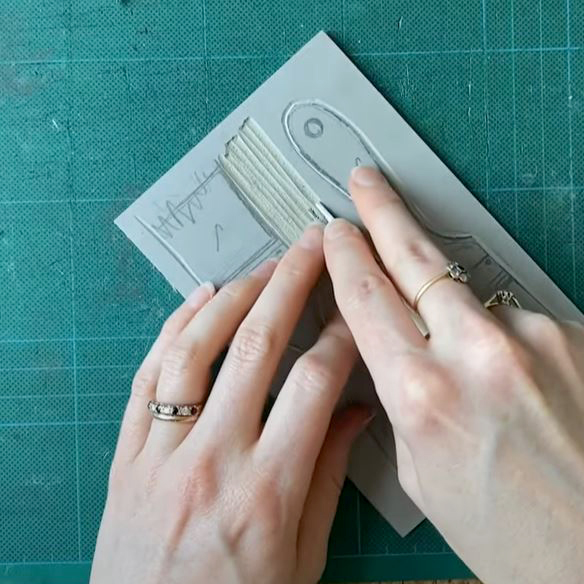
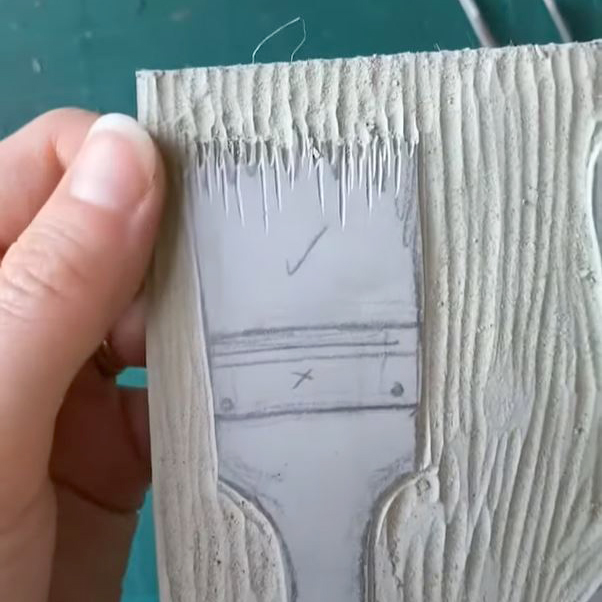
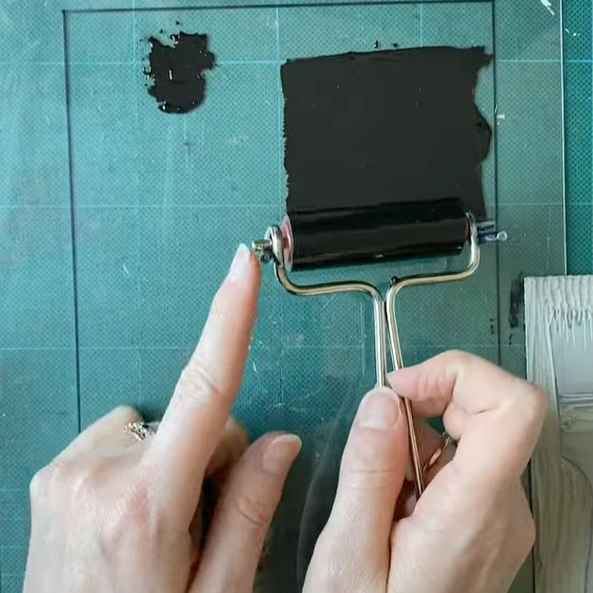
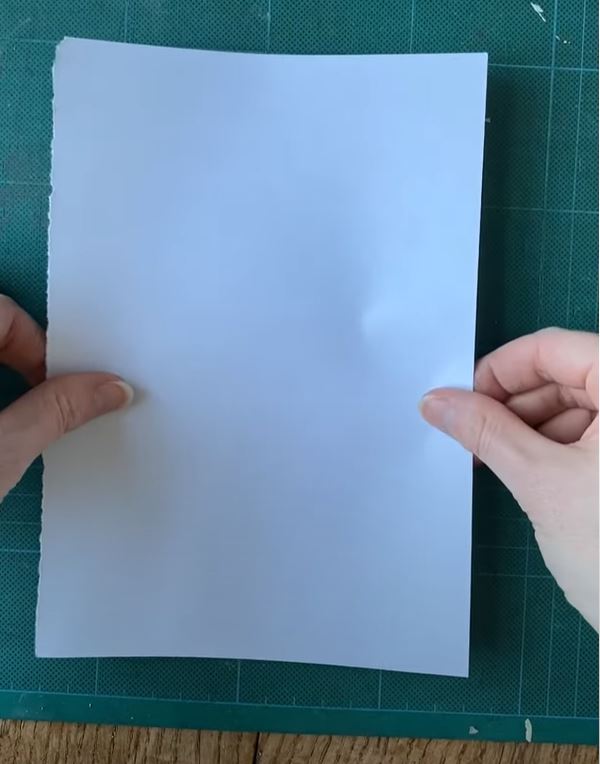
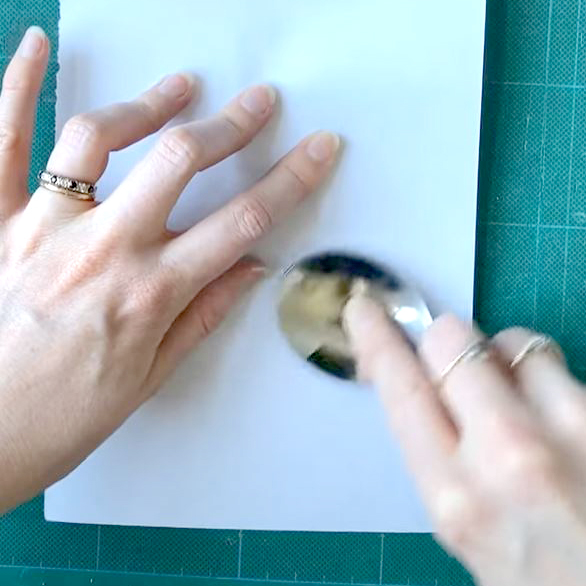
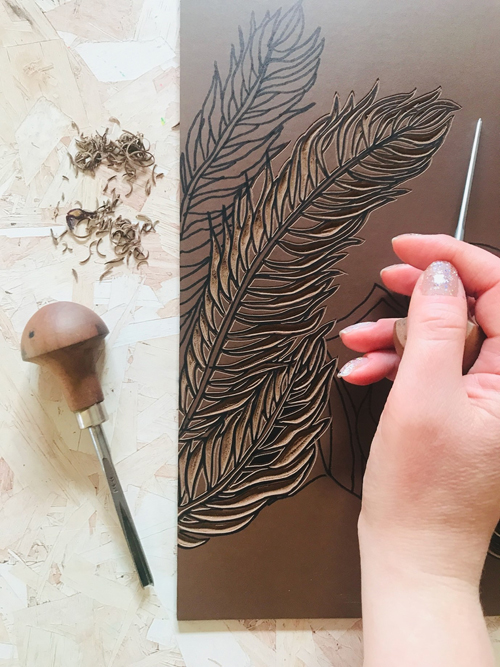
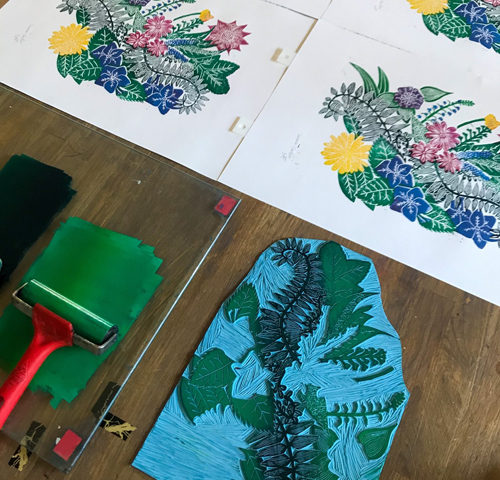
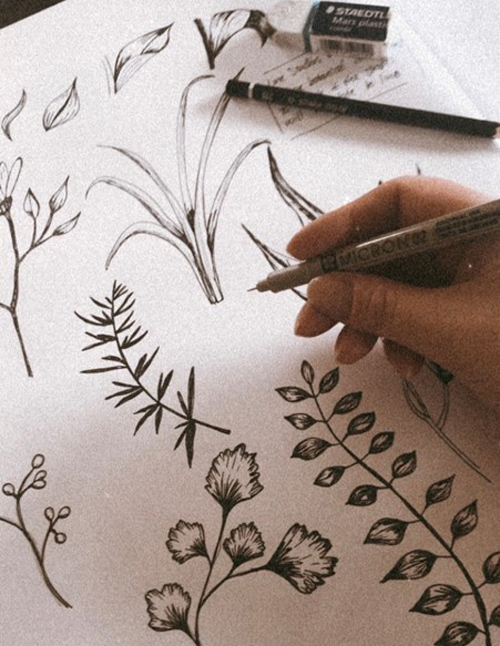
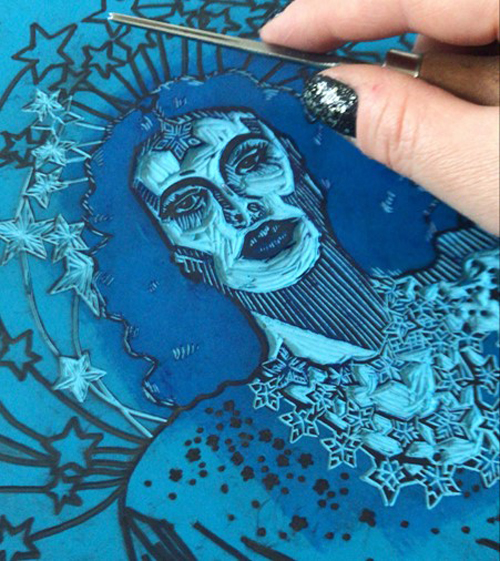
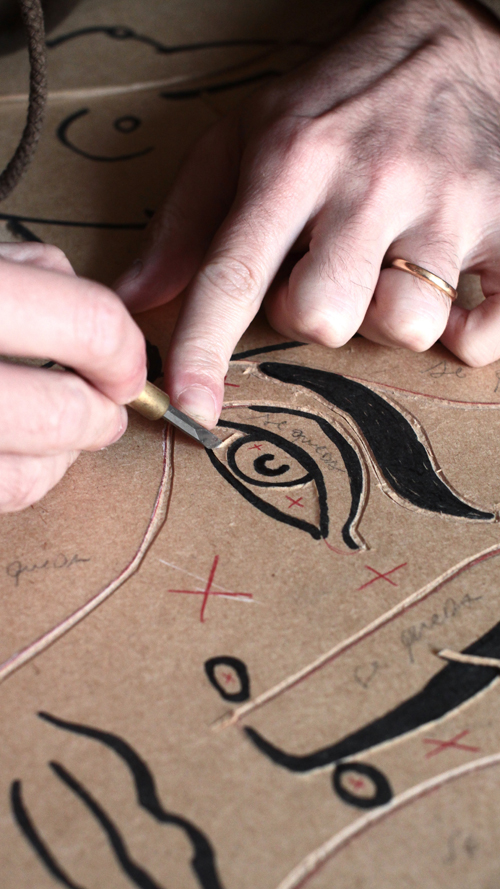
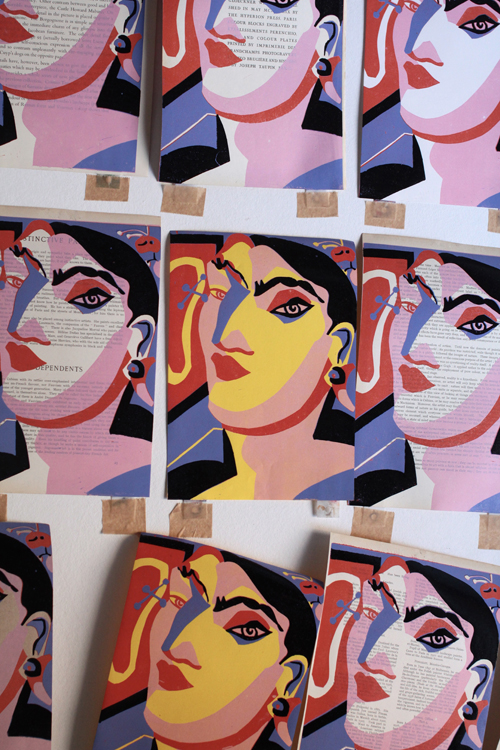
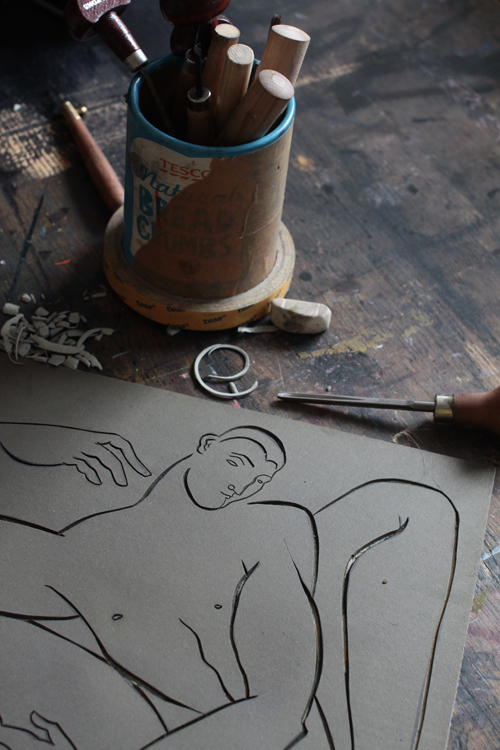
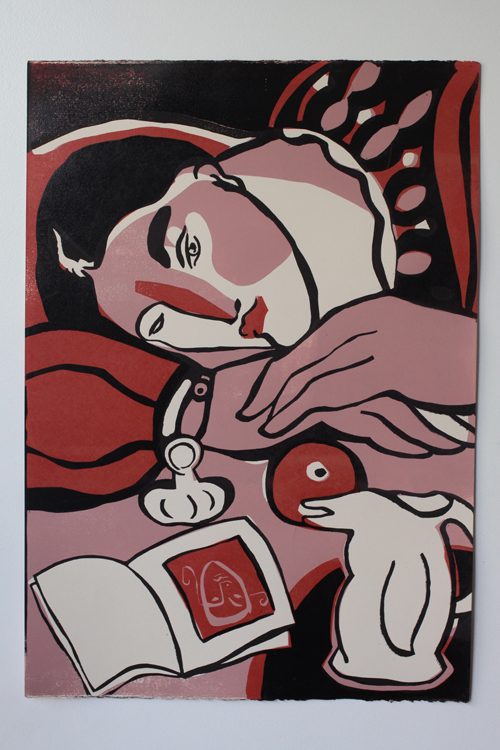
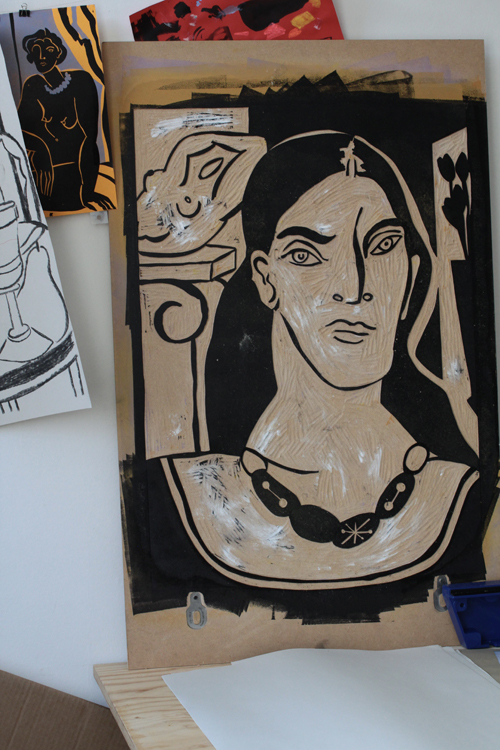
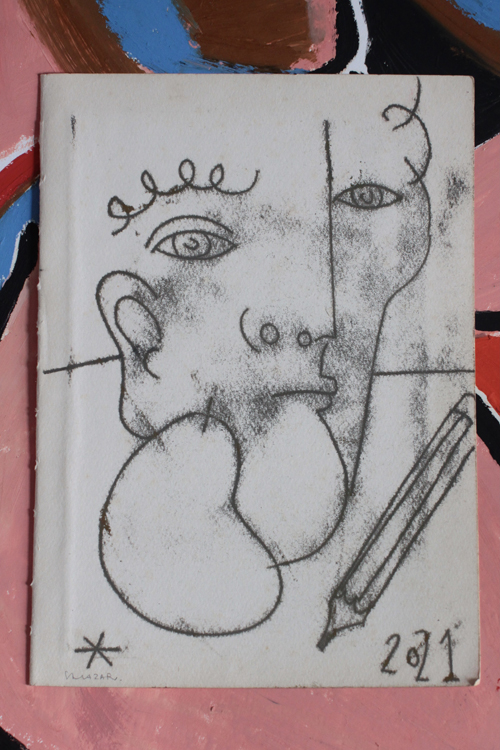
It depends on the printing technique I’ll be using; some take more preparation and designing than others. For instance, I can sketch with charcoal on a big piece of MDF and just start carving the lines for a very expressive and rough print that will take me only a few hours. Or, on the other side completely, I can spend days or even weeks planning a reduction print on my Ipad before getting anywhere near my lino piece. For a reduction print, I’ll first sketch a design on paper. Once I’m happy with it I’ll start working on it on my Ipad, first considering where to apply colour and how many layers the design needs. Then I’ll define the layers, decide the order in which they should be printed (because I use very strong colours I need to make sure the inks will cover each other completely) and once I’m finished I’ll start trying different colours schemes and combinations. Only once I’m done with that I can start putting the tabs on my paper, transferring the first layer to the piece of lino and thinking about carving.
How and where did you learn to print?
Oh, we are 100% self-taught. I say “we” because my partner has been interested in the process from the beginning and many times he’s the one insisting on trying something new. I’ve known about different printmaking techniques since I was a kid because at home prints were hanging from the walls, from the time my parents were students. I remember since then, paying a lot of attention every time I was in a museum, to see what techniques were used in the pieces I liked. So let’s say I knew the names; I knew linocut was a thing, that etching was a thing, that lithography was a thing. Eventually, I started googling and watching YouTube videos, many times just buying the tools and giving it a try intuitively. We have printmaking books, we’ve read blogs, we’ve tried, failed and succeeded eventually too. We bought our first inks from Handprinted, in 2014 and from then on we’ve been trying almost everything in their catalogue! From my screenprinting screens to my ABIG press, it all came from them.
Why printmaking?
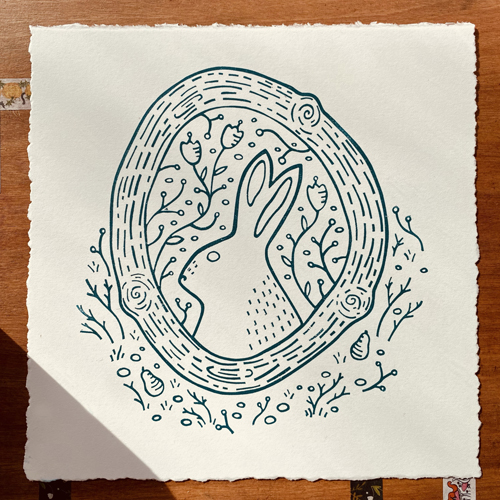
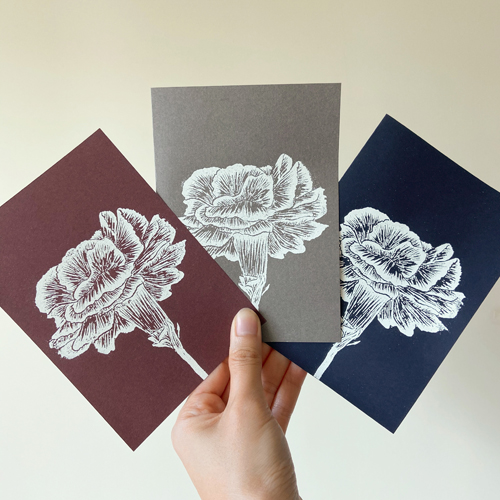
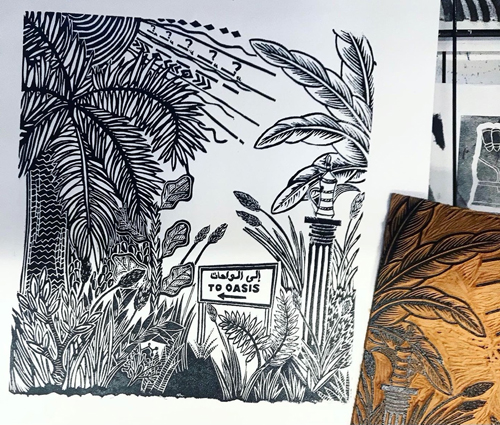
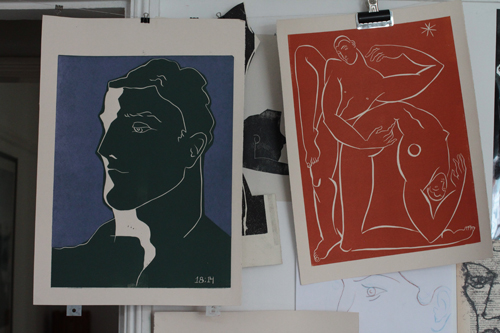
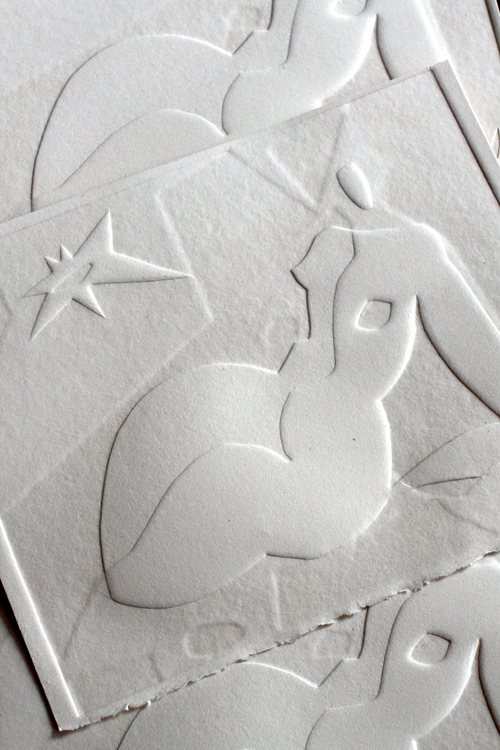
I’ve always liked the possibility of doing multiples without losing the handmade aspect. I like to be able to feel the texture of the inks, to see the colours blending, the uniqueness of the mistakes, to see the relief and marks left by the press. I like the feel of the paper and I love smelling the ink while prints dry around me. I like seeing something materialise in front of me, I like knowing that I’ve been involved in the making of each one of my prints and that you can tell by looking at them that a human made them. I like to think in terms of printing, dividing a design into layers, considering the order in which colours should be printed. I think I enjoy the process throughout.
Where do you work?
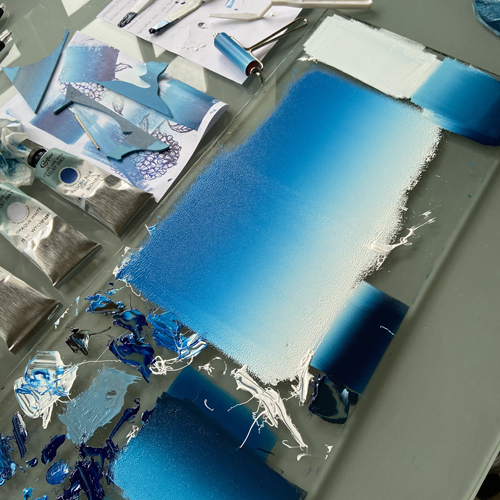
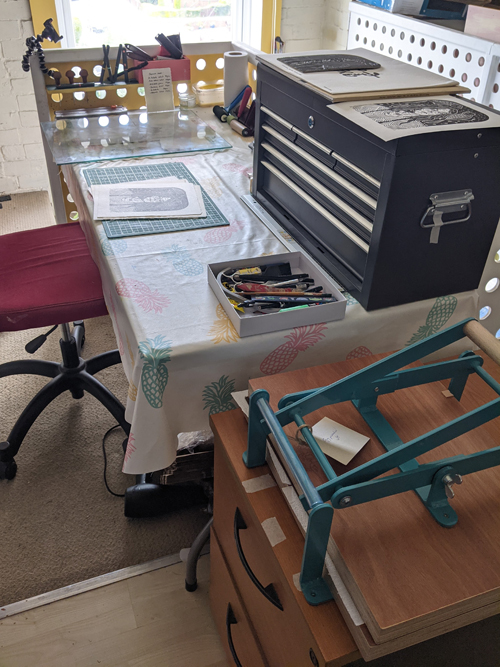
I work from home, I have my studio in the front room of our house, in Norwich, so I get to see a lot of passers-by and I love whenever someone stops to look at what I’m doing. I also like coming back from the shops or whatever I’ve been doing out and seeing from outside all my prints hanging on the walls, drying, and the tools on my table.
Describe a typical day in your studio.
Well, I try to take care first of what I like least… so I usually start my day tidying up, makings to-do lists, taking care of emails and preparing orders for shipping. That takes up more than half of my workday, but once I’m done I can “relax” and take care of re-stocking, printing or planning new work. Even though shipping is very time consuming and repetitive, there are advantages, like not needing to use my brain a lot and being able to re-watch films or listen to podcasts or things I can’t really do when I need to focus a lot.
How long have you been printmaking?
I’ve attempted printing on a few occasions before but I’ve been doing it more seriously and non-stop since 2018.
What inspires you?
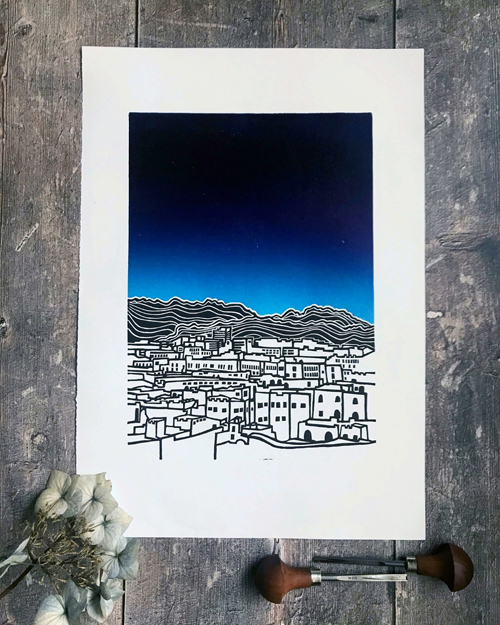
Other artists at work, either on Instagram, a museum or in a documentary. I love hunting for second-hand art books and seeing people’s sketchbooks and studios. I love to study an artist or a subject in-depth until I hit something new I want to try or make. Wandering around a city just looking at buildings, watching films, people watching. Museums always have an effect on me, always make me want to go home and make something. Of course, I like art a lot and I’m inspired by the likes of Picasso, Matisse, Cocteau, Le Corbusier, Malevich, Arp, Calder, Miro, Picabia, Schiaparelli, Hepworth and Hockney.
What is your favourite printmaking product?
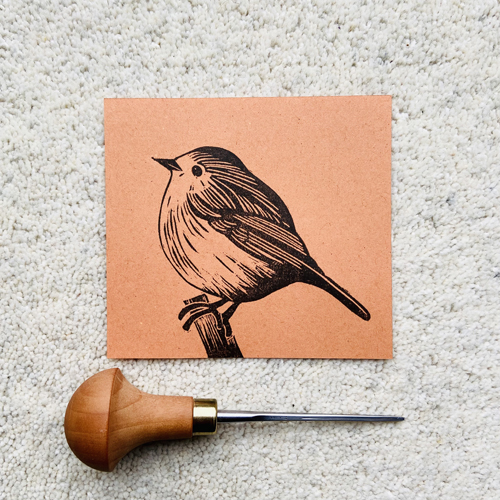
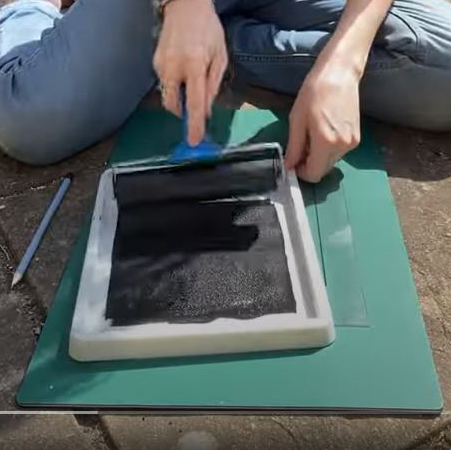
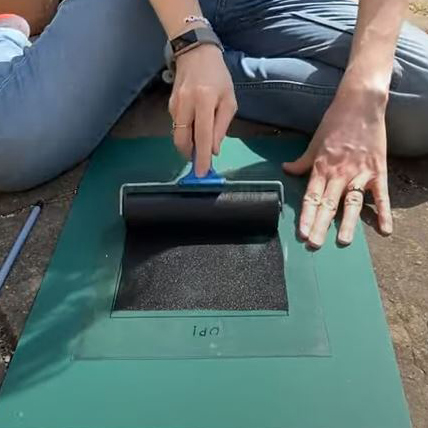
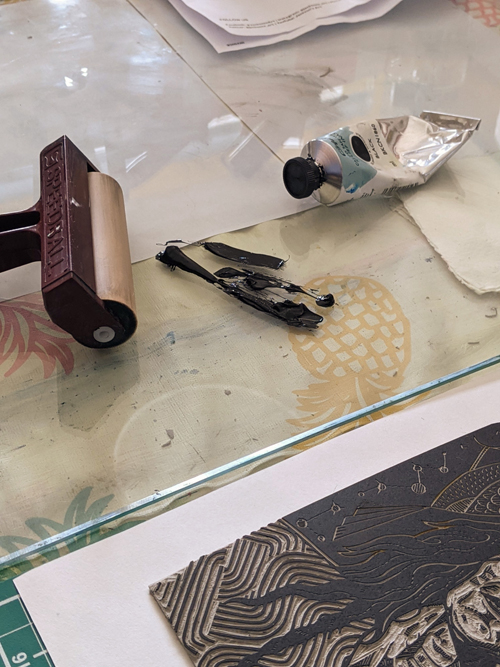
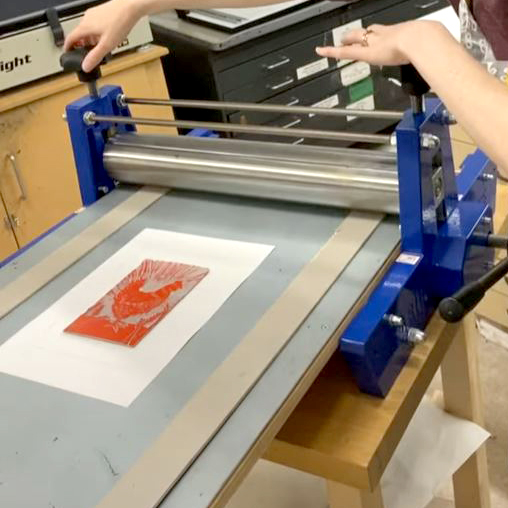
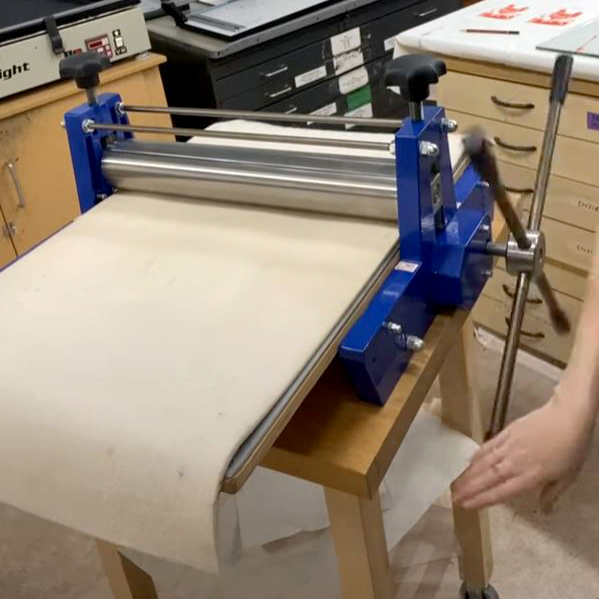
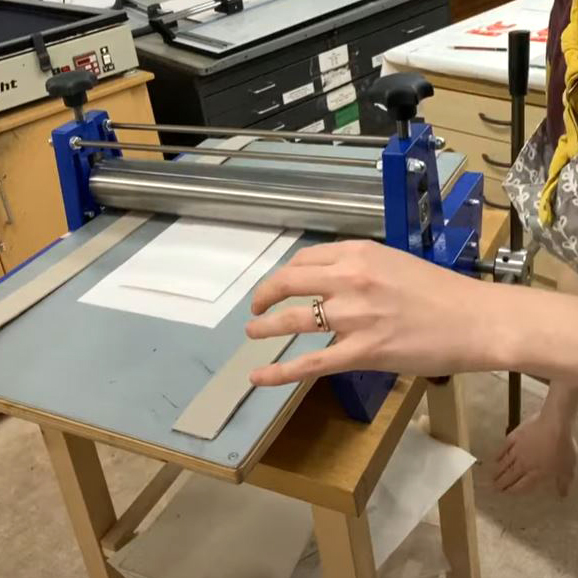
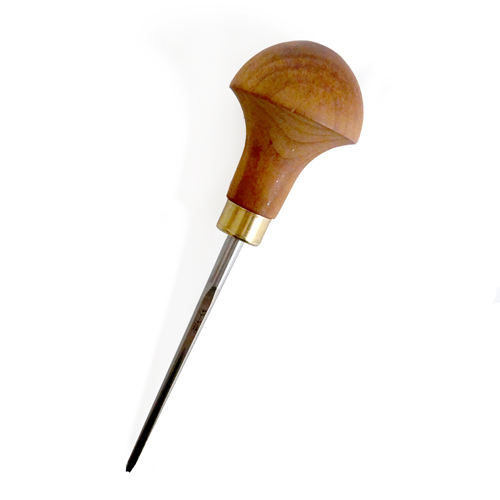
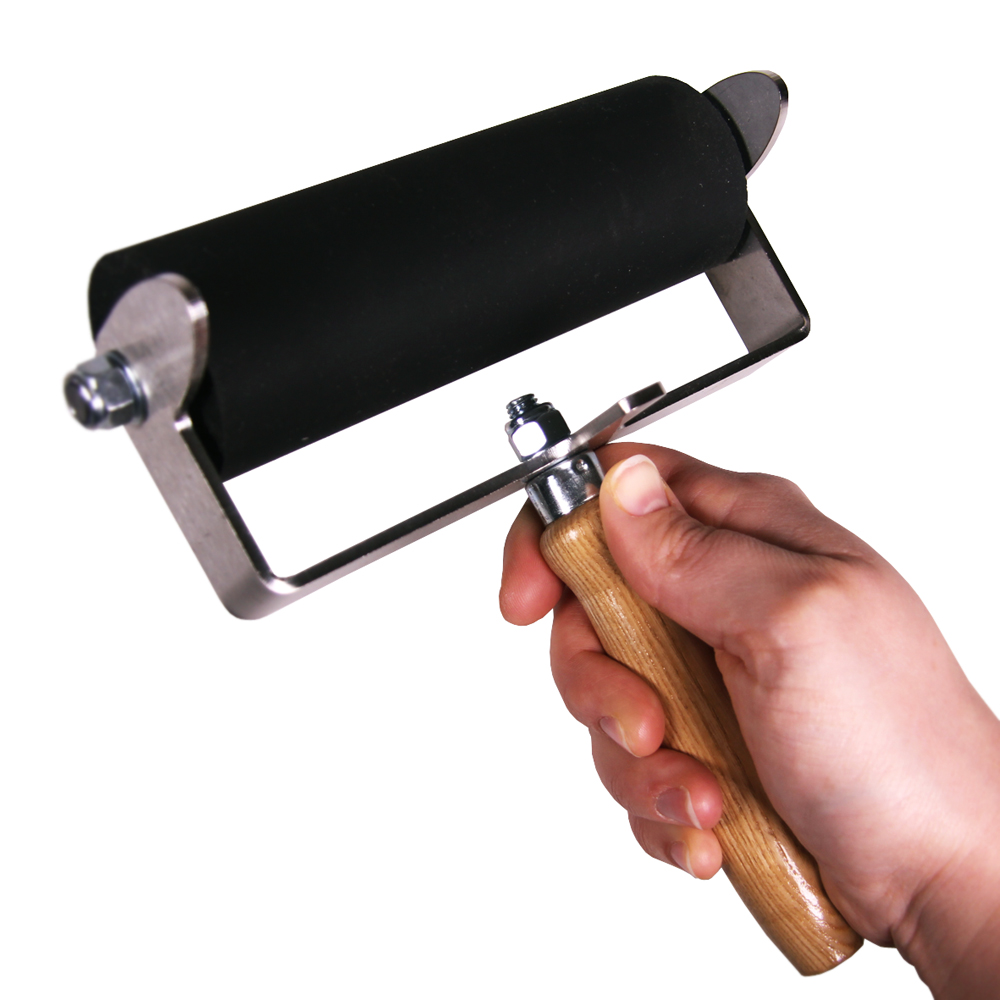
My Hawthorn Roller: I love a good and heavy roller. I find the Ternes Burton Registration Pins essential to my work.
What have you made that you are most proud of?
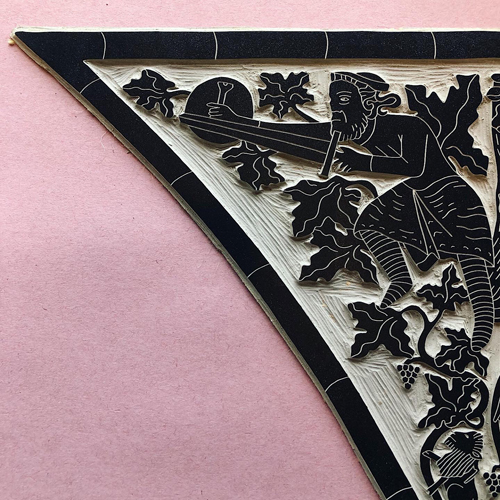
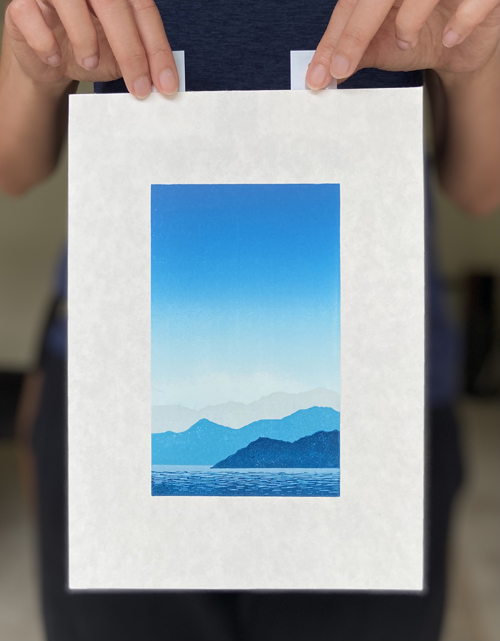
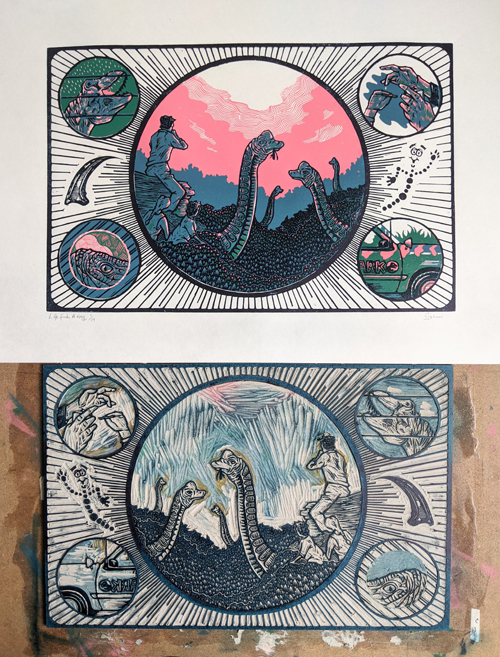
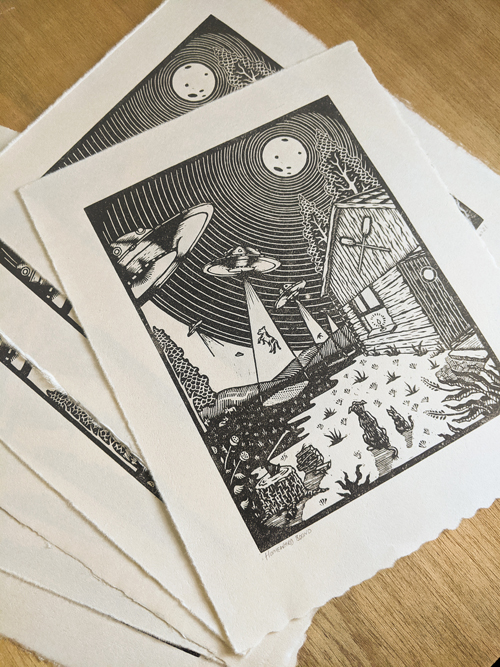
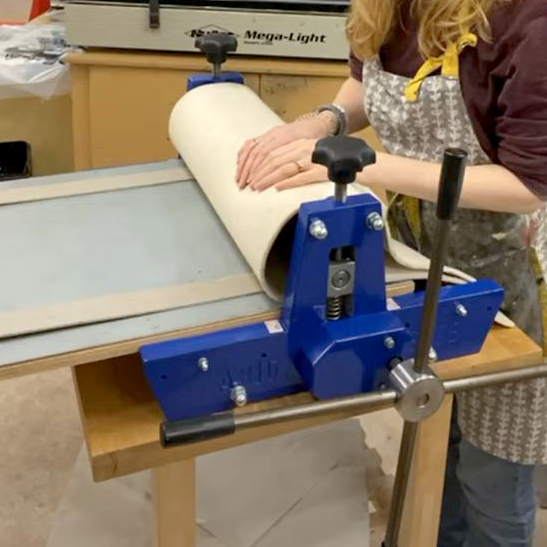
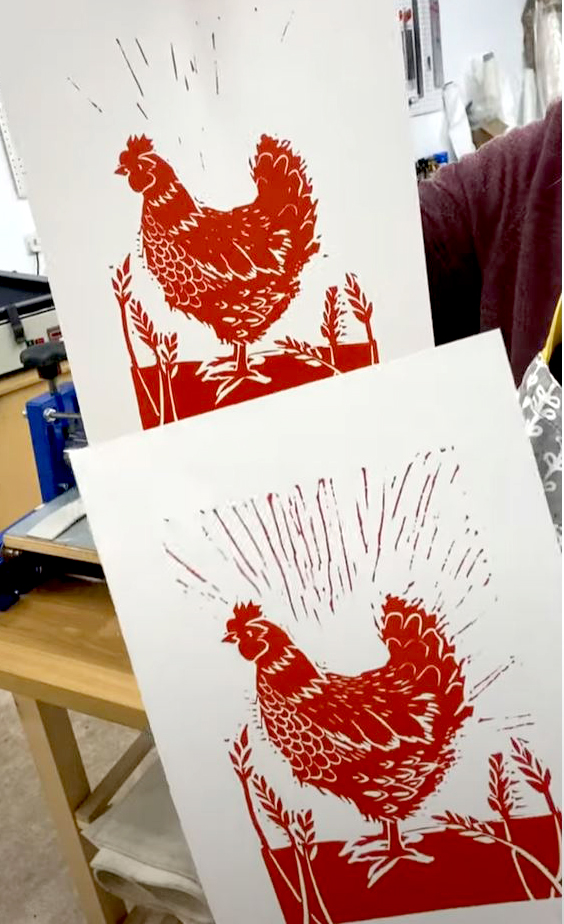
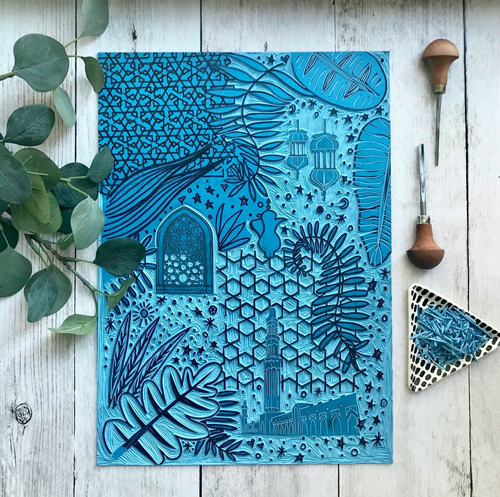
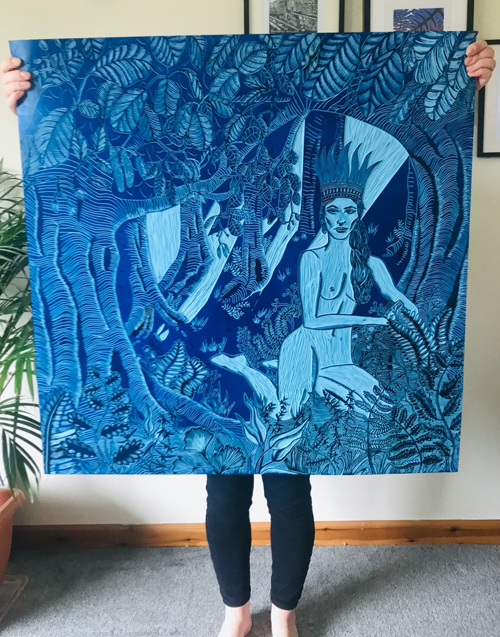
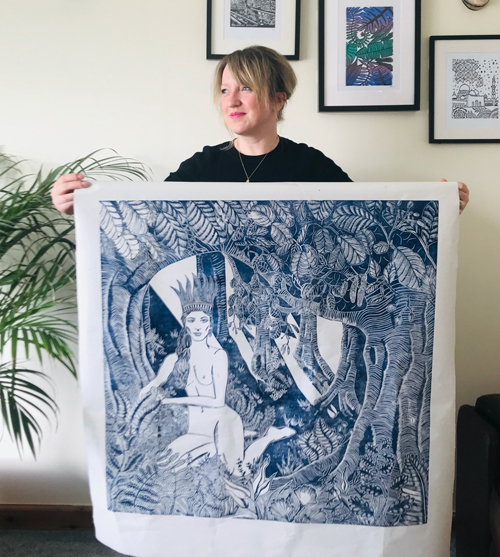
My partner and my father in law built a big press from scratch back home and with it, we managed to print our first large scale print. A print I’m still very proud of. Also, all my reduction prints take me so much time and effort that I always end up feeling proud even if it’s only for finishing them. I think that’s my favourite technique at the moment; I really enjoy how you carve away layer after layer until there’s almost nothing left of your lino plate. And how there’s no going back.
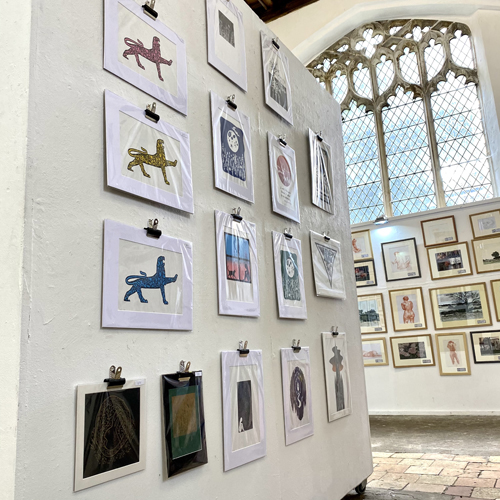
Where can we see your work? Where do you sell?
You can see my work and my process on Instagram and I sell on my website.
What will we be seeing from you next?
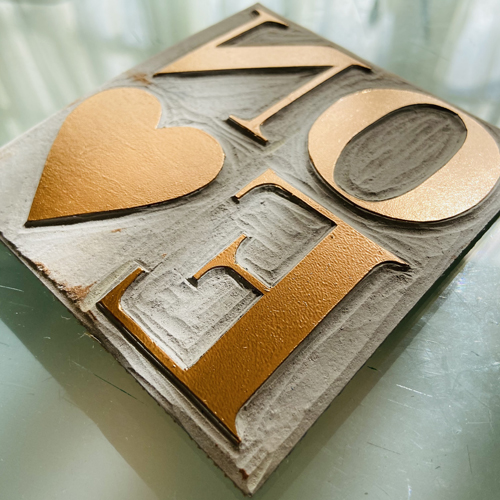
I’m working on some flat pieces for wooden sculptures that I want to try and print instead of paint, but I’m still sampling and trying out materials at the moment 🙂
Do you have any advice for other printmakers and creatives?
Well, I think a good piece of advice would be to follow your curiosity even when it feels like drifting away from your original goal. Exploring new tools, techniques and materials usually leads to new work and even to new styles, so that’s always a good thing to try when you find yourself blocked. Lastly, it is always good to remember what you see on social media is only the best-curated version of ourselves and our work… you rarely see all the failed attempts so it is easy to think you’re the only one making mistakes or not producing daily work that is museum ready!
To see more from Sofia follow her on Instagram.