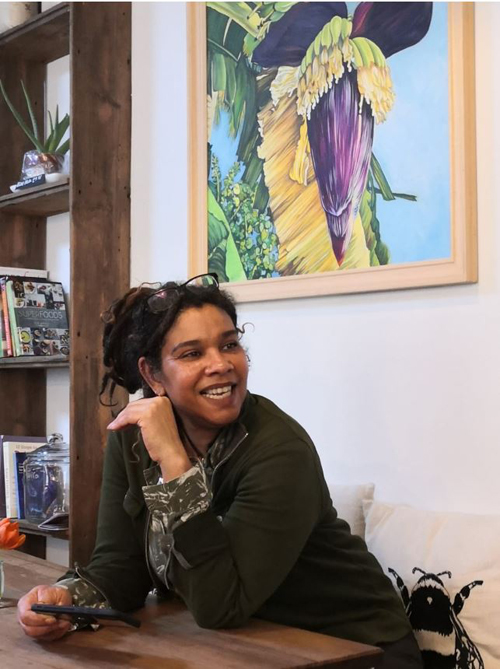
I am primarily a textile designer, artist, illustrator and
maker.
In my early career, in partnership with a friend I set up and ran Blooming Designs, which was then a successful textile design business selling prints to leading high street fashion chains both in the UK and internationally.
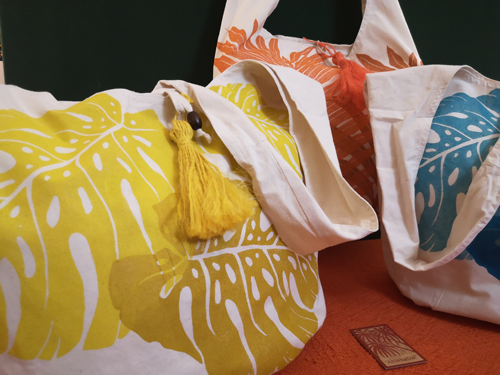
Under the Blooming Designs name, I now produce a range of print
items as well as organise and run workshops in batik, block printing, gel
printing and still life on the family farm at Meon Springs, including Art
in the Barn, a twice yearly Creative Arts Week which I run with fellow artist
and maker Liz Wellby.
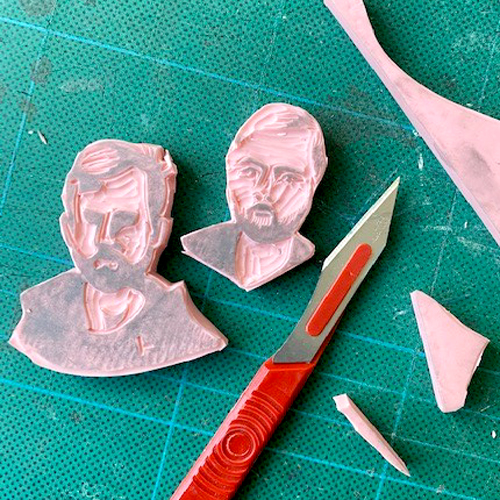
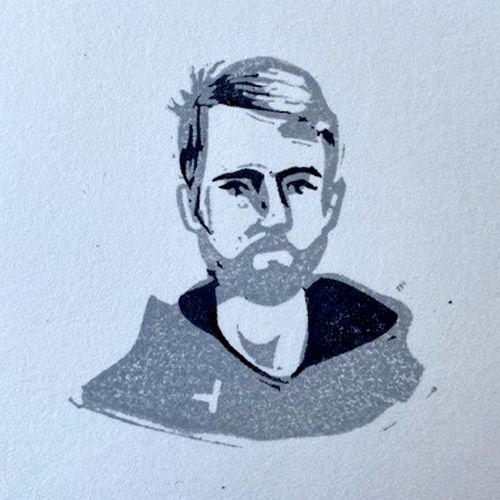
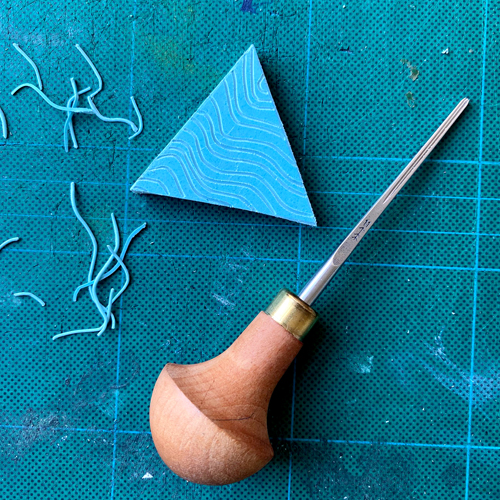
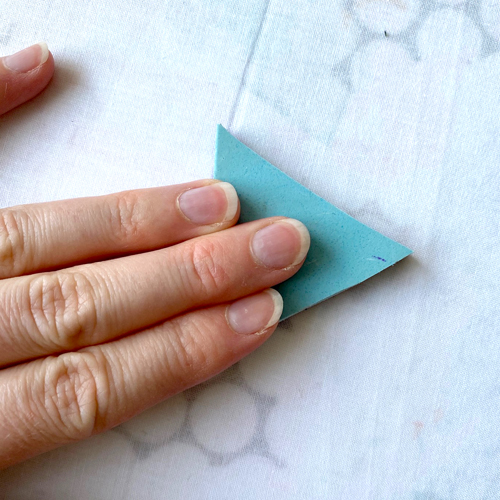
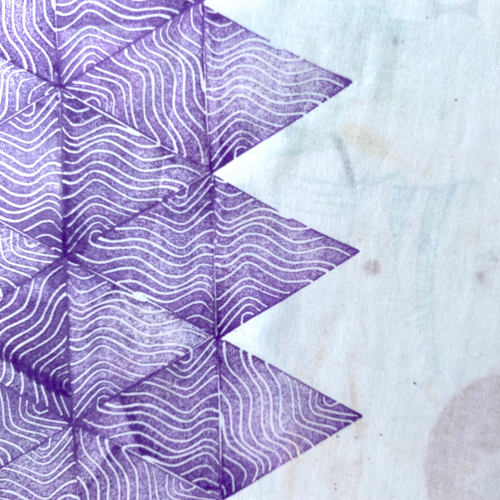
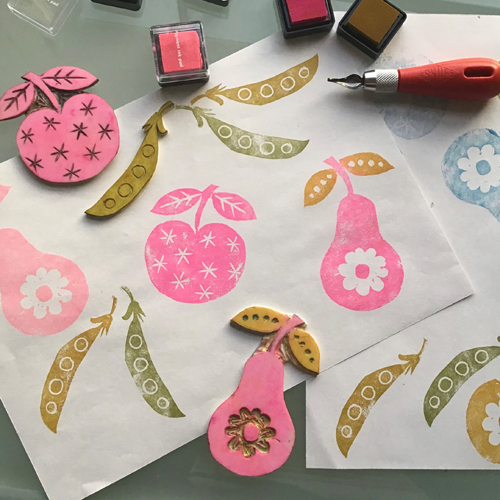
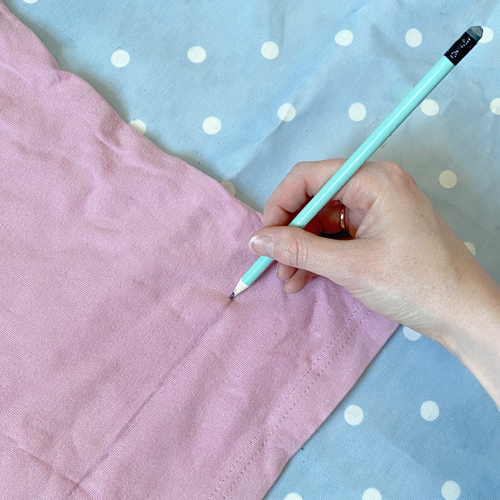
Describe your printmaking process.
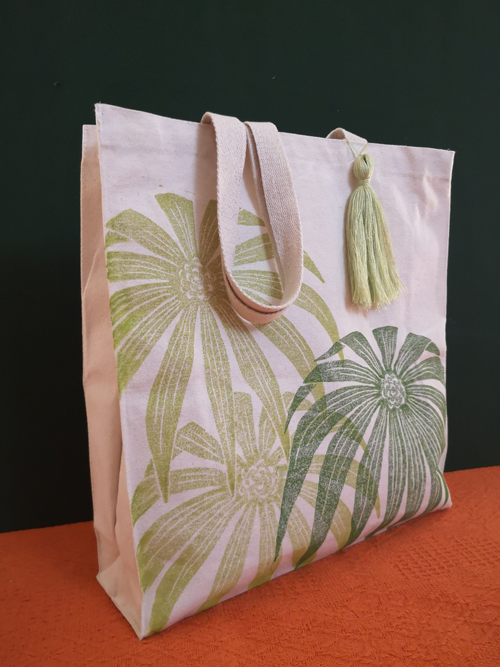
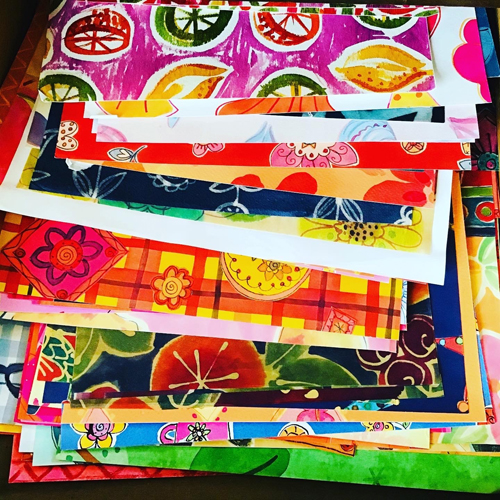
My work is quite diverse. I like to experiment with
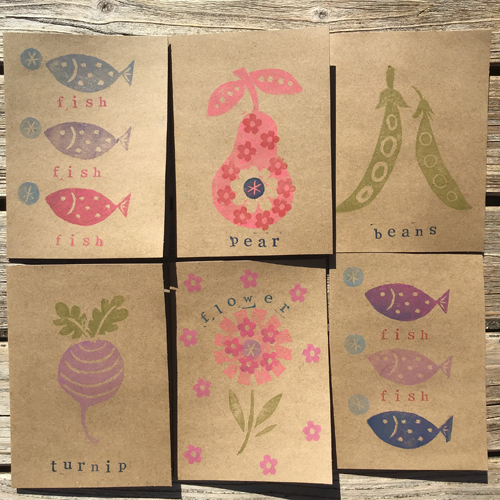
techniques that give instant results. I particularly enjoy block printing onto
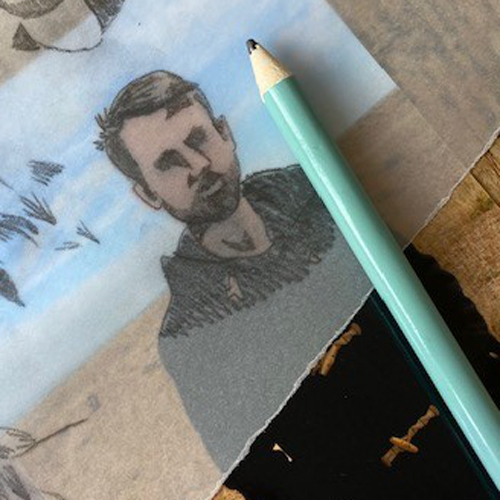
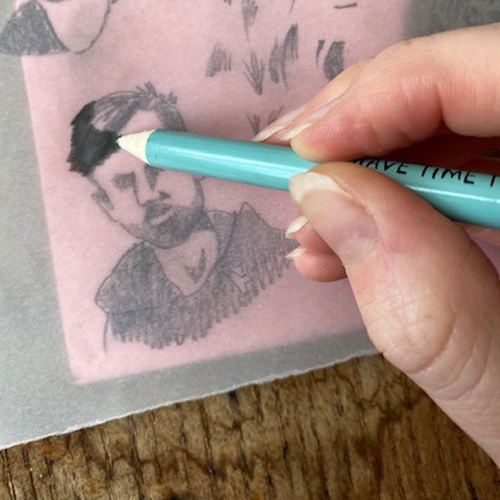
fabric and cards but I also love transfer printing as you never know what you
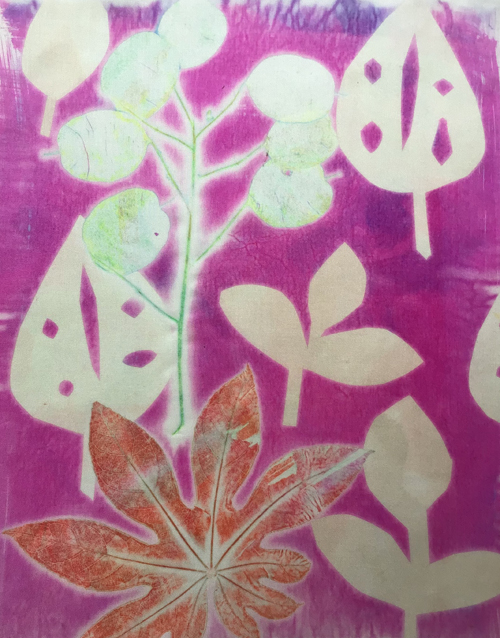
are going to get. Gelli plate is also a favourite of mine again the results are
so instant and effective, you can achieve much in a short space of time!
How and where did you learn to print?
Having dabbled with screen printing on my foundation I chose to
study textiles at Loughborough College of Art and Design. I specialised in
print design as I found weave and embroidery too labour intensive and I loved
the instant results of print so experimented on my course printing my designs
for both fashion and furnishings.
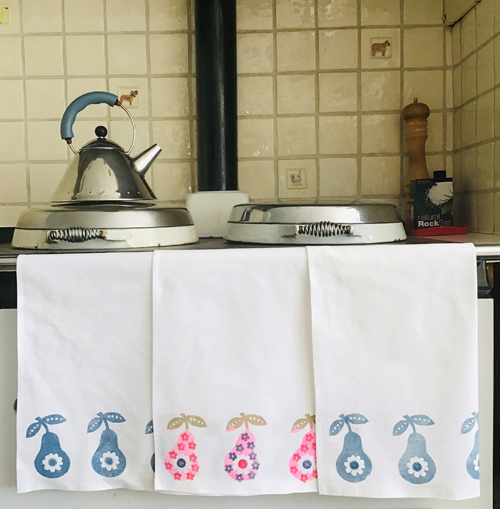
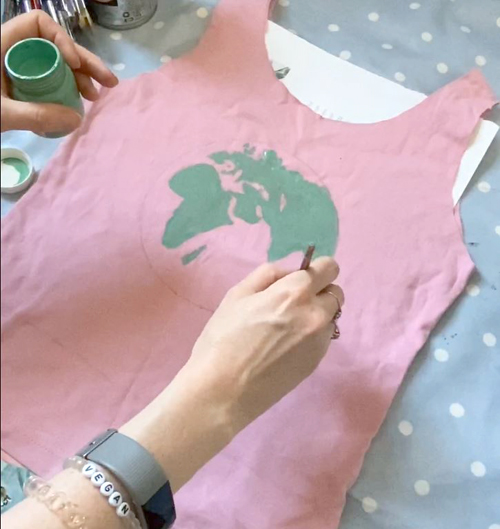
Why printmaking?
As a textile designer I have always enjoyed the printing
process. I sold my print designs for many years to the fashion market on paper
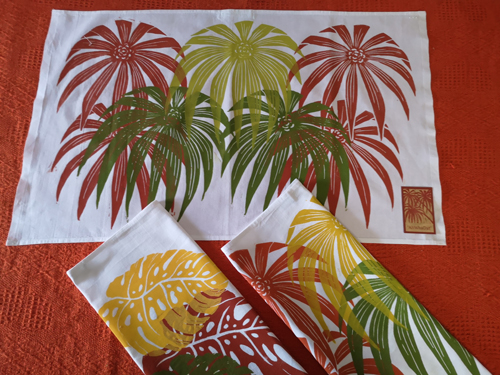
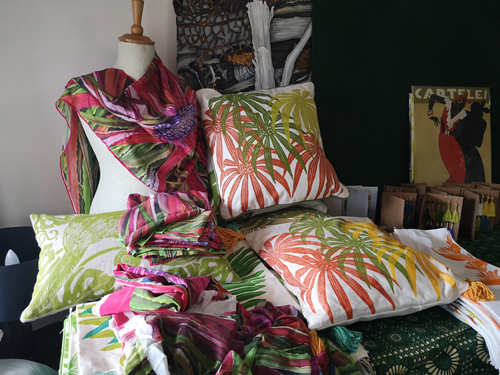
so often you did not get to see them make it onto fabric but I always
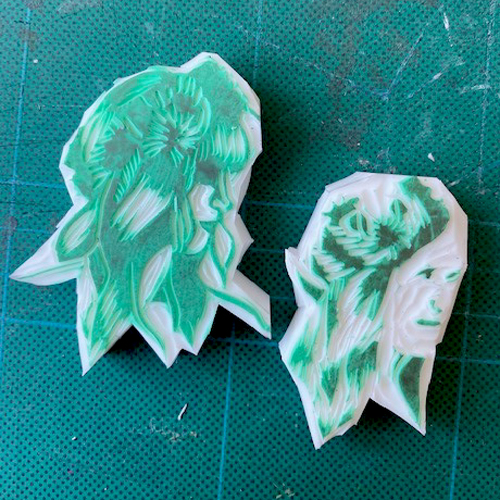
liked the idea of producing my designs myself on fabric which is why block printing has been an
obvious starting point.
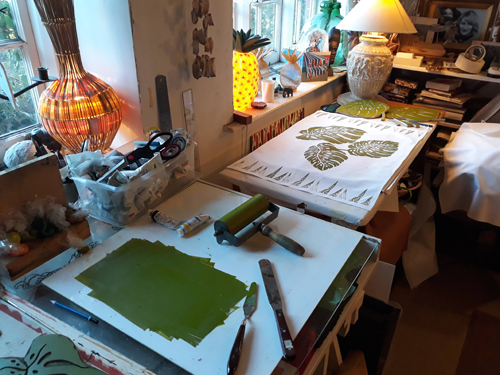
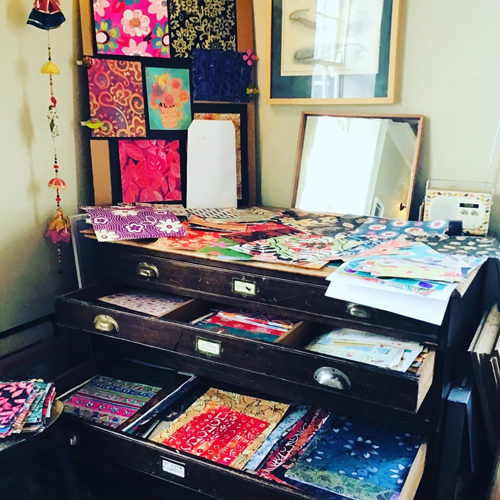
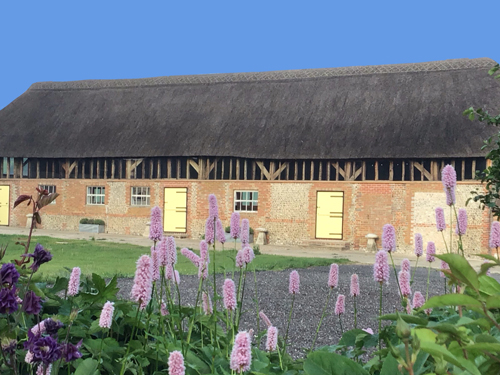
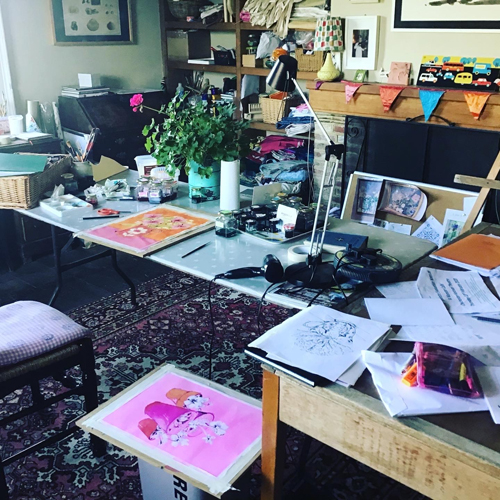
Where do you work?
I work in my home studio which has wonderful views of the farm and my garden. If I am running a small workshop I will do this from my studio but if I am running a larger workshop I will do this from a large thatched barn next to my house which we also use for corporate events.
Describe a typical day in your studio.
I am not sure there is such a thing particularly at the moment with lockdown. With the girls at home, I quite often have company as I have a spare desk which is nice! At the moment our yurts and huts are closed so I am finding that I have more time to spend in my studio. I have been doing quite a lot of drawing as this is important for developing ideas My garden is a huge inspiration to me for my design work and this is my favourite time of year as everything is coming into flower. I have also been doing lots of block printing producing fabrics and gifts for friends and relatives.
How long have you been printmaking?
I have been printmaking for about a year now, I love trying new
processes and have done several of your courses which I have enjoyed enormously
as I have learnt lots of new techniques to experiment with.
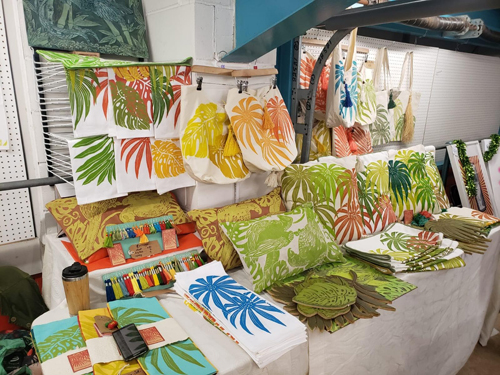
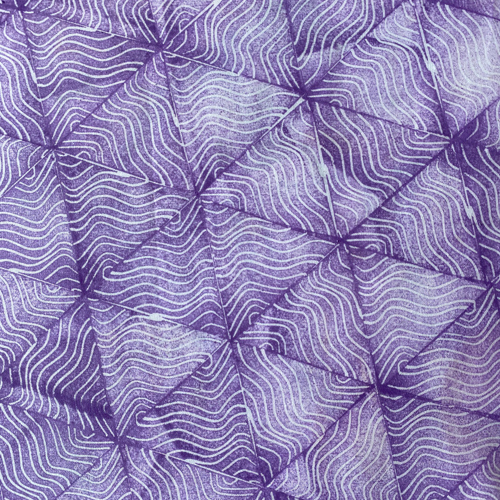
What inspires you?
My main inspiration has always been colour and pattern. As a textile designer I have always been hugely influenced by nature, particularly flowers as these obviously feature heavily in textile design. I have always taken inspiration from vintage textiles, silk designs and Indian block prints as well as designs from the 50’s, 60’s and 70’s. Everything is so instant now, we used to have to trawl through designs books and magazines to find ideas but now you just press a button and you have so much at your disposal instantly! Exhibitions are also a huge source of inspiration and we are lucky that we live so close to many lovely galleries, I have also been enjoying the online exhibitions that are available at the moment.
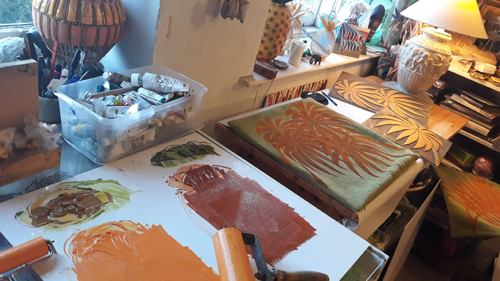
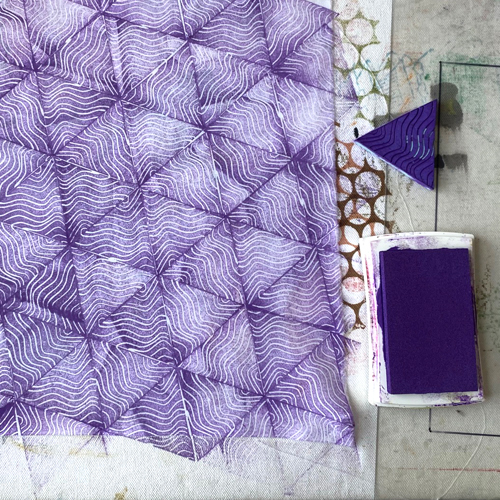
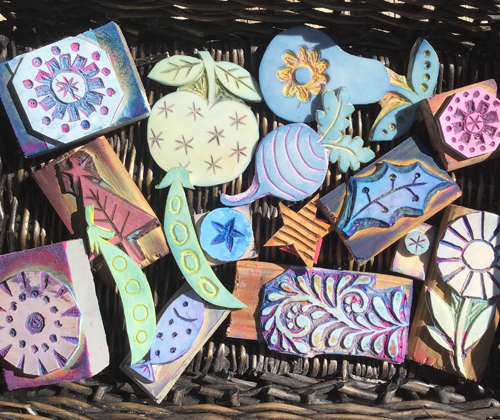
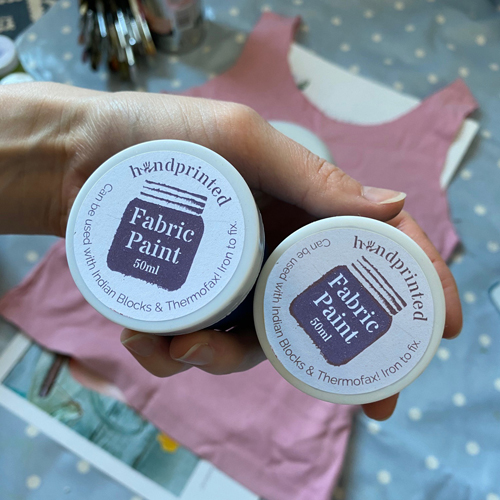
What is your favourite printmaking product?
At the moment my Indian wood blocks are my favourite printmaking
product, I bought them in Cochin a few years ago and have used them for
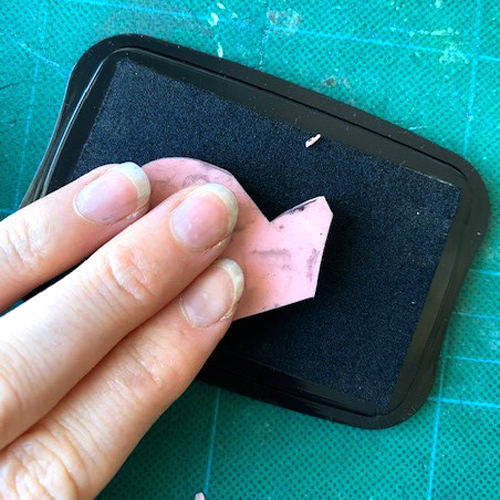
inspiration for my own block prints. I have also just made myself a fabric
printing pad which has made printing so much easier.
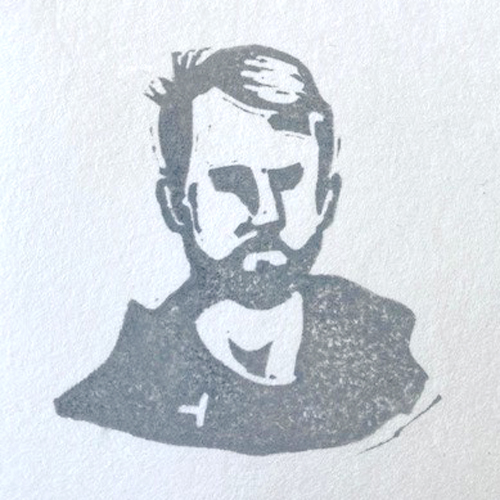
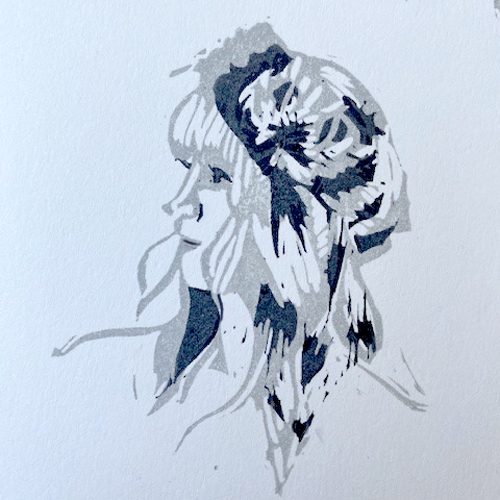
What have you made that you are most proud of?
That is a tricky one, I think you are always looking to improve on your last piece as this keeps you moving forward to the next stage, everything is work in progress. The great thing about the printing process is you can repeat what you have done again and again. I think is healthy to not be too precious about what you produce, there is always lots more waiting to be created!
Where can we see your work?
My work is on social media, Instagram and Facebook
Where do you sell?
I have a website www.bloomingdesigns.com where I sell the art courses, at the moment I work to commission as my work is generally one-off pieces though I am looking to produce larger quantities.
What will we be seeing from you next?
I was really disappointed to postpone our Spring Art in the Barn series of workshops due to the Coronavirus, but hope to have the green light soon so that I can make our Autumn series of workshops running from the 8th – 13th October even more special.
I also hope to develop my block printing as well as
experimenting some more with transfer printing and kitchen table lithography.
Do you have any advice for other printmakers and creatives?
Don’t be afraid to try something new, there are some great workshops out there that can teach you exciting new skills. Instagram and Pinterest are great sources of inspiration as are exhibitions, it’s really fun to see what other people are up to particularly if you are not working in an environment with other artists.
See more from Alison at bloomingdesigns.com or on Instagram.