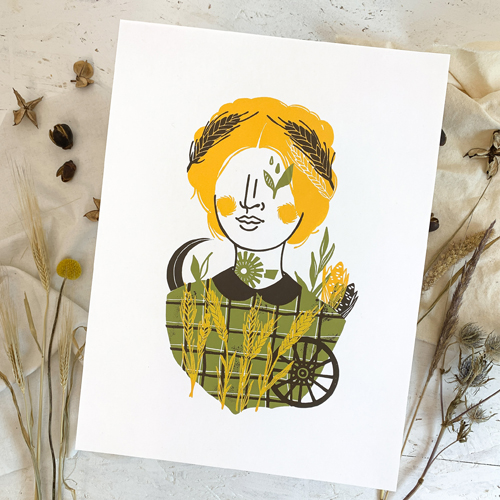
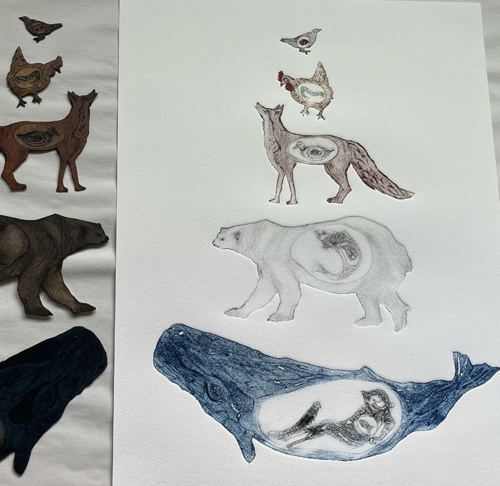
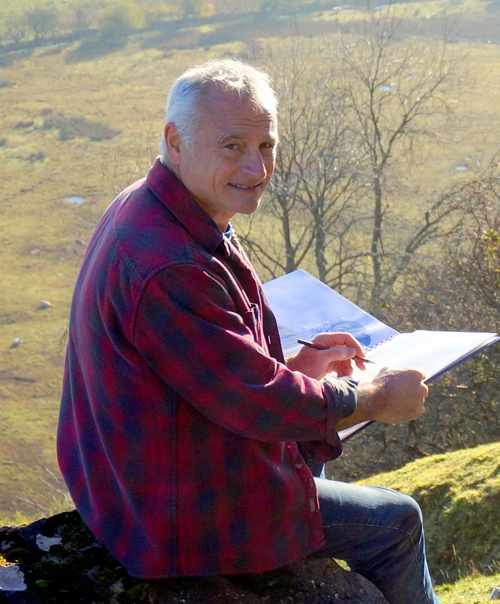
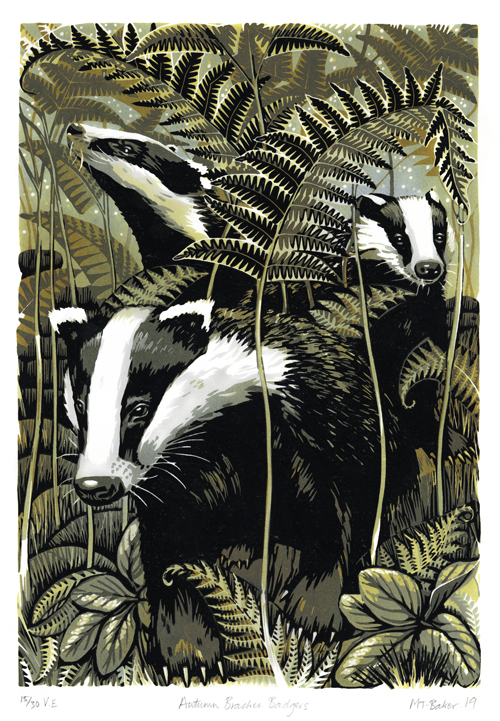
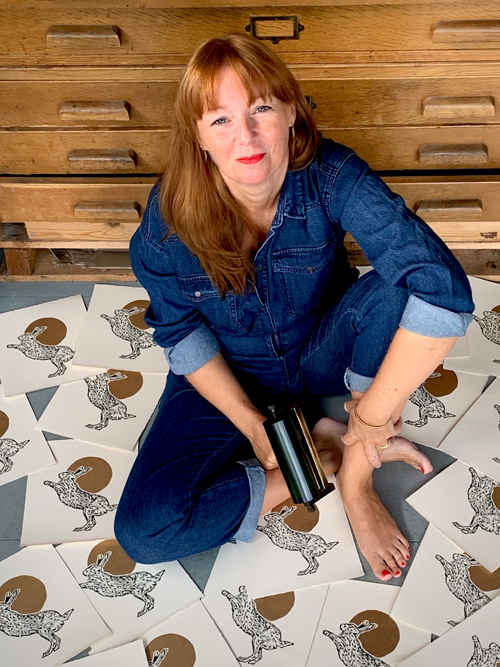
Martin Truefitt-Baker is a fine art printmaker and painter living in the Brecon Beacons national park, South Wales, UK. His linocuts use a reduction method, using a single piece of lino. This is progressively cutaway and overprinted onto paper several times, in a succession of tones, to build up the final image. The prints are of the animals he has seen on his walks through the local landscape, mostly within just a couple of miles of his home. Martin always tries to catch some of the magic in the way the animal moves and lives within its environment. The beautiful Usk valley, rough mountainsides, twisted trees, wildflowers and busy insects fill the backgrounds of his prints.
Describe your printmaking process.
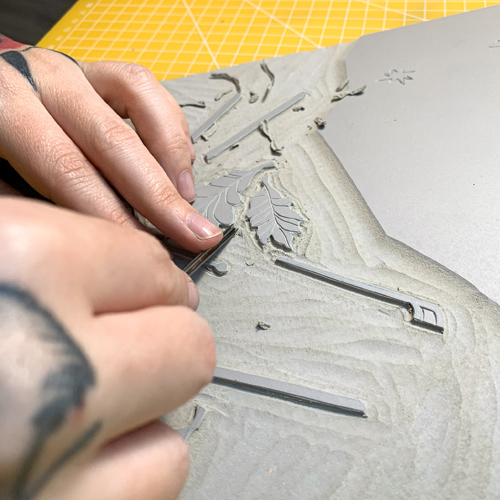
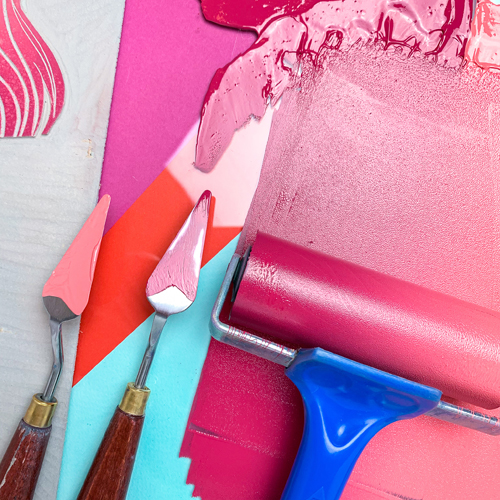
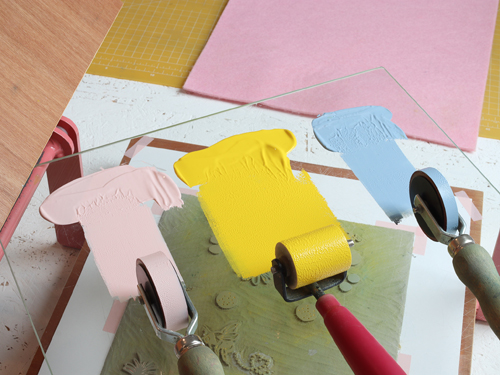
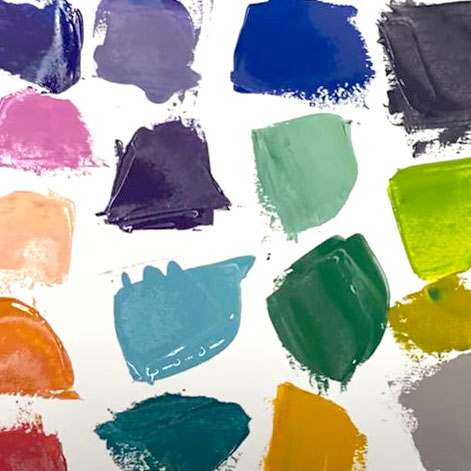
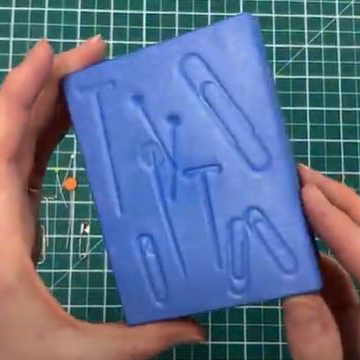
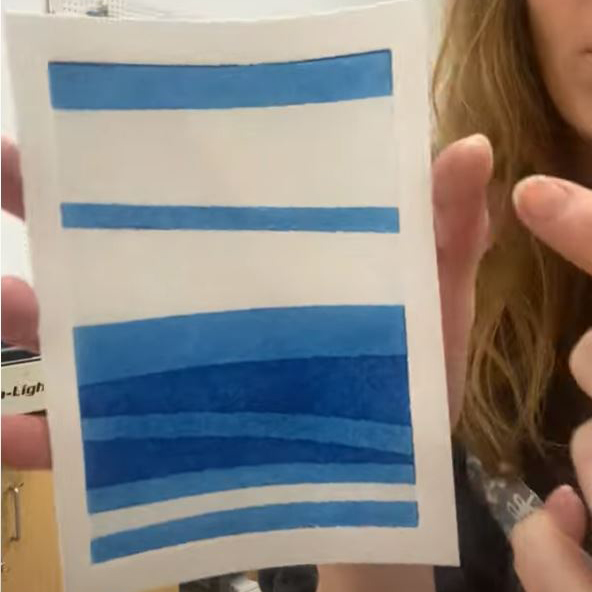
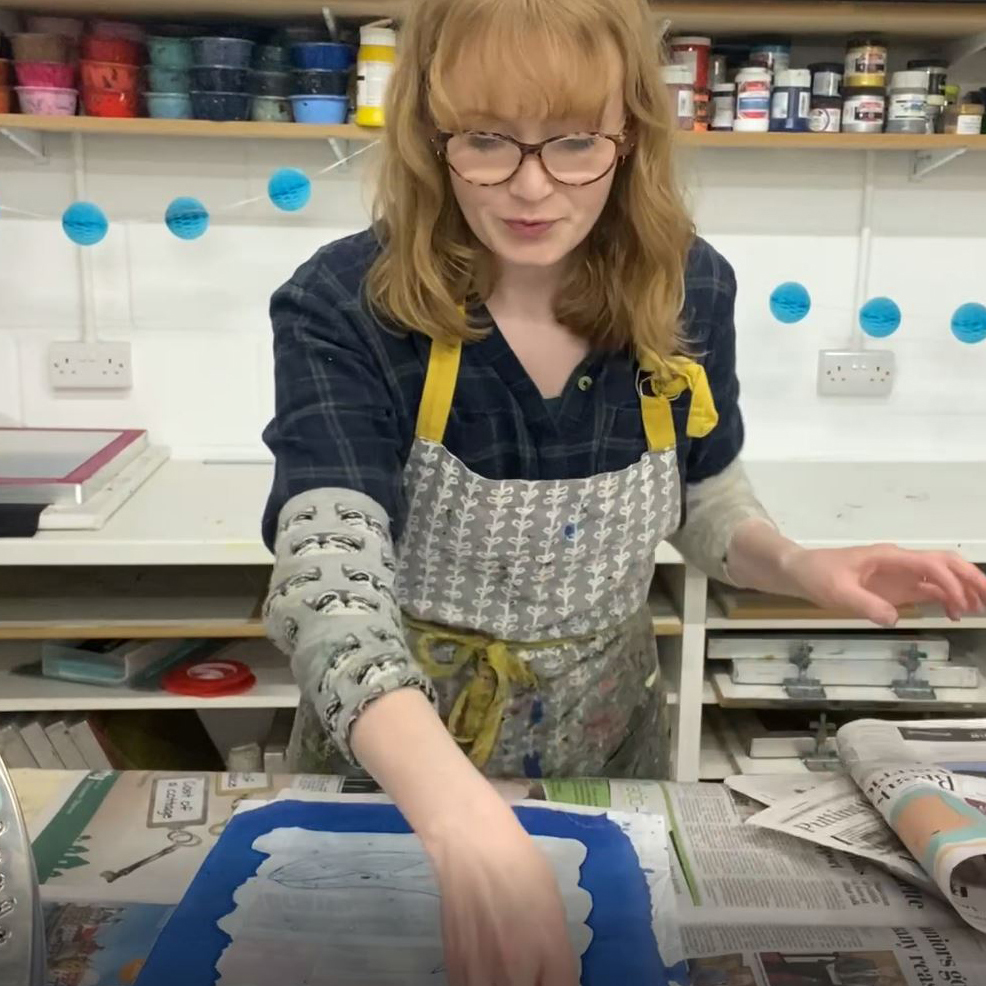
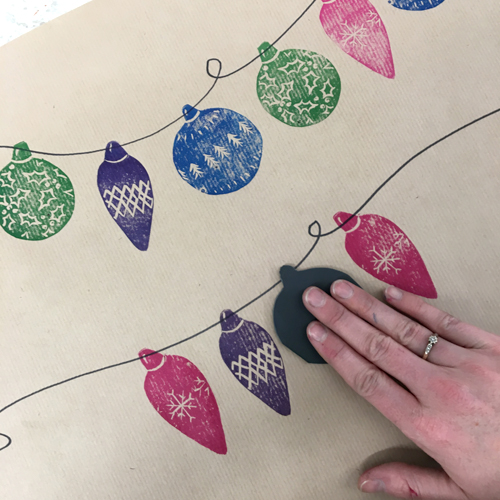
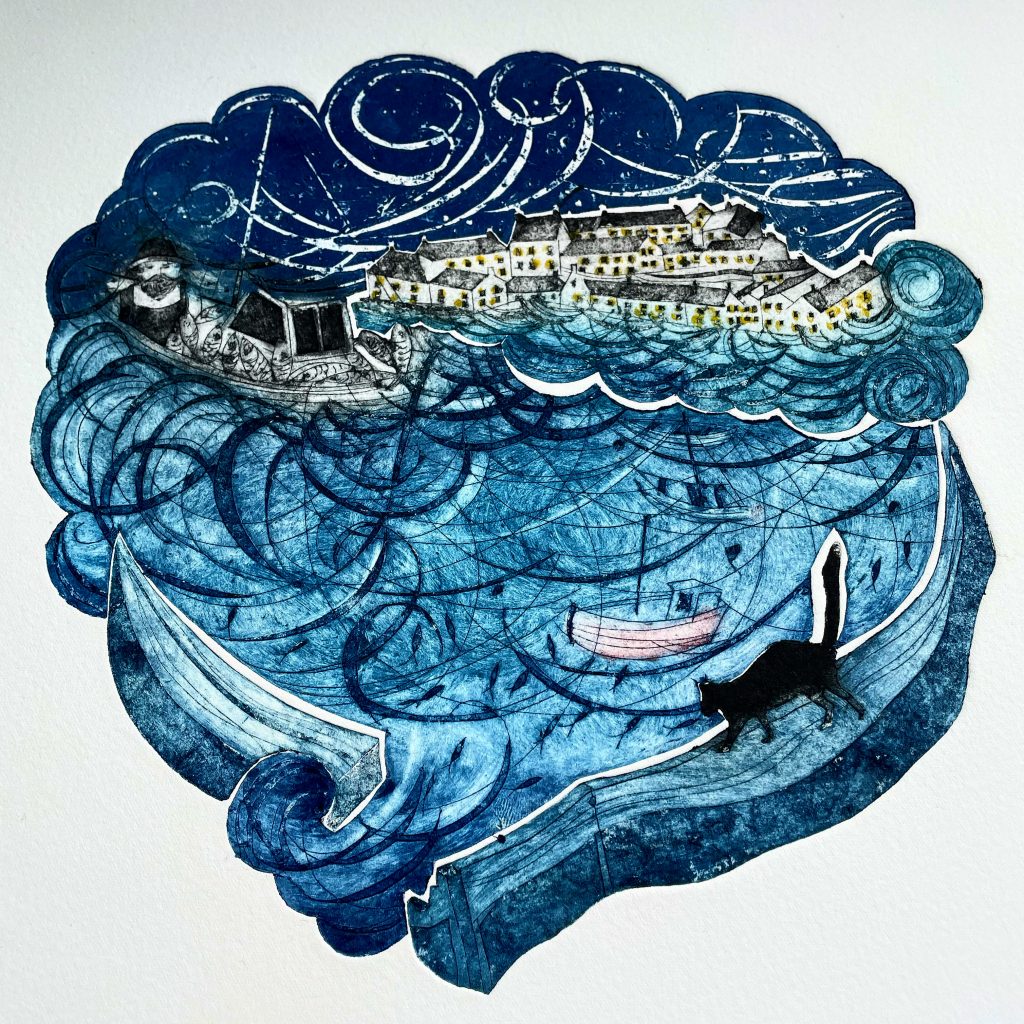
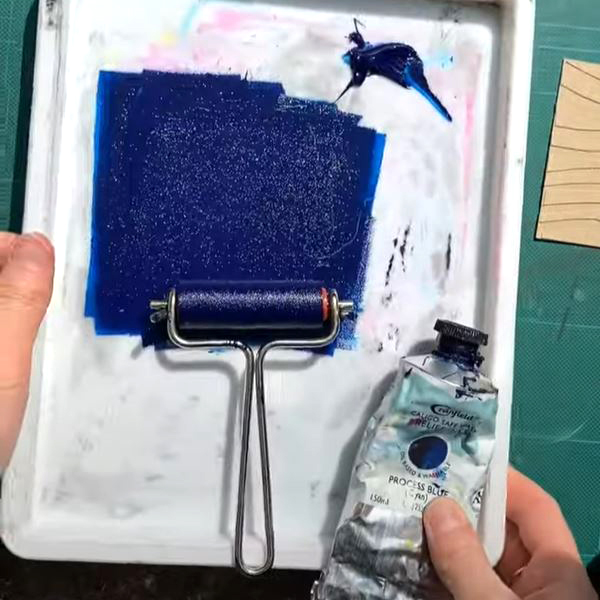
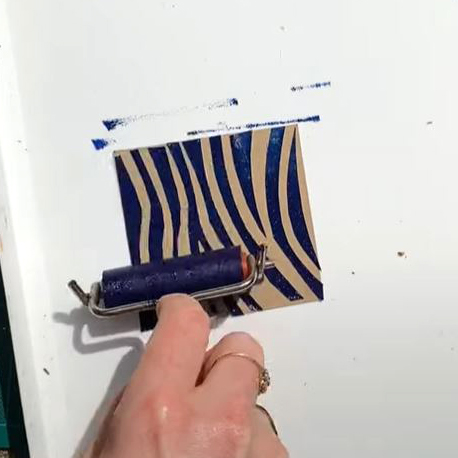
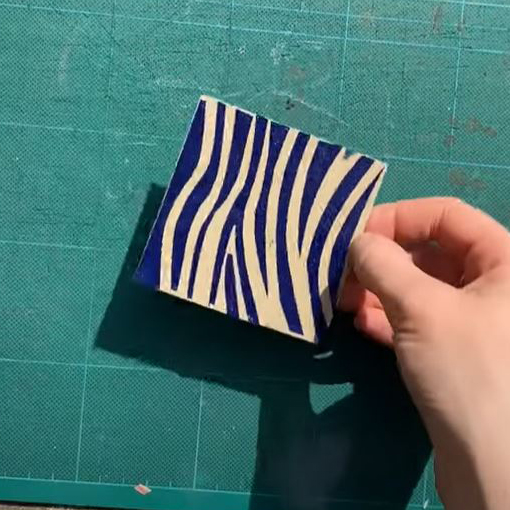
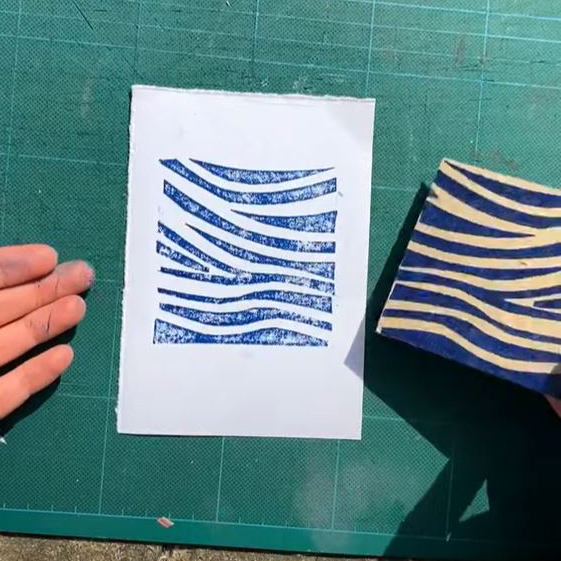
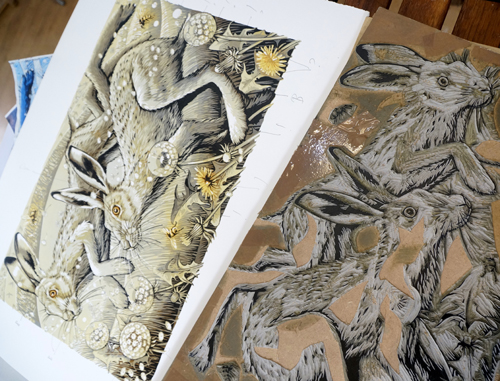
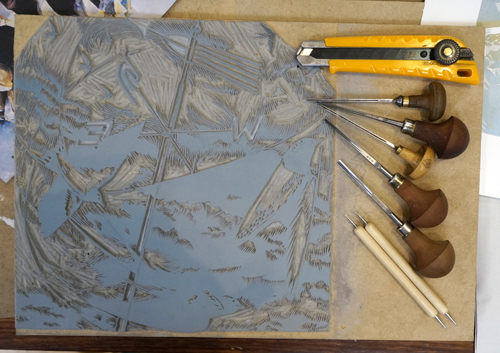
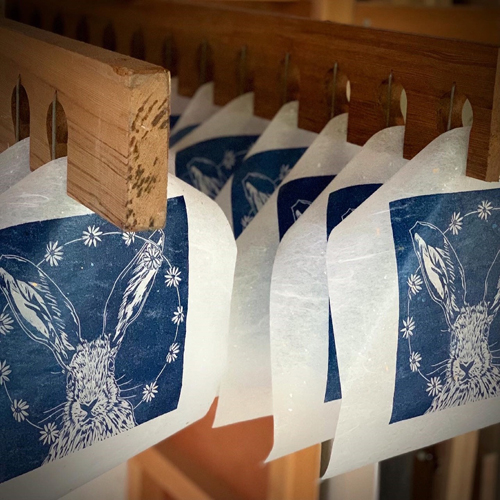
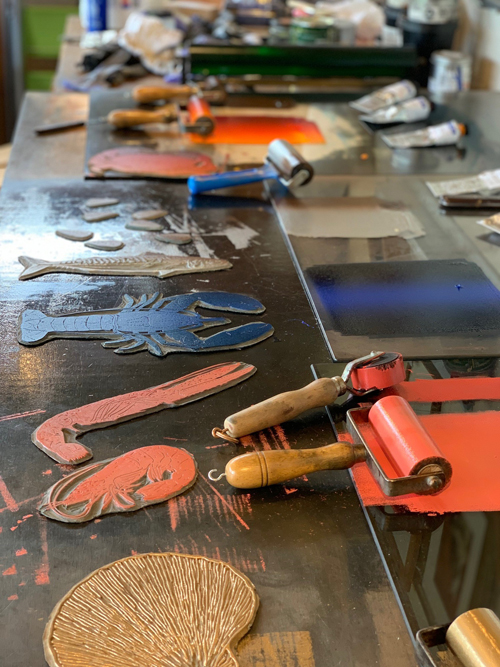
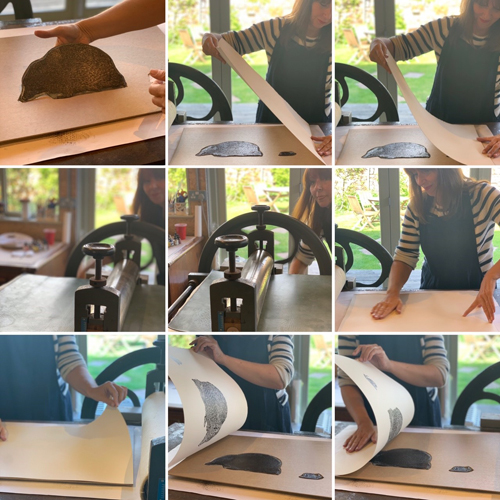
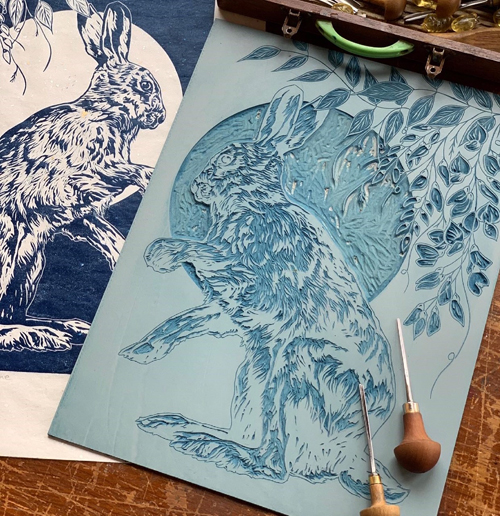
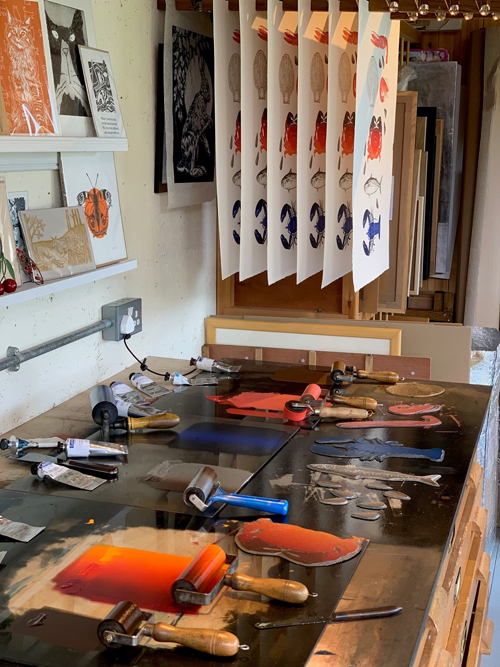
I mostly use a reduction linocut method. 5 or 6 layers of cutting and printing work best for me. I start with the lightest tones working through to the darkest (not always simple black). Some of the layers are blends of two or three different colours of a similar tone. I tend to do this mix on the lino, using careful rolling and blotting, rather than making ‘rainbow rolls’. The full printing process can take weeks (failure is not an option!) so more time goes into designing the print and working out where the various tones will go, than the actual printing.
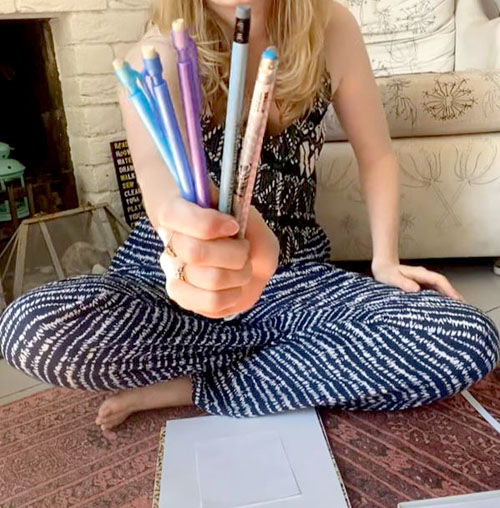
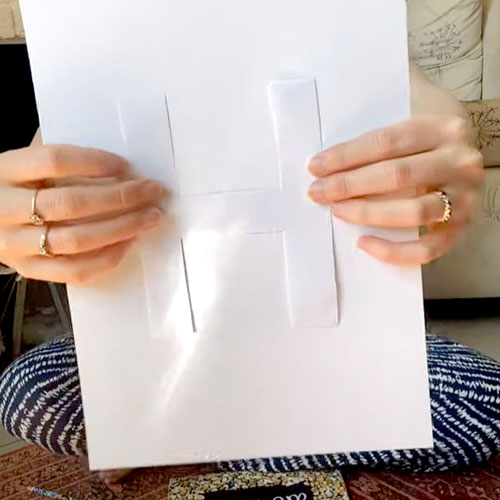
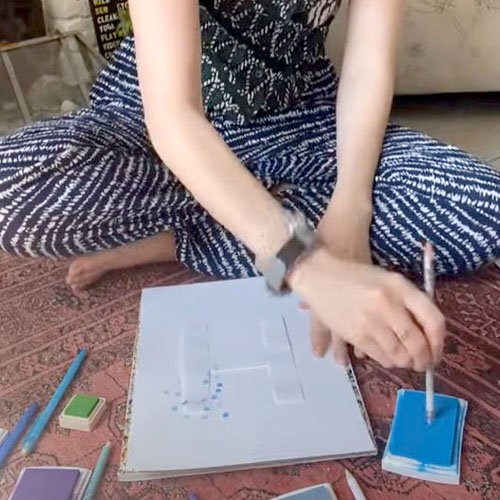
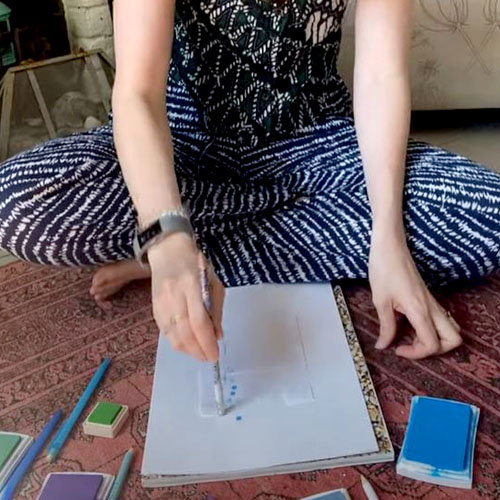
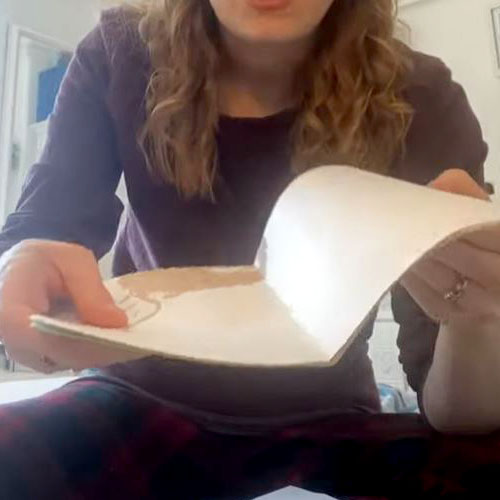
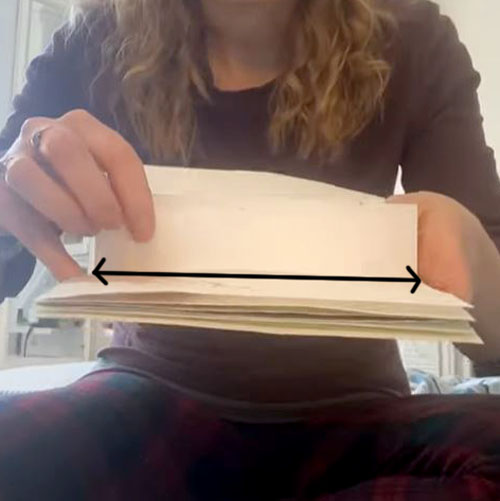
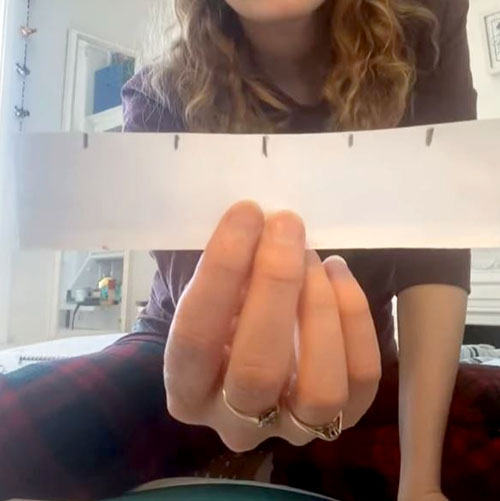
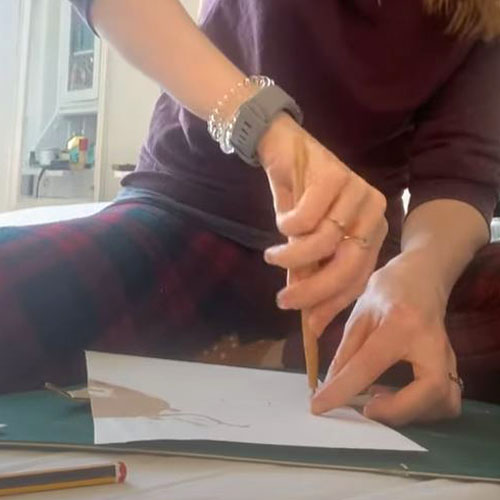
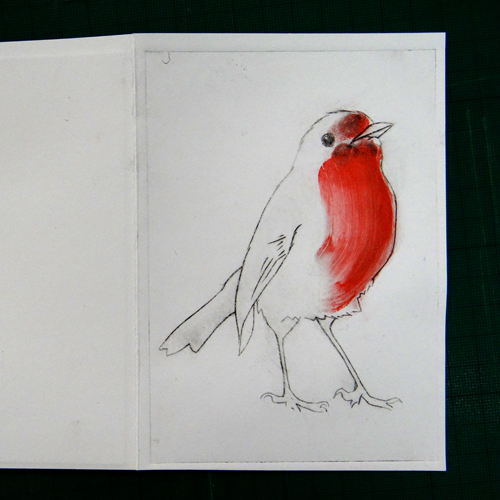
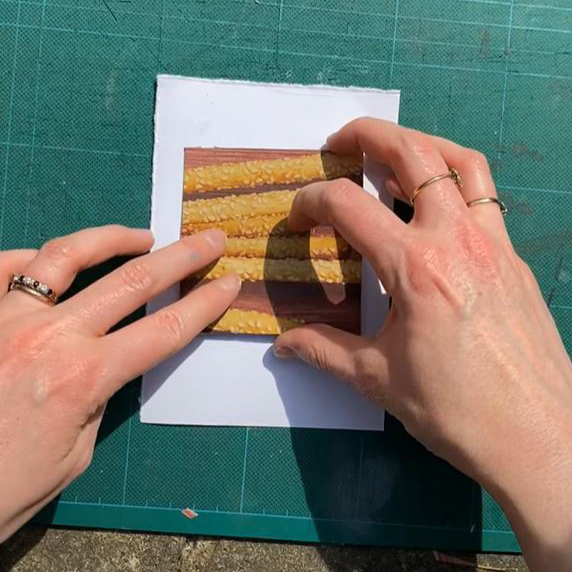
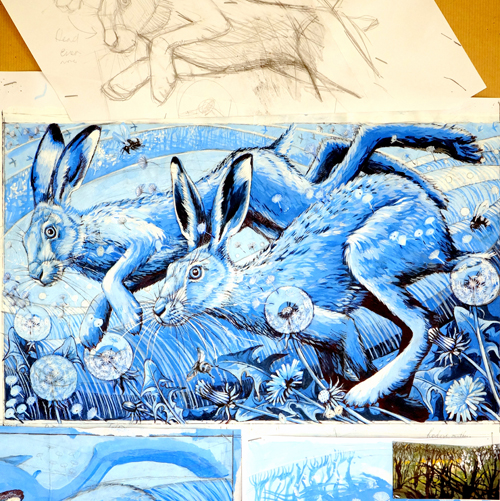
I design using thin paper, premixed tones of blue acrylic and a black ballpoint pen. Nothing fancy…in fact, the whole point is to avoid getting ‘precious’ about the design. I often scan and print out sections of the design. You can resize, reverse and cut them up and stick them back together, then paint over the top until the finished design seems to work.
How and where did you learn to print?
I did a strange degree in Aberystwith (West Wales) in Visual Art. Half Art history, which was a mistake as I was barely literate; half practical. I ended up specialising in illustration and book design. I started making some simple prints then.
I wrote my dissertation on Edward Bawden. It was the early 80s, he was quite old and his work had fallen out of favour and was more obscure then. He was a lovely gentleman who reminded me of my own grandfather; he seemed bemused that someone would be interested in him. I was lucky to visit him in his home and see him working in his studio. I’d say this had a lasting effect on me. That Bawden/Ravillious/Nash group of artists have since been a big influence on me, in the way they depicted that magic in the British landscape.
Why printmaking?
It links in with the illustration thing. That
thrill of seeing an image reproduced. It becomes something else. You look at it
differently. I often get asked ‘why don’t you just paint 20 of the designs!’ (it
might be quicker) It’s just not the same.
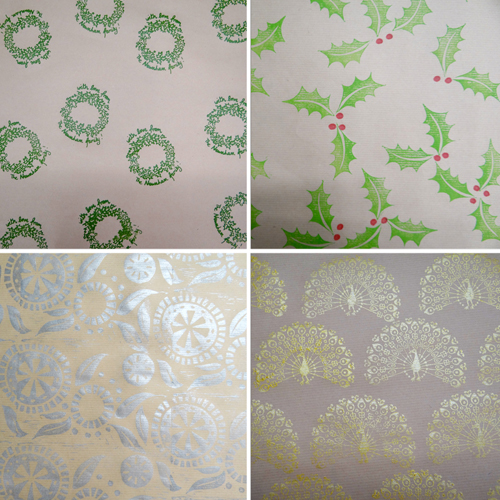
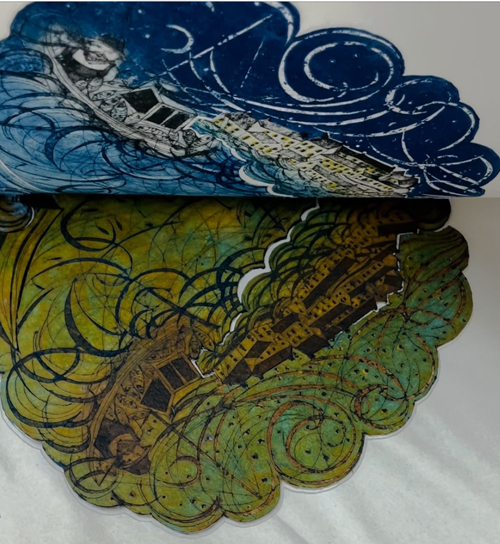
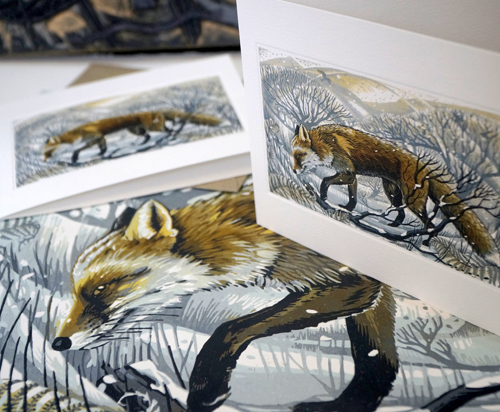
Seeing an image taken from a print and then
reproduced as a card is another thrill again. It makes you look at the design
in a whole new way.
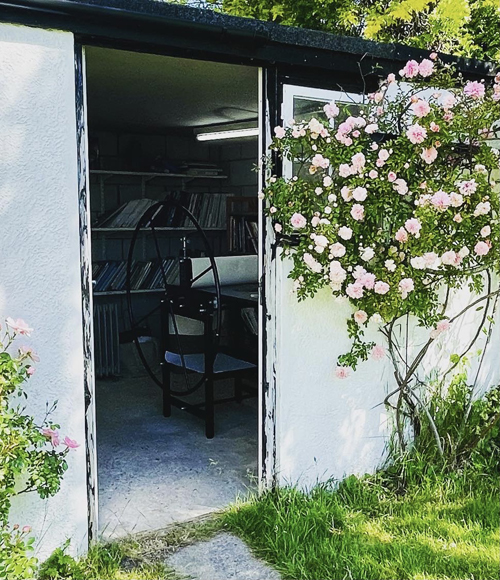
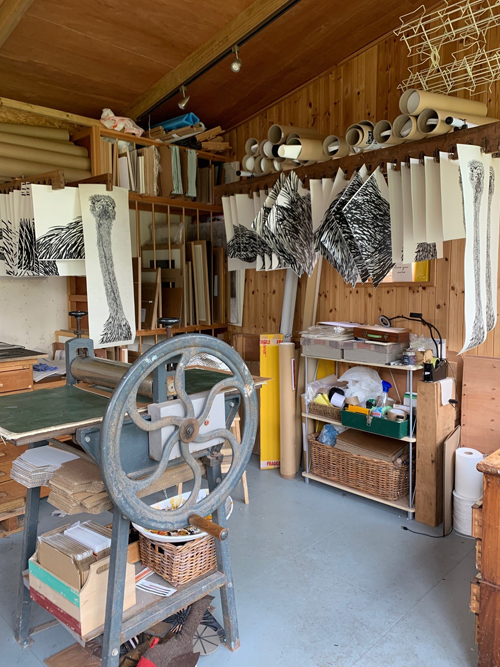
Where do you work?
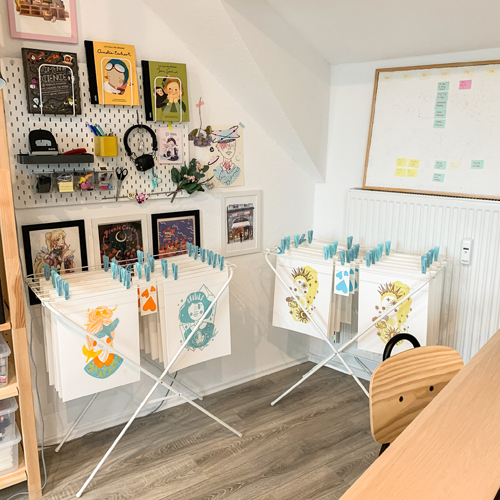
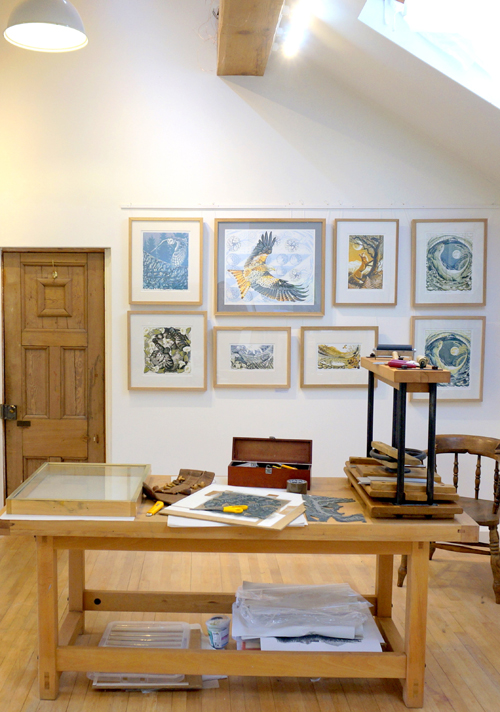
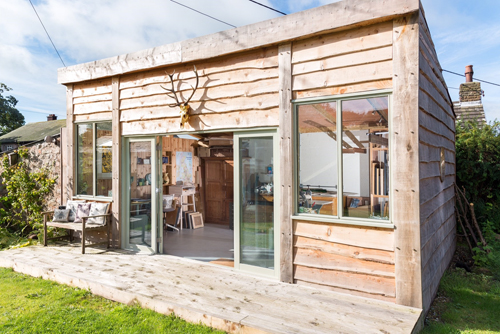
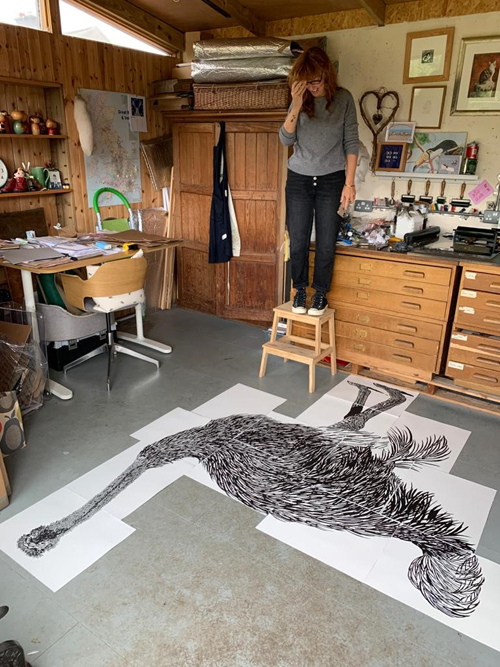
I’m lucky that the cottage I live in has an extension on one side that I’ve taken over as a studio. It is in Llangattock (near Crickhowell) in the Brecon Beacons.
Describe a typical day in your studio.
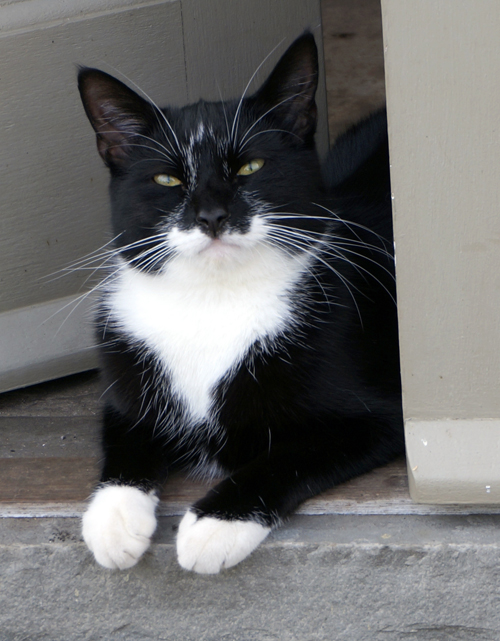
Tea! …work…and the occasional bacon roll…and the
cat demanding food.
How long have you been printmaking?
Serious printmaking took a long break of over 30 years while I worked in a Welsh secondary school just outside Merthyr. I’ve only been back printing and painting for myself since 2017. I did a couple of prints that year and a painting and was lucky enough to get into the Natural Eye Exhibition in the Mall Gallery.
What inspires you?
I’ve always been drawn to the quirky and unusual but I’ve found myself more immersed in and inspired by the local environment recently. It is beautiful here and I’m very lucky. The animals and scenery are fantastic. My inspiration for new prints usually comes from seeing an animal in a certain situation. All of my prints are based on real sightings. The animals are in the environment in which I saw them. Additionally, I try to portray them as if I’m there with them, their size, in that place, not just an outsider observing.
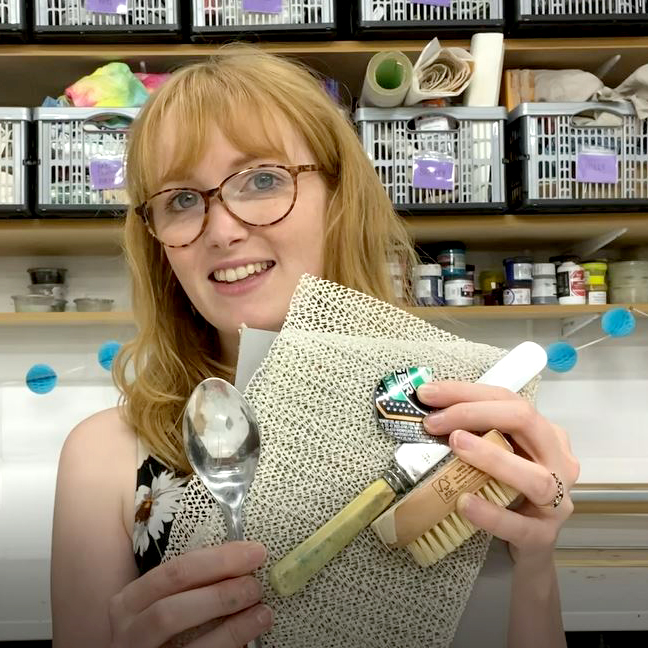
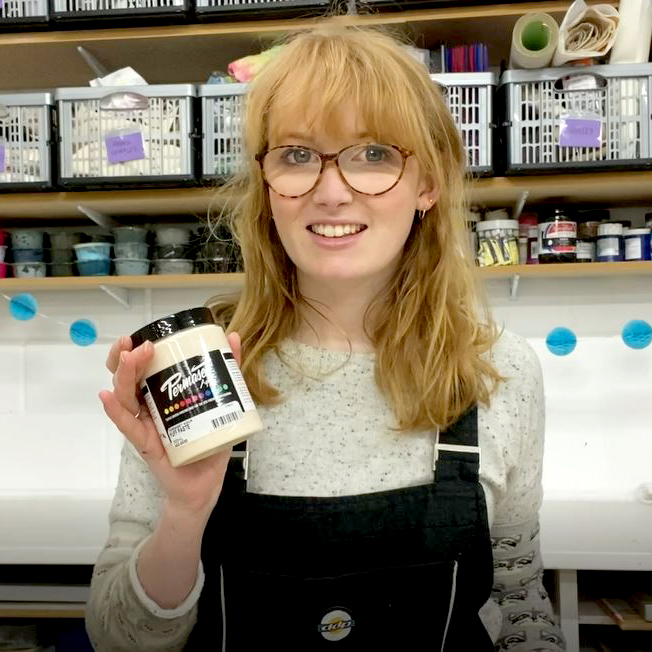
What is your favourite printmaking product?
As you well know, printmaking materials are
brilliant! You could spend a fortune on new swish stuff. I was an art teacher for a long time. With that
territory goes making do with very little, we were so underfunded at times; we
were getting materials out of skips. I can feel a rant about society/government
neglect of the Arts coming on!
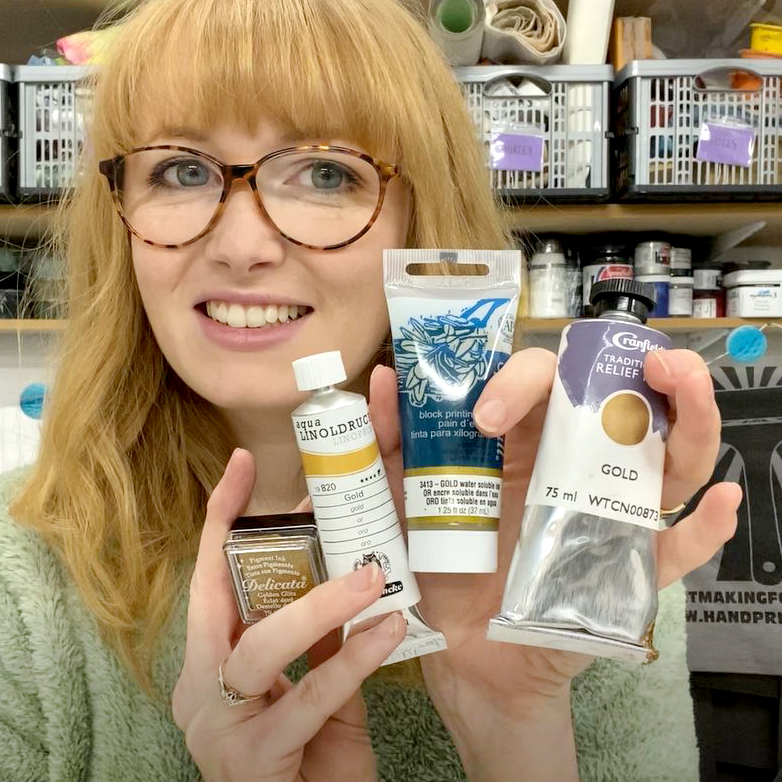
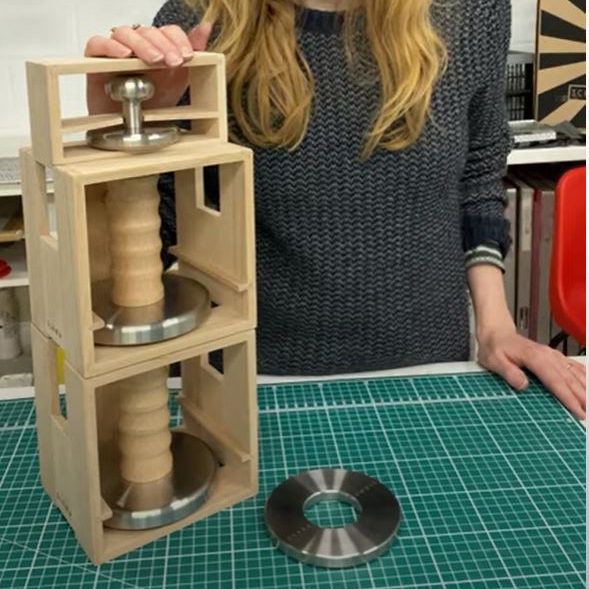
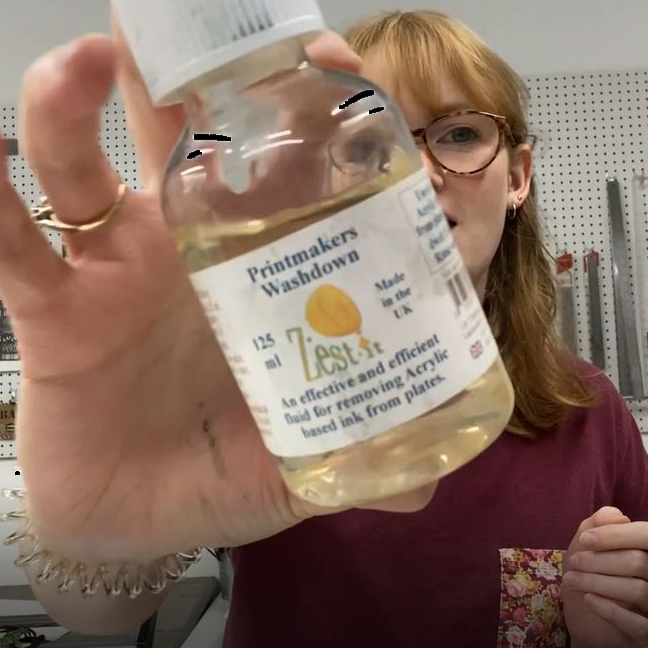
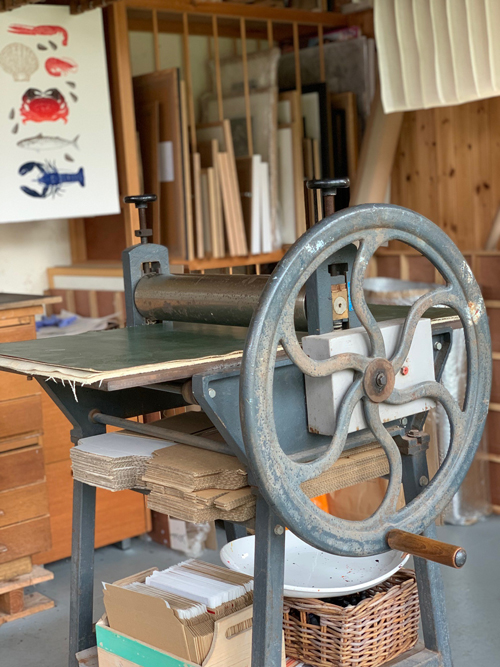
Now if I am to sell work, it has to be made of the best material and as of as high quality as possible. I’ve recently bought a SLÁMA Press, which is great. I don’t use it to print on its own (although it is perfectly able to do so on small to medium prints). I use it to ‘finish’ prints that I’ve put through the press and I know are going to be slightly uneven in a few places. My ‘go to’ inks are Cranfield Caligo Safewash but I also use (and mix in) their traditional colours, if there isn’t a Safewash equivalent. I’ve never had a problem mixing types and I mostly clean up with safe solvent, so it’s not a problem. I’ve not found a better paper for my style of work than Somerset Satin 300gsm.
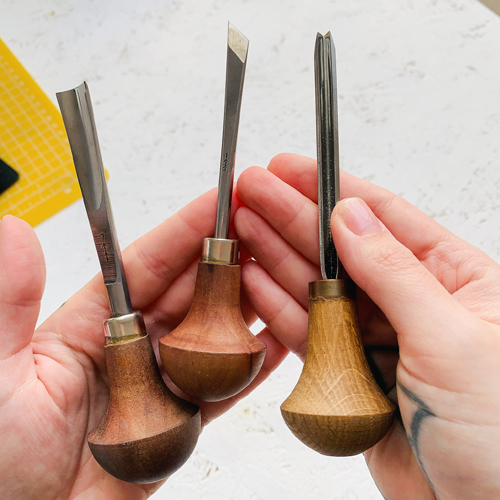
I find Pfeil tools are the best new tools to buy. I have a mix of new and some finer old second-hand tools.
What have you made that you are most proud of?
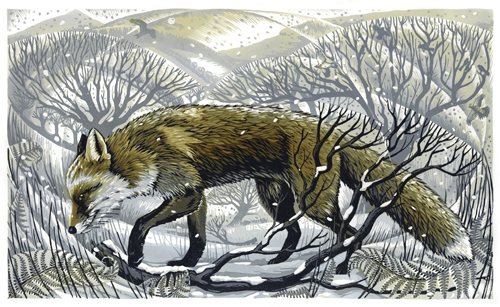
It changes. The Winter Fox print that has just been published as a greetings card is a current favourite. It was a struggle to print originally. Now I wish I’d printed a bigger edition but it was as much as I could manage at the time.
The other fox print ‘Vulpecula’ and the ‘Golden
Morning Hares’ are up there as well, along with ‘Between Snow Showers’ which is
an RHS Christmas card this year.
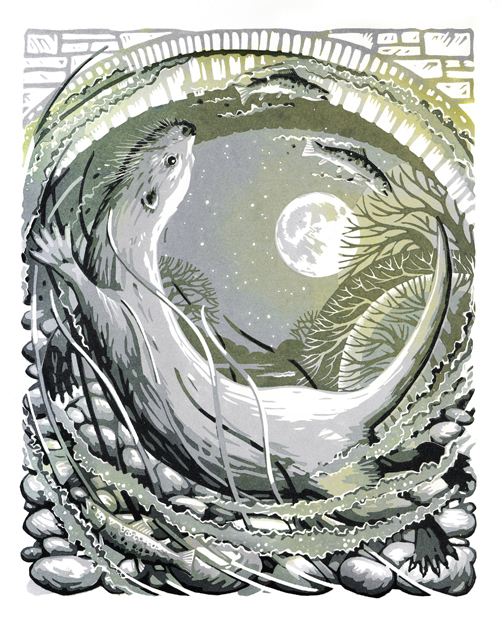
My first real success and the print that started to
set a style for me was the ‘Otter Moon’.
Where can we see your work? Where do you sell?
The logistics and costs of sending work to London galleries have put me off lately, along with the pandemic. I’ve been so lucky to have a few brilliant galleries close by who have shown my work from the start (especially CRiC in Crickhowell).
Facebook and Instagram are good ways for me to show what I’m working on. I have a shop connected to my website.
I keep a blog, which when I remember to write, I try to talk about the things I make (and how) in more depth.
Art Angels Publishers have used images from several of my prints now as greetings cards (available in all good card shops and galleries!). That’s a thrill to see and each one is also a good advert, out there in the world, for my work.
I’m currently getting work together and framed for a big exhibition in Cumbria at Rheged. Great Print 7. From early December into the New Year.
What will we be seeing from you next?
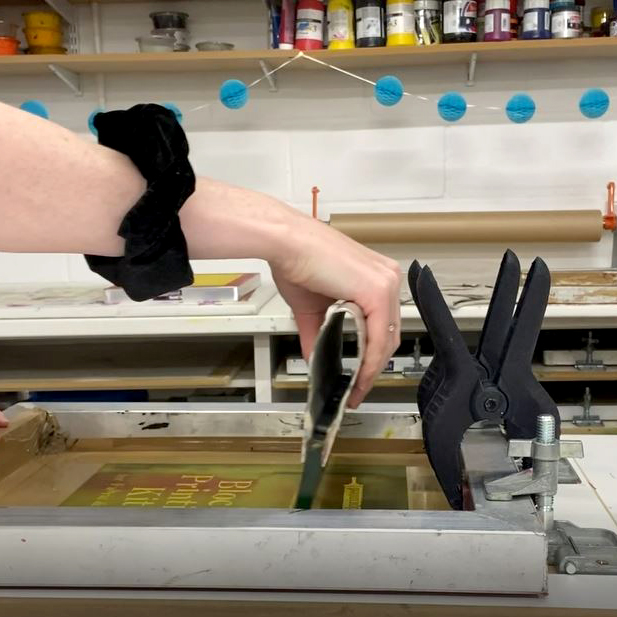
I’ve recently started using a Gunning press. I’ve
been finding the ‘grunt’ needed to print a large edition of a large print on a
book press very hard work. I’m developing two large linocut print designs and
one of them should be completed before Christmas. That should make six finished
prints this year, a record for me.
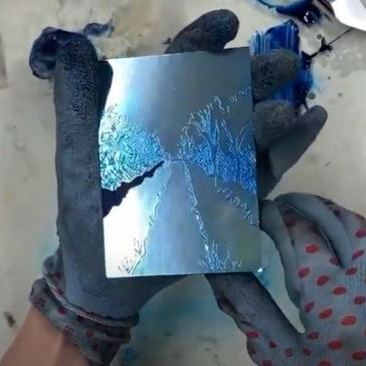
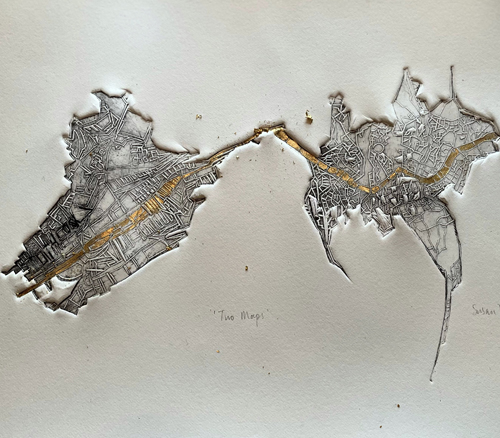
I’ve also been experimenting with some intaglio collagraph using carborundum etc. I’m hoping to reflect some of my softer painted work into my prints.
Do you have any advice for other printmakers and creatives?
The technique is secondary to what you want to say. Everyone has something that makes them an individual, express it and enjoy it.
This might be controversial to some! Please don’t
just reproduce photographs. Make sure there is a human evident in the process
and final image. 26 layer reduction prints from photographs may look great but
are pretty soulless (I may get hate mail).
Everyone can draw and paint! Practice will make you better and the rest is just your style, it’s what makes you interesting.
To see more from Martin, follow him on Instagram and check out his website.