This new Japanese Transparent Stamp Carving Block enables you to carve your design and bake it in the oven until it appears clear. Clear stamps are so handy as they let you see where you’re printing! This is great for repeat patterns, accurate registration, multi-colour designs and lots more.
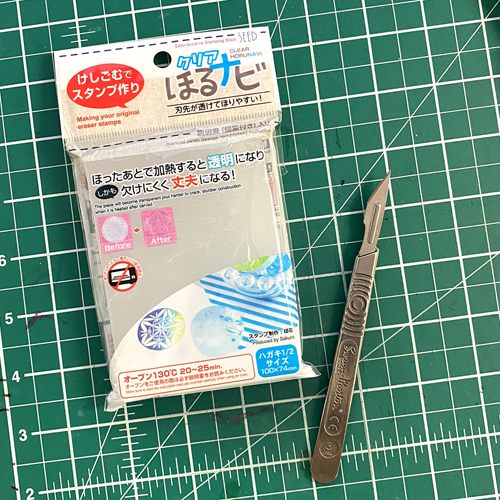
Begin by tracing your design onto the block – there’s a sheet of tracing paper included with the stamp.
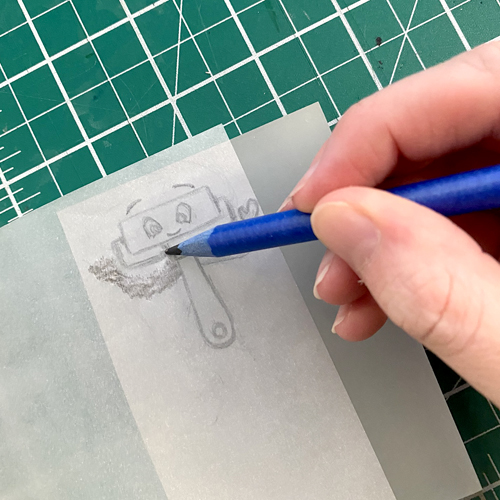
You can firm up any lines with a pencil so they’re nice and clear. We also used the edge of the pencil to gently shade over the drawing, making it easier to see where we’ve carved. The block isn’t transparent at first, but will be baked in the oven until it turns clear later.
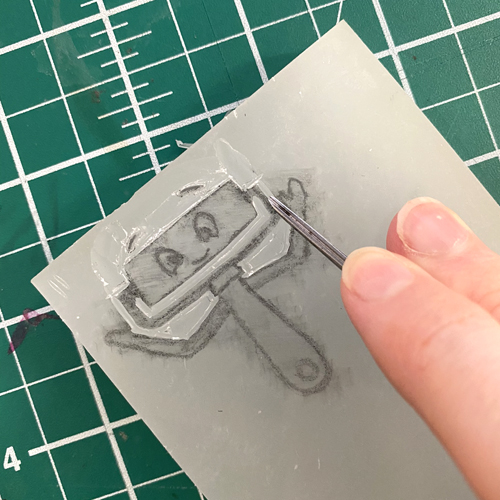
Use a lino cutting tool or scalpel to carve the design. We used a Pfeil 12/0.5 Tool for the tiny detail here.
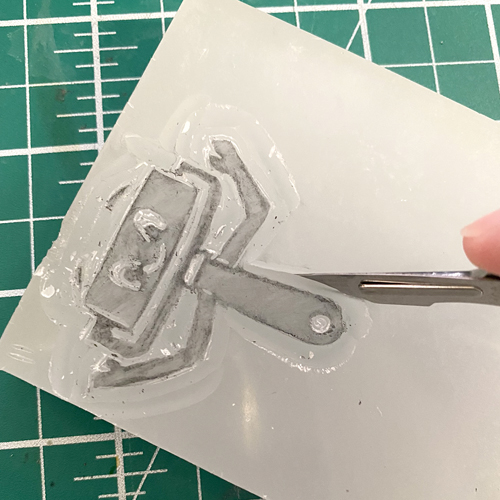
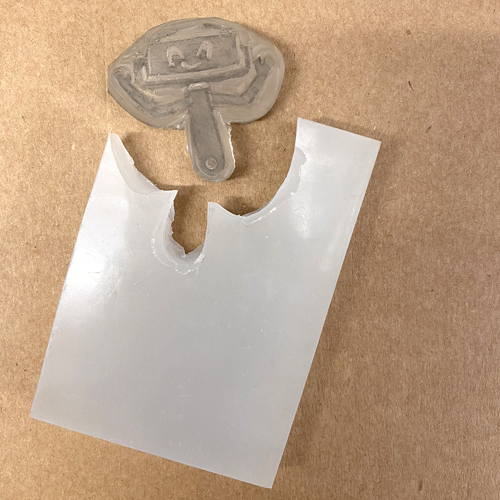
When the design is carved, cut it out using a scalpel or craft knife. It may be best to cut in a loose shape around the design rather than up to the edge, as it will be less fiddly to cut and create a more sturdy finished stamp.
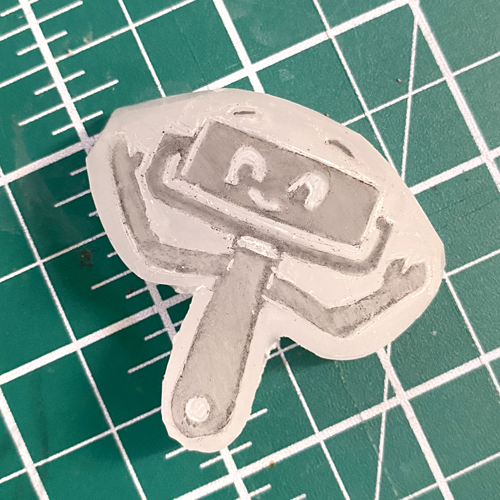
When the stamp is carved it needs to be baked in the oven to make it transparent. Place it on a baking tray and bake for 20-25 minutes (or until it turns clear) at 130’C. Leave it to cool before picking up from the tray.
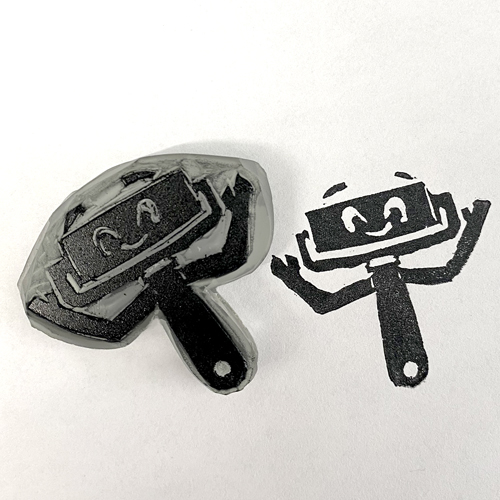
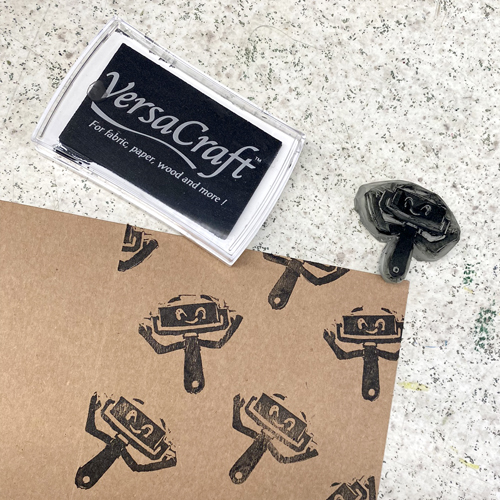
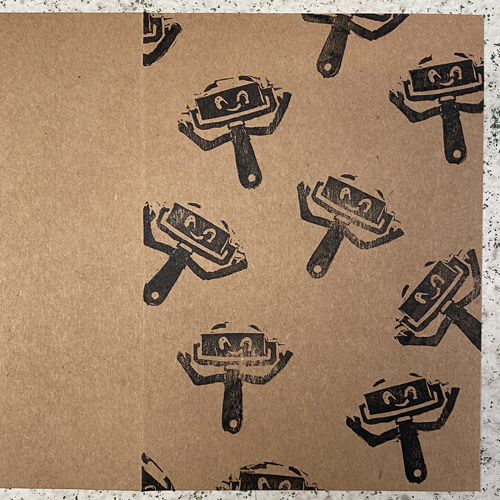
Once cooled, you can print with your new stamp! We are using a Versacraft Ink Pad in black to print onto cards. You can also print onto fabric with these ink pads.
For this project you will need:
- Japanese Transparent Stamp Carving Block
- Tracing paper (included with the stamp block)
- Pencil
- Cutting Tools
- Scalpel or craft knife
- Oven
- Baking Tray
- Versacraft Ink Pad
- Something to print on (like these cards)
