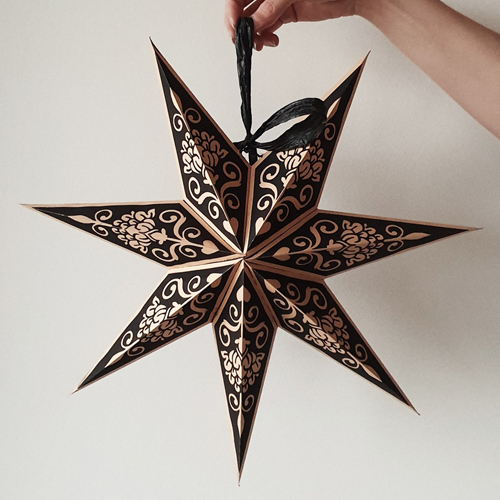
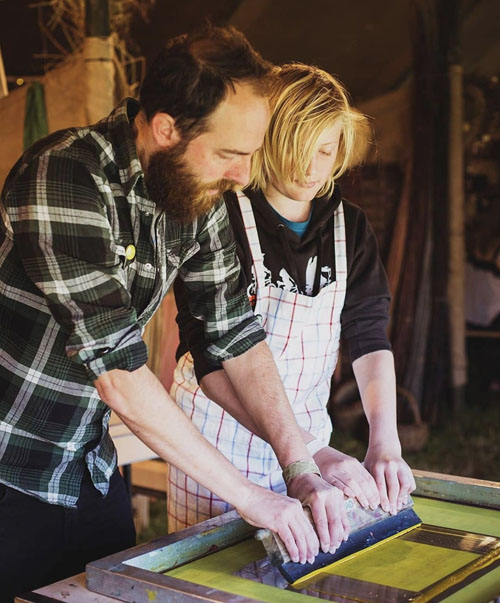
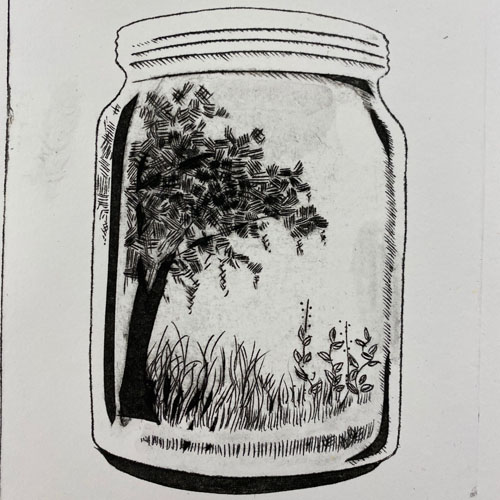
We love printing with lino onto fabric – it can take your designs into loads of fun new places like t-shirts, homewares and bags!
Back in 2016 we wrote a blog post about how to block print onto fabric and it’s still one of our most popular posts ever! Since then, we’re continued to refine our methods and materials and are now bringing you an updated look at lino printing onto fabric.
Below we look at our four choices of ink for lino printing onto fabric.
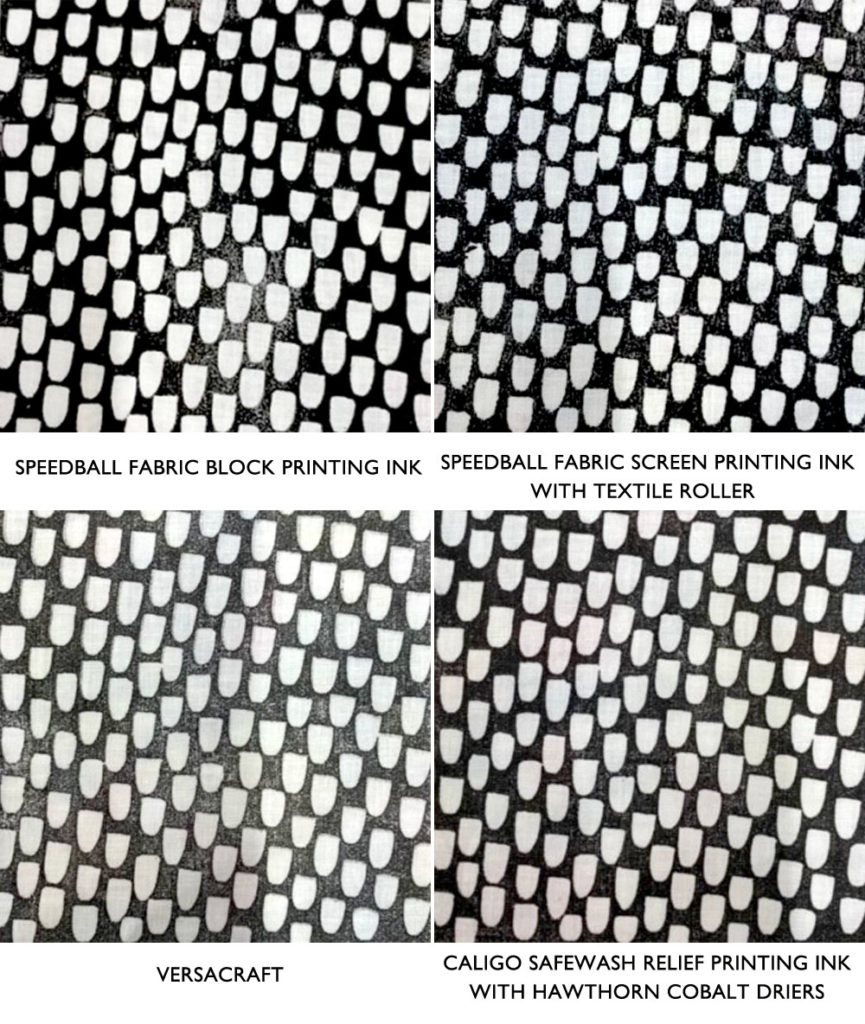
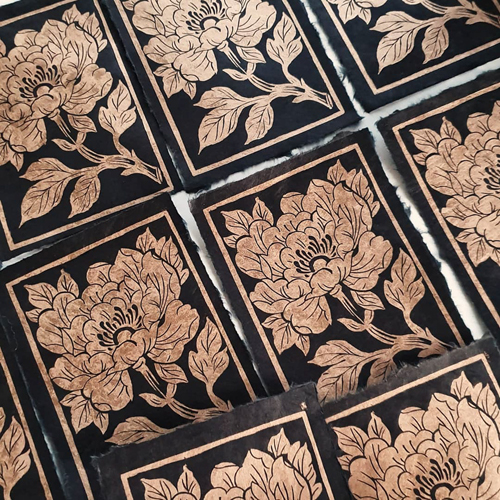
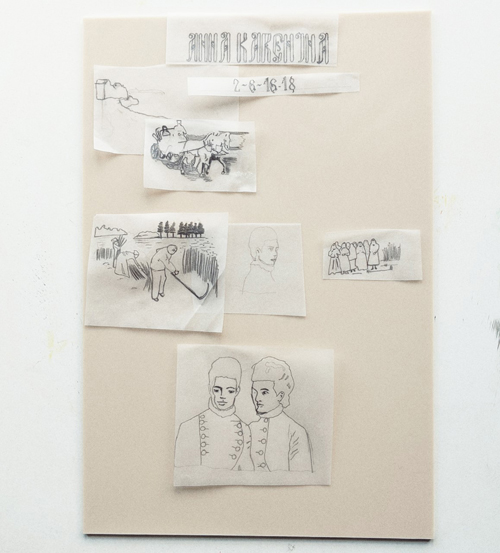
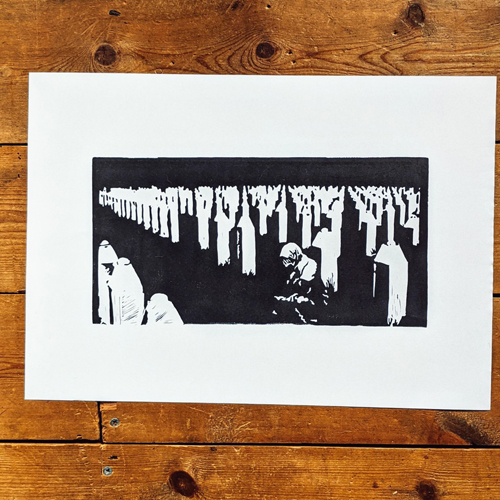
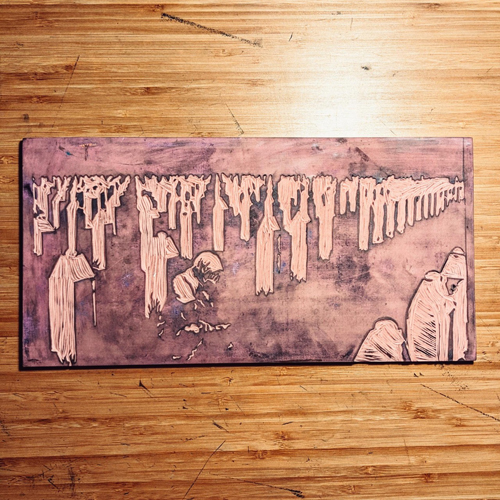
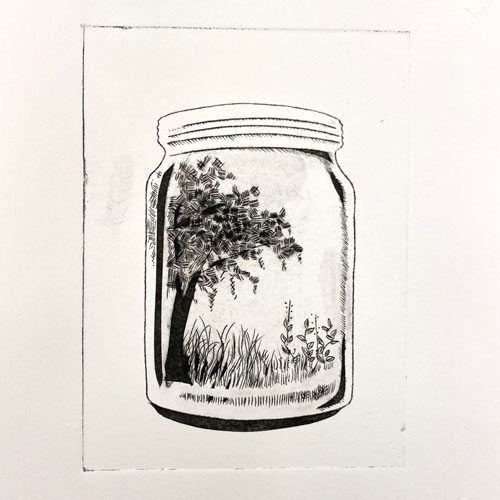
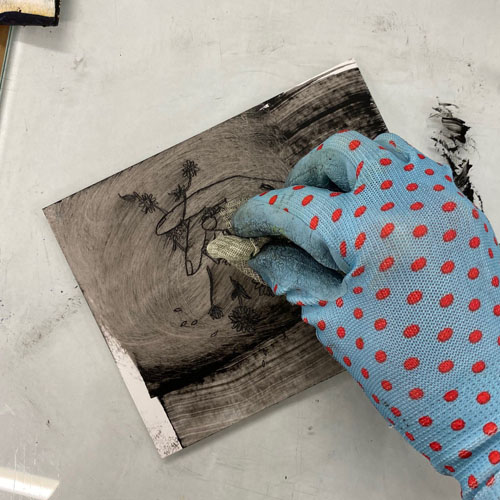
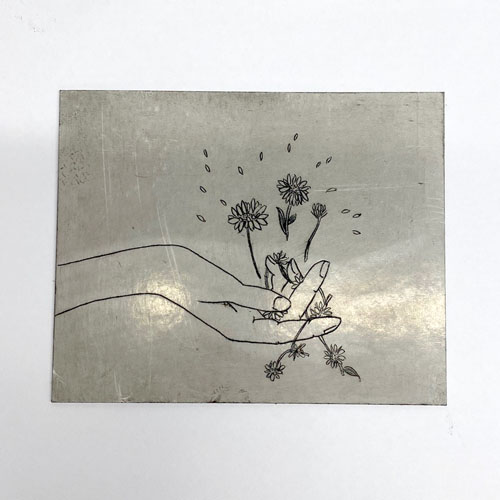
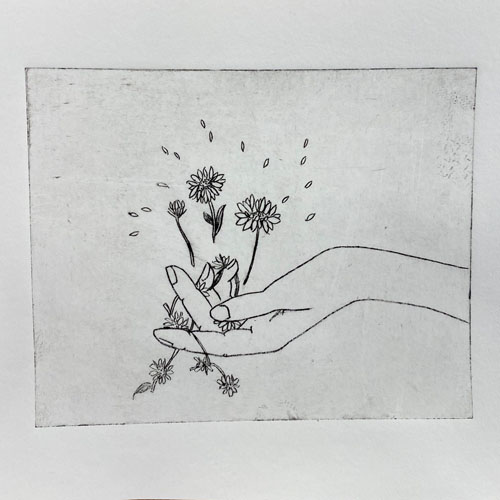
Each print was taken from the same traditional lino block, printed onto cotton which was pinned down onto a padded surface. Printing onto a padded surface is a great way of ensuring your fabric prints are even.
Each print was washed in a 30′ wash one week after printing. Each type of ink showed good washability with very little fading. When printing onto fabric with any ink, test prints and test washes are recommended before embarking upon a large project.
See the chart below for a summary of our findings or read on for more details:
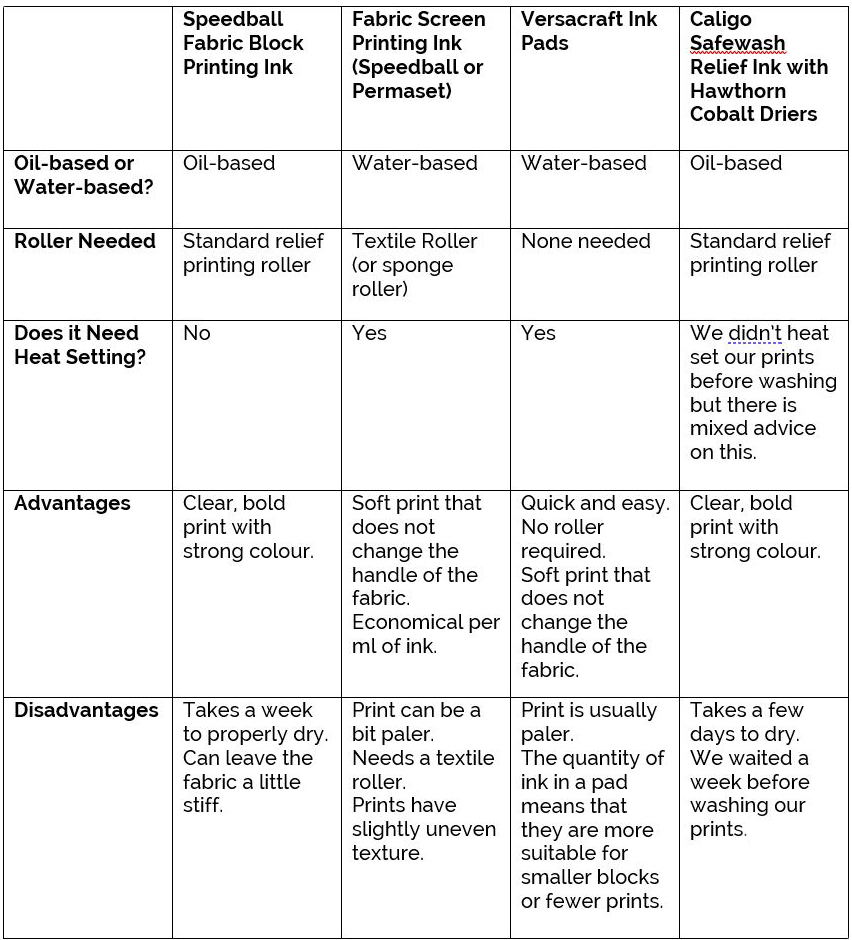
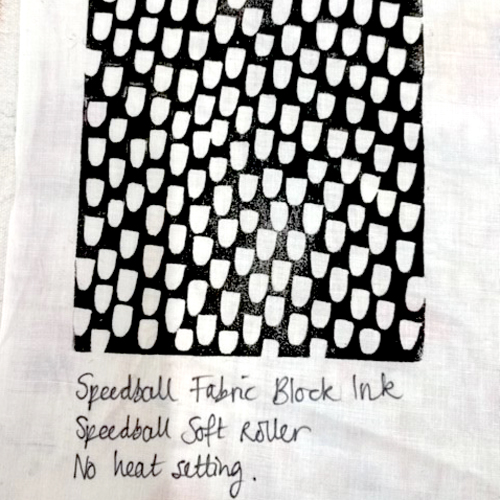
Speedball Fabric Block Printing Ink
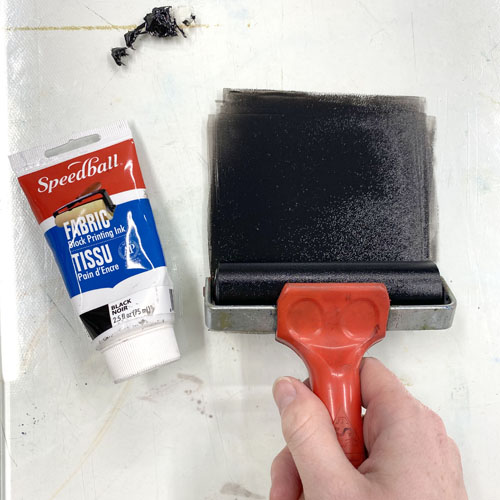
Speedball Fabric Block Printing Ink is an oil-based ink. It’s water-washable so can be cleaned up with soap and water. It comes in two sizes with a wide range of colours to choose from.
The prints are bold and strong with crisp edges. The prints leave the fabric feeling very slightly stiff.
This ink should be used with a standard inking roller. We found that a slightly softer rubber roller (such as this Speedball Roller) produced better results than a very hard one.
The ink takes about a week to air-dry – no heat setting. After a week, the prints can be washed in cool water with a mild detergent.
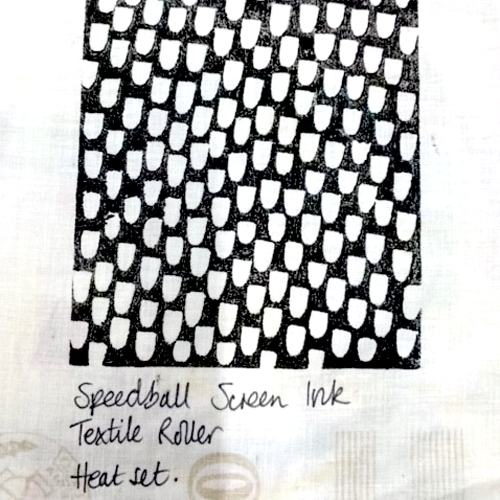
Fabric Screen Printing Ink
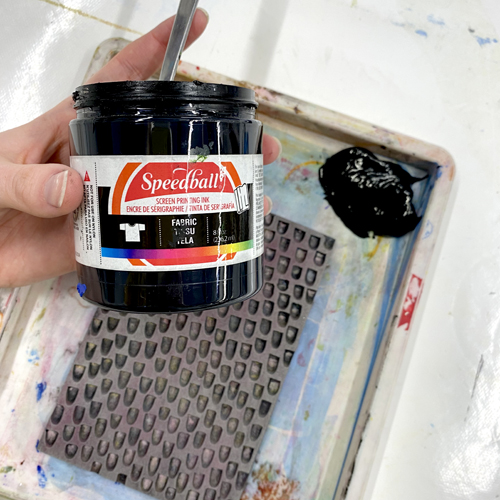
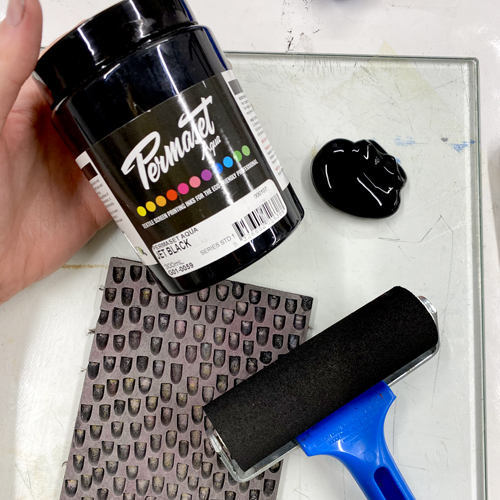
Using Fabric Screen Printing Inks for lino printing onto fabric is one of our favourite methods. The ink leaves the fabric feeling really soft.
We like to use both Speedball Fabric Screen Printing Ink and Permaset Aqua Textile Ink. The consistency of the different colours tends to vary so some may prints stronger than others. We wouldn’t recommend using inks mixed yourself from pigment and binder as the colours tend to come out weaker and the consistency is trickier to use for block printing.
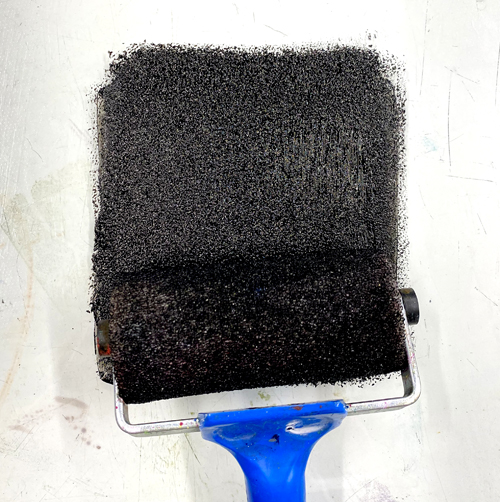
Standard relief rollers won’t work well with screen printing inks and they’re too slippery. A Textile Roller is perfect as it has a little grip for rolling the ink evenly but it’s not absorbent so won’t waste a lot of ink of cause blobs.
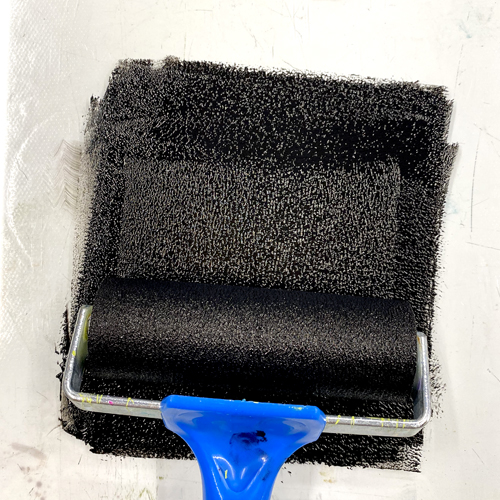
A Sponge Roller can also be used (see below) but the texture is more bubbly and it’s more likely to pick up noise from the carved areas of your block.
Prints made using screen printing inks tend to be a little more textured than those made with block printing ink. However, screen printing ink is more economical (once you’ve bought a separate roller!) per ml of ink compared to block printing ink.
Versacraft Ink Pads
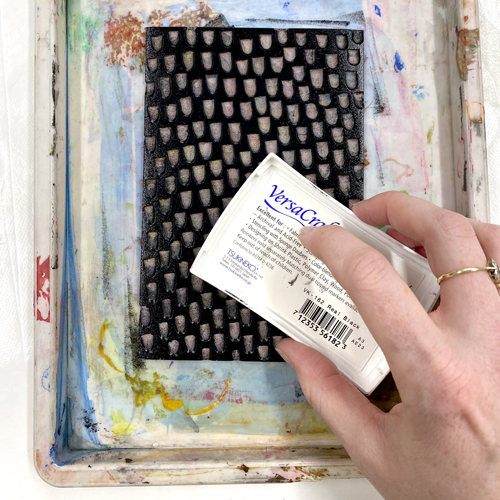
Using Versacraft Ink Pads eliminates the need for any rollers at all. The blocks can be loaded up by dabbing them all over the surface – you can even use the small ones.
Versacraft prints on fabric are very soft and can be heat set to be washable.
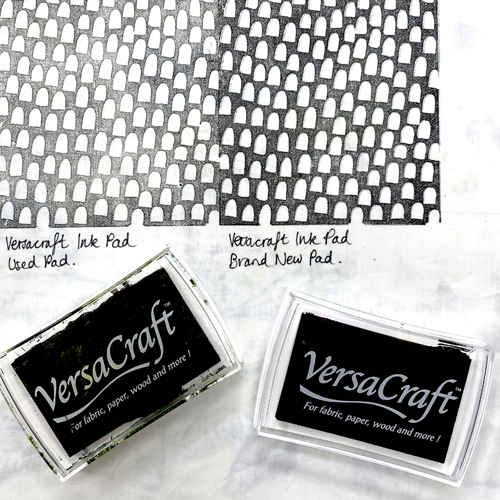
Prints made from ink pads tended to be paler than the other methods we tested. The prints have a slightly more faded look. The ink pads also print paler and paler the longer you use them as the ink runs out. Below, you can see where an older ink pad has been used on the left and a new pad on the right.
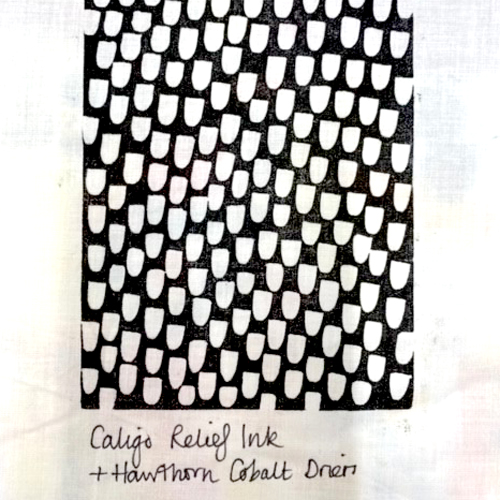
Caligo Safewash Relief Printing Ink
Caligo Safewash Relief Ink is an oil-based block printing ink that can be cleaned up with soap and water. It is designed for printing onto paper but has had success on fabric too! Cobalt Driers needs to be added (just a tiny drop) to help with drying ability.
It is used with a standard roller and the prints are crisp and bold. However, it can take several days for the ink to dry fully.