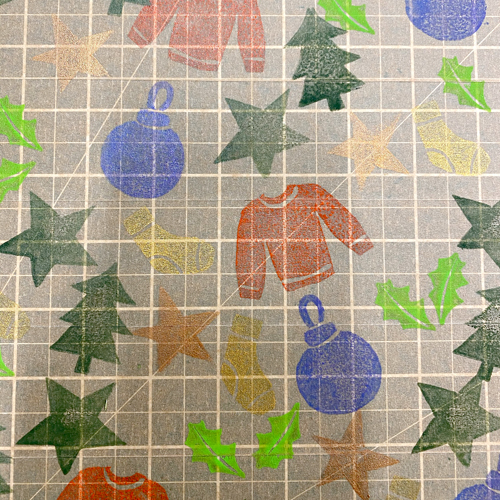
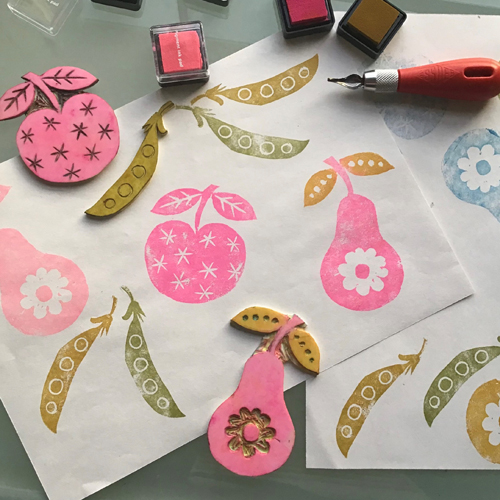
When printing wrapping paper is a task too mammoth to tackle, why not print your tape instead? Versacraft Ink Pads and Delicata Metallic Ink pads can be used to print onto paper parcel tape to add some festive fun to your gifts! This is a great project for children once an adult has carved the stamps.
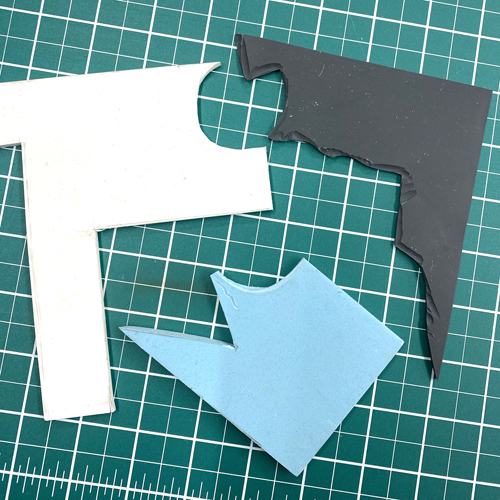
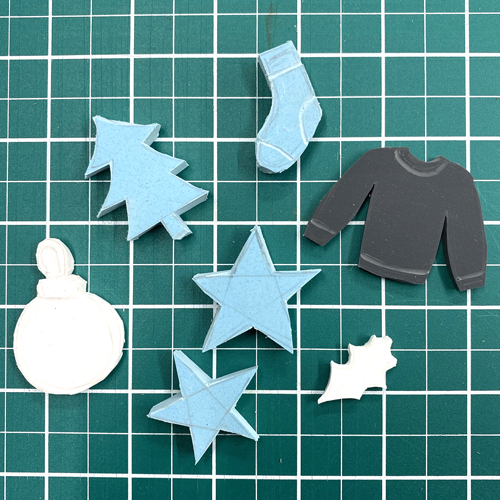
For this project, we are using scraps and offcuts from our different stamp carving and linocut blocks. Any type of soft block will work well (but not traditional lino as it’s too tricky to cut up with a scalpel). We have offcuts of Mastercut, Speedy Cut and Easy Carve.
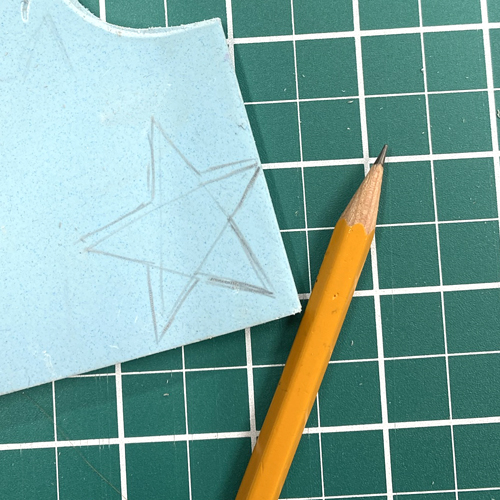
Use a pencil to sketch Christmassy shapes onto the scraps of the blocks.
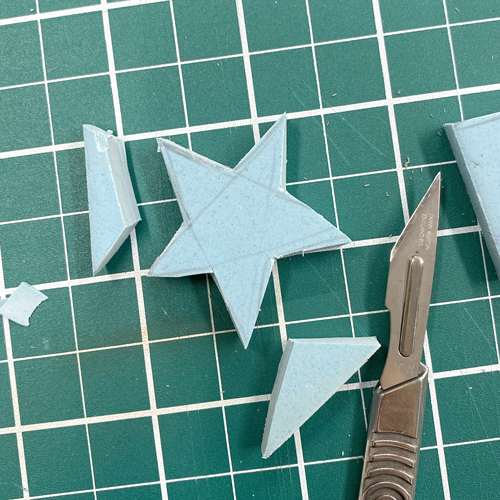
Use a scalpel or craft knife to cut out the motifs. Try not to press too hard – you may need to go through the material in a few cuts to get all the way through safely.
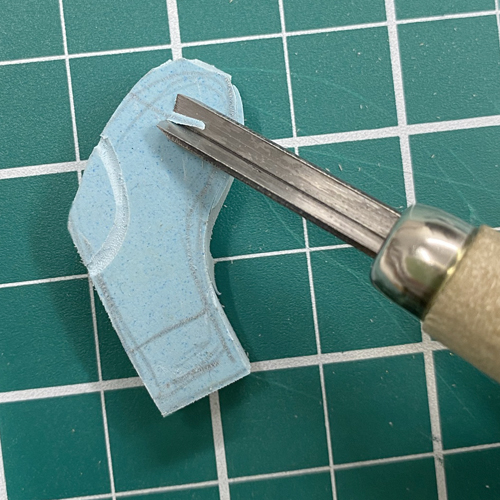
If you would like to, use lino cutting tools to add detail to the stamps.
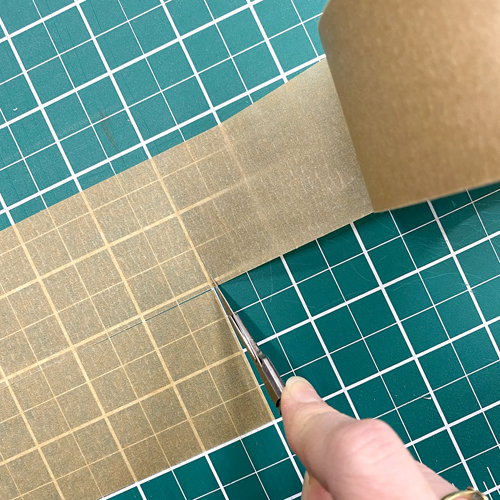
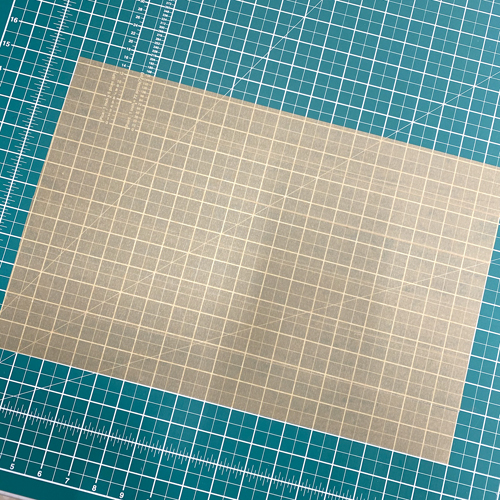
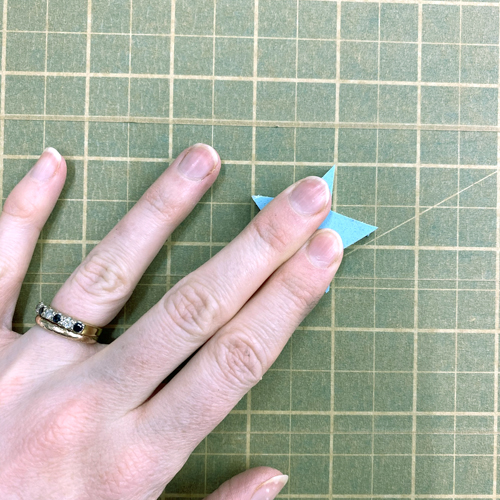
You can stack your strips above one another to create a block of tape for quicker and easier printing.
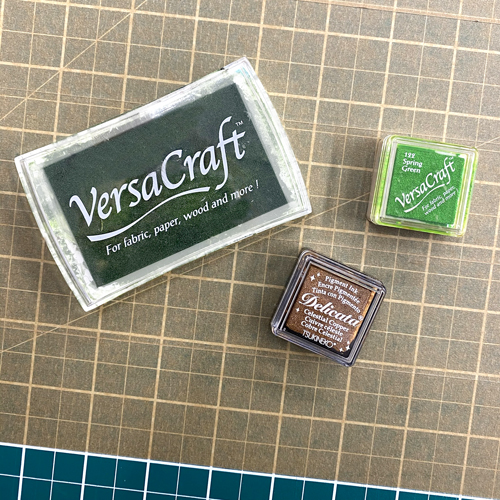
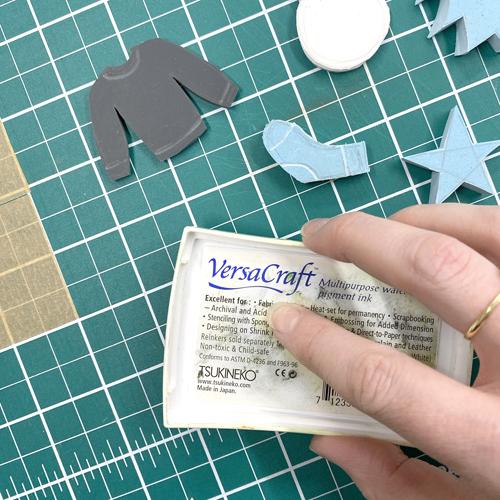
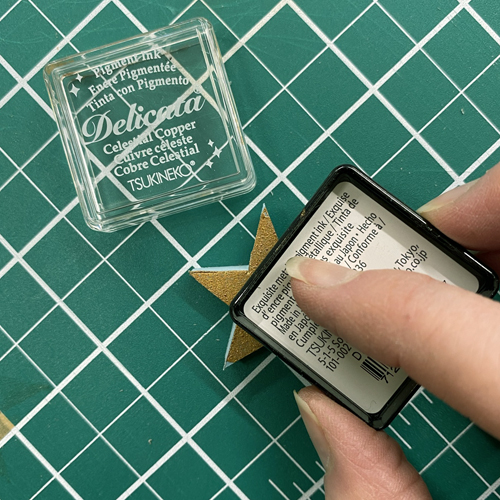
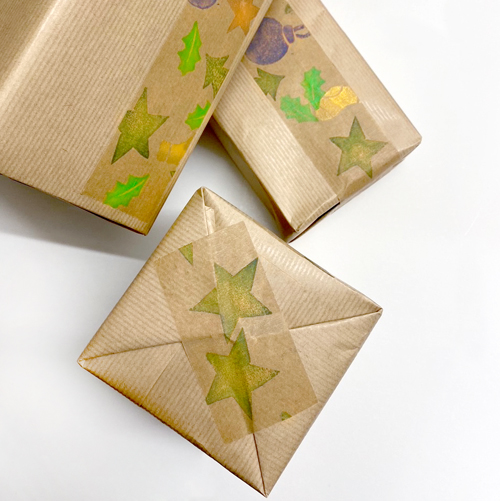
You can print onto paper parcel tape using Versacraft (big or small ink pads) or Delicata Metallic Ink Pads. (Please note that Versafine Ink Pads will not dry on the tape as it’s not absorbent.) It’s a good idea to test your ink pads and tape together before starting a big project as the drying time may vary.
Ink up the stamps by dabbing the ink pad over the top until it is evenly covered. Try not to get the stamp too wet as it will take much longer to dry on the tape.
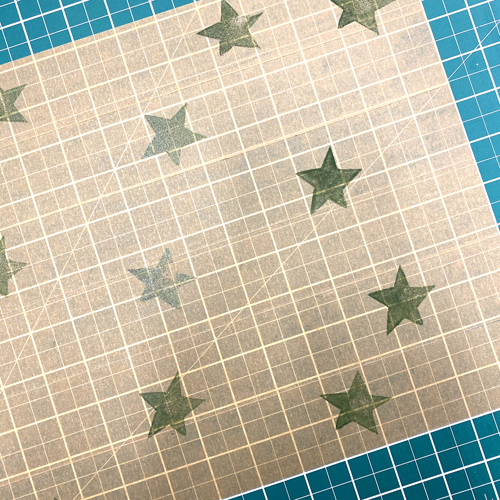
Add as many stamps in as many colours as you like! Leave the tape to dry – this can take anywhere from few minutes to a few hours depending on the thickness of the ink applied.
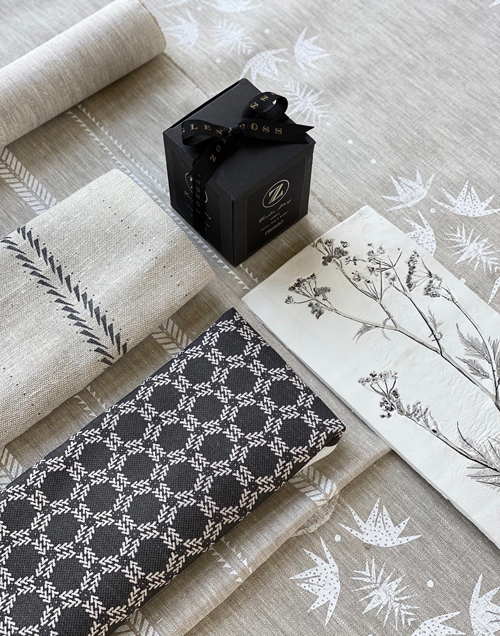
I’m a print designer for interiors fabric. I have designed fabric, wallpaper and homewares collections, now selling online and through UK trade stockists. We are also just beginning to work with the U.S, which is exciting! I came to printing later in life having worked in retail, marketing and sales previously so it was something that began as a hobby, quickly became a passion and then to my surprise has since become a full time job, business and brand!
Describe your printmaking process.
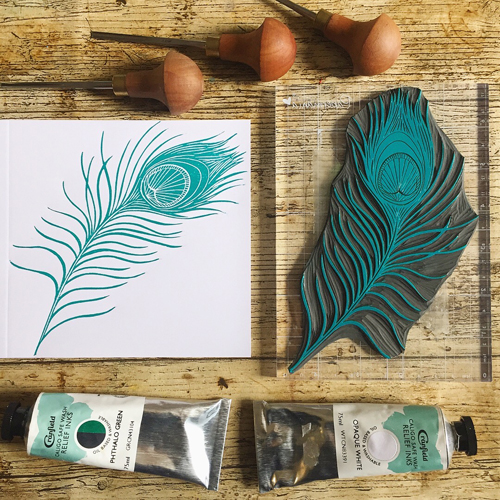
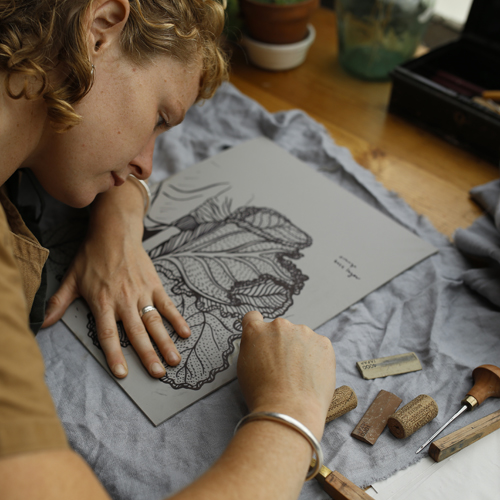
I mainly either use lino carved or screen printing techniques to design. All my designs begin life as hand sketched drawings from which I then either carve the design into lino or make a silkscreen. I sketch in pencil on paper then rub the design onto lino from the back. I use the lines as a guide to carve out the design but it often looks a bit different at the end which I quite like! For my more delicate, detailed prints I hand draw in a thin black pen which I then use to expose my own screens. I then take my hand printed designs to my manufacturers who translate these designs into rotary screens with which to print on a large scale in production.
How and where did you learn to print?
My first taste of printmaking was on a course with fabric designer Vanessa Arbuthnott. It was a one day course and I fell in love with the craft immediately. I came home and said to my husband ‘I have to do this’. I went online and bought some basic lino, tools and fabric inks and set to work at the kitchen table. I then found someone local to teach me how to expose my own screens. It became a real passion and I essentially spent the following 3-4 months printing in my garage. I decided to try to design an interiors fabric collection as people seemed to want to buy some of my prints as individual pieces. Strangely I later found out from my mum that my Grandfather had been a printer with Sanderson fabrics for 40 years so perhaps it was always in the blood!
Why printmaking?
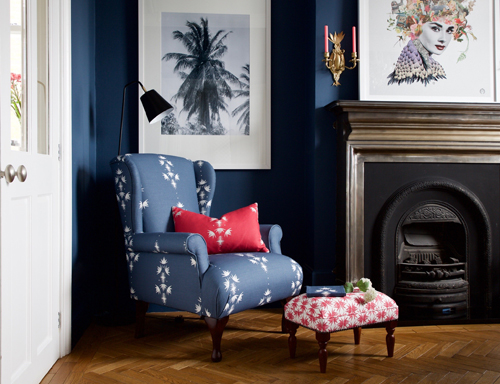
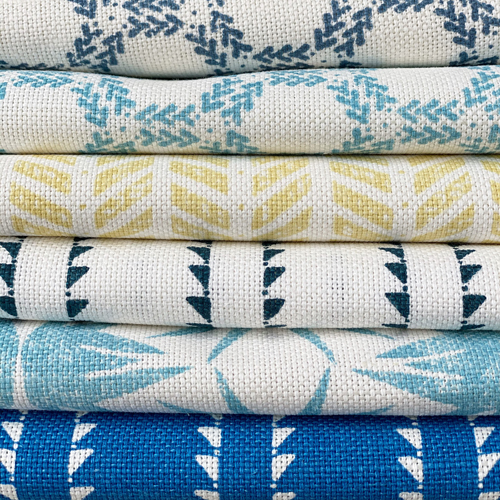
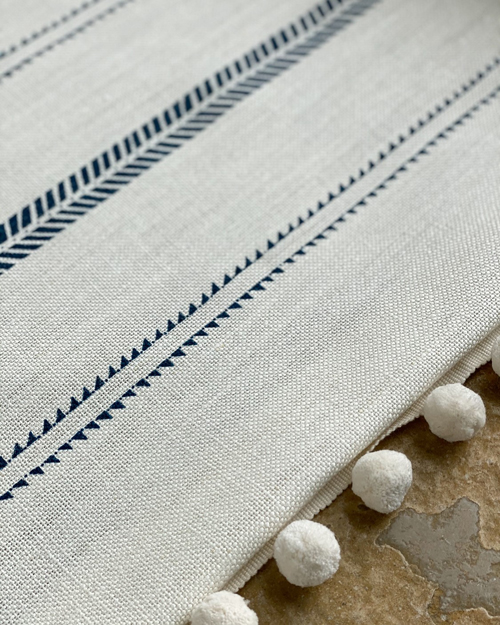
There’s something so satisfying about applying ink to the fabric. I love the unpredictability of how a design is going to look as a print on fabric. I love the imperfections you get printing on textured linens. It’s also great to be able to play around with colour mixing. I find that each time I handprint even the same design using the same screen the result can be a little different. It’s unique which I love! With fabric, it’s lovely because you can create a printed design that can be made into something as simple as a cushion cover and be added to your home. There is something so satisfying about this – creating something of your very own that is completely unique.
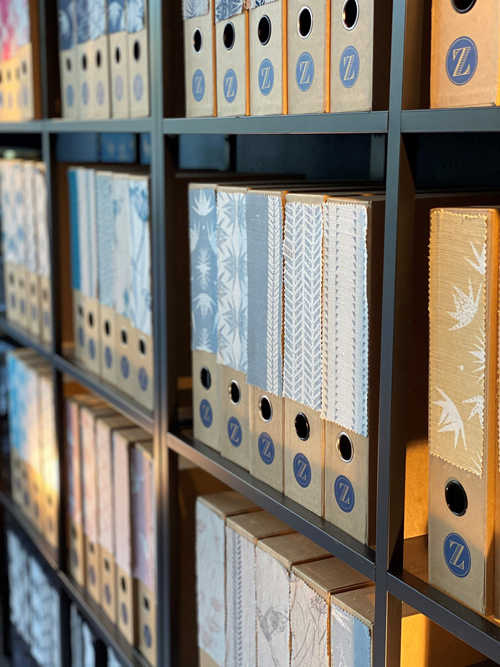
Where do you work?
I tend to design at home although as a business we now have an office/showroom in a local village which is nice as I get to separate work from home a little. That said I think when you’re a print designer you’re never really off duty. There’s always an inspiration to be taken from your surroundings whether that’s just from going on a country walk or whilst travelling. I sometimes just pick something from the hedgerows or take photos of a texture I see in stone or on the beach and try to create a print from it. I often take a sketch pad on holiday.
Describe a typical day in your studio.
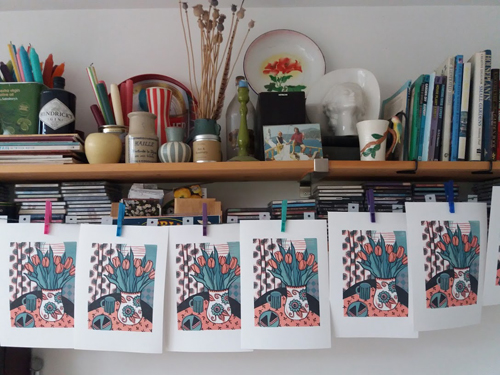
I wish I had a lovely studio – that’s a goal of mine. My kitchen table is my studio! I spent a lot of time printing in our garage but it’s quite dark and full of cobwebs. My designing takes place in bursts – either when I’m working on a new collection or the mood just takes me. Aside from this, I’m juggling running what has now become a very busy business. When I design I tend to put my music on loud, close all the doors, switch my phone off and get lost in my work. I love to get out my box of creative inspirational items – photos and sketches I may have done previously that I add to all the time, mix up my inks and gather some plain textured linen pieces to print on. I like to lay everything out on the floor and table and then focus on thinking about formulating my design from what’s around me. I tend to work quite quickly and spontaneously. When I design I’m always trying to think about how it might work in a full pattern across curtains and blinds, what kind of colours I’d like to print it in and which other designs would partner well with it. So for me, it’s a bigger picture process as I feel it’s important to design something that will work as part of an interior scheme rather than as a stand-alone piece of art.
How long have you been printmaking?
I started in 2014 and launched my business online in 2015!
What inspires you?
My surroundings, light, colour and texture. I love to travel and take a lot of
inspiration from this.
What is your favourite printmaking product?
Lino. I did some lino printing with my two boys during the lockdown and they loved it too – cuts like butter!
What have you made that you are most proud of?
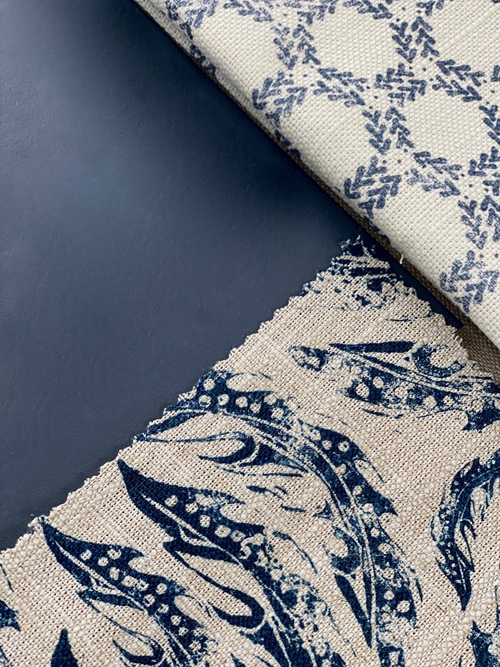
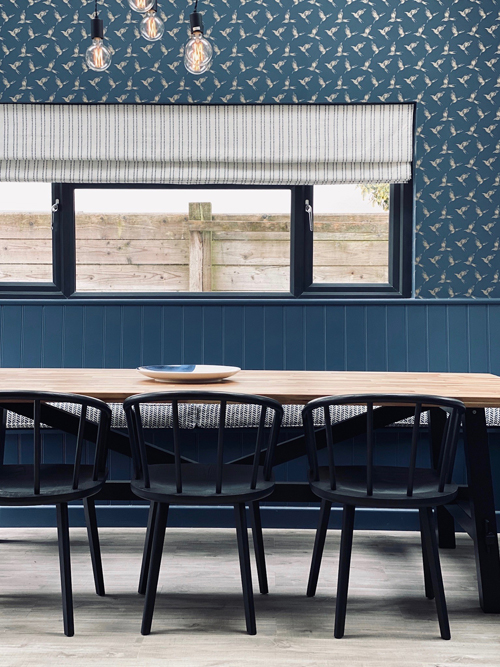
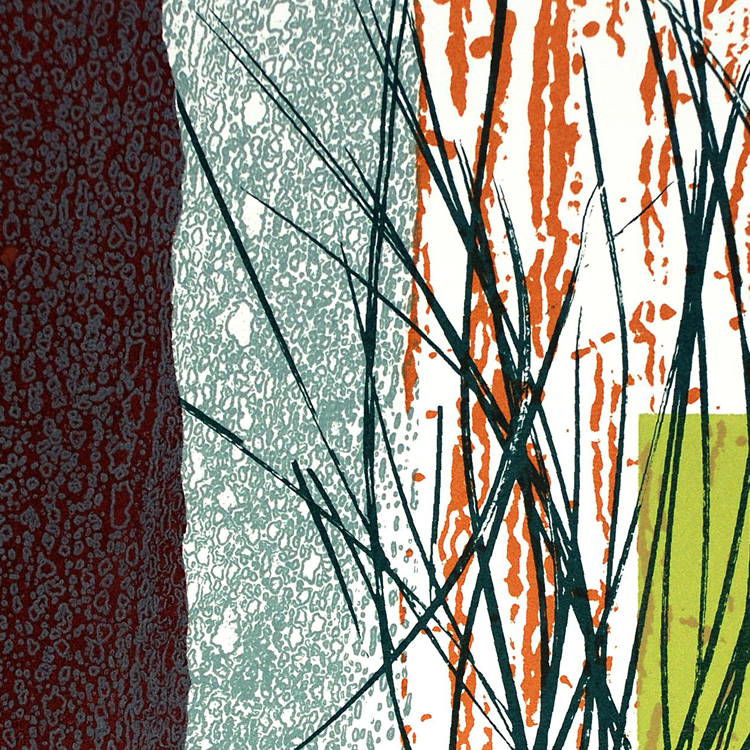
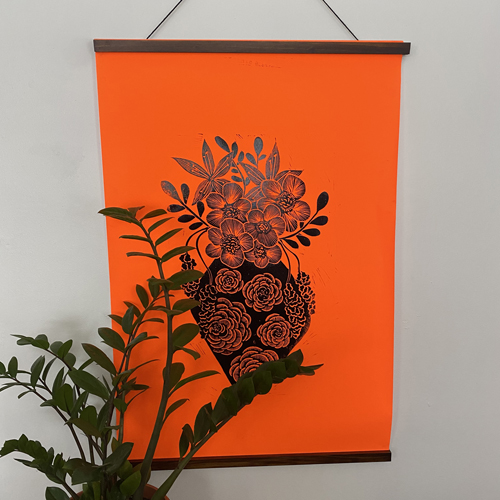
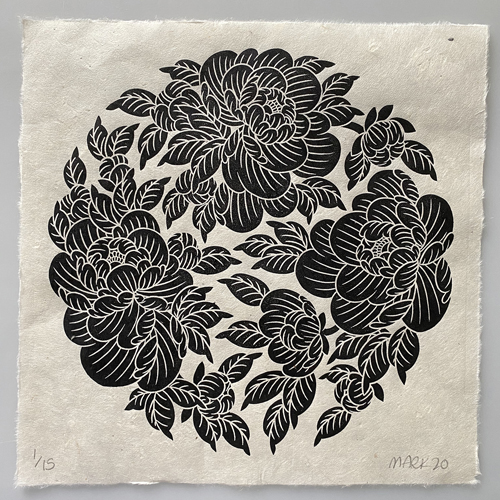
I suppose I’m most proud of my lino carved Bollin Bird design – it was one of the first designs I made and it continues to be so popular for curtains and blinds. I wanted to capture the movement, energy and flow that you feel when you see birds rather than a static image.
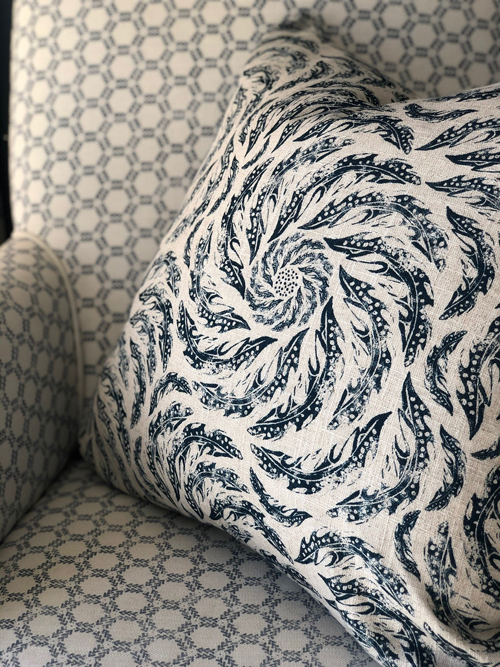
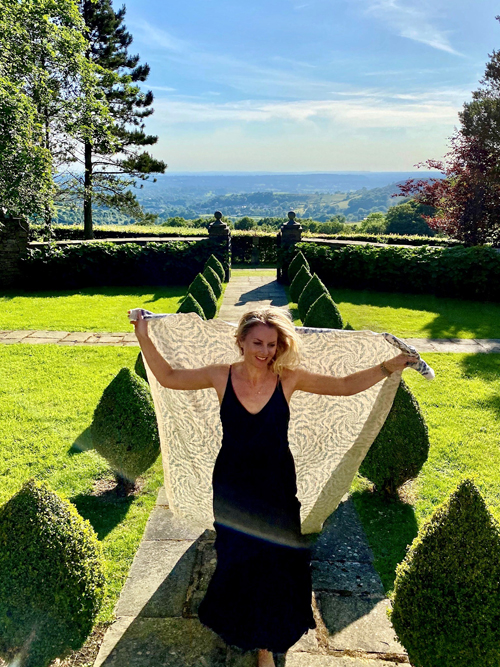
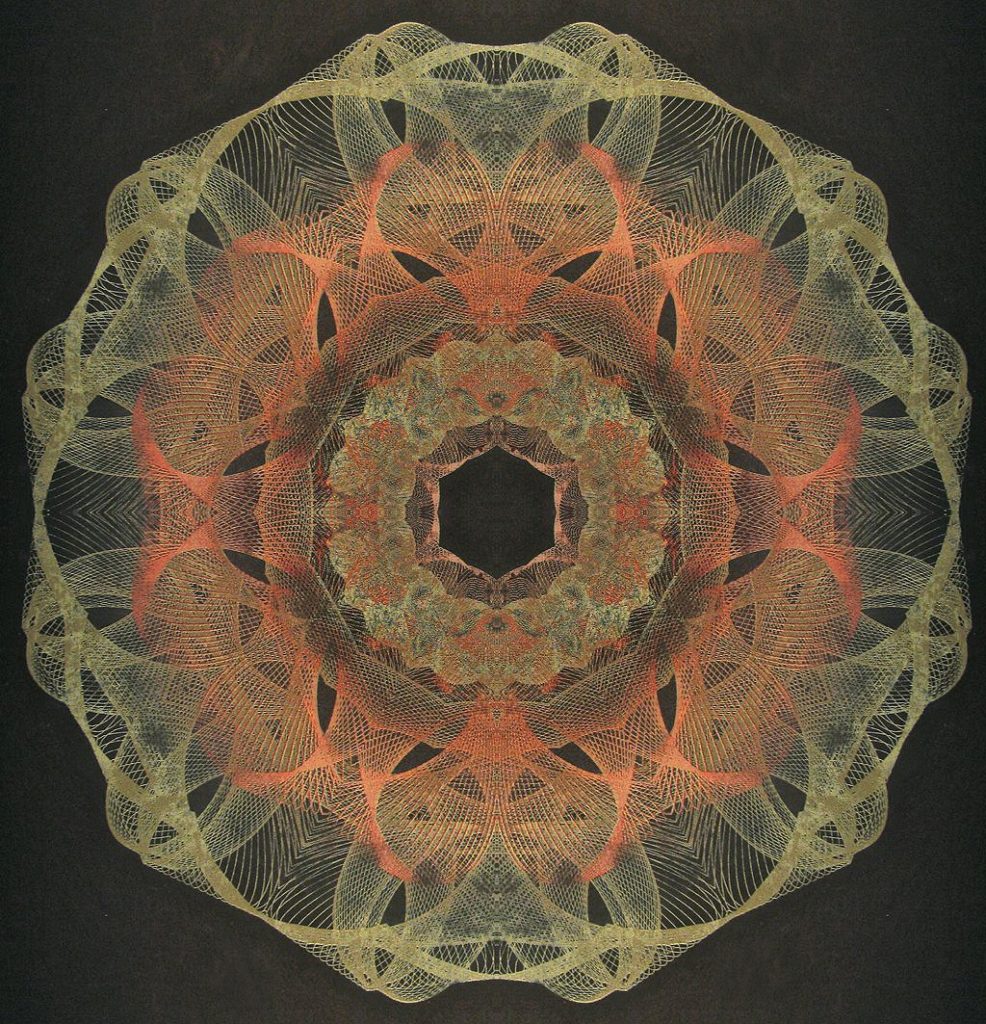
Also, I’m really proud of my Whirlwind design. This began life as a lino carved leaf print which I then photographed, printed out several times and played around with scale and layout to create an energetic, lively print that I think reflects the movement of the wind.
I’m adding some new designs over the coming months on a lovely new heavyweight linen. These are inspired by the elements and combine sketched designs and lino carved designs. They’ll be added to my Elements collection.
Do you have any advice for other printmakers and creatives?
I would try to create simple designs then think about how differently they work when you change their repeat layout, scale and positioning. I think using mixed media, blending traditional techniques with modern technology is the ultimate privilege as a designer. There are so many possibilities. It’s a beautiful craft. Don’t get too hung up on the precision if that’s ‘not you’ – go with what you enjoy!
We’d like to start the new year with a dose of joy and inspiration! We have had a wonderful selection of talented printmakers to keep us inspired over the last year via our Meet the Maker blog feature.
Here’s a round-up of all the artists featured last year. Get yourself a cup of tea, put your feet up and peruse through this showcase of work alongside some advice and rousing words our printmakers offer to fellow creatives:
“Don’t try and do too many different things. Concentrate your efforts on a couple of strong ideas or techniques follow them right through. This helps give your work consistency which is often what galleries and buyers want to see.”
“Be patient. Make prints that draw on your loves rather trying to make work following trends. Be nice. Have a master printmaker on hand for when everything turns to shit.*
* This may not be an option for many people but I highly recommend it. “
“Definitely experiment with ink! If it goes wrong you can just try again, some of our favourite and most popular makes have been using mixed colours or combining inks as they have a more unique/handmade appeal. “
“I would say don’t take yourself too seriously, enjoy the process and continue to learn. Instagram has a great and supportive community of printmakers and I have learned a lot from asking questions from printmakers that I follow.”
“Don’t be discouraged by failures or things not working as you’d hoped. Everything I’ve learnt has been a result of making mistakes! If you are struggling with any of the materials you have, try different ones – buy small amounts to try first to see if you like it. And ask advice from other printmakers, most happily share tips and advice.”
“My advice is to keep it simple and make work that interests you. Those not on Instagram I would recommend signing up as its a fabulous community and you generally get lots of good feedback and you will pick up lots of tips and tricks along the way.”
“I think the most important thing I’ve learned is to try everything and play as much as possible with what your working with – a lot of ideas I have don’t really work the first time, whether in concept or application, but there’s still a lot of value in going through that process. Often something that doesn’t quite work out will help me find the missing piece for some other idea or will be the start of a whole new thing that I hadn’t thought of yet.”
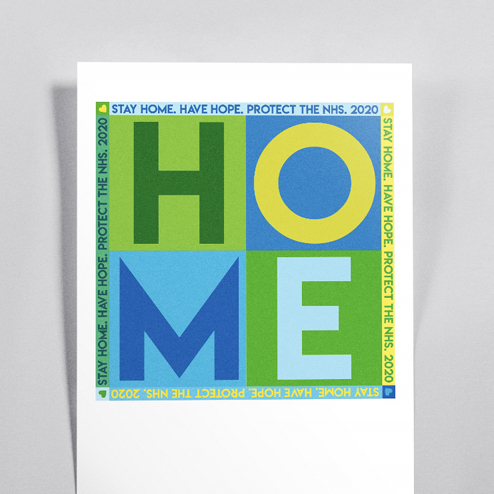
“Recently, like many other designers I’ve been massively inspired by the abundance of creativity across the country with rainbow illustrations, messages of hope and support for key workers pasted in windows forming street art galleries like we have never seen before.”
“Keep trying out new ideas or images and explore them with different processes; an image completed as a linocut may not be wholly successful, but as a drawn mono print it may be completely different.”
“Work on something every day, even if it’s just gathering a few supplies, that way you will be in contact with your creative self, to be kind to yourself when things don’t go well, and finally to avoid making things that other people like, but you are bored with! I have met so many printmakers who say “I love your approach but this is what I’m known for so have to stick with it”.”
“Don’t give up and always finish a print. It’s easy to be discouraged when things don’t worked out as planned but persevere and complete the print. Although you might achieve a different outcome to the one intended it could be a pleasant surprise and someone else might like it!”
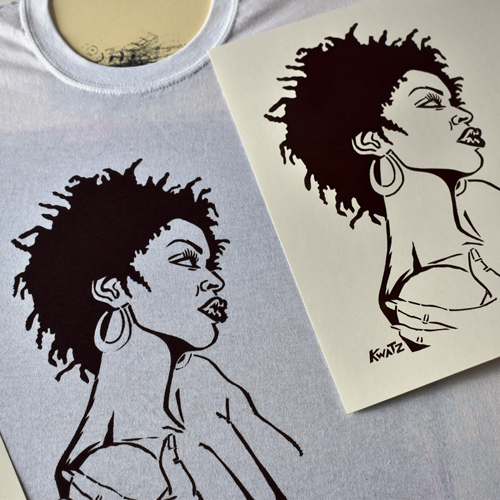
“I’d always say to other creatives to make the work that you care about and that excites you. When doing this it’s easy to keep feeling inspired and motivated. For me my work comes from a place of genuine interest or experience, creating honest representations and elevating voices. When you marry this with the experimentation and play that comes naturally to you as a creative, your work will keep evolving!”
“Make the things that excite you, try not to follow the norm. When something is not working or gets really hard – stop, do something else or leave it till the next day (if you can). Come back and start again and if you are still not happy, ask for help.”
“If you’re interested in taking up lino printing, my advice is to start with the Essdee cutting tool set. Build your set slowly, taking your time to get to know what tools work best for you.”
“Just keep going, keep dedicated and believe that if you spend your days doing what you love it will all be worth it. I had some very rough and very poor times starting out where I wanted to throw it all in and get a job in a cafe, I’m so glad now that I had the support I needed and persevered.”
“Start small, and then make it more intricate. The worst mistake I made was trying to start with a difficult project. If you start with a big task and you don’t get the result you are aiming for, you might feel demotivated and give up. It’s much better to start with a simpler design, and master that, and then cut more into it to add more details. As you get used to your tools and techniques, you can improve the easy design and end up with a better piece, but most importantly, a better mindset for yourself and for printing. And don’t give up!”
I did a small amount during my degree in Art but didn’t continue as I moved into digital artwork. Being a tattooer, I have always worked in a medium where your canvas leaves with your work at the end of the day. I wanted to get back to creating something hands-on, where I can make something and keep it at the end of the process. Once I tried working with lino, I was hooked.
Why printmaking?
I have always enjoyed working with wood and carpentry, where you physically mould and create the piece. I decided to give printing a go again so I bought a few pieces of wood and lino. Once I started with the lino, I loved it and bought more!
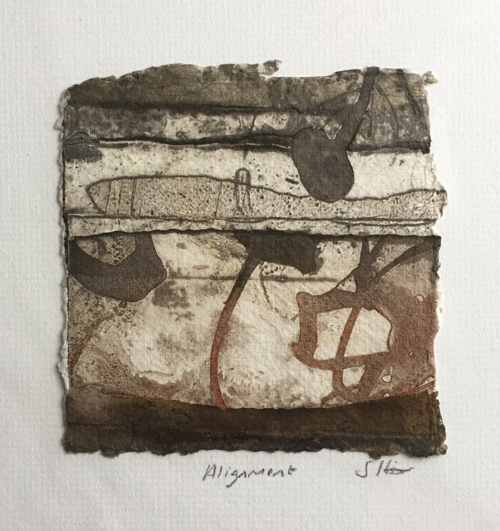
Every piece is as close to unique as possible, and that made printmaking stand out for me. Every finished print is handmade and has its own texture in the ink, its own edging to the handmade paper, it’s all unique. Compared to a screenprint, where its a uniform copy of the artwork, 20 times say, each print I make is individual.
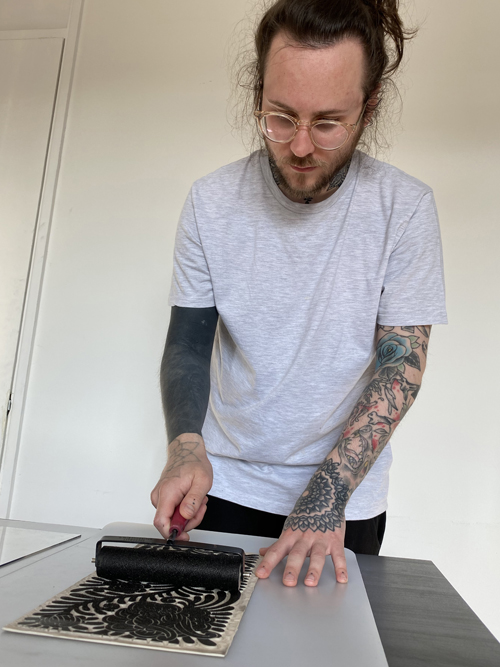
Printing stands out for me because I love that I am responsible and do every step of the process myself. From cutting out the design, cutting the paper, printing, running the press, hanging up, signing, packing and sending. I do it all, and I love that because I know everything meets my standard for what is good enough to go out to a client.
Where do you work?
I work in my art studio in South East London, originally I
was working in my spare room but I stepped up my equipment and ended up
outgrowing the room, so now I work in a studio where I have the space for my
equipment.
Describe a typical day in your studio.
It always starts with a cup of tea. After I have checked in on my emails, I’ll draw up a design and get it transferred onto lino and start carving if I have time. Printing is always a full days work, so that is a day on its own. It really depends on what part of the process is on the agenda.
How long have you been printmaking?
Around 9 months I would say. Lockdown allowed me to take on printmaking full time for a period, and that is where it really took off once I was able to give it some real attention and time.
What inspires you?
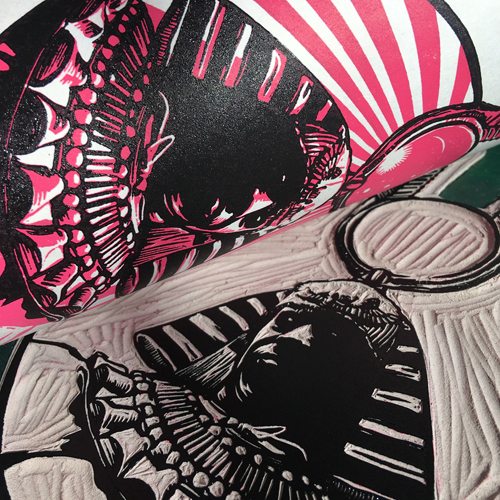
Pattern work and baroque imagery, as well as traditional Indian imagery. Botanical illustrations are also a big influence. I am always looking in antique bookshops to find hidden gems for new ways of looking at pattern and botanicals.
What is your favourite printmaking product?
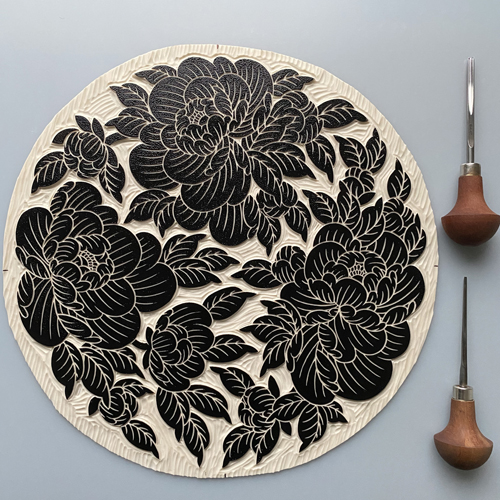
I love my inks, but my favourite item is my cutting tool. I use Pfeil cutting tools, and they are the best part of my arsenal as they cut fast and easily into the lino.
What have you made that you are most proud of?
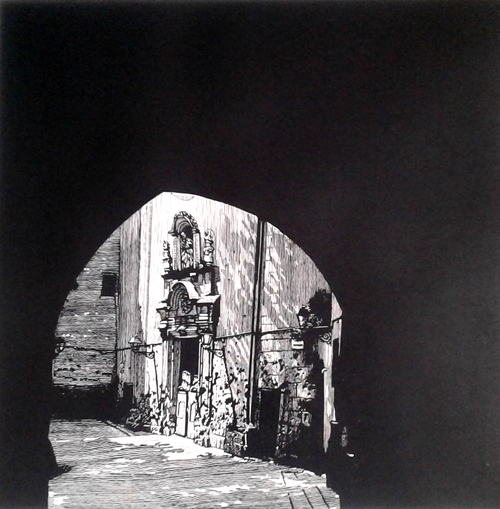
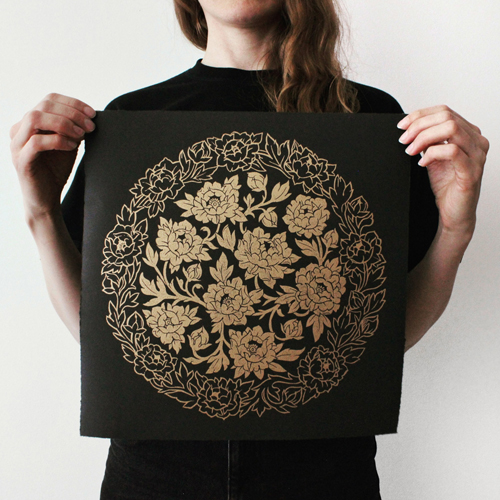
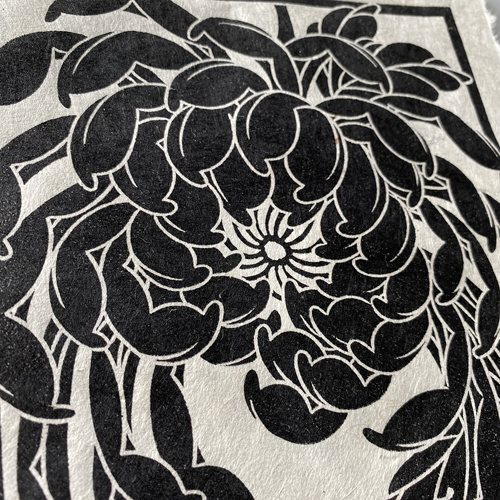
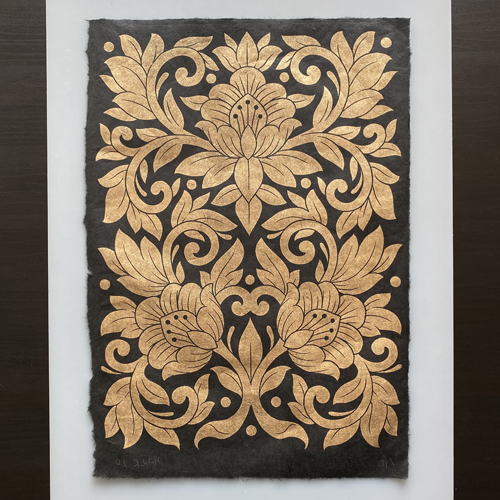
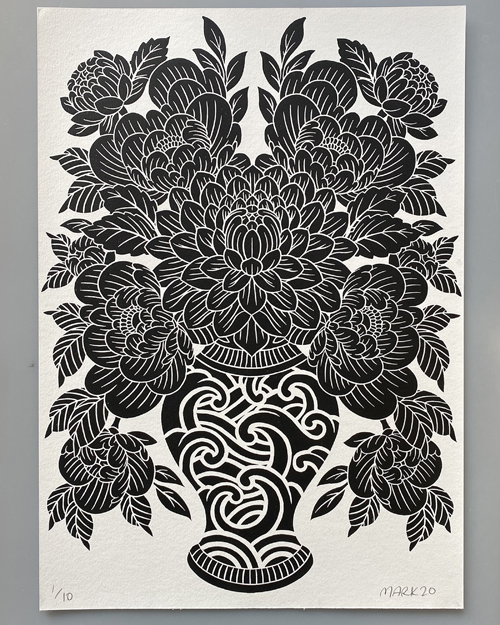
I have made so many prints I love, but the one I love most is the Baroque floral print I made. It was the first symmetrical piece I did, which was the most daunting aspect of printing, and something I aimed to do which was a real turning point for my work. Once I had finished that piece, I realised I could do symmetry and I started to look to do more difficult cuttings that I had ideas for but was hesitant about attempting.
Where can we see your work? Where do you sell?
I sell online through my website. I have just invested in a new piece of equipment that is going to take my printing to a much larger scale, which is where I have always wanted to go since starting.
What will we be seeing from you next?
I am currently working on some very large scale printing pieces, and also some of the most intricate pieces I have done to date. I like to go the point of highest difficulty and see how far I can go with my printing.
Do you have any advice for other printmakers and creatives?
Start small, and then make it more intricate. The worst mistake I made was trying to start with a difficult project. If you start with a big task and you don’t get the result you are aiming for, you might feel demotivated and give up. It’s much better to start with a simpler design, and master that, and then cut more into it to add more details. As you get used to your tools and techniques, you can improve the easy design and end up with a better piece, but most importantly, a better mindset for yourself and for printing. And don’t give up!
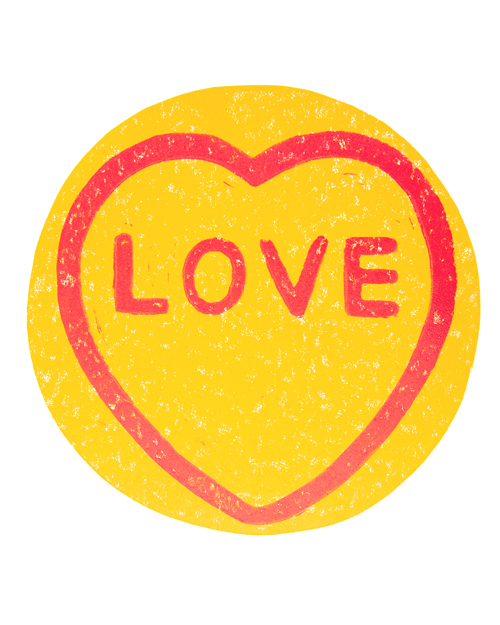
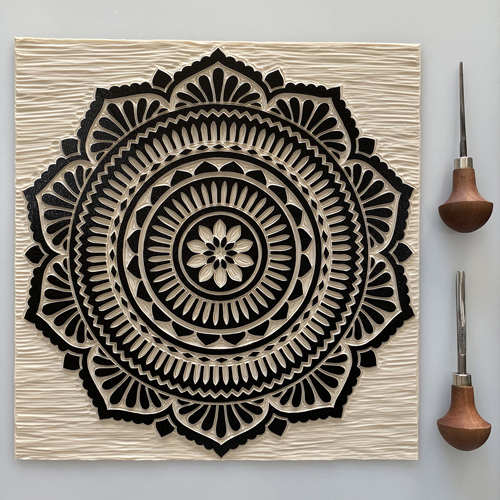
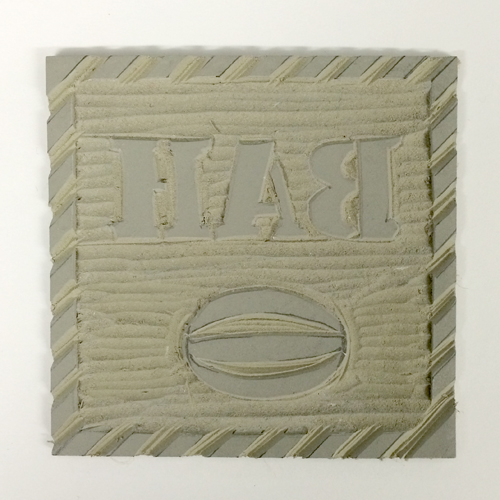
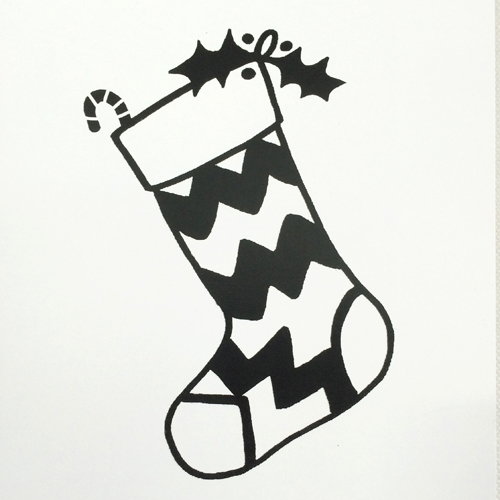
This two-layered lino card is quick, easy and so effective on square kraft cards.
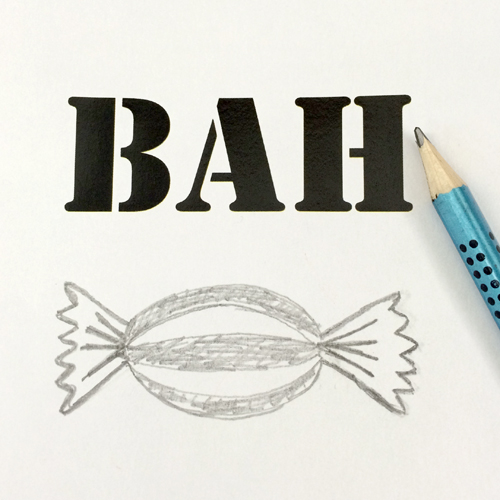
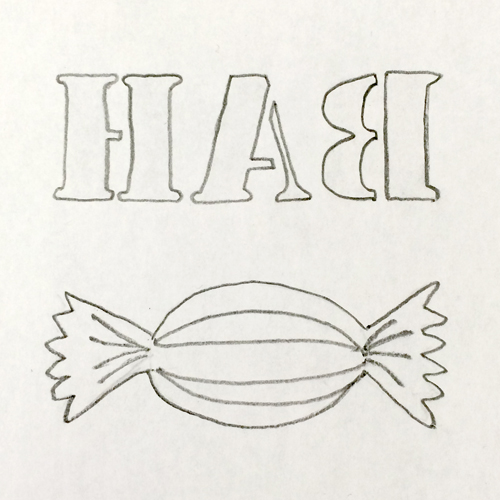
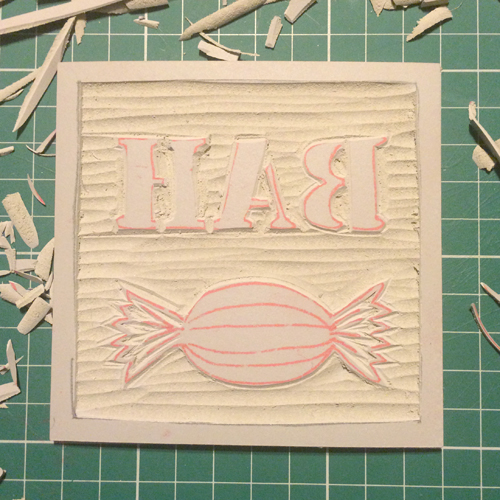
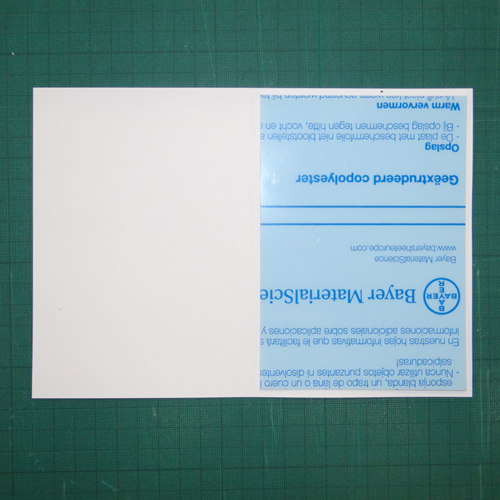
Print or draw your design onto paper. Trace your design so that it is in reverse.
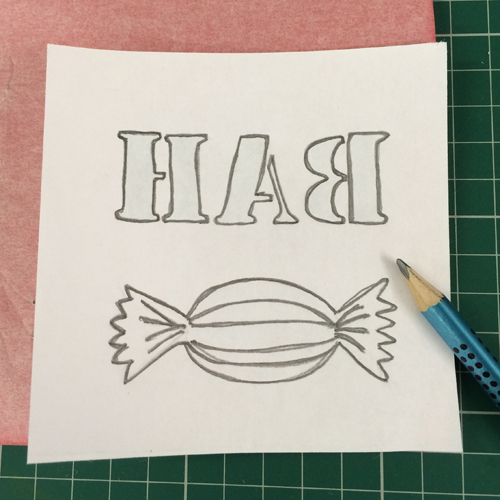
Use a piece of red carbon paper to transfer the design onto a piece of lino.
Carve out the unwanted areas of the design with a lino tool.
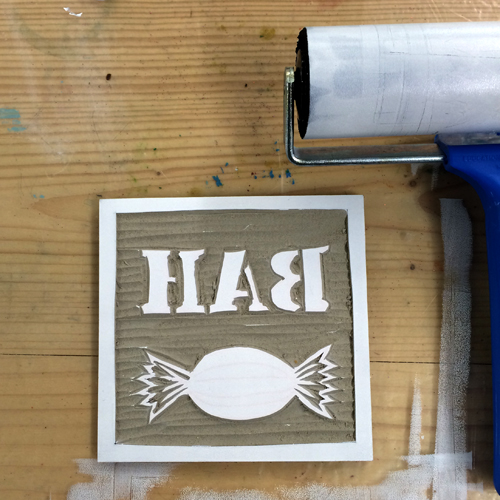
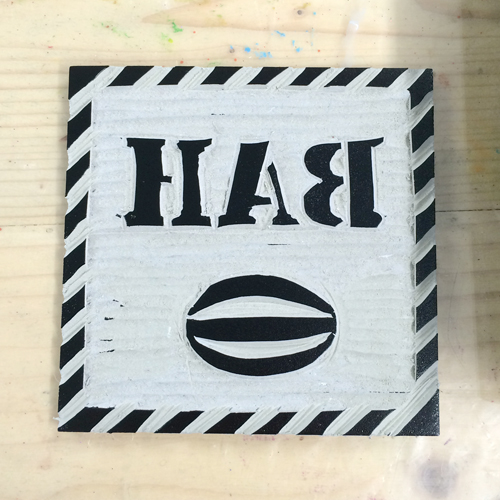
Ink up the lino using a roller. We used white for our first colour.
Place a card on top and use a baren to rub all over the back to transfer the print.
Lift off the card to reveal your first layer! Leave to dry. Print all of your cards with the first layer.
Use the lino tool so remove any areas of the print that you wish to remain white. We carved in stripes on our humbug and on the border. We also removed the cellophane sweet ends so that they would remain white.
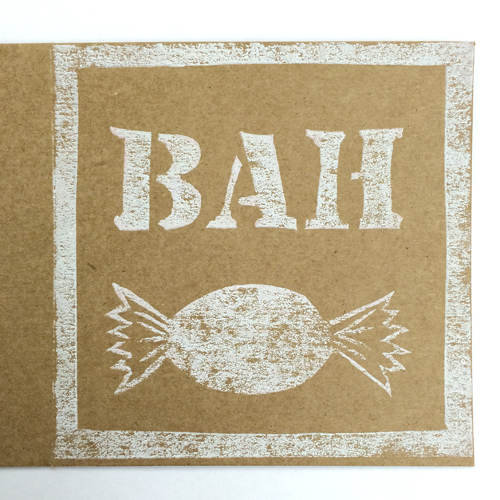
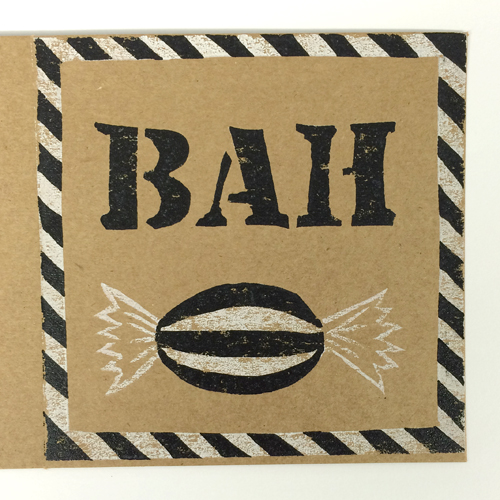
Ink up the lino with your second colour. We used black.
As before, place your card on top and transfer the print with a baren.
Lift off the card to reveal your print! Print over the top of each of your first layer cards.
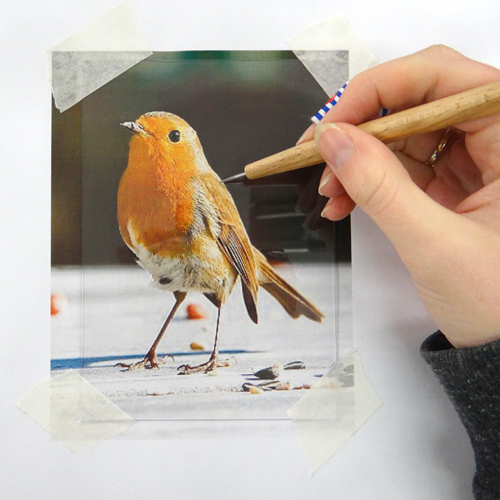
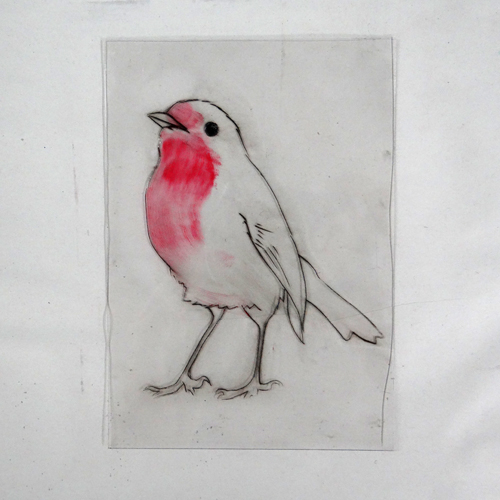
This drypoint card can be traced from a photograph into a simple line drawing. A mono-printed red breast is made with a swipe of an inky thumb and will be slightly different on each card you print!
Use a piece of drypoint plastic slightly smaller than the card you will be printing on. Tape the plastic over the image and trace it using an etching needle.
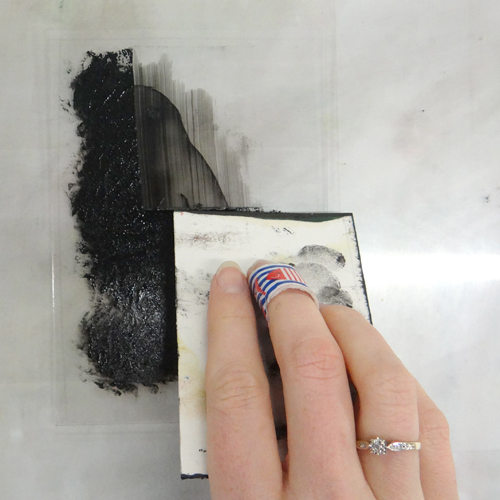
Use a wadded up piece of fabric to daub etching ink all over your drawing. Use a piece of mount board to scrape off the excess.
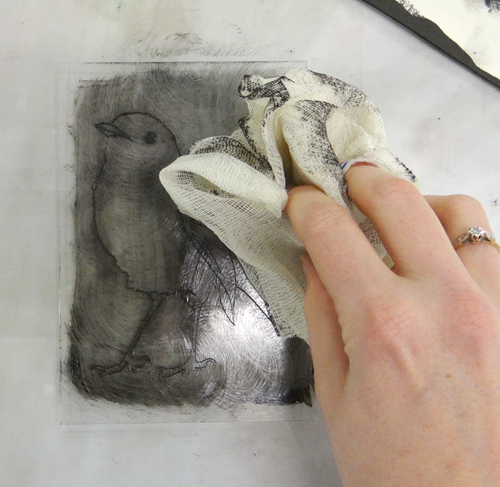
Wipe off the ink using a piece of scrim with a twisting action.
Clean any remaining ink off the plate with a cloth. Be careful not to take too much ink out of the lines.
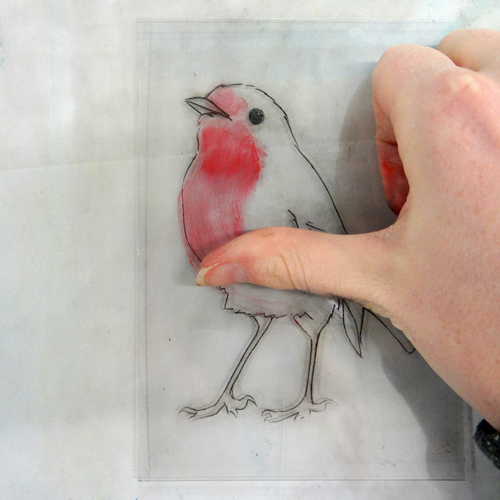
Use your thumb to apply a smudge of red ink to the robin’s chest.
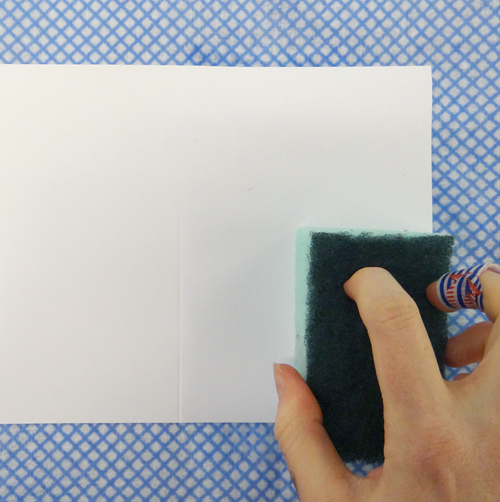
Dampen your card with a sponge. Blot it with a j-cloth to remove excess water. It should feel slightly damp but not wet. These cards are not thick enough to handle a proper soaking like we normally would do for intaglio printing.
Place the plate face up on the etching press. Place the card on top. Cover with the blankets and put through the press.
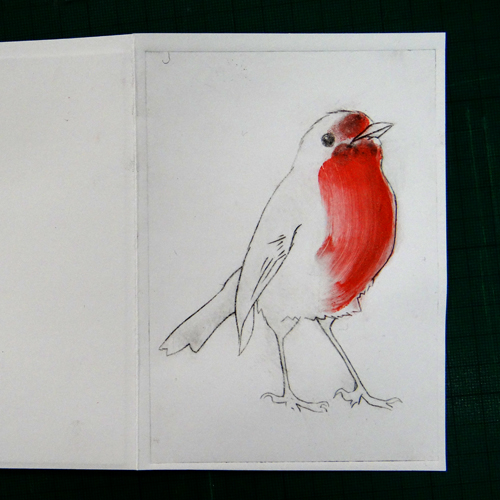
Lift the card to reveal your print.
Ink up the plate as before ready for your next card.
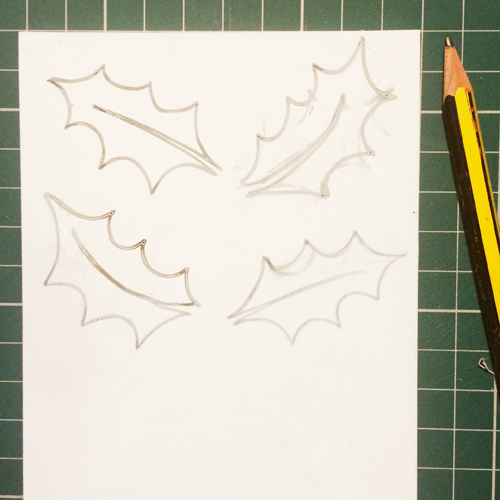
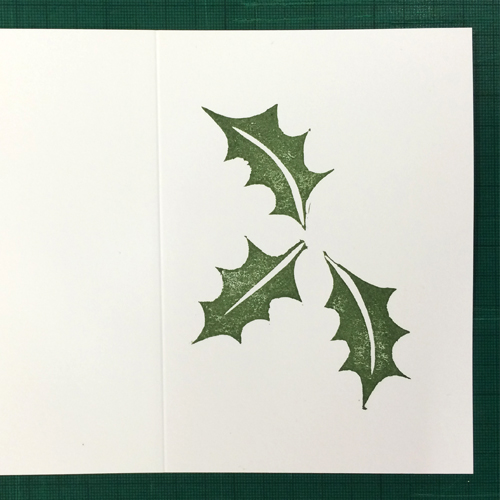
This card is such a quick make and is so easy to print in large quantities with Versacraft ink pads. A pencil eraser is a resourceful and quick way to print the berries!
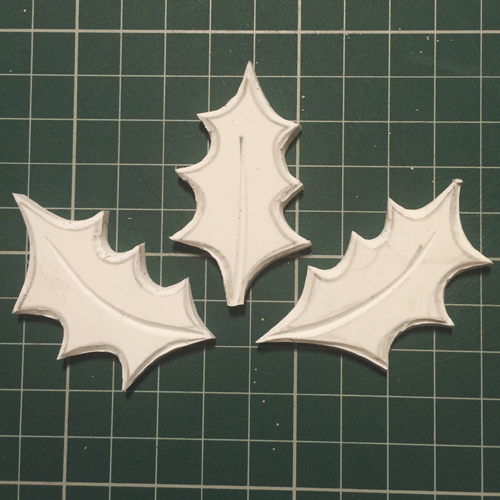
Draw the leaf shapes onto a piece of Mastercut or another stamping block.
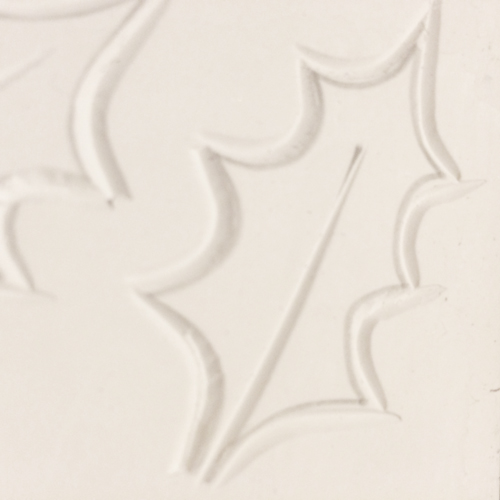
Use a lino tool to carve around the edges of each leaf. Carve in any detail such as the vein through the middle.
Cut around each leaf with a craft knife.
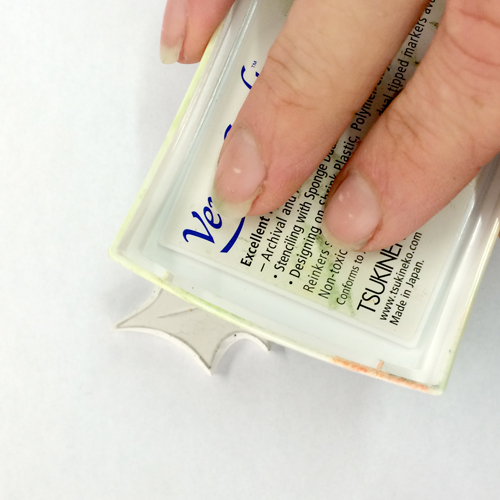
Ink up the Mastercut using a Versacraft or Versafine ink pad.
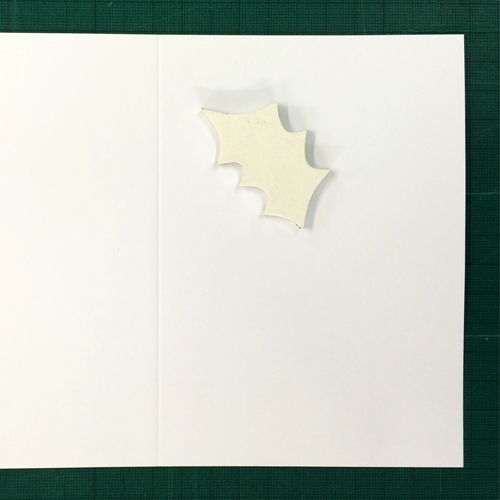
Place the stamp face down on the card. Press down all over with the flat of your hand.
Repeat with each of your stamps.
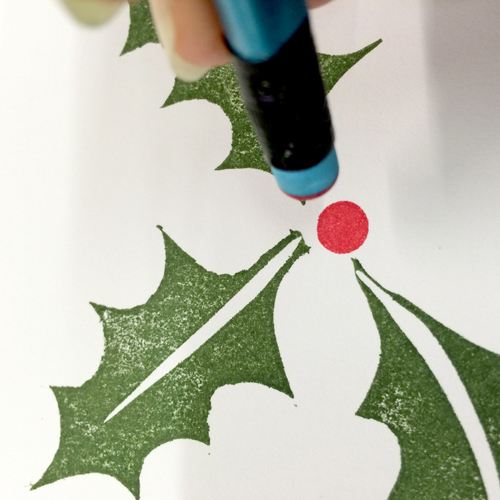
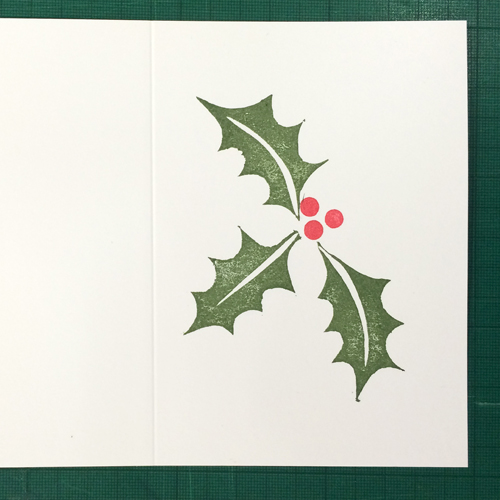
Use the eraser end of a pencil to print red berries by dabbing it into a Versacraft ink pad.
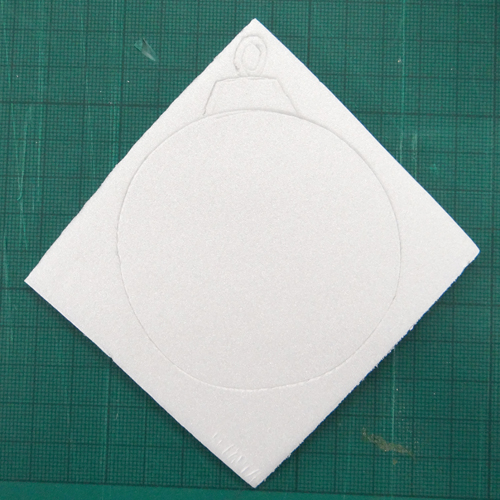
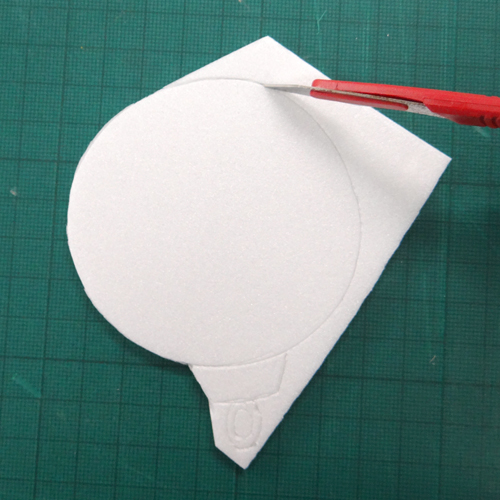
This is a great option to print with children. Safeprint sheets of polystyrene are brilliant for quick printing. You need hardly any materials – the patterns are printed with the end of a biro! You’ll just need to cut out the shape for them as, to get neat edges, it needs to be done with a craft knife.
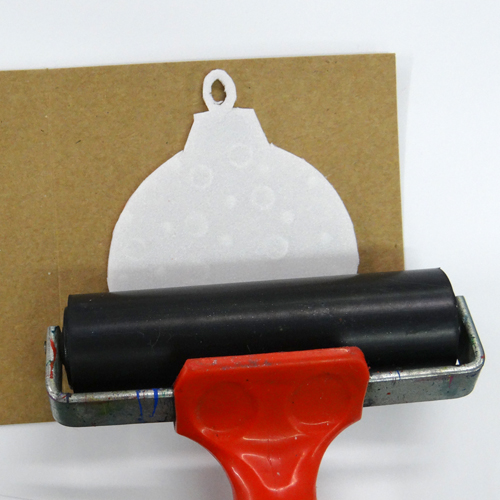
Draw the shape onto a piece of safeprint with a pencil.
Cut it out using a craft knife.
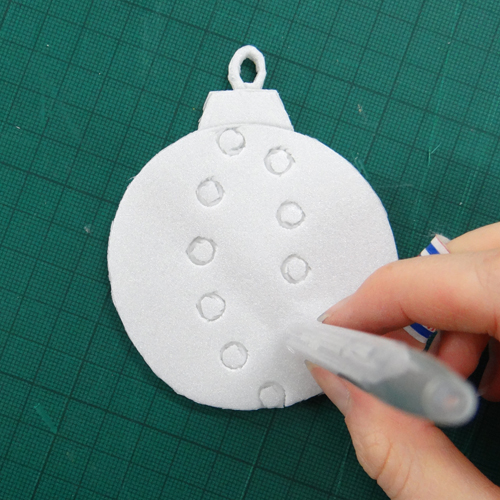
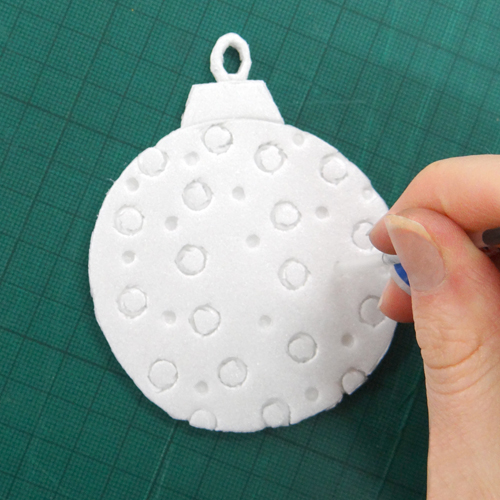
Unscrew the end of a biro and use it to press circles into the safeprint.
Use the end of the biro ink tube to press in smaller dots. Add detail using a sharp pencil.
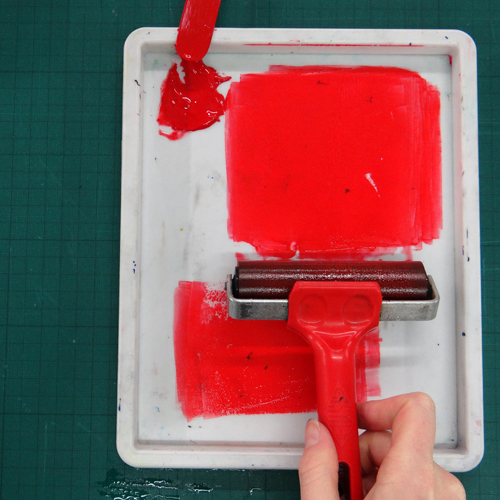
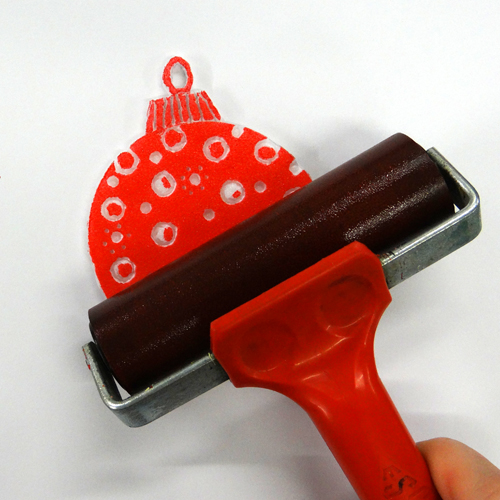
Roll out a thin layer of block printing ink onto a tray.
Roll the ink onto the safeprint.
Place the safeprint face down onto a card. Use a dry roller to roll all over the back of the safeprint.
Carefully lift off the safeprint to reveal your print!
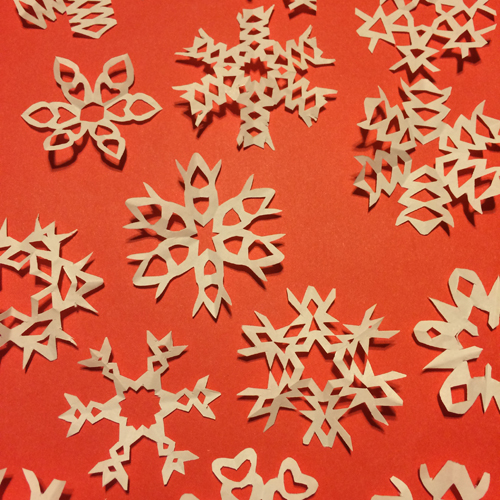
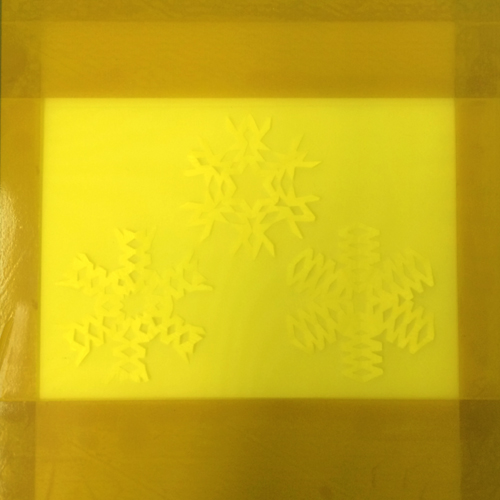
These cutout snowflakes make the perfect paper stencils for a screen printed card. Layered up with silver ink, these cards are so Christmassy, we couldn’t stop printing them!
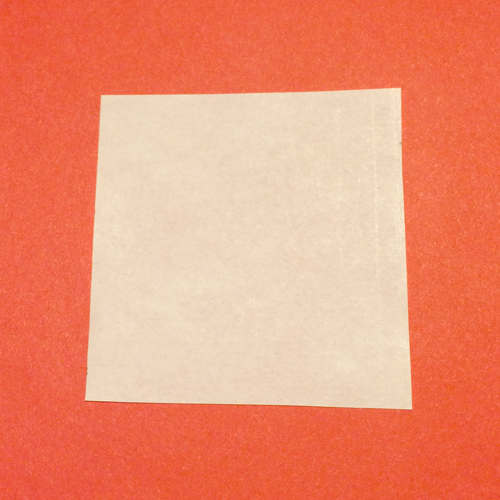
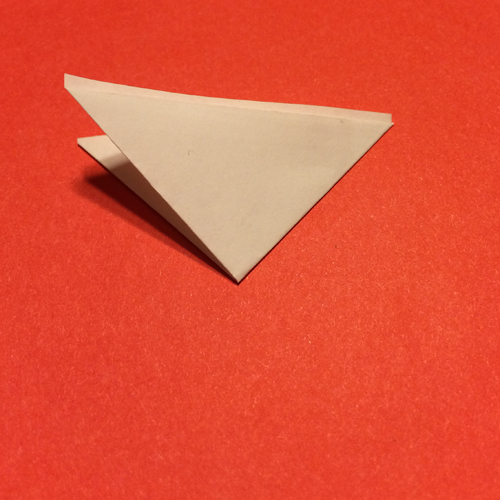
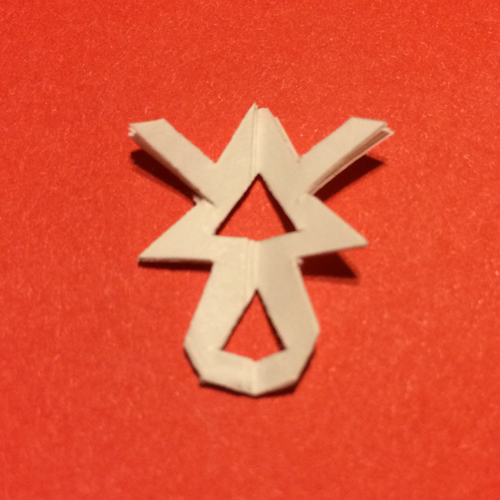
To make a snowflake, start with a small square of paper.
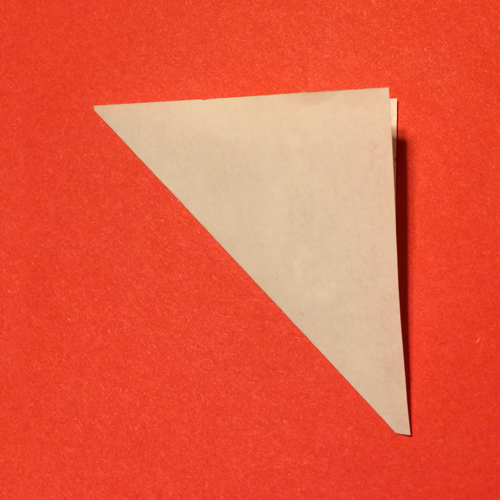
Fold in half diagonally and then half again.
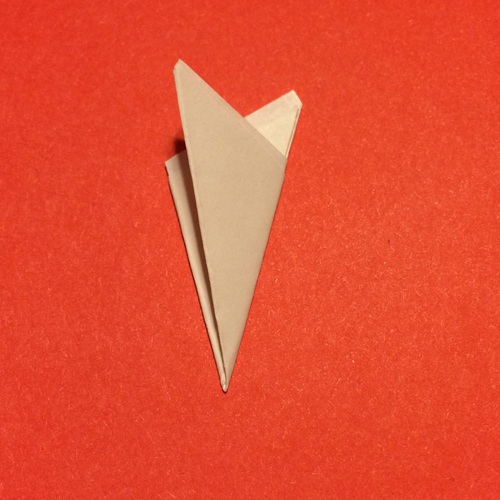
Fold the left side towards the middle and then the right side over the left – the pictures will help if you’re confused at this point!
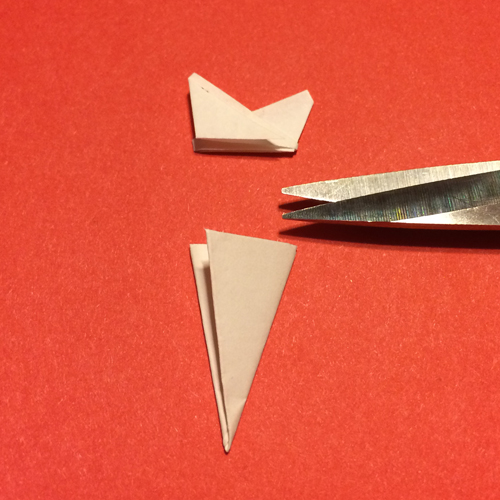
Cut off the pointy tips to make a folded triangle.
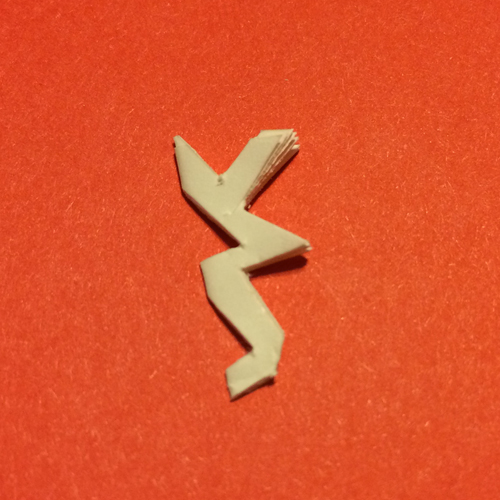
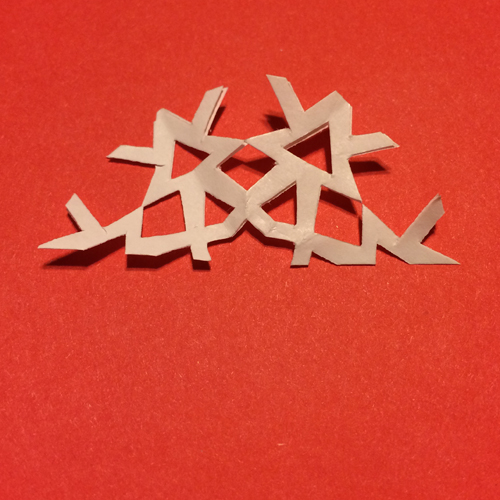
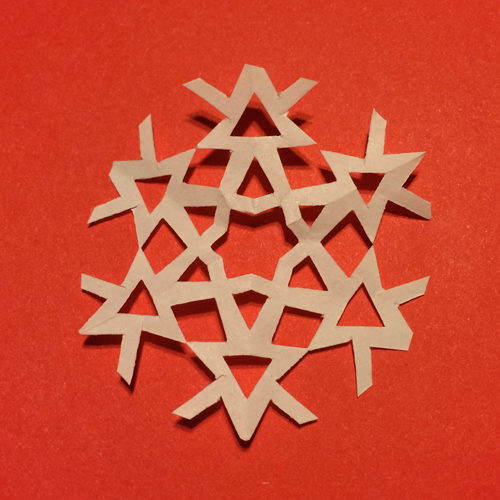
Cut shapes into the edges of your triangle and unfold to reveal your snowflake!
Make a selection of these snowflakes to be layered up on your cards – we made so many – they’re so addictive!
Place the card on a hard surface. If you’re using hinge clamps on your screen, use masking tape to mark where each card should be placed.
Use parcel tape to mask tape all over your screen, leaving an opening the same size and shape as your card.
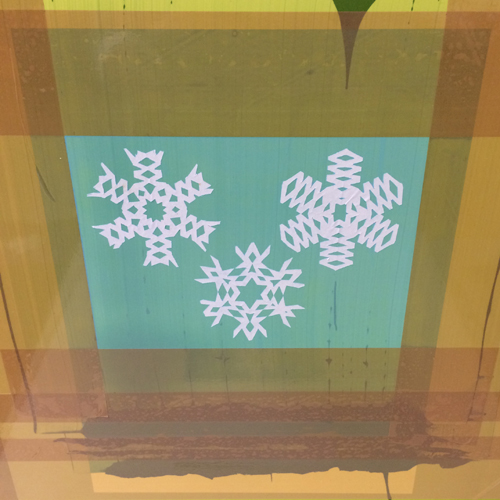
Place your screen on top of the card and stencils and print with a squeegee and screen printing ink.
Your stencils should stick to the screen ready for the next print.
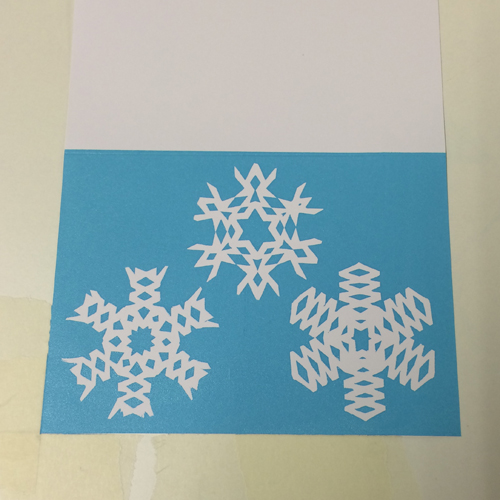
When the cards are dry, overlay more snowflakes on top and print with another colour. We with silver over our icy blue.
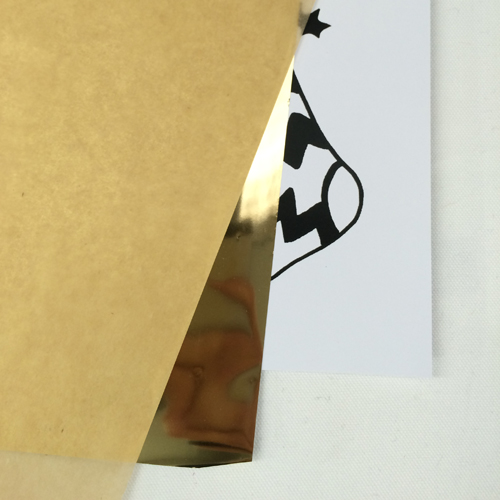
This is one of our favourite ways to make a card, and it certainly the quickest! You will need a black toner photocopy of your design. This can be from a carbon photocopier or toner printer. Inkjet will not work with this method.
Place the foil shiny side up on the carbon photocopy.
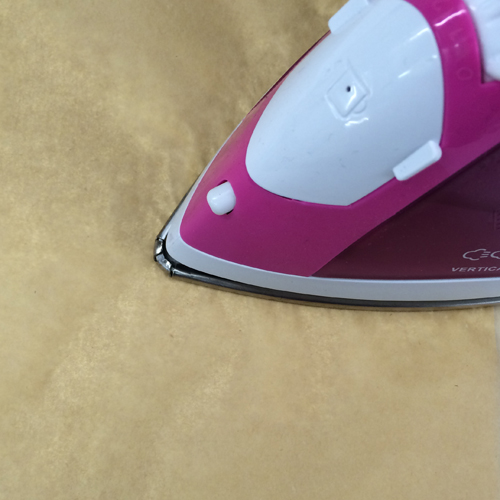
Place a sheet of grease-proof paper on top. Iron on medium heat for about ten seconds.
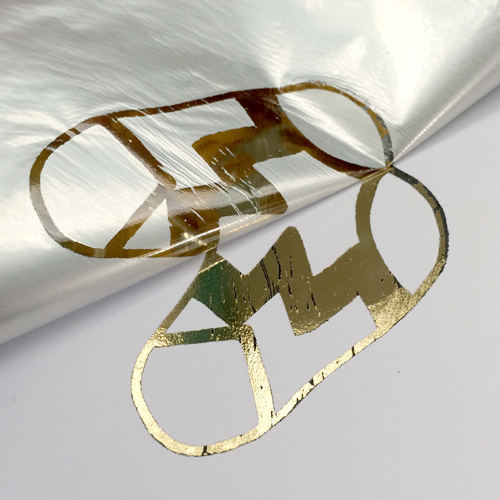
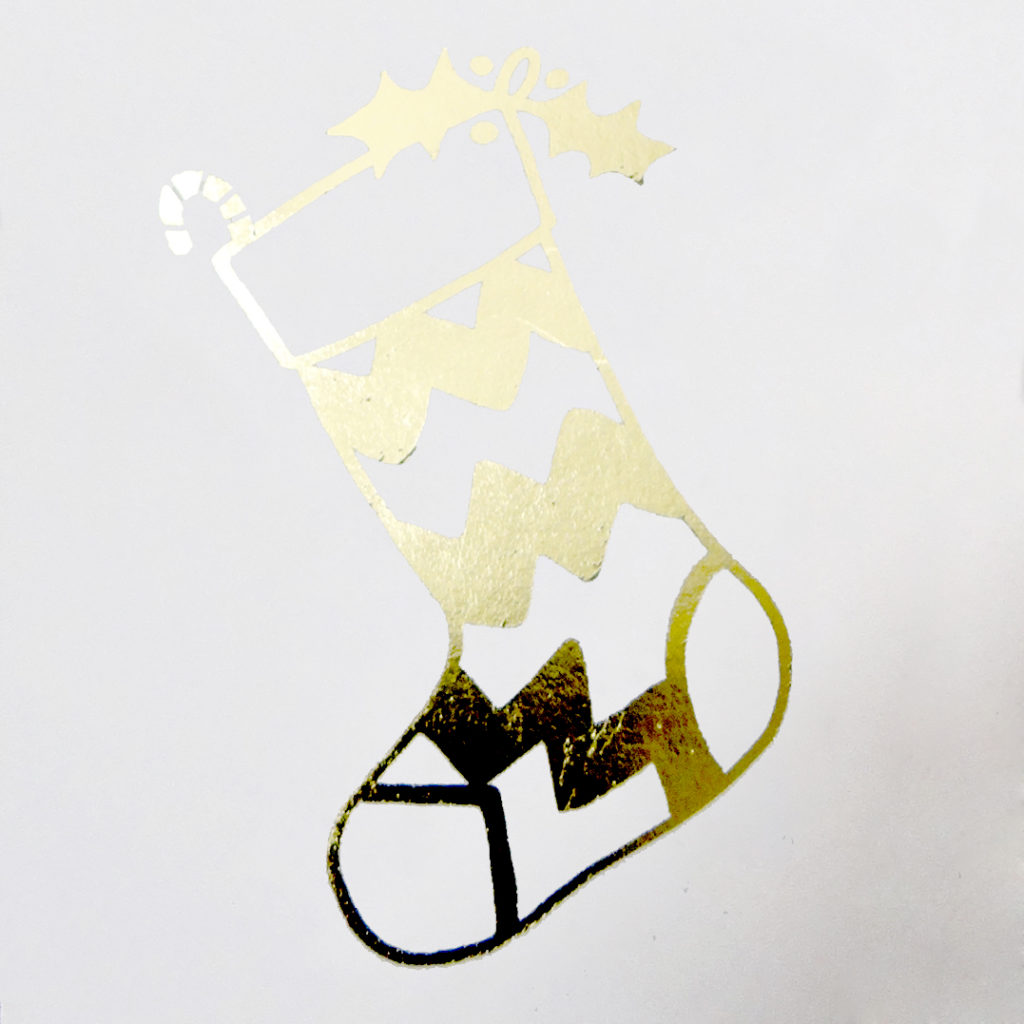
You will see when it is ready as the foil will stick. When cooled, peel off the excess foil to reveal your foiled design!