We love the range of colours that are available in Schmincke water-based inks. We’re creating a jigsaw linocut to allow us to use multiple colours of Schmincke ink in just one block!
We are using Easy Carve Blue as it’s soft to cut up with a scalpel, making it ideal for a jigsaw linocut.
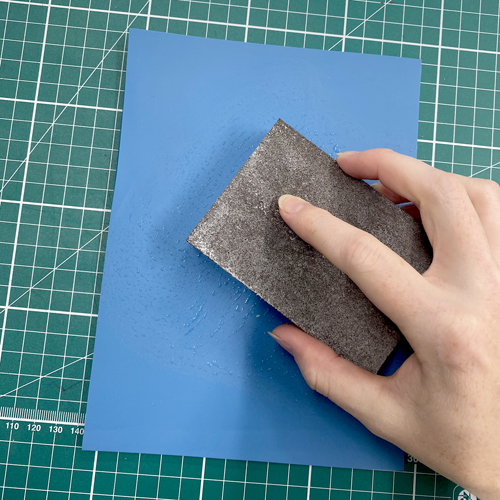
To prepare your block, apply a few drops of water and then sand all over with a sanding block. This will help the ink to adhere to the surface evenly.
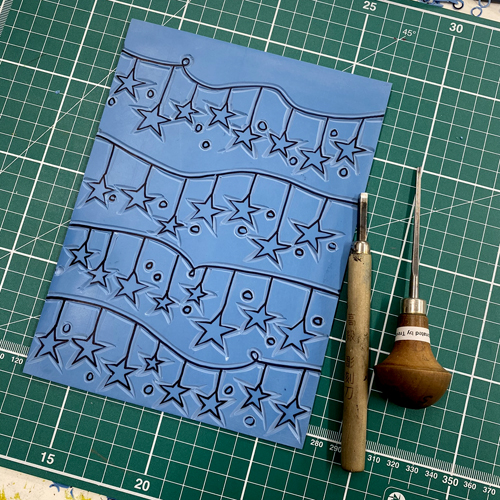
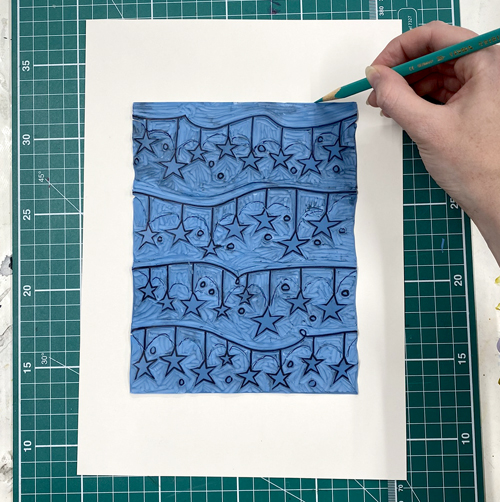
Draw your design onto the block. We are using a permanent marker but you could transfer the design with tracing paper or red carbon paper.
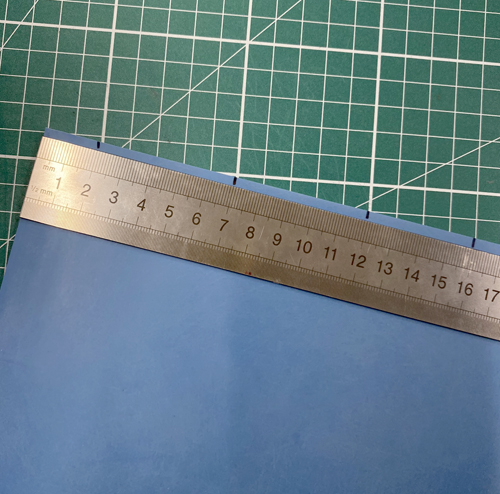
We are creating a design that could be joined into a repeat pattern. To do this, we marked the easy carve along both edges at measured intervals.
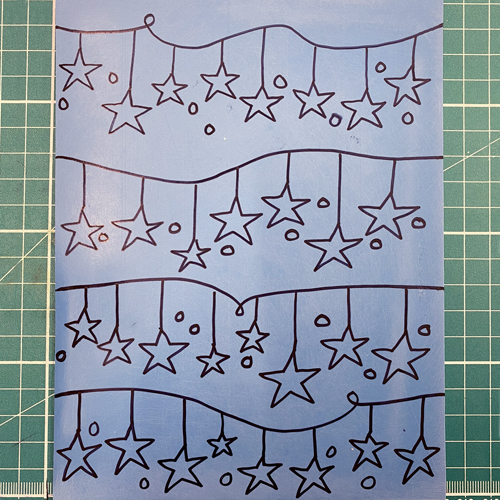
We then joined the marks with our string design in permanent marker.

We then added the rest of our design.
Use cutting tools to carve out your design. We are going around all the edges of the design with the V tool from the Japanese Cutting Tool Set.
A fine 12/1 Pfeil Tool is ideal for fine detail.
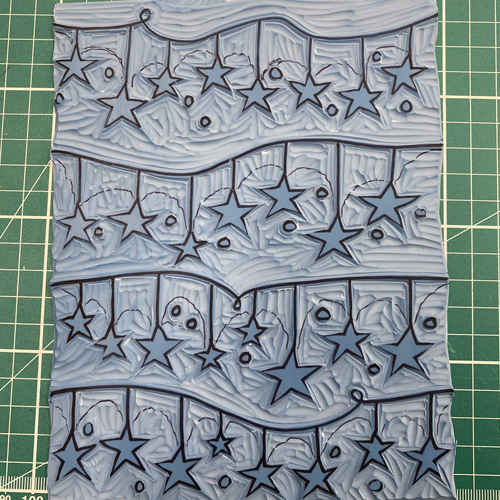
Clear away unwanted areas of lino with a larger U tool. You may want to consider the direction in which the unwanted areas are carved out, as these parts are likely to pick up some ink and create ‘noise’ on the print. We have gone for a speedy haphazard approach!
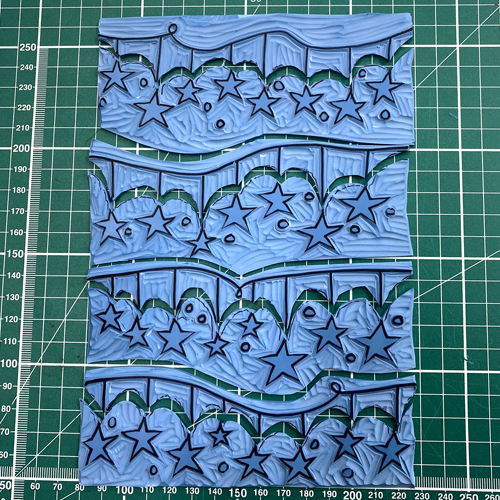
When the design is carved, use a pen to mark where you would like the block to be split, allowing you to ink up in different colours. We are separating out all the rows of stars from the strings.
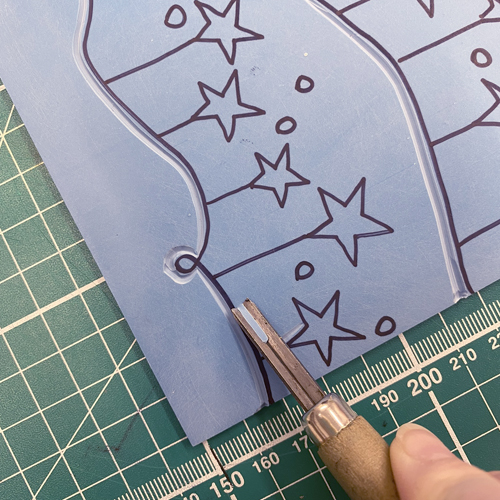
Use a scalpel to carefully cut along your new guidelines to divide the easy carve.
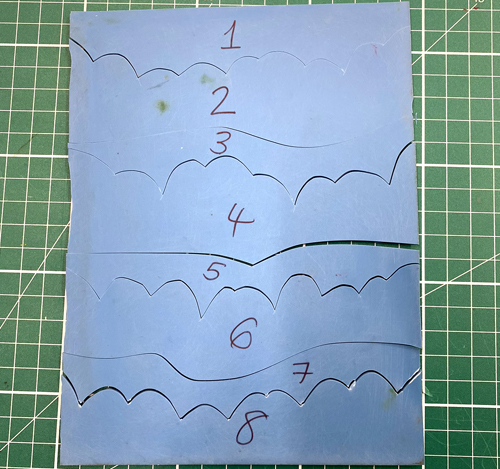
It is helpful to mark or number the pieces on the back so that it is easier to assemble later.
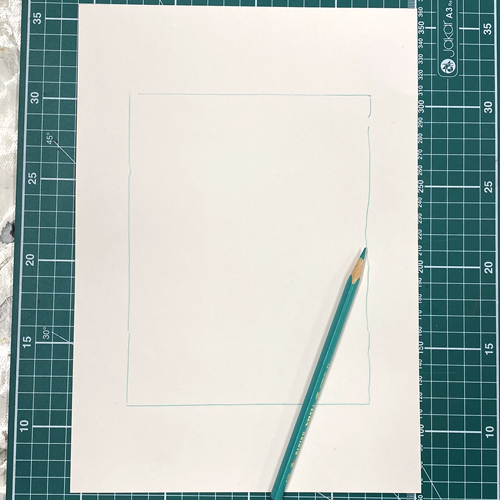
Before getting inky, make a registration sheet that shows you where each piece of easy carve will sit and where the paper will lay on top. This will allow you to print centrally and straight on the paper.
We are now ready to ink up our pieces.
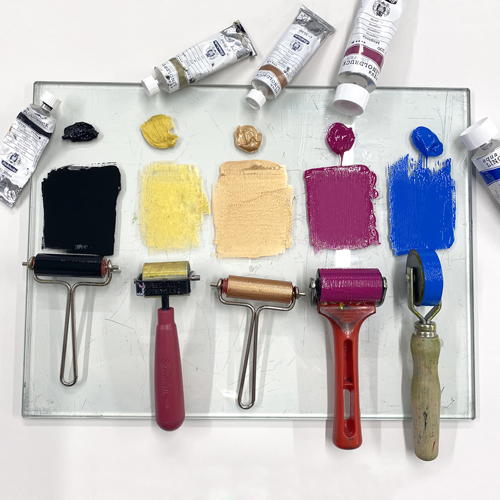
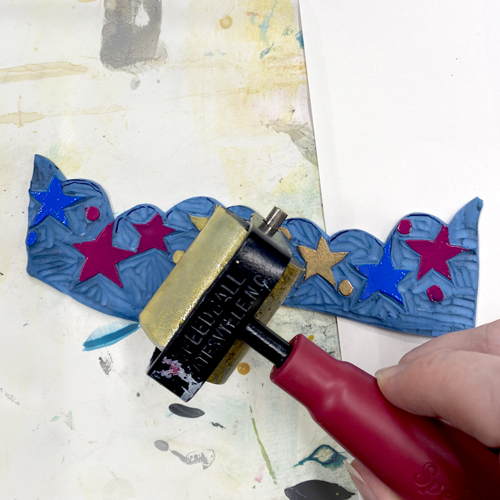
We’re choosing to ink up the stars in different colours so we need lots of small rollers. Squeeze out a little of each colour onto an inking plate. We are using Schmincke black, gold, copper, magenta and cyan. You can mix your own shades, add extender, retarder or gloss medium too!
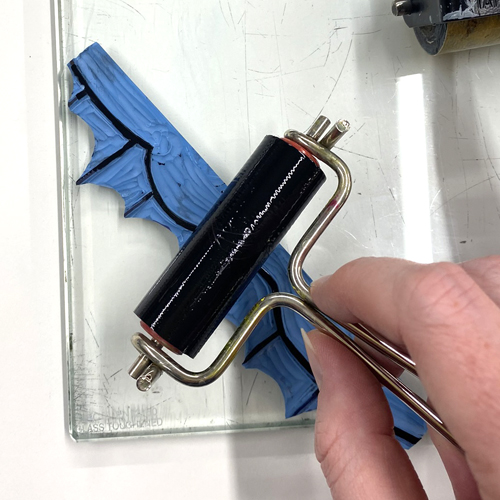
Ink up each piece of easy carve in the colour of your choice.
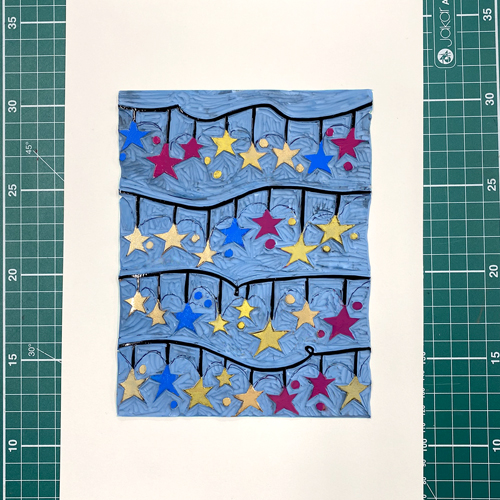
Assemble the pieces on the registration sheet. We need to work quite quickly so the inks don’t start to dry before we take our print.
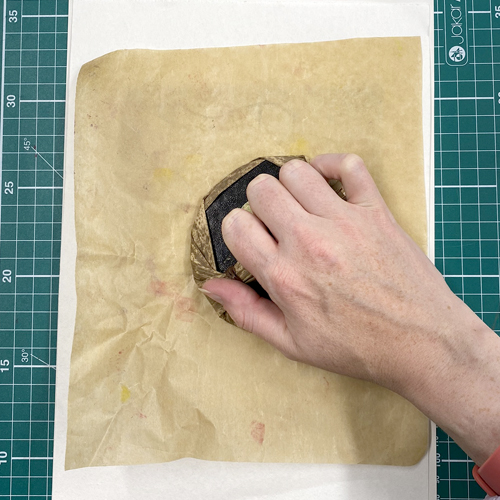
Lay a sheet of printing paper (we are using Shoji) on top of the block and transfer the print using a baren (or a press or spoon). Greaseproof paper helps the baren to move smoothly without pilling up the paper.
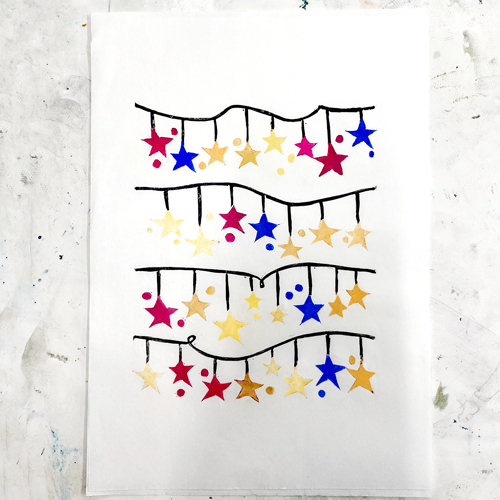
Life the paper to reveal the print!
Schmincke inks can easily be washed up just with cold water and a rag or sponge! Wipe clean the blocks, rollers and inking plate ready to use another day.
For this project you will need:
- Easy Carve Blue
- Sanding block
- Permanent marker, tracing paper or red carbon paper
- Cutting tools (we used this set and a Pfeil Tool)
- Scalpel
- Cutting mat
- Schmincke water-based inks
- Rollers
- Inking plate
- Paper for registration sheet
- Pencil
- Paper to print onto
- Baren
- Sheet of greaseproof paper