If you are completely new to linocut and would like help getting started, you are in the right place! Read on or scroll to the bottom to watch a video.
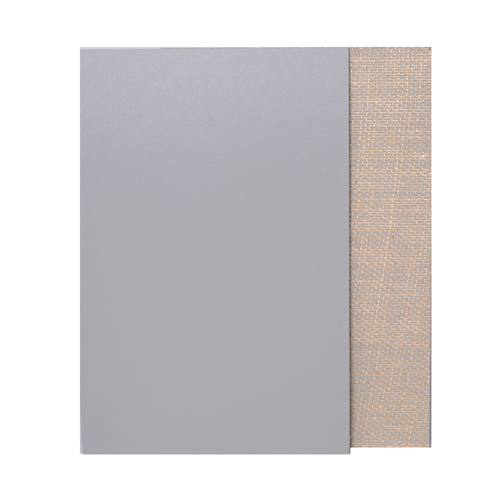
Start with a piece of lino. There are several to choose from, from traditional Lino to Easy Carve to Softcut. You can learn more about which may be right for you, here. We will be using traditional grey lino for this project. If you have memories of using hard, crumbly lino at school or college don’t worry – it only goes like that when it’s old! fresh sheets should be flexible and not crumbly at all.
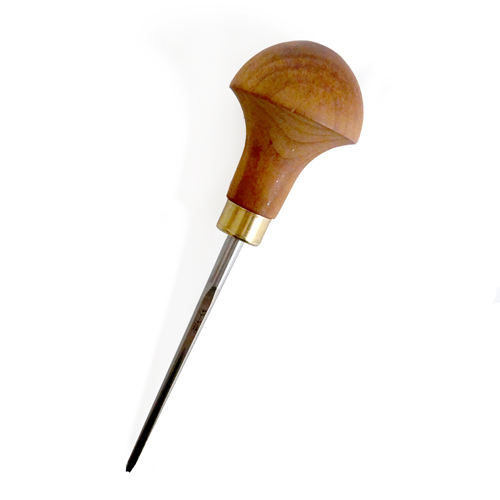
You will need some lino carving tools. There are lots of cutting tools available to choose from. We are using a set of Japanese Cutting Tools for this project. They’re inexpensive and carve beautifully. You can also keep the blades sharp with a Slipstrop.

Pfeil Tools are another one of our favourites – the quality is fantastic. They’re more expensive, come in a range of sizes and shapes and can be bought individually.
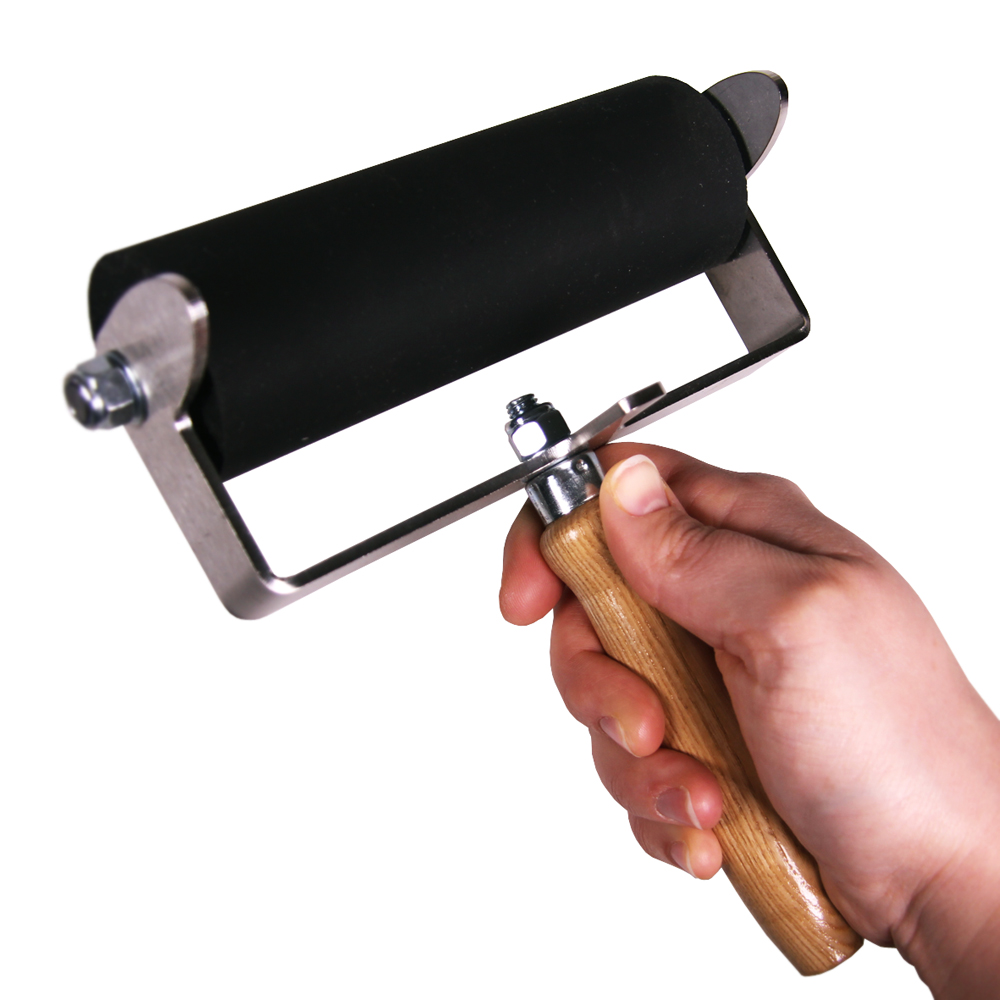
A roller is needed to transfer the ink to the block. A little Abig Roller is a great one to start with as they’re inexpensive and lovely to work with.

There are lots of different rollers to choose from, with hard or soft rubber, in various weights and sizes for all budgets. For a wider option, these Soft Rubber Rollers are a great option. Hawthorn Rollers are fantastic if you would like something a bit special.
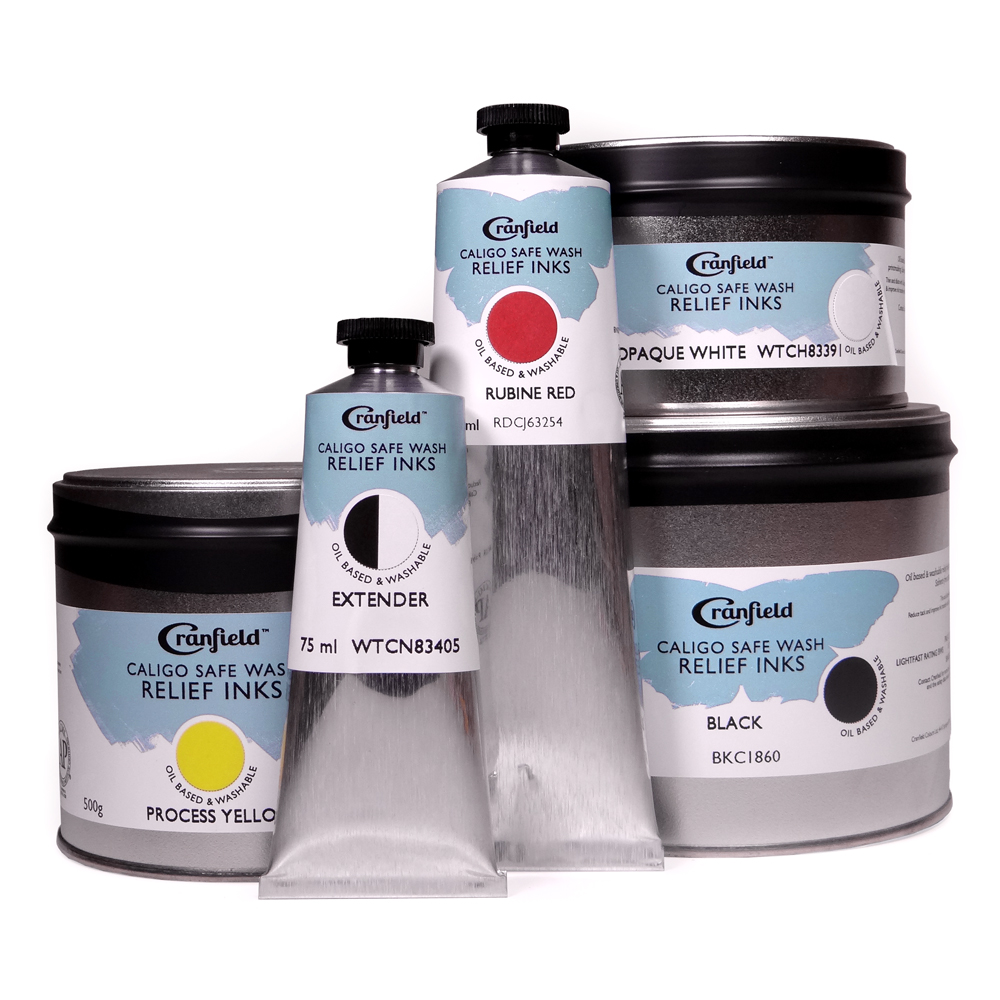
When choosing ink, there is one main factor to contemplate: oil-based or water-based. Water-based inks dry quickly – Schmincke and Speedball make lovely ones.
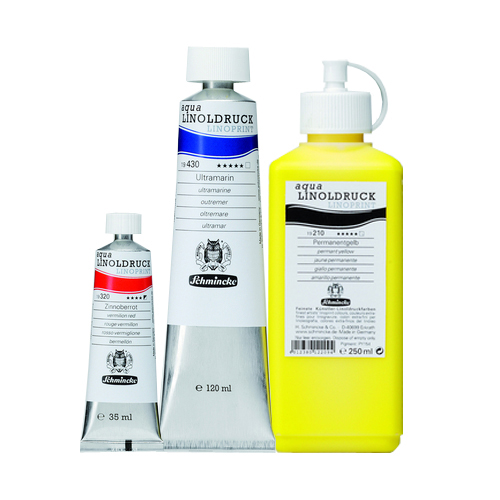
Oil-based inks dry slowly – Caligo Safewash Relief Inks are a great option. We are using Schmincke water-based ink for this project.
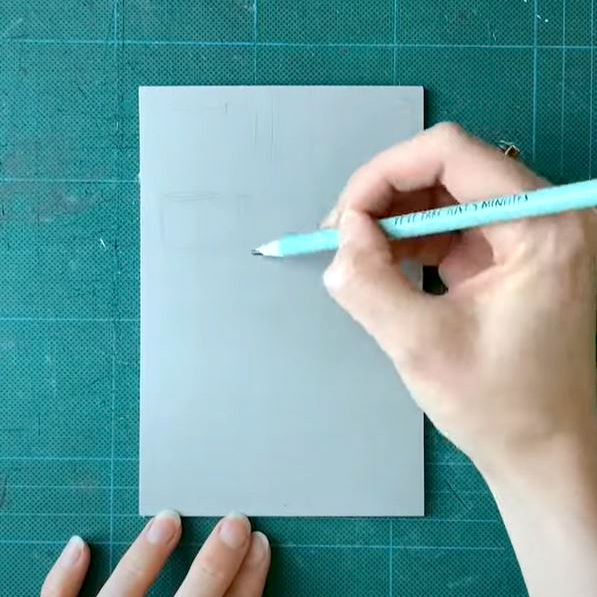
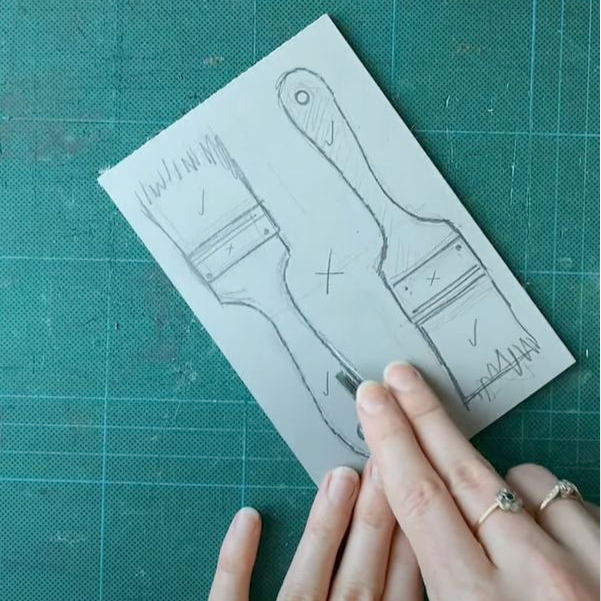
When you’re ready to make a print, the first thing to do it to draw a design on the lino. You can do this with a pencil (or permanent pencil) directly onto the surface, use tracing paper or carbon paper (red or blue).
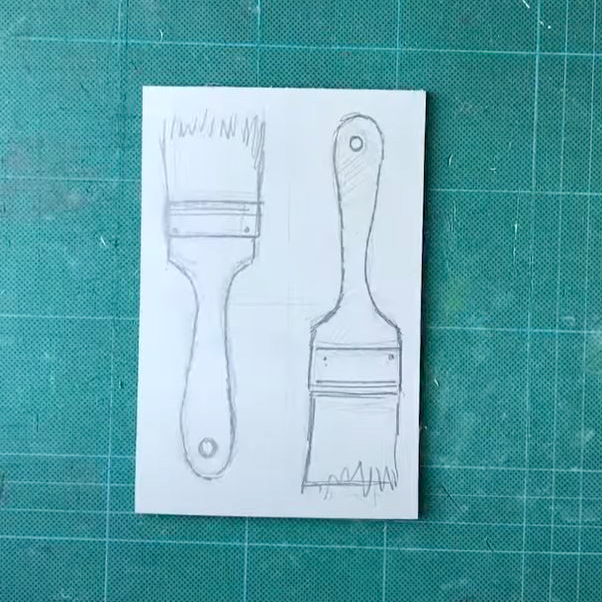
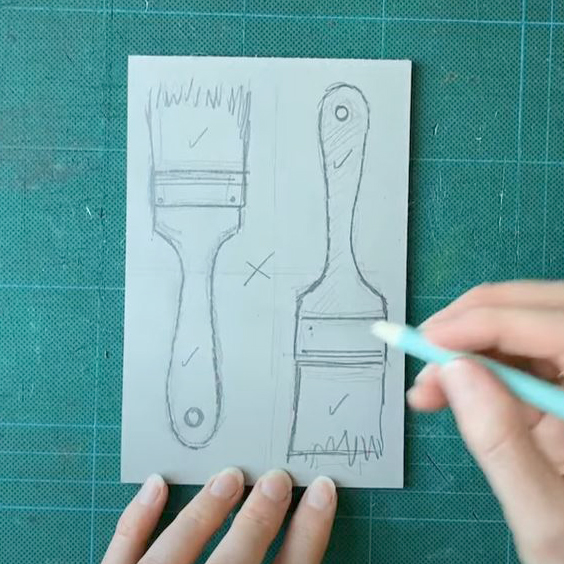
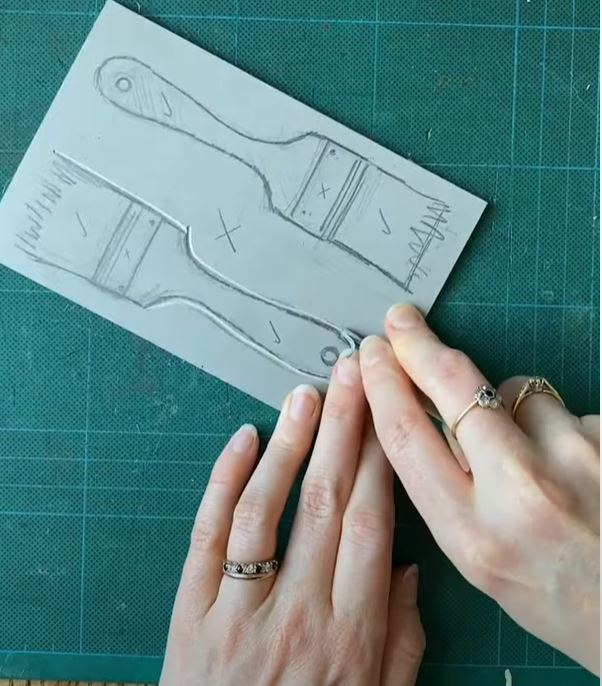
The next step is to decide which areas will print and which will be carved away. We are starting with a single colour block. This means that the design will be binary – the areas of the lino will either print or not. Print areas will be left as raised lino, the rest will be carved away. It can help to mark them on the lino, for example, drawing an x on areas to be carved.
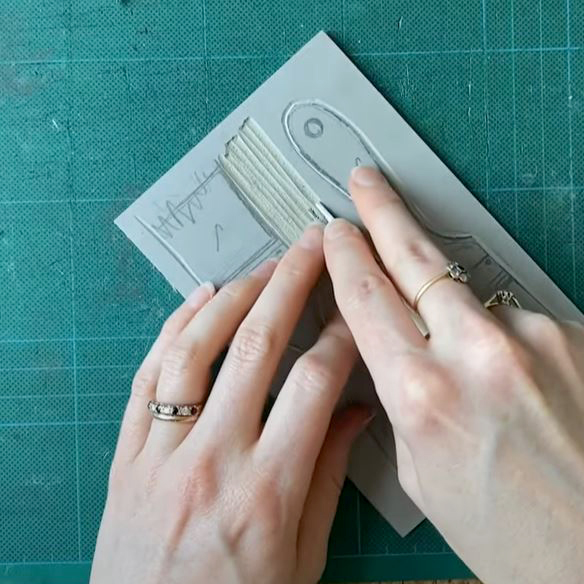
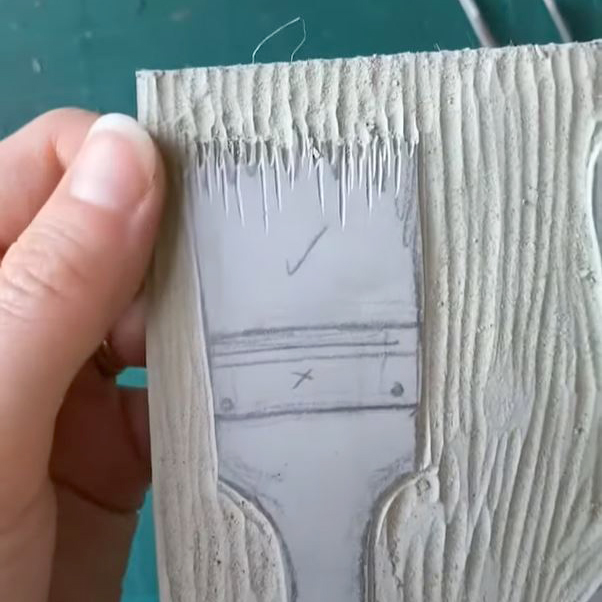
When carving, you are likely to want to choose a few different shapes and sizes of tools. A V tool will be great for edges and detail. A small U tool can be good for thin lines and a large U is good for clearing away unwanted areas of lino. You may want to start by going around the edges of your main shapes with a V tool.
Make sure to hold the tools in your hand correctly. We want the handle in the palm of our hand, not like a pencil. You can use your forefinger to guide the tool by placing it further down the tool. Keep your other hand behind the tool at all times.
For carving curves, it helps to rotate the lino instead of the tool. We want to always be carving away from ourselves.
Use a large U tool to clear away large unwanted areas of lino. Try to get the surface as smooth as possible so it doesn’t pick up unwanted ink. This is called chatter (which can add interest to the print – some printmakers choose to include it in their work whilst others prefer to remove it all). Clearing areas in a direction that suits the print will help the design. The chisel in the Japanese Cutting Tool set can be used to skim off peaks if desired.
Pfeil Tools are excellent for carving tiny details – try the 12/1, 11/1 or 11/0.5 tools for the smallest details.
When you’re ready to print your block, roll out a little ink onto an inking plate. You only need a little. Roll out a square that is the size of your roller in height and width. The ink should make a slight zzzz sound and not be too squelchy. Water-based inks will dry quite quickly on the plate, roller and block so it’s best to just use a little ink at a time and to work quite quickly.
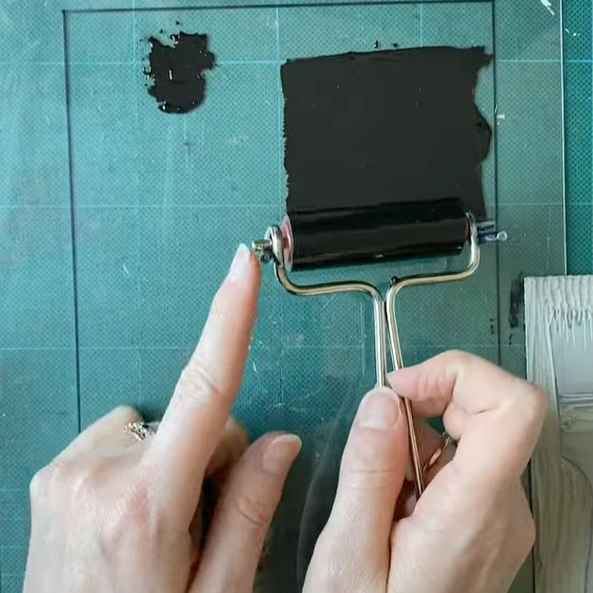
Roll the ink onto the block, taking care to cover all the areas of the design. Top up the roller with ink if necessary. Try to avoid areas of background if possible.
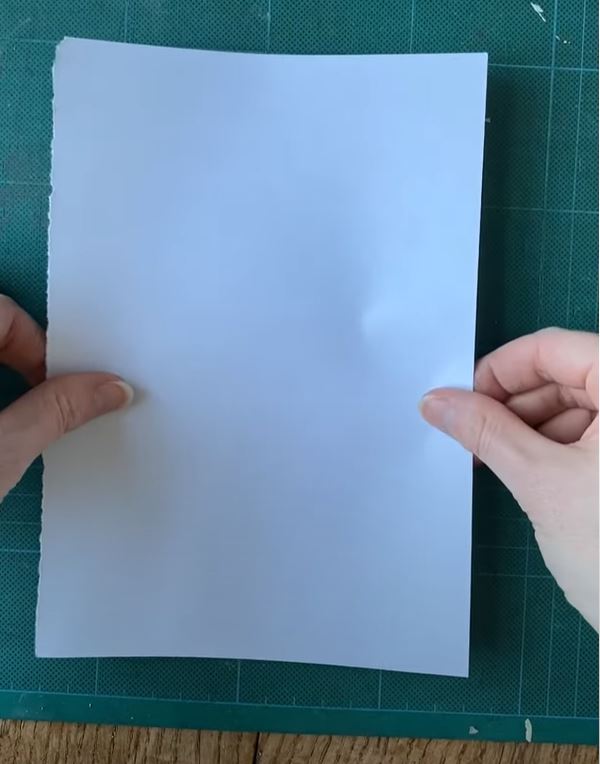
To take a print, place the block face up. Lay a piece of paper on top of the block, being careful not to move it or the image will smudge. You can take the print using a baren, spoon or just your hand. Rub all over the back of the design. Lightweight papers will usually give the most even results. Starting off with plain 80gsm copy paper will be fine for test prints while you learn.
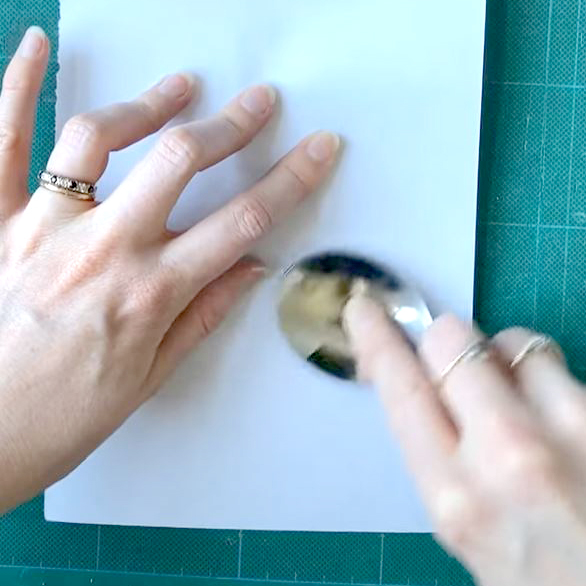
Peel off the paper to reveal the print!
To take another print, re-ink the block and repeat. When you have finished printing, remove excess ink from the block with a damp cloth. Water-based inks can be cleaned with just water, Caligo inks need washing up liquid, some oil-based inks need oil to clean them or Zest-it Printmakers Cleaner. If water-based inks have started to dry on your plate or roller, you can use Zest It Printmakers Washdown to remove it.
You will need:
– Lino (or other carving surface)
– Lino Cutting Tools, we used Japanese Cutting Tools and Pfeil Tools
– A roller like this Abig Roller, Soft Rubber Rollers, or Hawthorn Rollers
– Ink (like Schmincke, Speedball or Caligo)
– Pencil, permanent pencil
– Tracing paper, blue carbon paper, red carbon paper (optional)
– Inking plate
– Baren or spoon (optional)
– Paper on which to print (you can start with just 80gsm copy paper)
– Cleaning supplies like rags, washing up liquid (plus oil or Zest It Printmakers Cleaner for oil-based inks or Zest-it Printmakers Washdown for dried on water-based inks)