Meet the Maker: Georgia Bosson

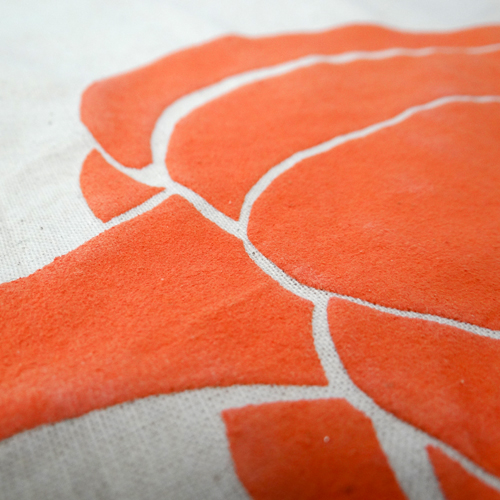
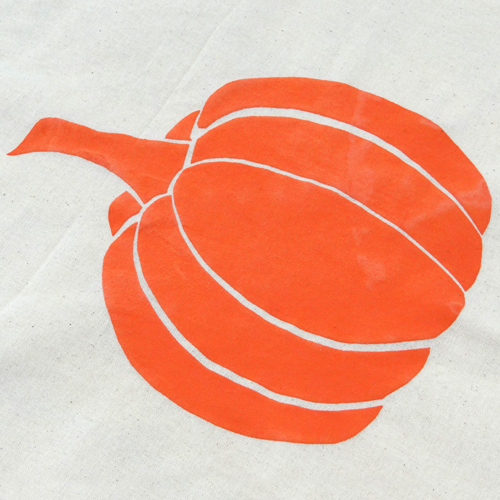
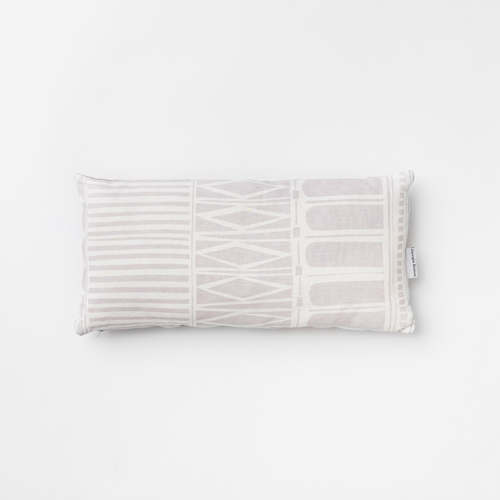
Georgia Bosson Studio creates contemporary, colourful and tactile designs which are applied to a studio product range stretching from textiles to trays. The studio collection is all hand screen printed and made in the UK, with an emphasis on environmentally sound materials and production methods. Where possible during the manufacturing process the studio works with social enterprises creating jobs and opportunities throughout our supply chain.

In addition to the studio range we also work on bespoke projects with architects, interior designers and retailers. Past projects include designing an external canopy for a gallery, curtains for a floating cinema and bespoke embroidered upholstery fabric, the studio has a wealth of experience delivering projects for domestic spaces and in the public realm. 

How and where did you learn to print?

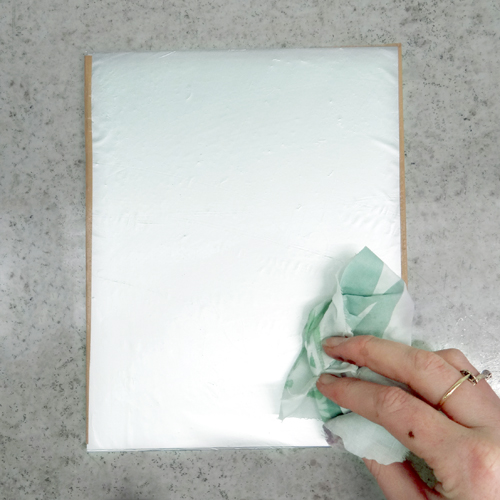
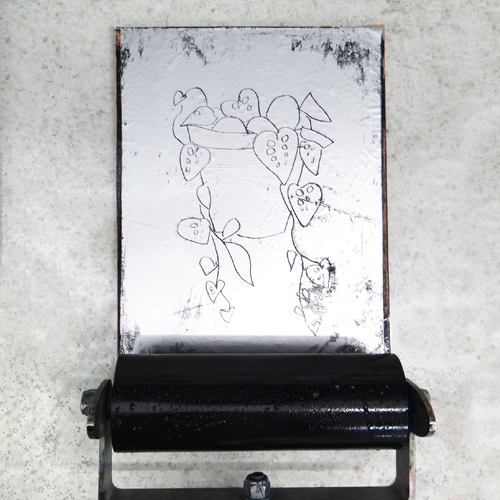
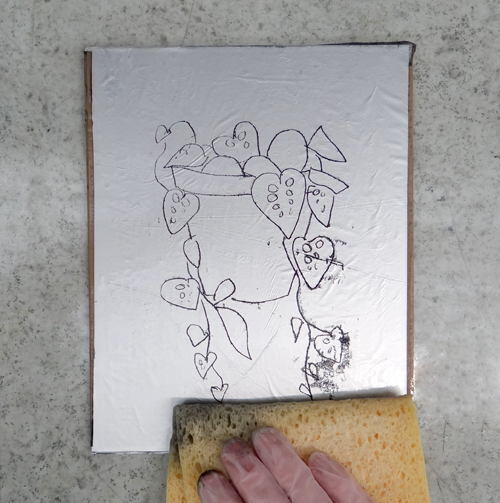
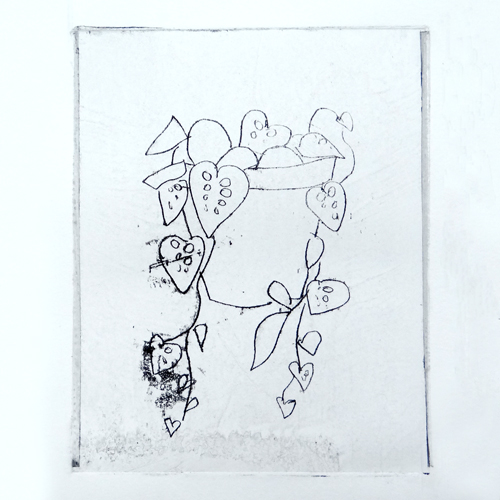
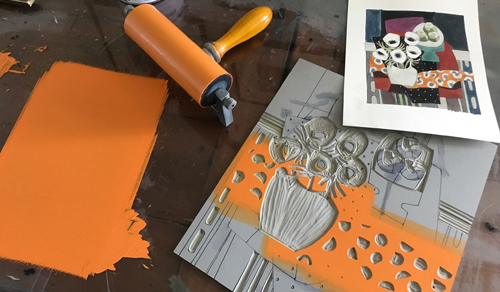
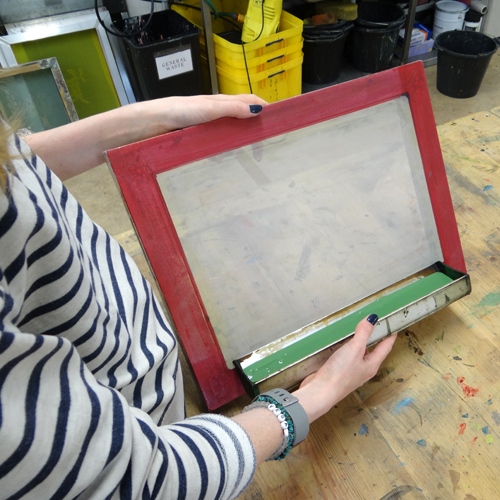
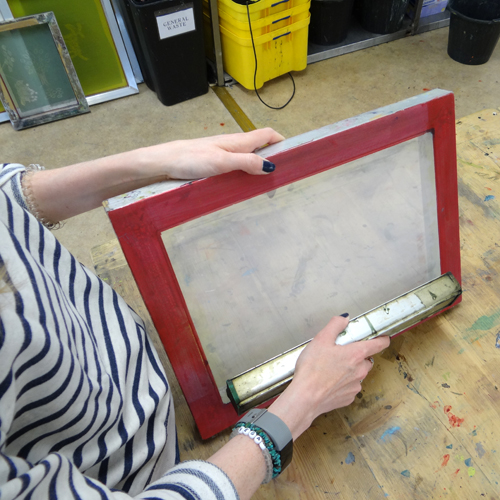
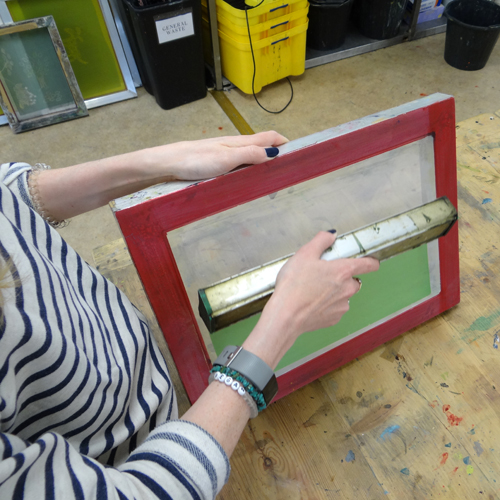
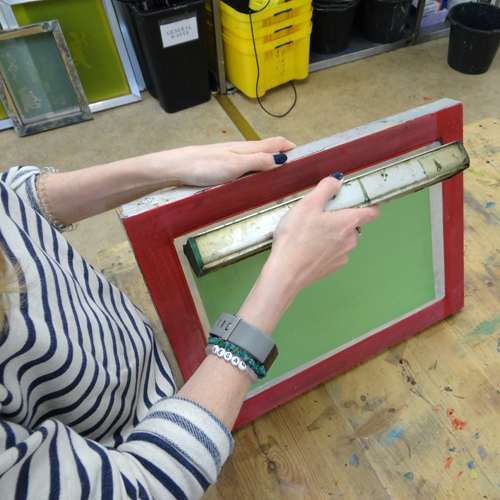
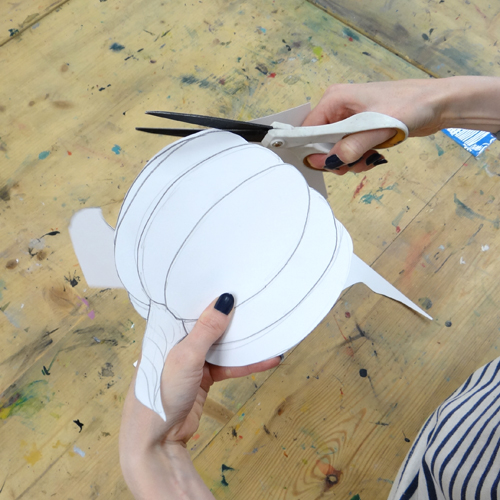
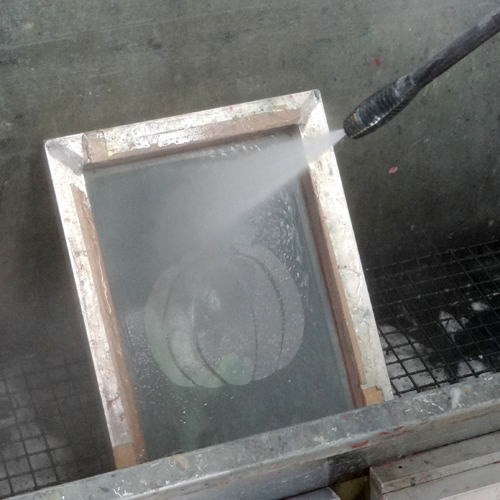
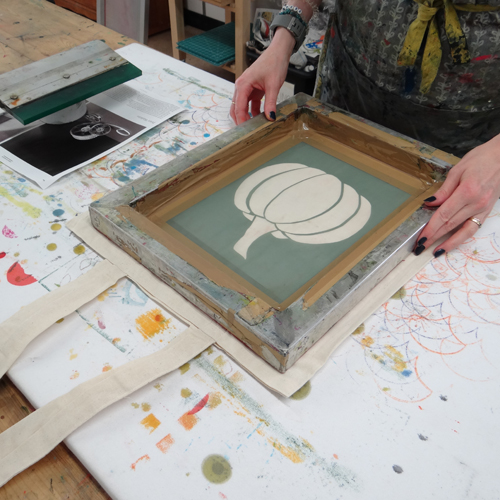
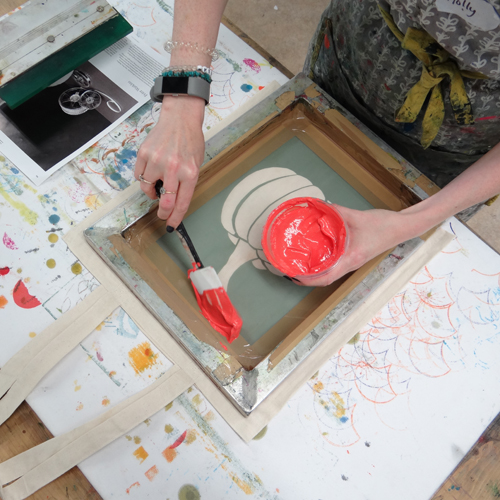
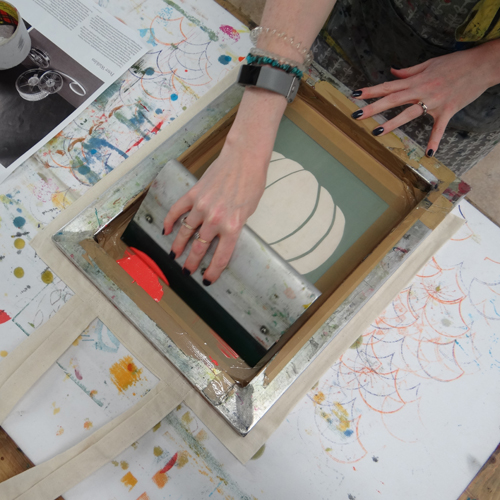
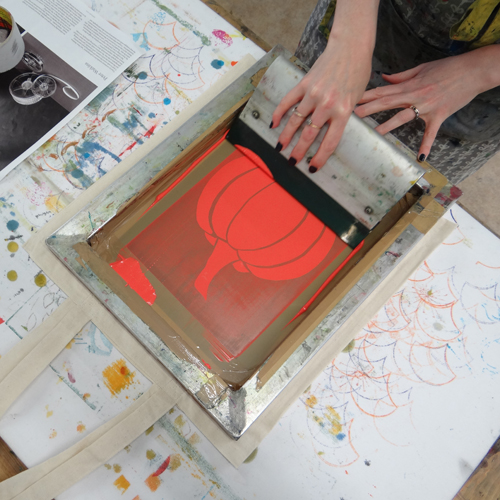
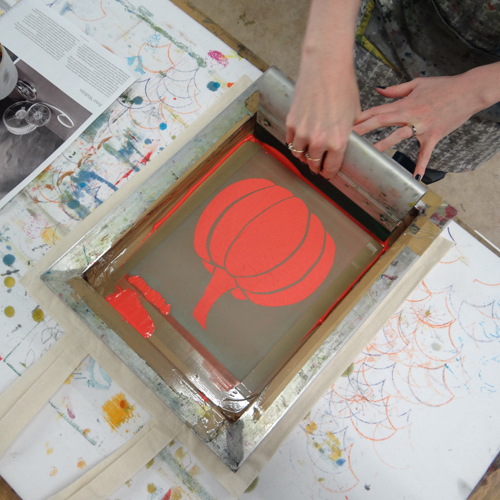
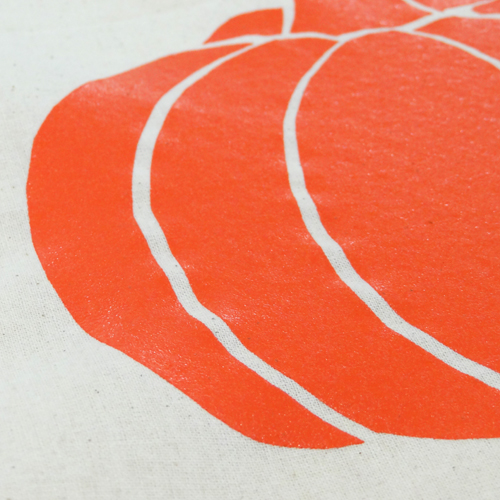
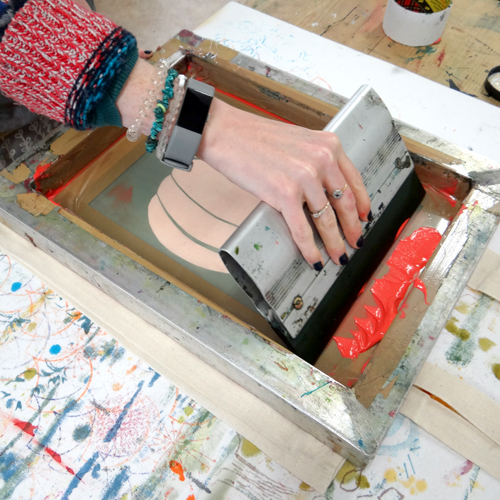
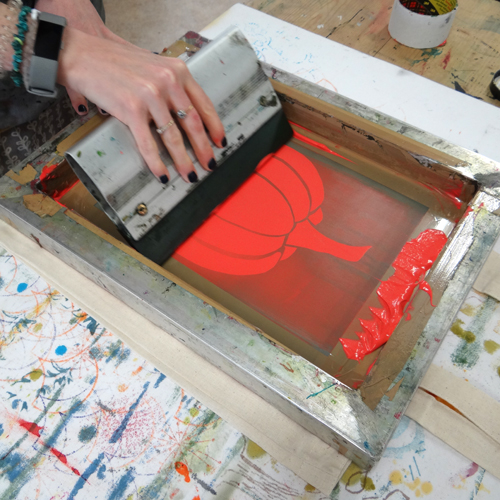
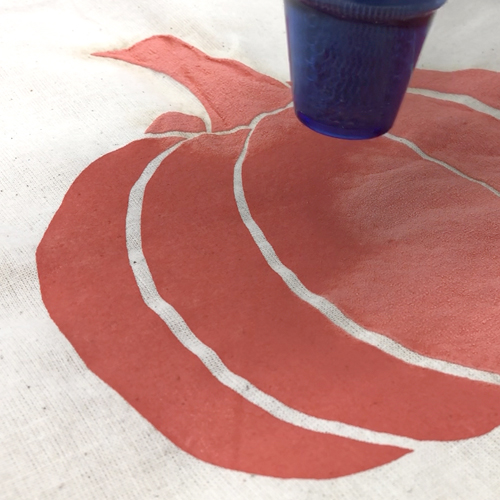
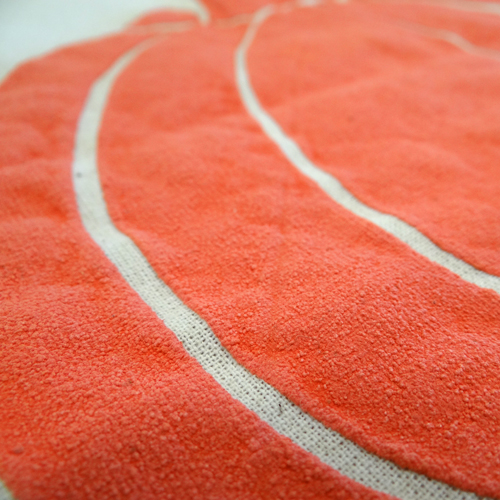
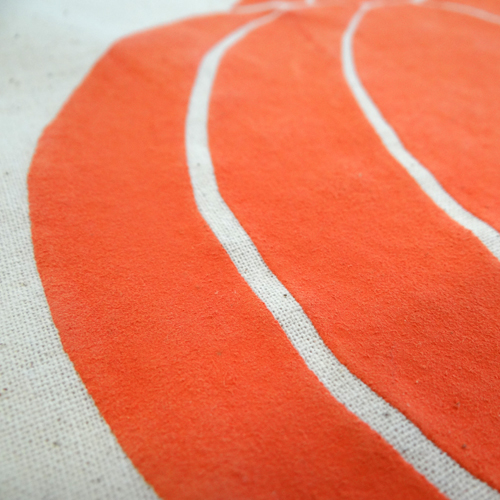
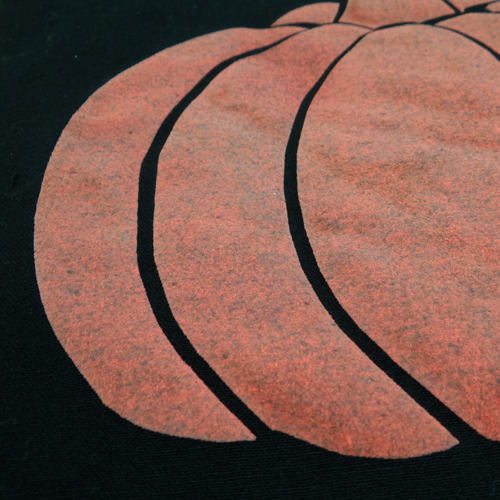
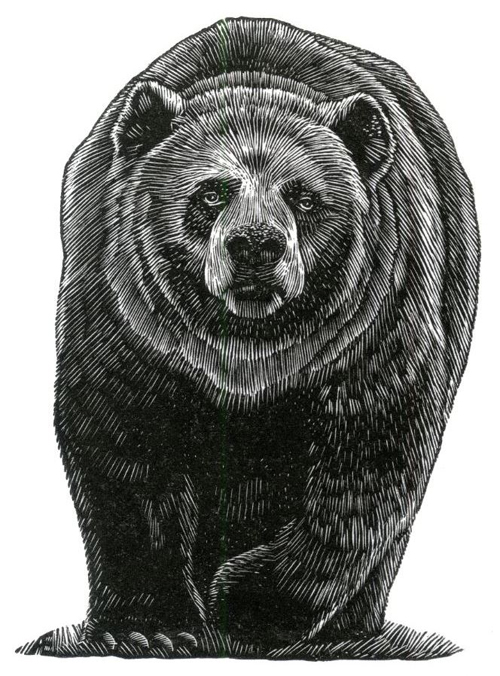
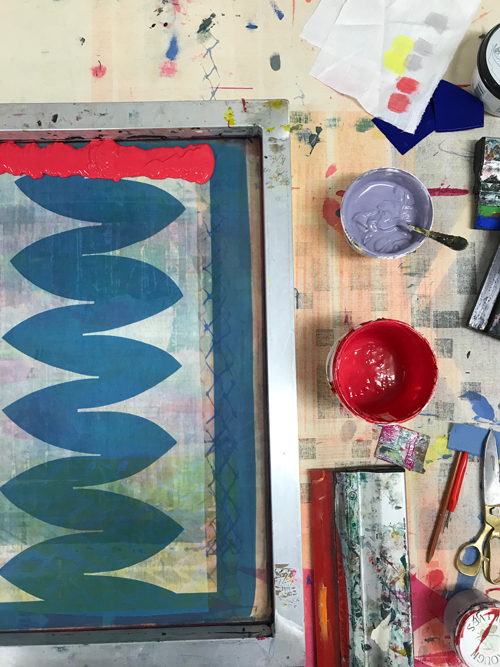
I predominantly work with screen-printing, although I have dabbled in block printing and woodcut printing. I learnt how to screen print when I was at school and then continued to find myself drawn back to the print room during my Embroidery degree, where I used print as a way to add colour to textiles prior to embellishing them with stitch or cutwork.

Why printmaking?

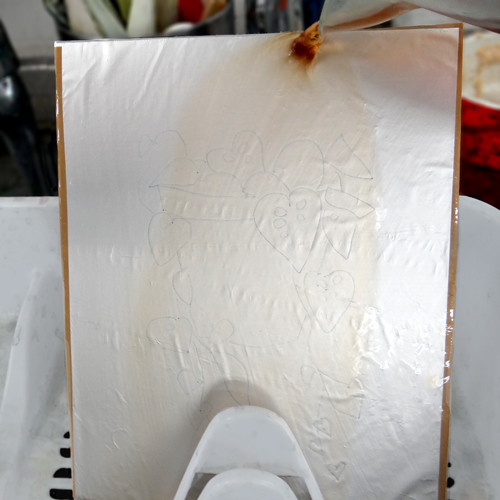
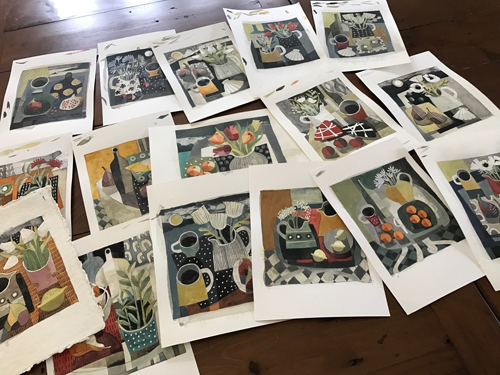
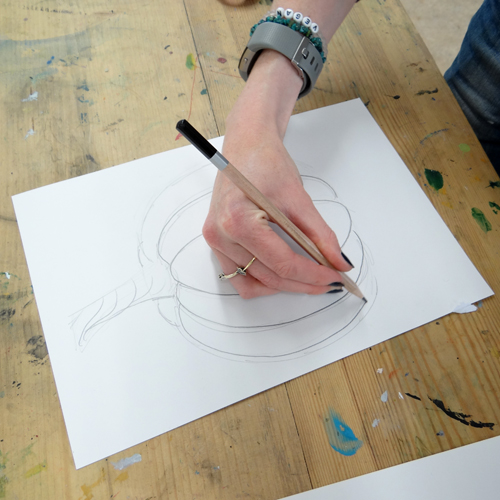
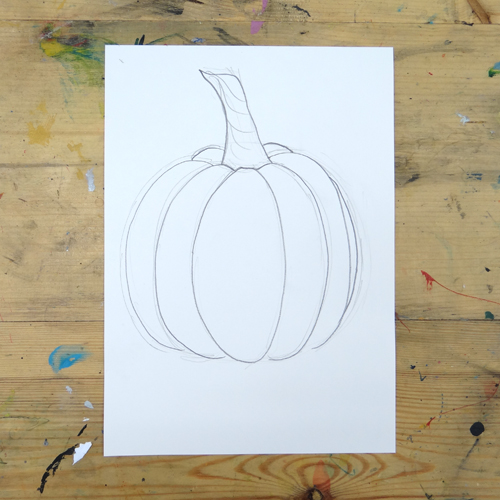
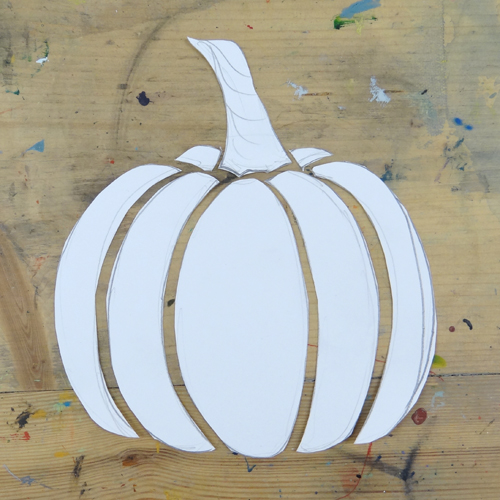
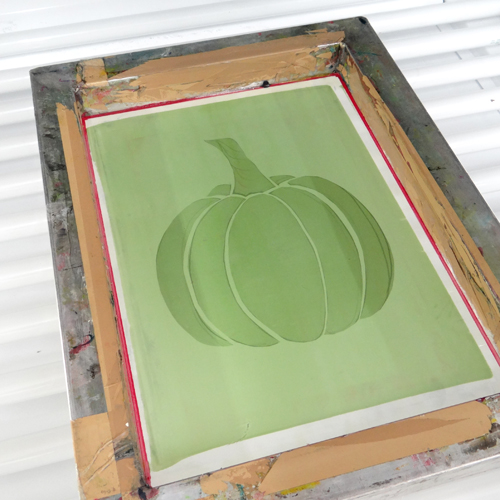
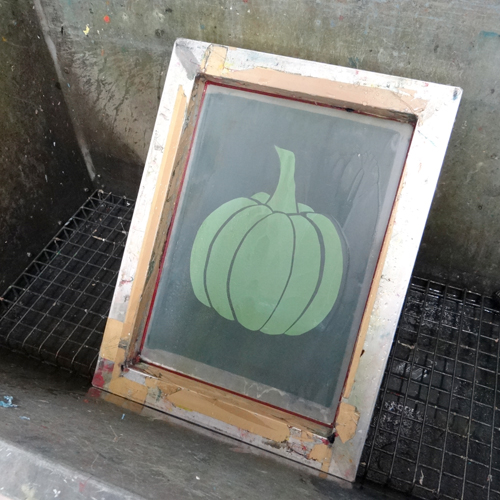
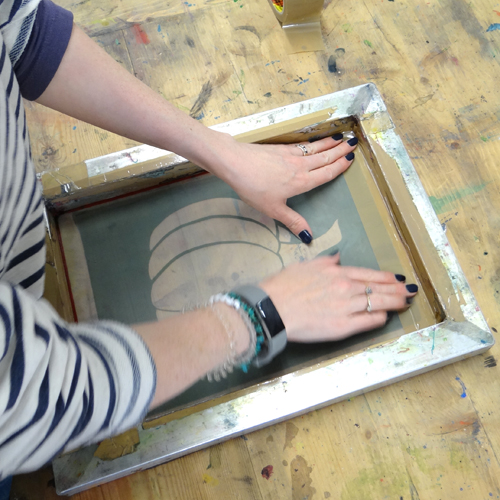
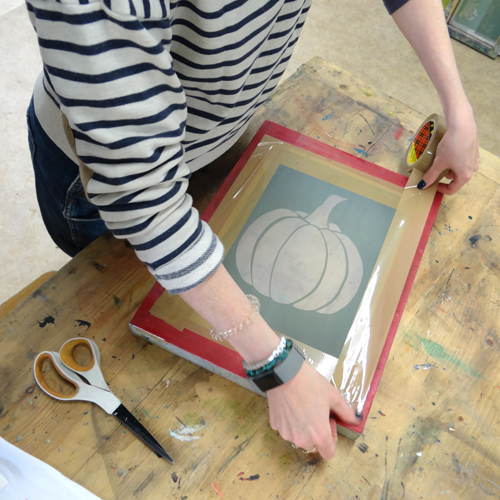
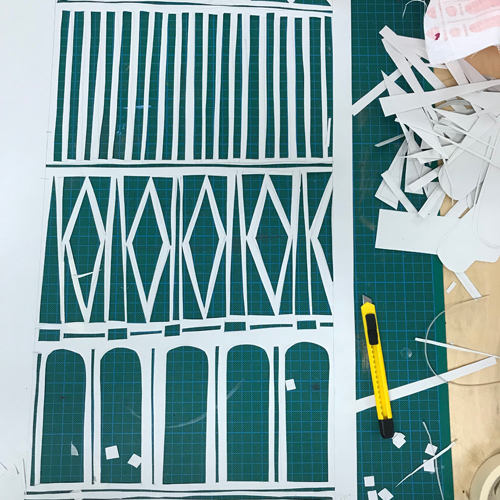
I love the immediacy of the process, when I am working on new designs I work with paper stencils on the screen so I can move through ideas quickly and work out composition and scale. It has got to the stage now where printing is almost a form of drawing for me and my sample prints are part of my sketchbooks.

Where do you work?

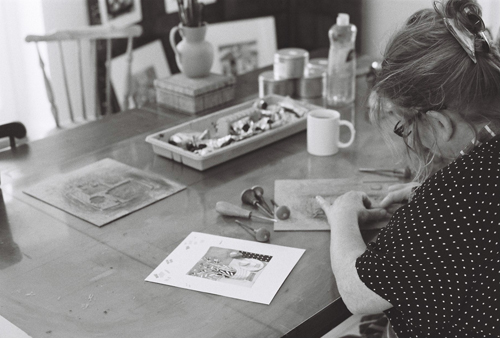
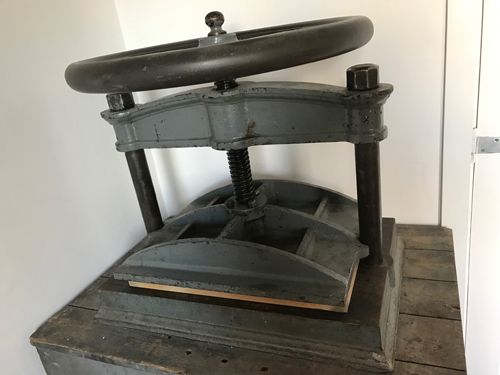
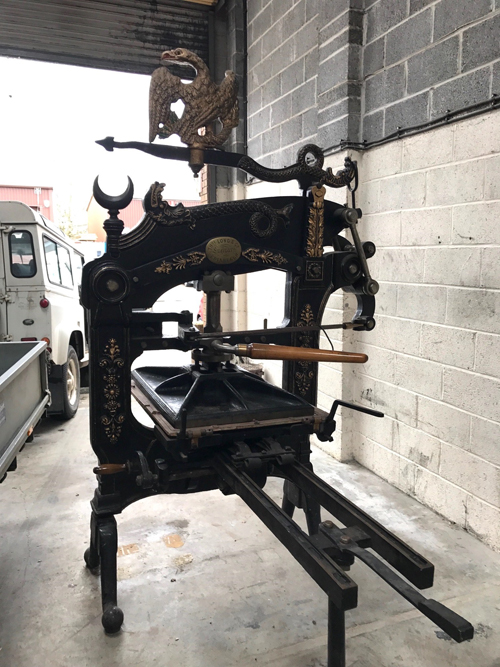
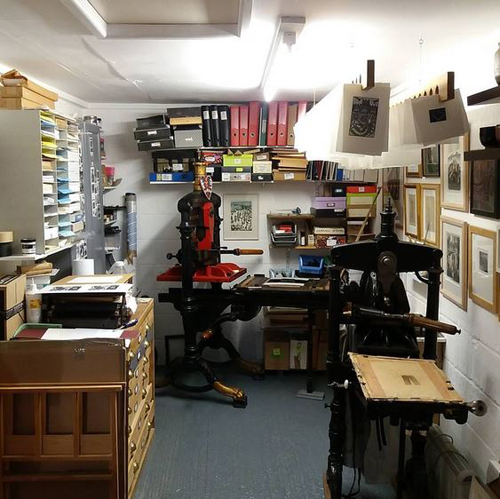
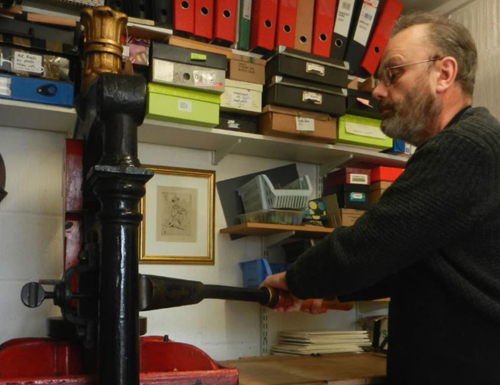
I work in a shared studio on an industrial estate in South Bermondsey, it’s not glamorous and the public transport is terrible, but it is big enough to fit my print table and all of my screens so that is good enough for me!

Describe a typical day in your studio.

I am sure like many self employed designers I rarely have a typical day! The projects that I work on are incredibly diverse so my days range from designing prints to printing and sanding trays or organising exhibitors for one of my Makers House exhibitions. I love the variety of my working days, and don’t think I’d be happy if there was an average day!

What inspires you?

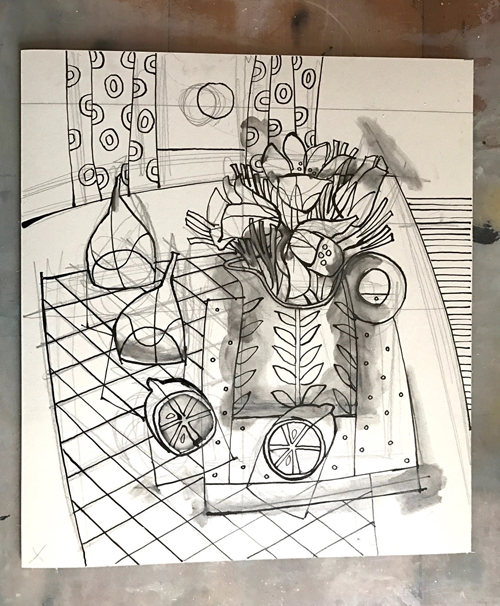
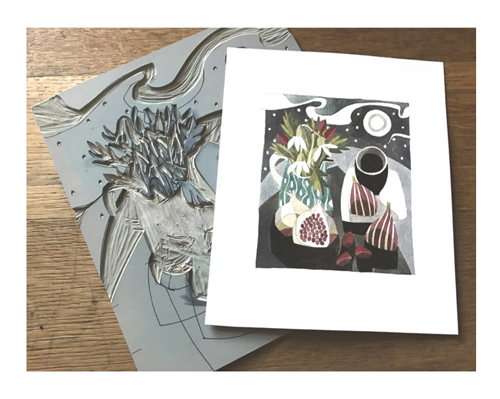
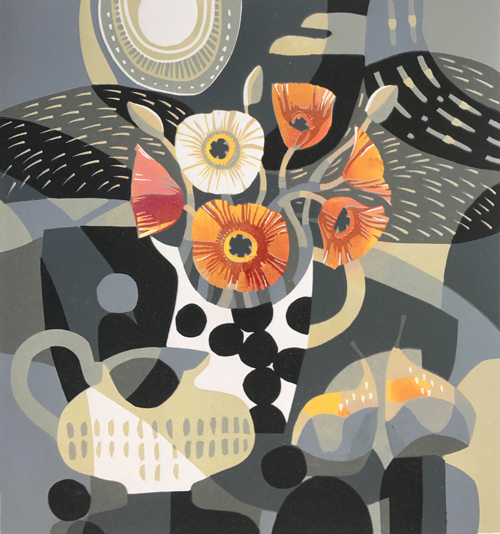
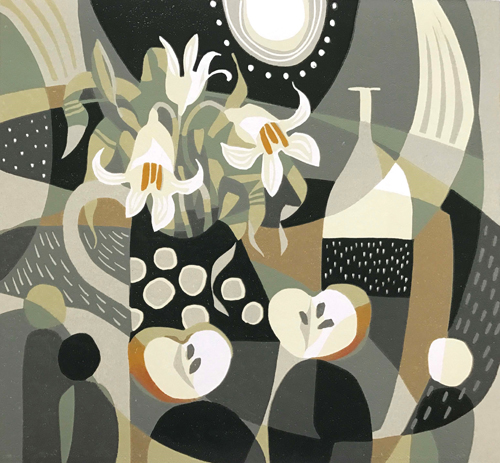
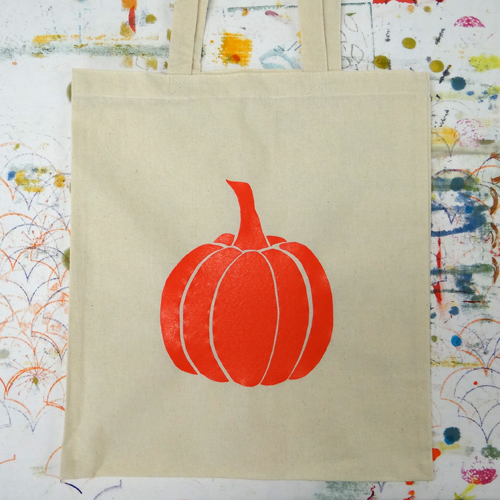
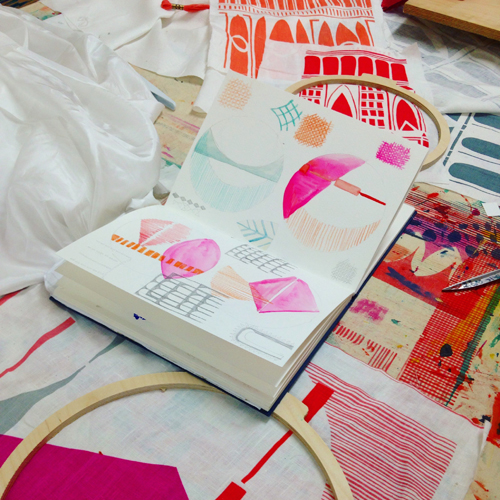
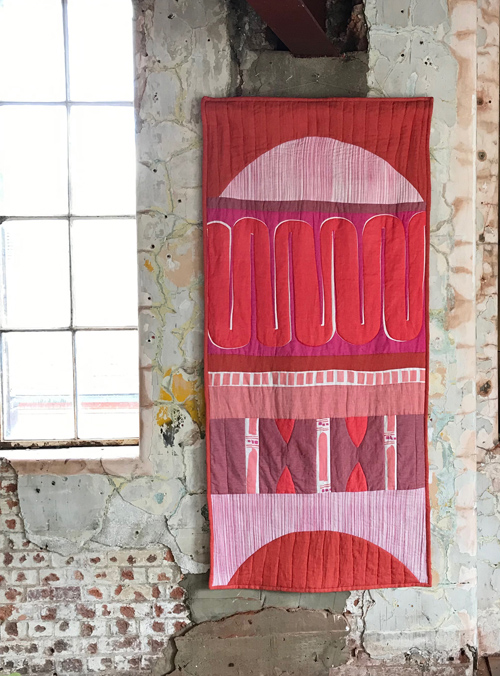
The inspiration for my current collection is drawn from a five week trip around Mexico. The colours are inspired by the incidental colours found in the architecture of Merida and the designs are inspired by the churches of Mexico City. This collection began with fairly accurate drawings of the churches made whilst I was away. Then once I was back in the studio I started drawing out the patterns from within the architecture and experimenting with paper stencils and print.

What is your favourite printmaking product?

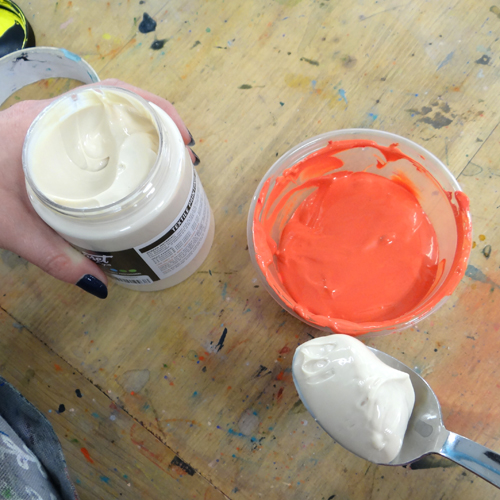
I can’t work without newsprint! It isn’t a particularly exciting printing sundry but I always have reams of the stuff to hand.

What have you made that you are most proud of?

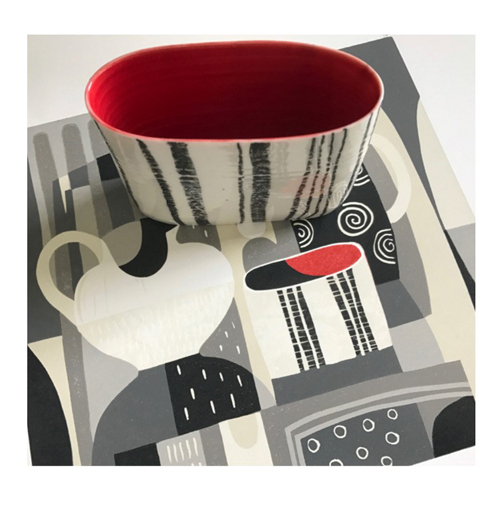
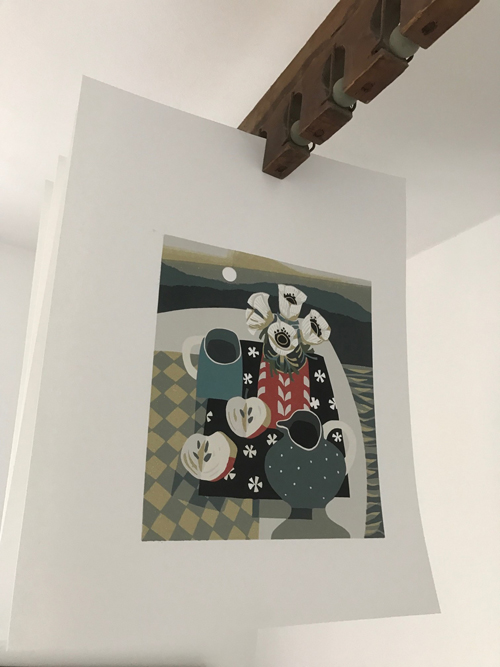
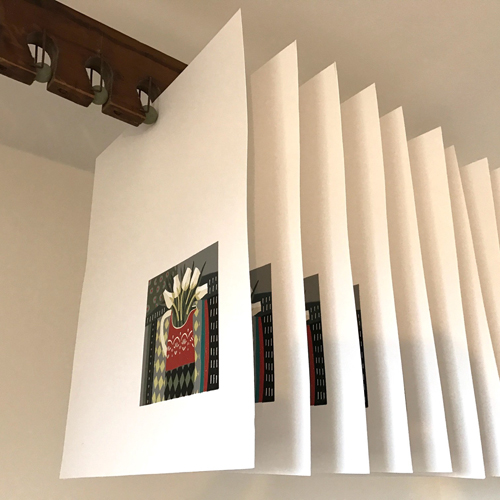
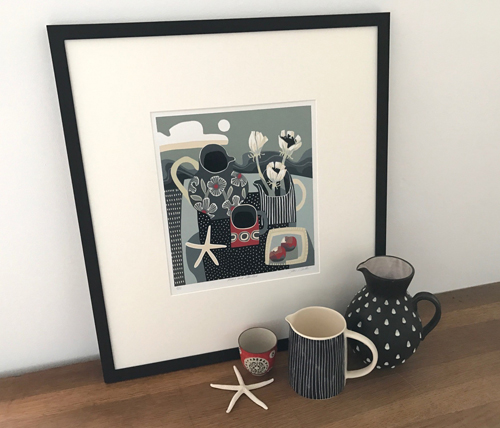
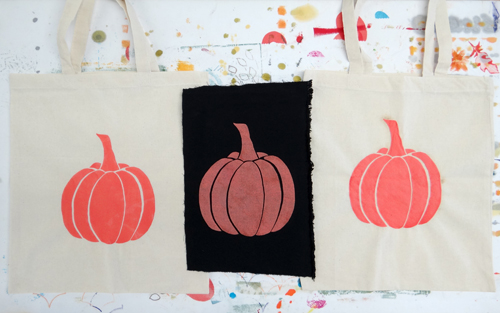
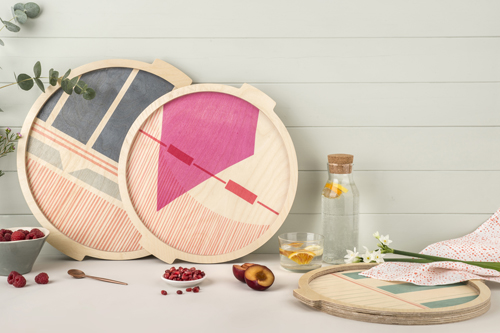
I am really proud of my range of screen printed trays, I worked really hard to discover the right inks and process to get the finish I was looking for and they are now my best selling product and completely unique.

Where can we see your work? Where do you sell?

You can find my work in small online boutiques, at the Makers House exhibitions that I curate and from next year in a rather well known London gallery – I don’t want to reveal too much too soon but next year should be quite exciting!

I am currently working on the Makers House Christmas show, which brings together talented designers, to showcase the process behind the product and create an alternative slow shopping experience in Clerkenwell – the perfect antidote to Christmas high street madness!

What will we be seeing from you next? 

I will be developing a few limited edition products for the show which will hopefully be launched at the end of October.

Do you have any advice for other printmakers and creatives?

Never ignore your gut instinct, when it comes to choosing exhibitions, deciding which products to make or just which colour to work in that day, you know your work better than anyone so try not to be led by what others think you should do.

www.georgiabosson.co.uk
Instagram @georgiabosson
www.makershouse.co.uk
Makers House Instagram @makers_house

Kitchen Lithography

Kitchen lithography is a fantastic technique that draws from the principles of traditional lithography but uses items found in your kitchen along with just a few standard printmaking items! You can even use a baren to take the print so you can try this at home without a press.

A piece of drypoint plastic works well as the base of your plate. When you’re finished with the print the foil can be removed and the plastic can be used again. Pull out a piece of aluminium foil and lay it shiny side up on a clean cloth. Lay the plastic in the middle of the foil. Fold the foil around the plastic, being careful not to rip it. We are working with the back of the plate towards us. Do not touch the foil on the front side of the plate.

Tape the foil to the plate. make sure any openings are covered as these can collect water later if not sealed properly.

Turn the plate over and use a clean cloth to smooth out the front surface.

Lay a piece of carbon paper over the plate. Carefully draw your design on the back of the carbon paper. Thes greasy marks made by the carbon will become your print. You can also make marks with other greasy substances such as lithography crayons and fingerprints.

Still without touching the front of your plate, take it to the sink and pour coke over the front of the plate. Do this in a couple of directions, making sure the whole of the drawing has been covered. We used about 300ml for this plate. The coke can be collected up and poured over another plate.

Rinse the plate with water and then bring it back to your work surface. Use vegetable oil on a clean rag to wipe the plate until the drawing disappears.

Roll out some ink onto a slab. The ink needs to be oil-based or rubber-based. We used Cranfield Traditional Etching Ink in Carbon Black (which should be available from our shop soon!)
Wipe the plate with a damp sponge and then roll the ink over the drawing. Alternate between the damp sponge and the inky roller. Don’t get the plate too wet or it will seize the ink.


Use the damp sponge to wipe off any unwanted areas of ink.

Print the drawing onto dampened paper using an etching press or by placing the paper on top of the plate and hand burnishing with a baren. Use a piece of greaseproof paper between the baren and the paper to stop it pilling and to allow for smoother movement.

Print from the plate again by wiping with a damp sponge and re-inking. The ink can be cleaned up with Zest-it.

To make your own kitchen lithograph you will need:

Meet the Maker – Jane Walker

Jane studied illustration and printmaking at Duncan of Jordanstone College of Art in Dundee before following a career in design at the BBC in London.

She has now come full circle and returned to her first love, printmaking and particularly lino

Describe your printmaking process.

I start with a sketch to work out composition and colour combinations then draw straight onto the lino with a permanent marker – the resulting print is flipped but I quite like the element of surprise.

Using the reduction lino technique involves cutting each layer from a single block and printing the first colour on each sheet of paper in the edition.

Mostly I start from the lightest colour to the darkest, by the time you get to the final colour there is no lino left, so you can’t go back and reprint.

Editions are inevitably small, I try and start off with 14 hoping to salvage 12.

I currently use a table top book binding press but I do have a beautiful Columbian press waiting in the wings in storage until I have the space and access as it is very tall and weighs tons.

How and where did you learn to print?

After a general year at Duncan of Jordanstone College of Art & Design in my home town of Dundee I plumped for illustration because I thought I might get a job at the end of it.

Discovered linocut on a printmaking introduction module and fell in love.

I got to spent my final post-grad year doing nothing but lino – bliss.

Then I worked as a designer (not an illustrator) and ending up as Creative Director of Design at the BBC in London and didn’t touch a palette knife for 25 years.

Why Printmaking?

Printmaking is so very different from the digital design world that I came from. Returning to it I initially found quite difficult, without a brief to work to. I loved the craft of it but had no clue as to content.

In drawing the things around me I found my inspiration and discovered a love of colour and composition.

The actual process is physical, it’s tactile, it’s messy and you can get your hands dirty.

Once you start the emerging print seems to take on a life of its own and I just go with it.

Where do you work?

My studio is at home in what used to be the front bedroom – it’s quite a small space so I have to be very tidy and organised but I do have a lovely old drying wrack hanging from the ceiling which makes for more room as well as a nice display.

Describe a typical day in your studio.

Working at home means I don’t have far to travel, so coffee with emails and then maybe a bit of twittering and posting before the fun bit, cutting, mixing inks, rolling it onto the block, printing and crossing fingers.

I usually take time out of the process to collect inspiration and I do make hundreds of sketches in between times.

What inspires you?

I am fascinated with still life and the relationship between objects and space.

My background has given me a strong graphic sensibility and my colour palette reflects a love of 20th Century Artists: Braque, Matisse, William Scott, John Piper, Ben Nicolson and Mary Fedden.

Also Mid Century Printmakers, Designers and Craftsmen: Edward Bawden, Enid Marx, Stig Larsen, Jean Lurcat, Robert Stewart, Stephen Russ, Abram Games and all kinds of ceramics (but especially jugs)

What is your favourite printmaking product?

My favourite three things are an antique drying rack, a Columbian Press and a pair of corked soled sandals that are very comfortable and give me just a bit more height so that I can place the paper accurately onto the registration block.

What have you made that you are most proud of?

Best moment usually comes about halfway through my latest print – when there is still the expectation that this one will be perfect.

Where can we see your work? Where do you sell?

Prints are displayed on my website along with a list of galleries and upcoming exhibitions.

What will we be seeing from you next?

I get a lot of inspiration from ceramicists and recently made a couple of prints featuring work by Katharina Klug.

Cambridge Contemporary Art will be exhibiting some of my prints with vessels by Katharina also prints by Angie Lewin and willow sculptures by Lizzie Farey from 5 – 27 October. I am really looking forward to being in such good company.

Do you have any advice for other printmakers and creatives?

If you finish a print and aren’t entirely happy with it, put the edition away in a drawer – it usually looks much better after a few weeks (not always though).

When it seems that everything you touch is a disaster just keep going, don’t stop and then get out there and be inspired by what other people are doing.

Website: https://www.janewalkerprintmaker.com

Screen Printing with Permaset Puff Paste

Puff Paste is a great way to add a little something extra to your fabric prints! It adds depth and texture and is so much fun to use. In this project, we have exposed a screen and used it to print with Puff Paste onto a tote bag:

Half-fill the coating trough with photo emulsion. We are using Speedball Photo Emulsion that has been mixed with Sensitiser. We used a 315mm coating trough and coated the A4 screen landscape. An 225mm coating trough can also be used to coat it portrait.

Hold the coating trough in your dominant hand and the screen in the other. The screen should be fairly upright and leant back a little. Put the edge of the coating trough along the bottom edge of the screen, about 1cm from the glued edge. Gently tip the coating trough so the emulsion touches the mesh all the way along.

When the emulsion is touching the mesh all the way along, immediately tip the coating trough up so the flat edges of the green ends are flat to the mesh. Drag the coating trough up the mesh.

When you have reached the top, tilt the screen and coating trough backwards so the rest of the emulsion sinks back into the trough. Carefully separate the trough from the screen. To remove excess emulsion or any thick areas at the edges, use the trough to scrape up from the bottom, without tipping at all this time.

Dry the screen in the dark, resting the frame on some blocks to allow the air to flow.

Whilst the screen is drying, prepare the artwork. We are using paper masks to expose a design onto our screen. You could use Inkjet Screen Film and Screen Markers or Zig Pens instead.

Cut up the design to create the masks. The areas of paper are going to be the parts of the screen that will print.

When the screen is dry, arrange the paper design on the glass of the exposure unit and lay the screen on top.

If using a work light exposure set-up, lay the screen down on a flat surface upside down and lay the papers on top (remembering to reverse the design). Place a sheet of glass on top and expose with a light from above.

When the screen is exposed, wet both sides to stop the exposure. The design should appear green and the surrounding area should be blue.

Wash the green emulsion from the screen to reveal open areas of mesh.

When the screen is dry, use parcel tape to block the edges between the emulsion and the frame.

Prepare the ink. We began with a 1:2 mix of Permaset Puff Paste and Permaset Aqua Textile Ink. The more Puff Paste in the mix, the more it will puff up but the paler the colour will be.

Arrange the screen on top of your fabric. We are printing onto a Tote Bag. It helps to print on top of a padded surface.

Lay a generous line of ink along one edge of your screen.

Using a squeegee at a 45-degree angle, drag the ink along the screen gently. We want to lay down a thick layer of ink so we have a generous amount to puff. Use your other hand to hold the screen still.

Pressing harder this time, pull the 45-degree angled squeegee down the screen.

Repeat this printing process two or three times to lay down a thick layer of ink.

Leave the ink to dry for 15 minutes. We need the water in the ink to evaporate.

The Puff Paste needs to be heat activated. This can be done with a heat gun or an iron. If using an iron, hover a very hot iron over the surface of the print without touching. The heat should cause the ink to puff up! Try to spread the heat evenly over the whole print.

The puffed-up ink gives a great raised texture!

For our next print, we used a mixture of equal parts Puff Paste and Permaset Aqua Textile Ink.

After 15 minutes, we used a heat gun to activate the puff paste. If using a heat gun, slowly move the gun over the top of the print, moving on as it puffs up. The print will get slightly paler as it puffs up. Be careful not to scorch the fabric at the edges of the print like we did – oops!

This combination of a more concentrated Puff Paste and a heat gun has given us a puffier texture that is more bobbly. The colour is also a little paler.

Above is the more concentrated Puff Paste with a heat gun, below is the lower concentration Puff Paste activated with an iron. The print below has a more even texture.

We also tried printing this 50/50 Puff Paste mix onto black fabric! The print shows up well but would be even stronger if we used Permaset Supercover Ink in the mix instead.

For this project you will need:
Screen (we used an A4 43T)
Coating Trough
Speedball Photo Emulsion and Sensitiser
– Dark place to dry screen
– Exposure unit or work light and piece of glass
– Washout booth or bath (or outside space)
– Jet wash or hose
Parcel Tape
– Scissors
– Paper for masks
Squeegee
Permaset Puff Paste
Permaset Aqua Textile Ink
– Spatula
– Fabric or Tote Bag to print onto
Padded surface
– Iron or heat gun

Meet the Maker: Andy English

My Name is Andy English and I am a wood engraver with a special interest in book illustration and the engraving of bookplates. After many years of concentration on commissions, I am trying to create time to make more of the work that I want to do for myself.

Describe your printmaking process.

I use a series of engraving tools or burins to engrave marks on the polished endgrain surface of resistant woods such as boxwood. As with other forms of relief printmaking, the marks I make print white against the dark background.

How and where did you learn to print?

I am self taught and have enjoyed the troubleshooting aspect of making good impressions of my images.

Why printmaking?

My interest in multiple images probably started with a childhood hobby of stamp collecting and I started cutting designs in wood and printing from them in my early teens, without really knowing that I was actually making prints. I have always enjoyed making small, detailed drawings and these translate easily to wood engravings. I also like that my original work can be enjoyed by many – not just a single collector.

Where do you work?

I print in a small converted outbuilding next to my home in the rural Fenlands of Cambridgeshire. Most of my designing and engraving takes place in a room in the house.

Describe a typical day in your studio.

I like the mix of tasks. There is always admin to see to and then some time will be spent designing, then engraving and printing. There are always several projects on the go and each task is a welcome change from the previous one.

How long have you been printmaking?

I have been a printmaker since 1991 and a full time one for fifteen years.

What inspires you?

I am inspired by my surroundings and my interests. I live in a small village and have great concerns about the environment and our dwindling wildlife. I know that some of us are told that our work is
“too rural” but my subjects are often also my concerns.

Most of the time now, I am engraving prints for exhibition and sale at art/craft events and online. I get the greatest pleasure from making small handmade books, all based on engraving. My most recent one was made to encourage people to plant bee friendly gardens.

What have you made that you are most proud of?

I engraved a miniature sheet of honeybee stamps for Royal Mail in 2015 and this year, I had a print accepted at the RA Summer Exhibition at my first attempt.

Where can we see your work? Where do you sell?

I do exhibit from time to time but I mainly sell online.

What will we be seeing from you next?

I am planning more miniature books as well as other prints of the natural world.

Do you have any advice for other printmakers and creatives?

I encourage people to make the work that interests them, rather than what seems fashionable. Work on the craft of printing and do not be discouraged if the results do not match the image in your mind. Learn from it and start the next one. Finally, enjoy those happy accidents that happen to improve a print.

My website: www.andyenglish.com
My ETSY Store: https://www.etsy.com/uk/shop/AndyEnglish
My Instagram: andyengraver