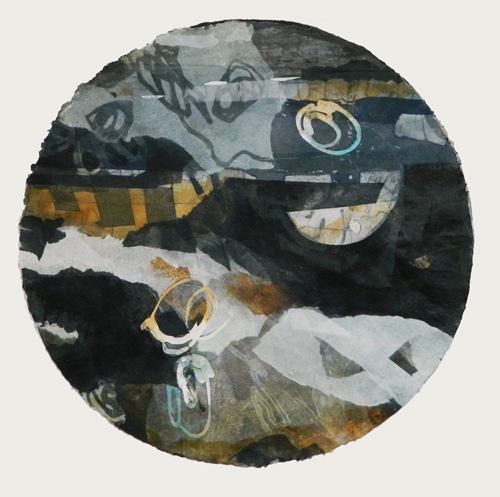
I am a painter and printmaker living in Norwich. My work is about journeys; those that I take and the journey that the artwork has been on
in my studio. The textures, colours and structures of each environment dictate the development of my artwork which whilst predominately abstract are based on fleeting images, imagination and experiences. Whilst I harness a range of printmaking techniques for my works in paper I do not make editions or reproduction. Each piece is created individually as a result of incorporating elements of risk and experimentation, my creative process produces unique pieces, more akin to painting than printmaking.
Describe your printmaking process.
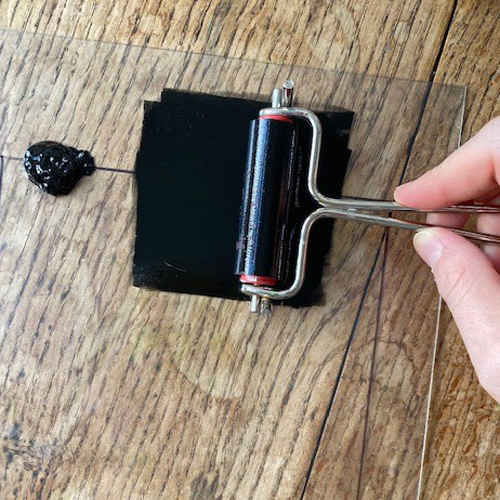
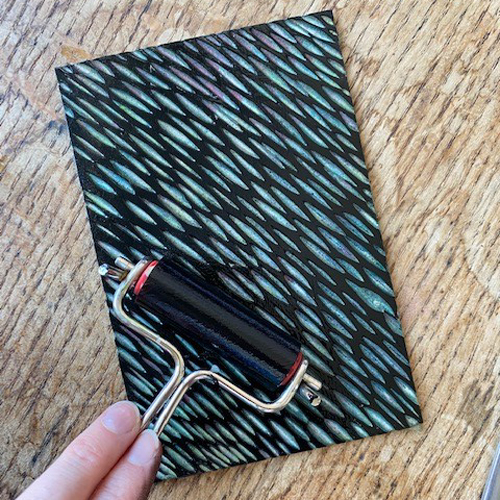
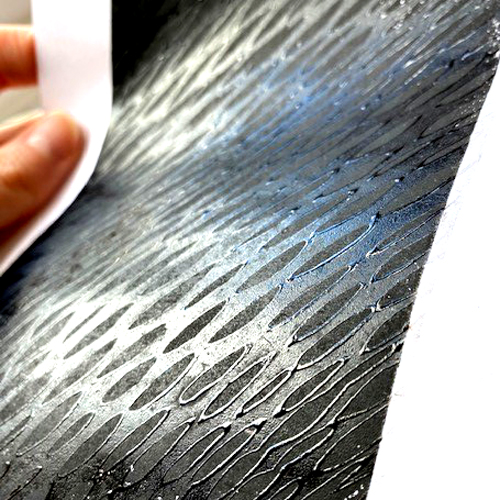
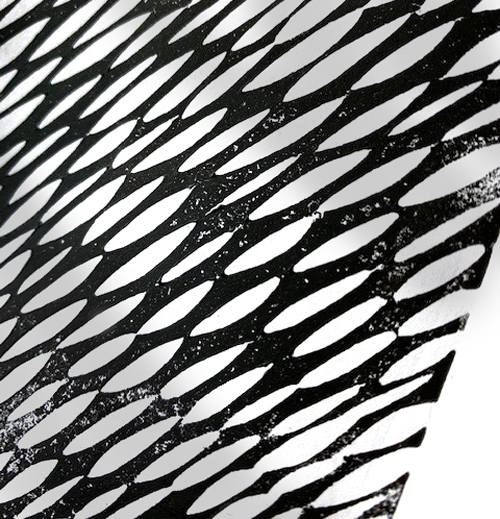
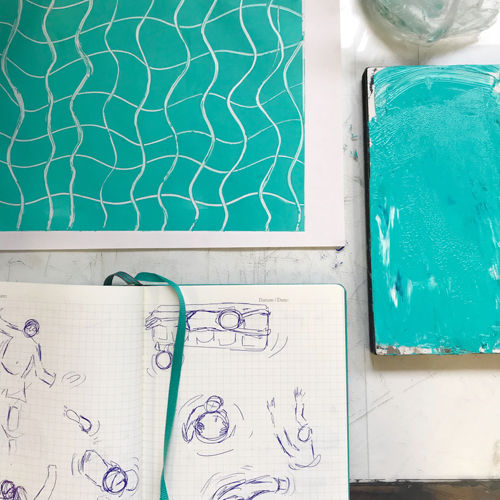
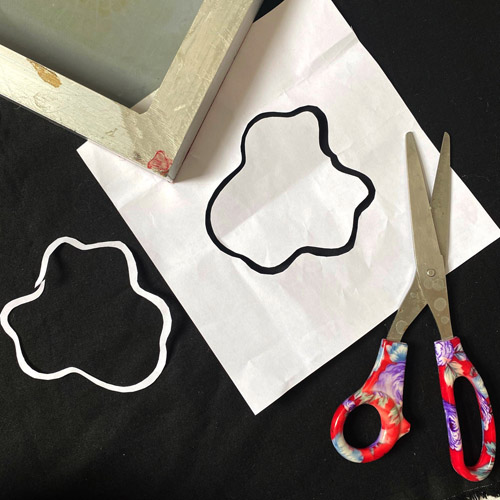
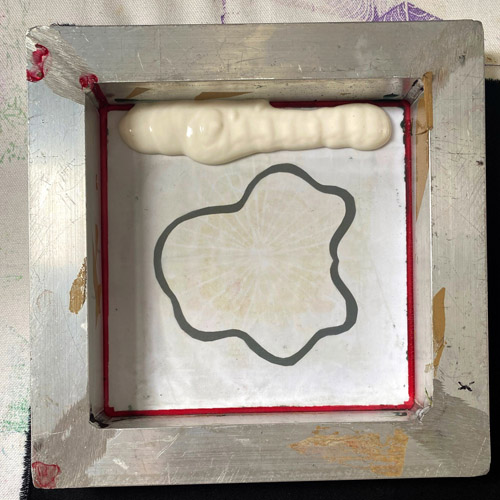
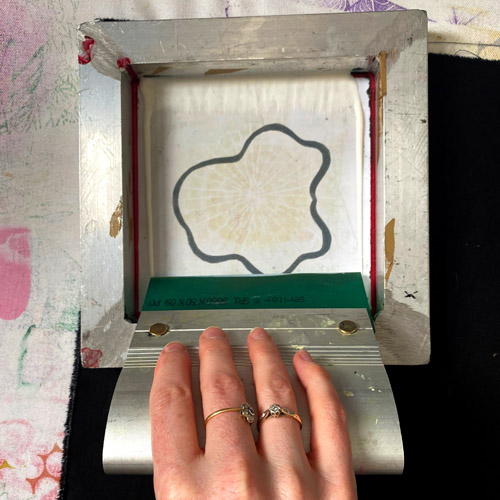
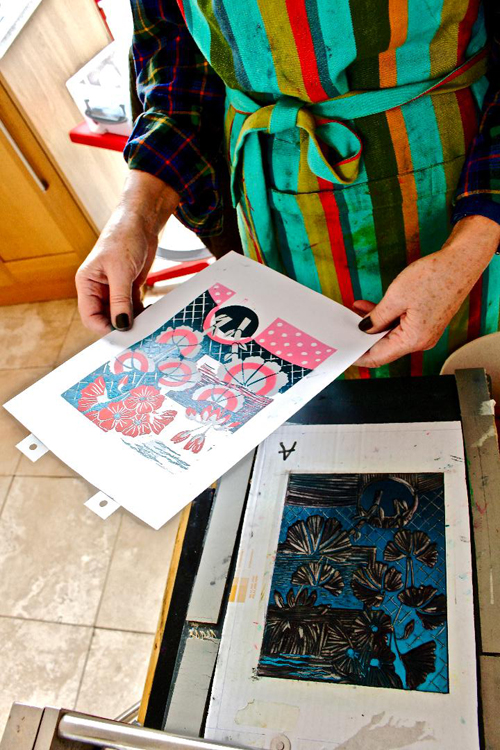
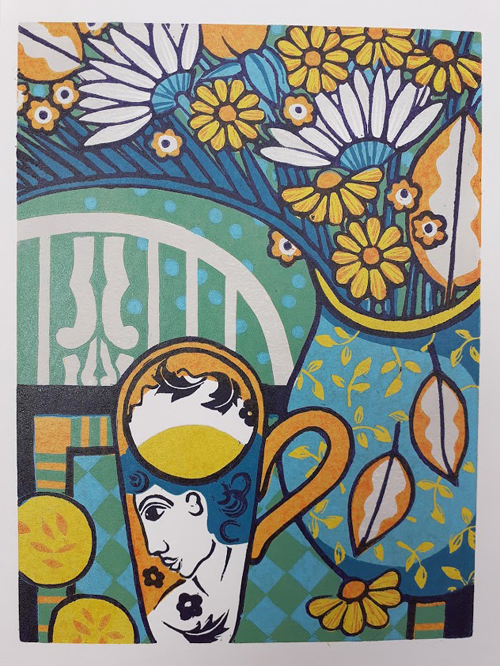
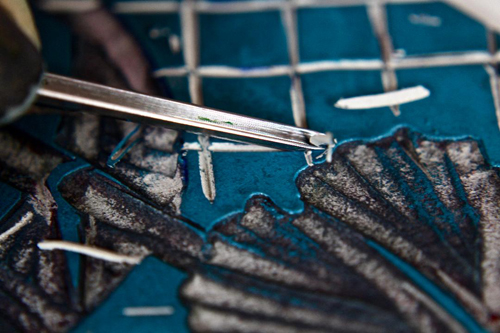
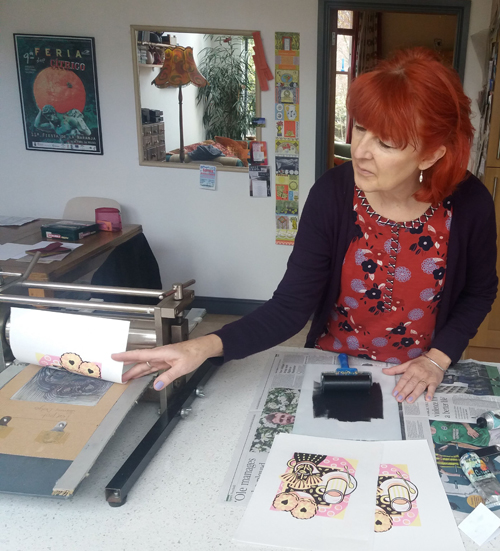
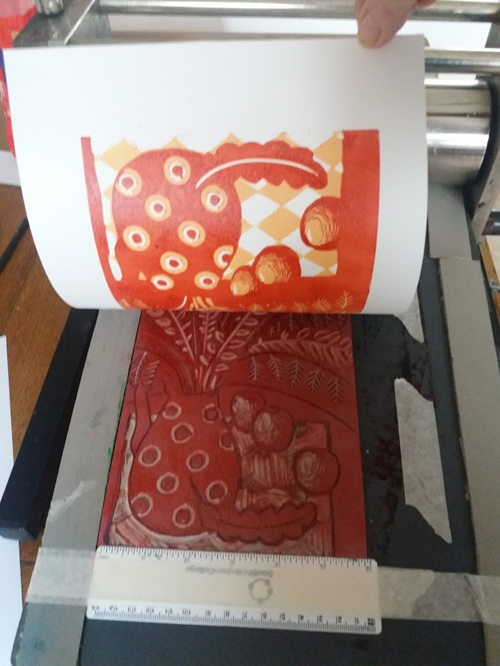
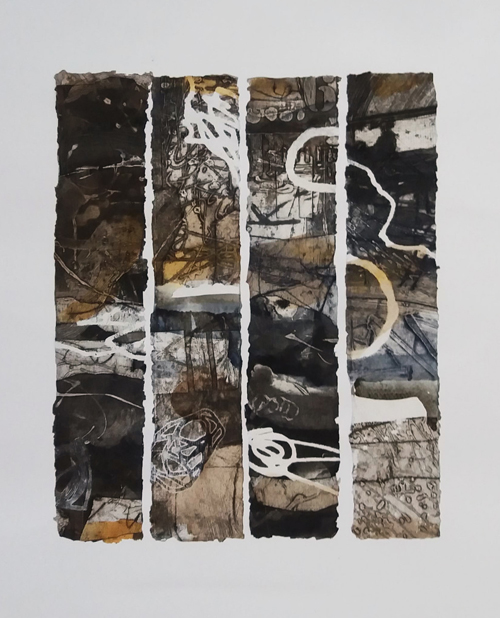
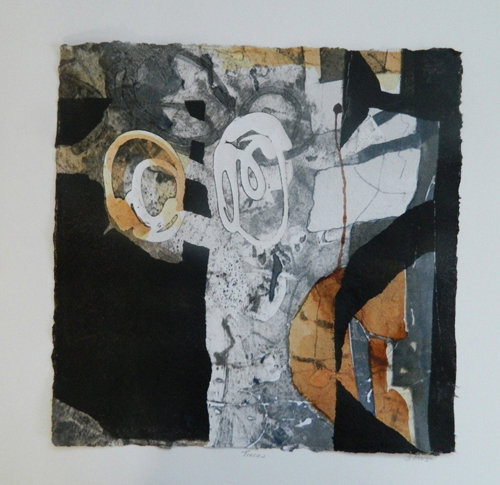
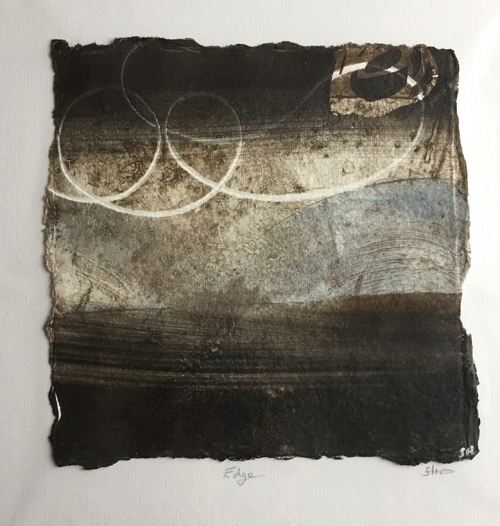
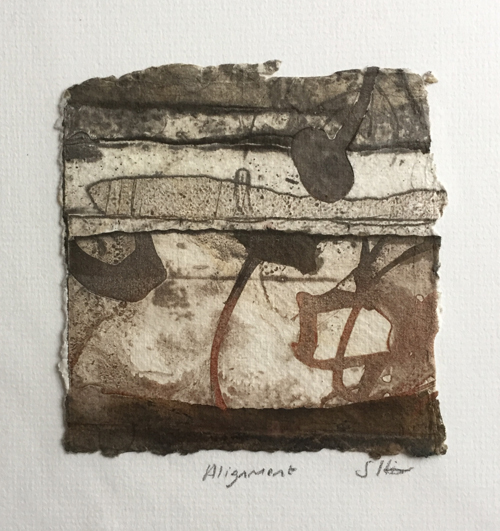
I work across three printmaking processes, collagraphy which is building a plate with textures to hold the ink, drypoint which is creating lines in perspex that hold the ink and monotype, simply inking a plate, manipulating t and taking a print. I often combine all three on one piece.
How and where did you learn to print?
At Cambridge University as part
of my PGCE and once I started teaching I would treat myself every summer to a
week long course at Gainsborough House in Suffolk. Over the years I was taught
by many great printmakers including Dale Deveraux Barker and Michael Caro. I
have never stopped learning, or teaching printmaking.
Why printmaking?
I don’t like to know what is
going to happen. At the point I can predict the results I get bored! So, for me
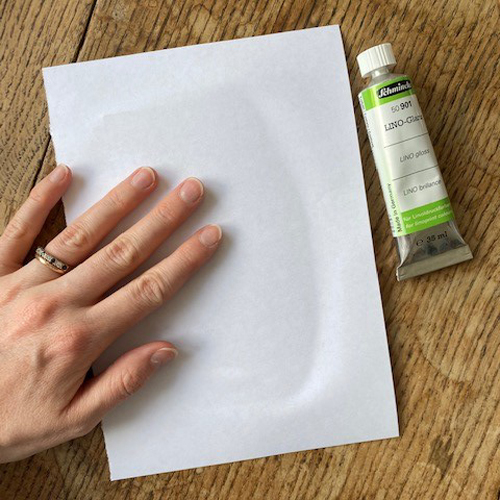
the moment of lifting the paper from the plate is always an exciting one. For
that reason I don’t make editions, each print is a one-off. A single piece of
paper may have three process on it, and I often hand colour the prints or add
collage elements so it would be impossible to repeat! In many ways my prints
can be seen as paintings, built in layers each layer responding to what has
gone before. I love how something will happen in a print that influences my
paintings and vice versa, it’s like a conversation that goes back and forth.
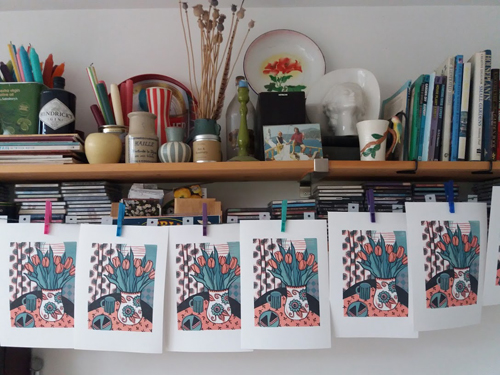
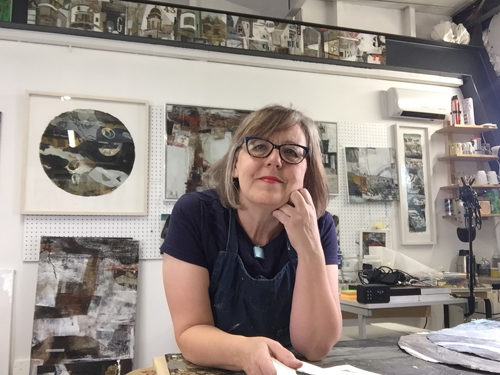
Where do you work?
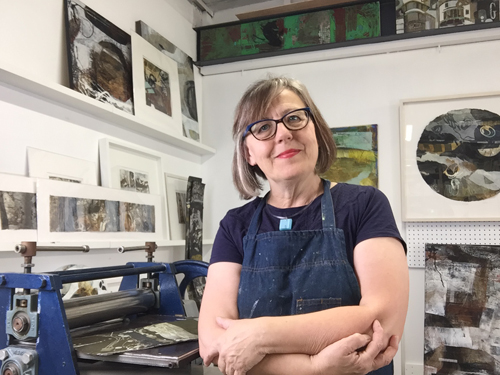
I have a studio near my apartment
in Norwich, a short walk along the river. I have worked from home but I like to
keep the mess contained. My studio is large enough for me to be able to run
workshops and is a light and airy space. I have travelled and moved house a lot
of times but the priority has always been a space to be able to work in, often
more important than where I’m sleeping!
Describe a typical day in your studio.
I aim to get there by 9am. I then
spend the morning working, stopping for a cup of tea about 11am. I paint as
well as print so there is always something to do, and with both media I work in
a series. I go back to my apartment for lunch around 2pm. The afternoon is
either spent catching up with emails and paperwork, or looking at photos I have
taken of the mornings results and considering my next moves, like chess! I go
back to the studio about 5pm to spend an hour or two tidying up and set out
work for the next day. My aim it to make it so when I return the next day I am
straight in, without having to think or plan or get distracted.
How long have you been printmaking?
I first discovered printmaking when I did my postgraduate teaching certificate at Cambridge University so 30 years. Before that I was mostly painting.
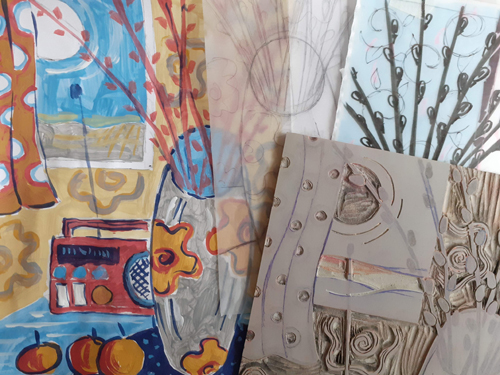
What inspires you?
Anything with interesting textures and strong shapes. I’m currently studying for my MA and have been exploring themes around abandonment so I’m looking at textures of old buildings and things I find on my travels, drawing around objects, taking rubbings of parts of buildings, gathering ideas.
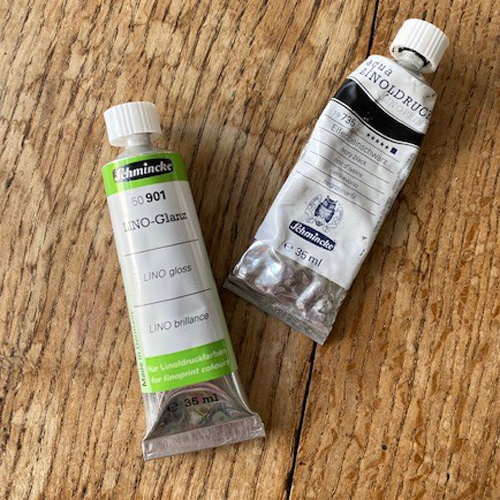
What is your favourite printmaking product?
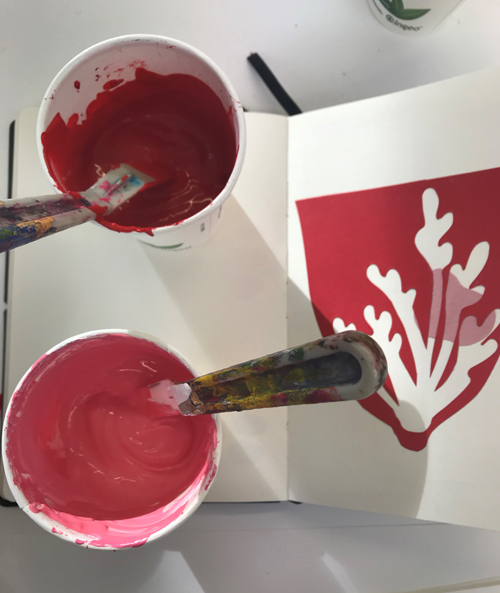
Not really a printmaking product
but I love ceramic tile adhesive. I use it to create textured plates for
printing on an etching press or craft die cutter (Xcut Xpress). I can mould it,
score into it, sand it and varnish it…and it survives the inking and printing
process. Suzie Mackenzie included a section about my work in her new book.
In terms of ink my favourite is Akua Intaglio as it never dries on the plate, or skins in the pot. This means I can spend a day inking lots of plates, then go back the next day with clean hands to print them. Its just the right consistency for both collagraphy and drypoint.
What have you made that you are most proud of?
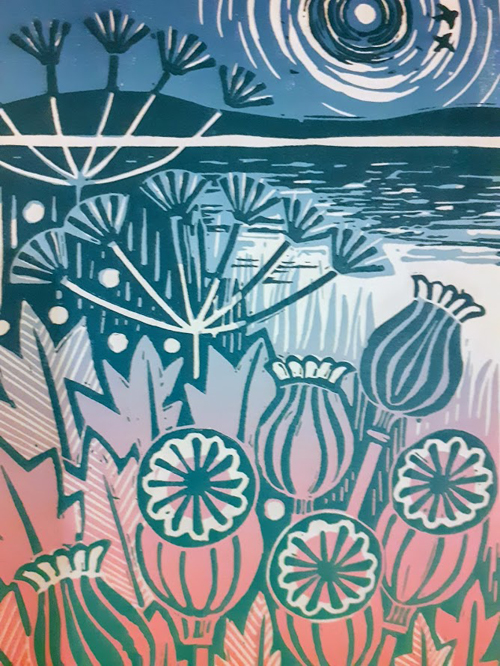
I am most proud of the series of
prints I created as a response to the Cornish coastline. I was at a point which
we all have of being in between projects, feeling unsure of my direction. I
went to Cornwall for a residency at Brisons Voer. Having packed the car with a
mountain of equipment and driven down there I was faced with a calm blue sea
and idyllic landscape…and panicked! I almost turned around and drove home. I’m
a city girl at heart and whilst I love being in a rural environment it doesn’t
feed into my work and I was very unsure of what I would do. But I calmed down,
took a walk and turned around to find the most amazing colours, shapes and
textures of the Cornish geology. That was it, I was in! The prints I made as a
response to that environment have been some of the best I have made. They are
confident, loose, free and painterly.
Where can we see your work? Where do you sell?
I find selling prints in
galleries not cost effective. The prints are made on deckled edge paper and
hang on a signed mount, this means frames I use have to leave space for the
paper and are specially made. Paying commission to a gallery on a framed print leaves
me with just enough to cover the cost of making it! As a result I now only sell
my prints either online through my website or at specialist print fairs such as
Norwich Print Fair, or through Open Studios. If I am having a solo show of
paintings I include prints as they relate to each other, People quite like that
my prints are only available from me and over the years I have built a group of
collectors who understand my work.
What will we be seeing from you next?
I’m currently working on a series
of paintings and prints based on the knots and ropes, textures and colours of
old fishing boats. I have been teaching workshops in Collagraphy, Monotype and
Drypoint for many years. I recently started teaching online and have nearly 2k
subscribers to my YouTube channel already! As a result I will be launching some
more online workshops. I love teaching, and people seem to like my depth of
knowledge and experience, its also nice to be able to reach people all over the
globe!
Do you have any advice for other printmakers and creatives?
Work on something everyday, even if it’s just gathering a few supplies, that way you will be in contact with your creative self, to be kind to yourself when things don’t go well, and finally to avoid making things that other people like, but you are bored with! I have met so many printmakers who say “I love your approach but this is what I’m known for so have to stick with it”.
For more from Sally Hirst:
www.sallyhirst.co.uk
Youtube
Artwork Archive
Facebook
Instagram