Delicata Metallic Ink Pads

Stamping is one of the easiest ways to print at home. Use ready-made stamps or carve your own to create beautiful designs. We love these Delicata Metallic Ink Pads for printing onto paper. They come in Golden Glitz, Celestial Copper and Silvery Shimmer. All three print brilliantly onto both light and dark papers.

Ink up your stamp by dabbing it lightly all over the surface. This way, your ink pad doesn’t need to be larger than your block and can be used to ink up any size stamp.

Press the stamp firmly onto the paper.

This Golden Glitz Ink Pad has a gorgeous shine!

What’s even better? They print beautifully onto dark papers too! Look how great they look on black paper.

For project you will need:

Screen Printing Metallics: Ink, Powder or Foil?

Printmaking with metallics can add a real pop to your designs. There are a few different options to choose from when screen printing with metallics: pre-mixed metallic ink, metallic powder and textile foils. We’ve made this project using all three methods to show you the advantages of each one.

We cut three paper stencils: one for each type of ink in this project. This way, the stencil could be peeled off and the screen cleaned between each ink type.

We are using three types of metallic screen printing: Speedball Metallic Screen Printing Ink in Silver (also available in gold), Metallic Binder mixed with Silver Metallic Powder (also available in gold) and Textile Foil (available in lots of colours).

A 43T mesh screen is perfect for printing onto fabric.

Begin by taping the screen around the edges with parcel tape on both sides of the mesh. We used paper parcel tape. If using a paper stencil, make sure the aperture is slightly smaller than the paper.

Speedball Opaque Fabric Screen Printing Ink in Silver is a pre-mixed ink that can be used straight out of the pot. It’s opaque so can be used to print onto both dark and light fabrics. We are printing onto black cotton.

Permaset also have metallic screen printing ink that will work beautifully too!

It has a beautiful metallic sheen.

Lay the fabric down onto a padded surface and pin it down in the corners. Lay the paper stencil on the fabric and the screen on top.

Place a line of ink at the top of the screen, above the design.

Use a squeegee at a 45′ angle to lightly drag the ink down the screen. This will flood the mesh with ink. Leave excess ink at the bottom of the screen. Place the squeegee back at the top of the screen and drag the squeegee down again at a 45′ angle, pressing hard this time. Use your other hand to hold the screen still.

This ink shows up very well on black cotton. The finish has a soft metallic sheen. It washes well but will need heat setting before washing – heat set by ironing on a high heat until the print feels hot to the touch.

Our second metallic ink choice is Metallic Binder and Metallic Powder in Silver. These two are mixed together to create a metallic ink by themselves or with Pigment Colours to create coloured inks with a metallic shine.

The powder is very fine so it will not block the mesh. It’s made of aluminium and will not tarnish. It is advised to wear a mask when handling fine powders like this.

The powder and binder should be mixed together in a ratio of 1:10 powder to metallic binder. Less powder can be used for a less metallic finish. Pigment Colours could also be added to this mix to create various coloured inks with a metallic sheen.

The finish of this ink is a slightly warmer grey than the Speedball ink. It also has a more glittery look because of the way the particles are suspended in the binder. It shows up very well on black fabric. Like the Speedball ink, it will need heat setting before washing.

Inks mixed with Metallic Powder and Binder are a bit less wash-friendly than pre-mixed inks. They’re more well suited to projects that won’t need washing as often, like decorations accessories or home furnishings.

Our third and final metallic option is Textile Foil. For this technique, we need to apply Foil Adhesive to the fabric before using an iron to apply the foil.

Foil adhesive can be screen printed onto the fabric just like an ink.

The glue will look pale and matte on the surface of the fabric. When you have finished printing with the glue, wash the screen before applying foil.

When the adhesive has partially dried (tacky – not wet, not dry), it’s ready to have foil applied. This usually takes between 10 and 15 minutes. Lay the foil shiny side up on the adhesive.

Cover with a piece of greaseproof paper and iron for about 30 seconds.

Leave the foil to cool on the fabric. This is important – warm foil won’t peel cleanly away from the fabric.

When the foil has completely cooled, peel away the excess.

Textile Foil is by far the most metallic option as a layer of foil sits on the surface of the fabric. It is slightly less hard-wearing than ink though so needs treating with care.

All three techniques create a beautiful metallic print on this black cotton. Textile Foil is the most metallic, then the Metallic Powder, with Speedball Silver Ink the least shiny but the most hard-wearing and washable.

With all these techniques, please make sure no ink or adhesive dries in the mesh by working quickly and washing it as soon as printing has finished. Once ink or adhesive has dried in the screen it’s very hard to remove it! Metallic inks and opaque inks tend to dry a little more quickly than standard inks.

For this project you will need:

PLUS EITHER

OR

OR

Meet the Maker: Amanda Roseveare

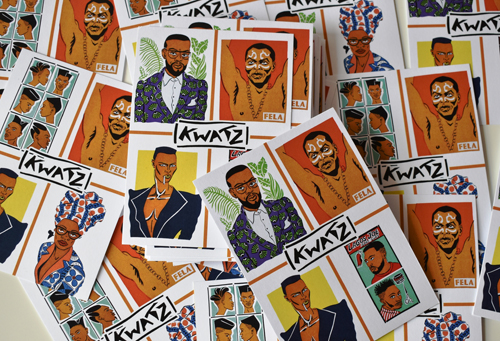
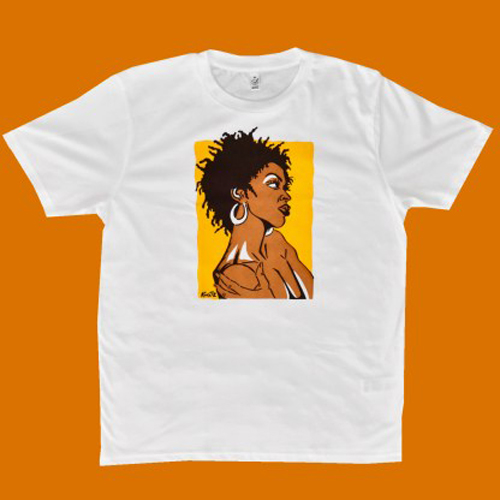
I am a painter and printmaker living in East Yorkshire. In the early 1980s as a young frustrated artist, I started to screenprint my art onto T-shirts which developed into a small business, Kwatz T-shirts. After a few years and a move abroad, the business was ‘mothballed’. Forward 30 years, in 2018 I decided to re-visit and re-started Kwatz with a small collection of African inspired designs which has grown to include some pop and jazz icons.

Describe your printmaking process.

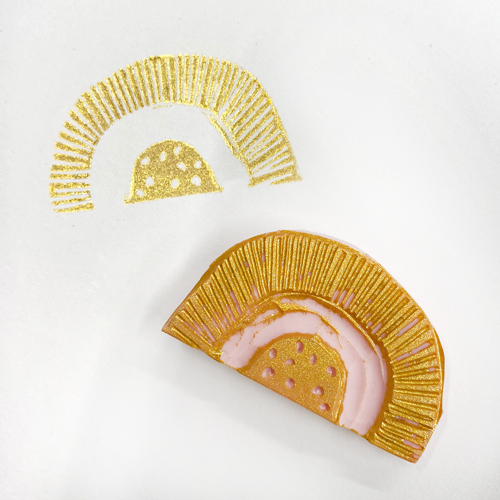
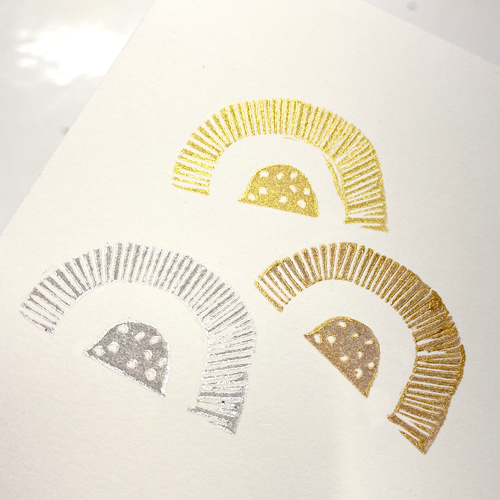
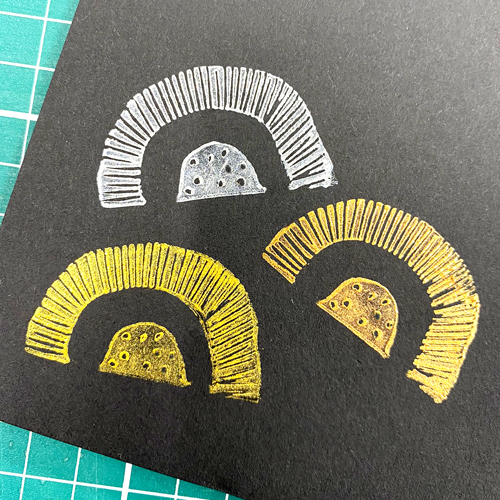
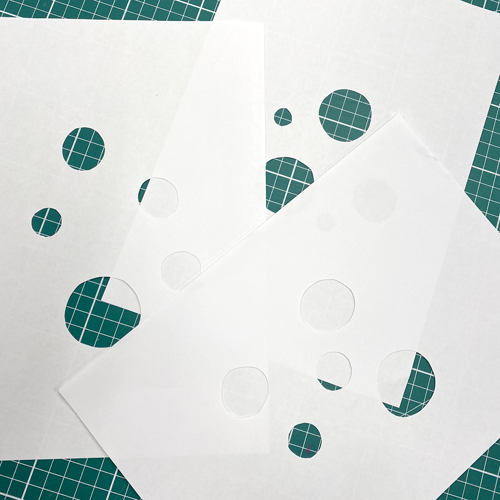
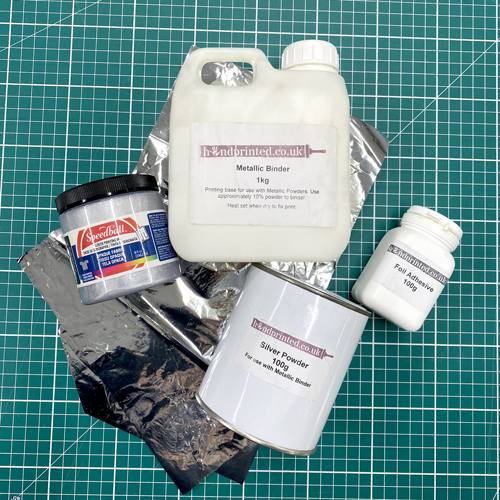
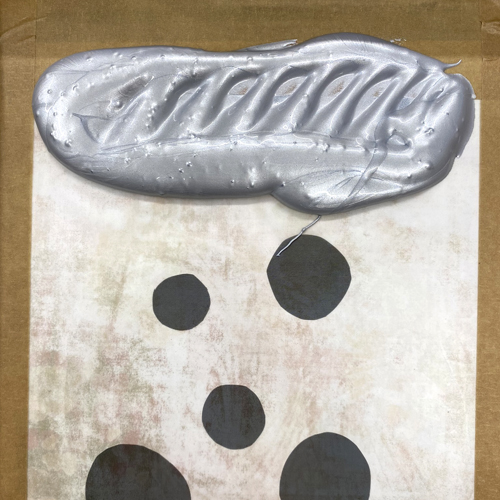
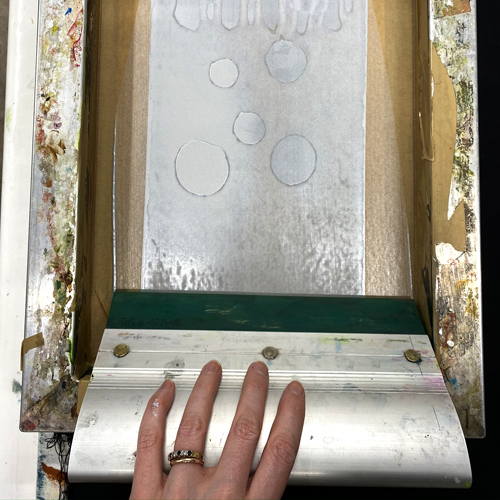
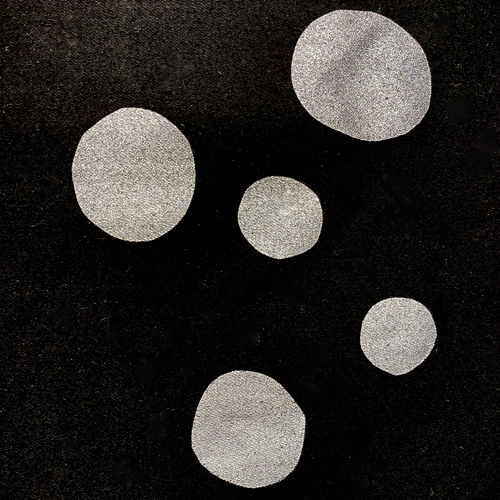
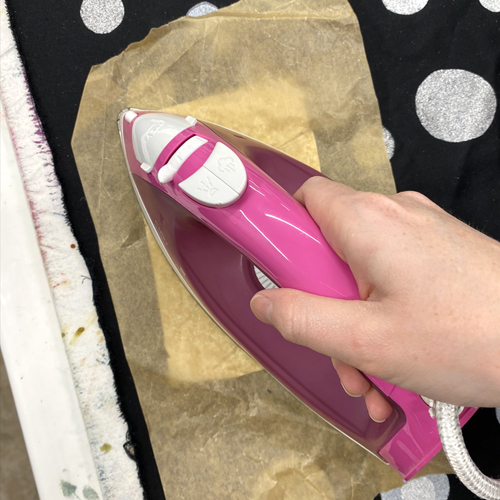
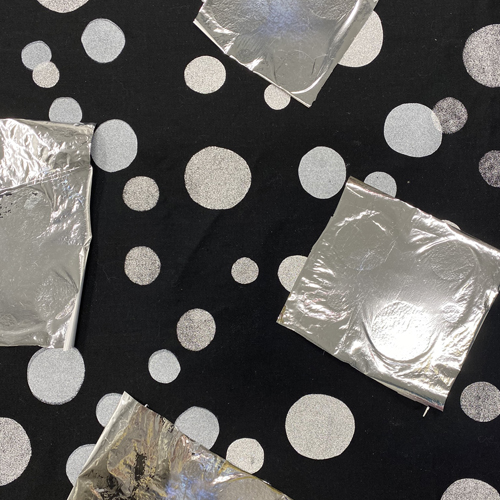
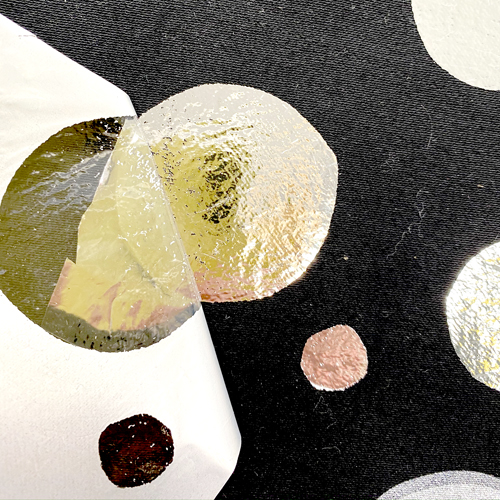
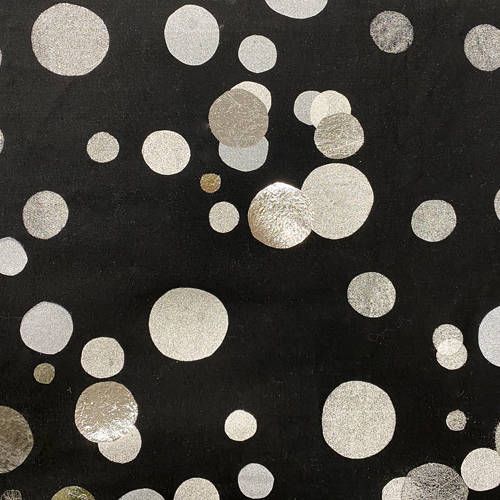
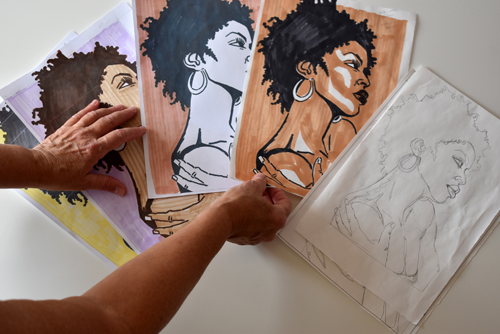
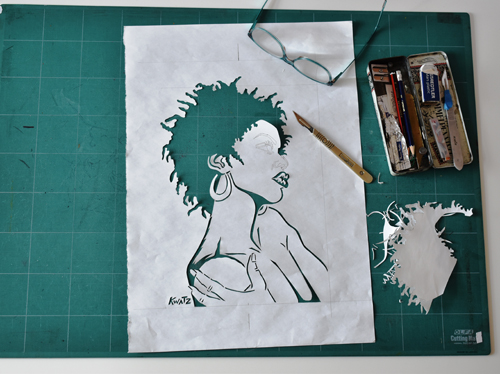
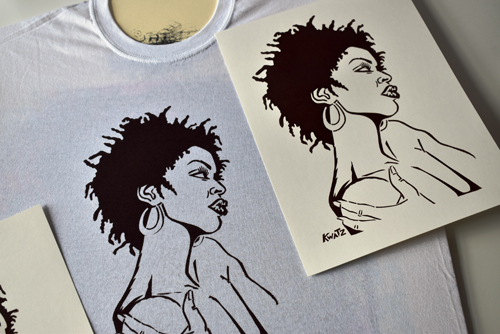
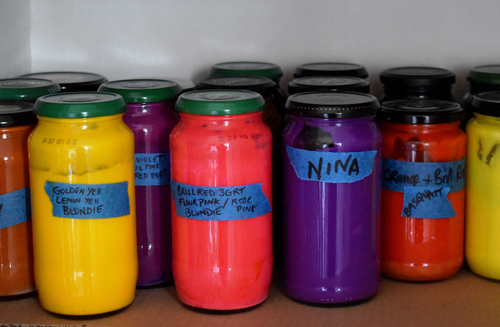
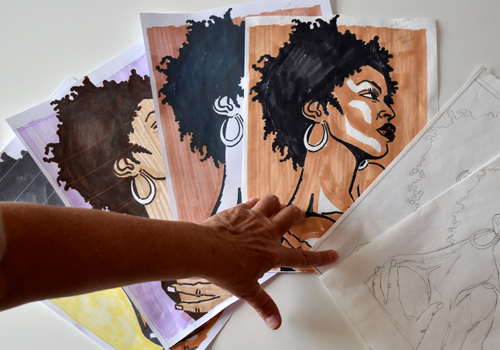
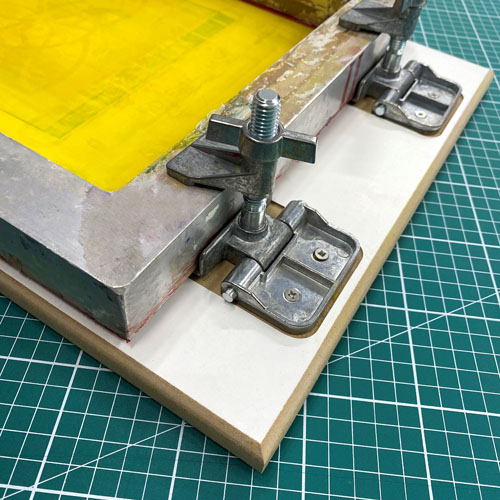
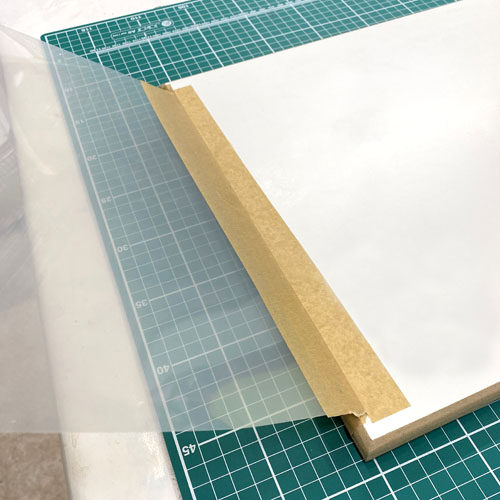
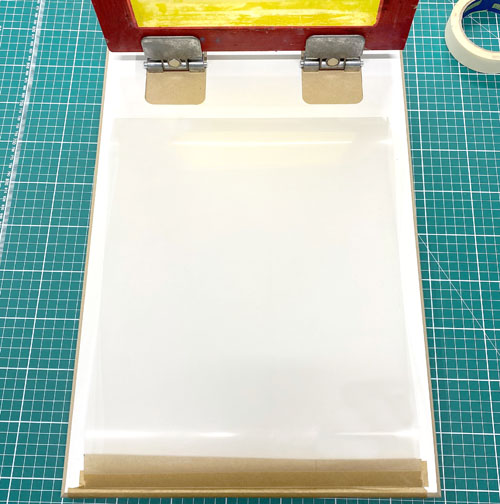
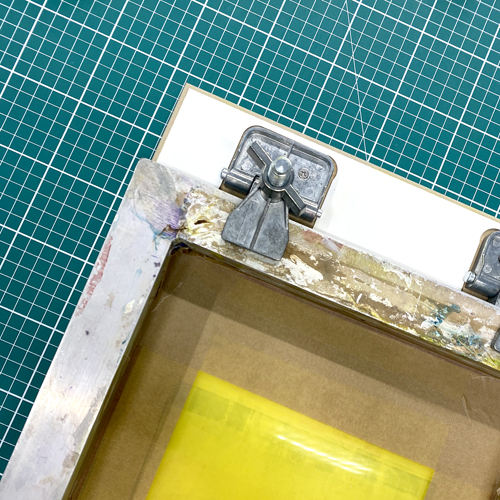
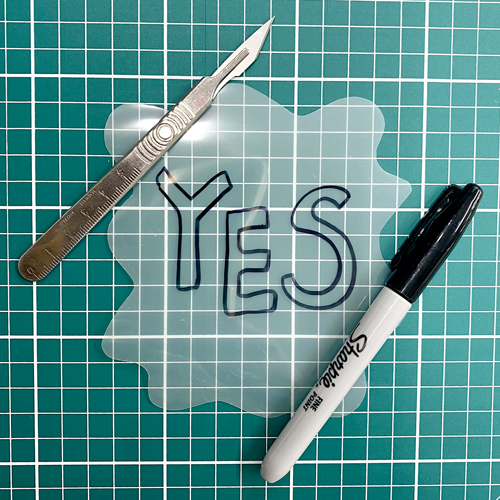
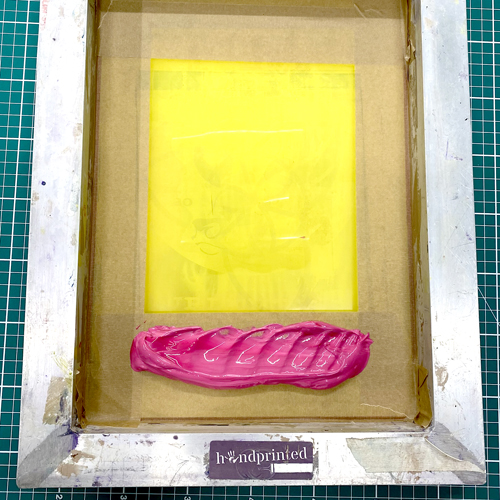
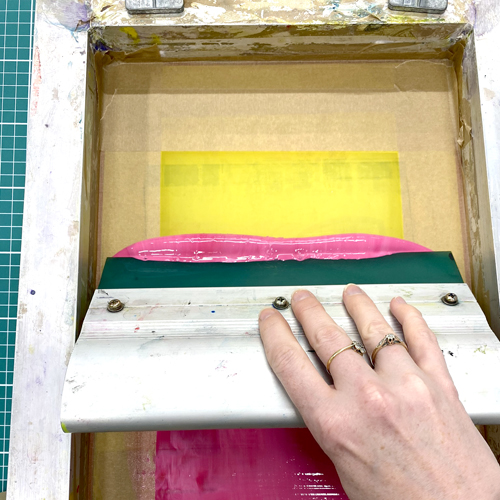
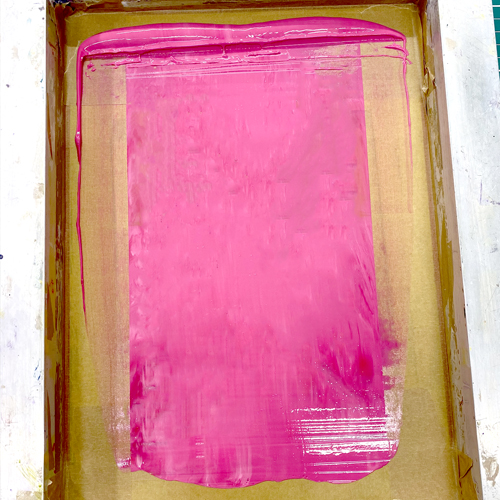
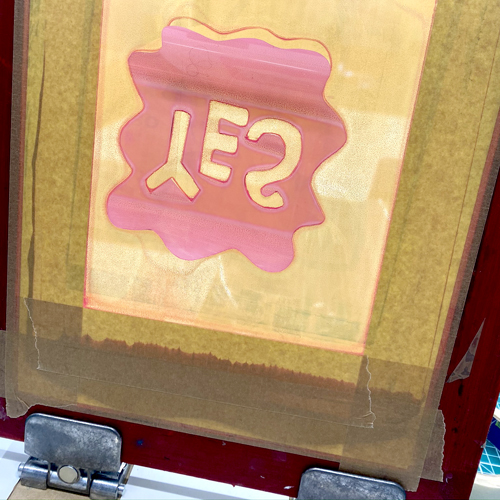
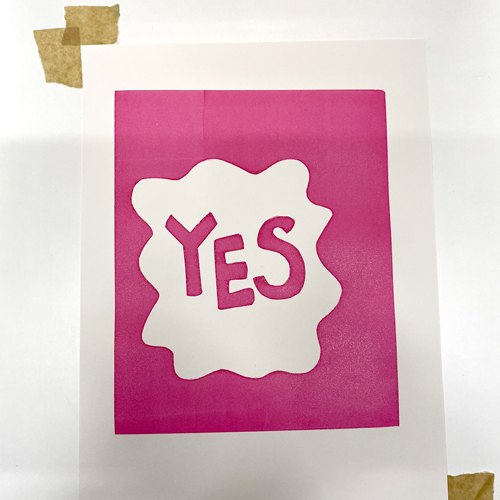
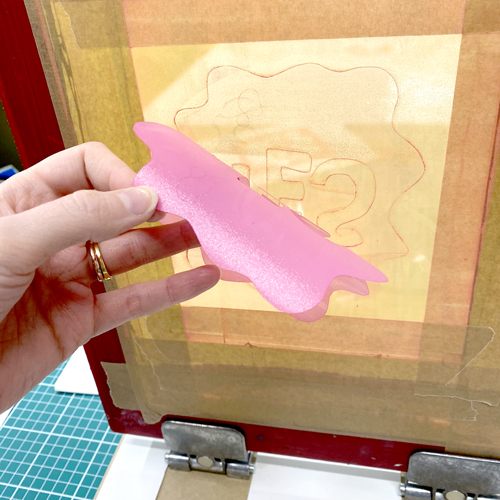
I do my thinking on paper making thumbnail sketches, using the printer to reduce or enlarge designs. I use layout paper, felt pens and a lightbox to trace and try different layouts and colourways before I commit to a final design. I trace the outline and cut the first paper stencil using a sharp scalpel. The stencils are very delicate and this limits the number of prints I can do from each one. I like to break screen printing rules and print the darkest colour/outline first, which acts as the registration guide for successive colours. The screen is handheld, and registration is done by eye. It’s a very lo-tech, portable and a simple but effective process. I use a water-based binder and colour system for printing on fabric. The inks are transparent and make lovely new colours when overprinted.

How and where did you learn to print?

I studied graphic design at what was Newcastle Polytechnic. I didn’t fit the typical graphic designer mould but felt at home in the print rooms and fell in love with screen printing. To this day I am my own harshest critic and try to print the best that I can.

Why Printmaking?

I like the physicality of printmaking. I enjoy the tactile act of cutting lino, inking up the block and the reveal, the smell of ink and the feel of paper. I love the immediacy and flatness of a screen print, the fact that you can produce multiples – it’s a very democratic form of art. Once set up, what can start out as a humble idea can be transformed into something quite powerful, prints give off certain energy and aesthetic that appeal to me and suits my own graphic style.
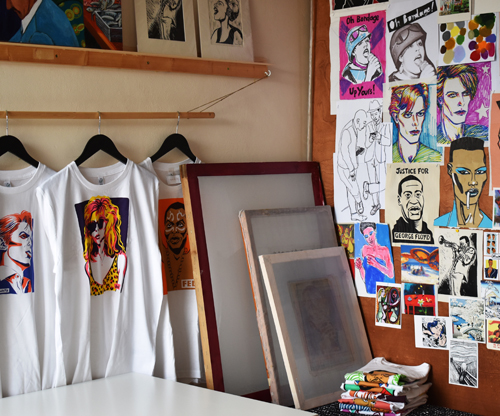
Where do you work?

I work in a large spare bedroom converted into a studio upstairs in my home. The light is great, and I can wash out my screens in the shower.

Describe a typical day in the studio.

There isn’t a typical day, I could be finishing a piece of work, or having a big tidy and clean up before starting a new project. There might be admin jobs, packing and posting orders or ordering supplies. I spend a lot of time thinking, researching and planning future work. I like to be solitary.

What inspires you?

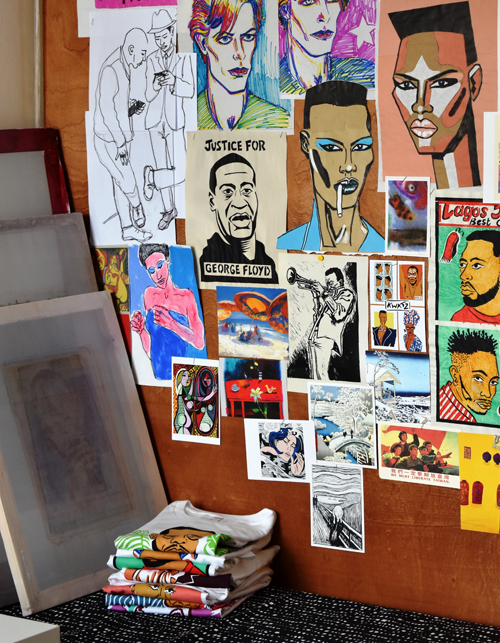
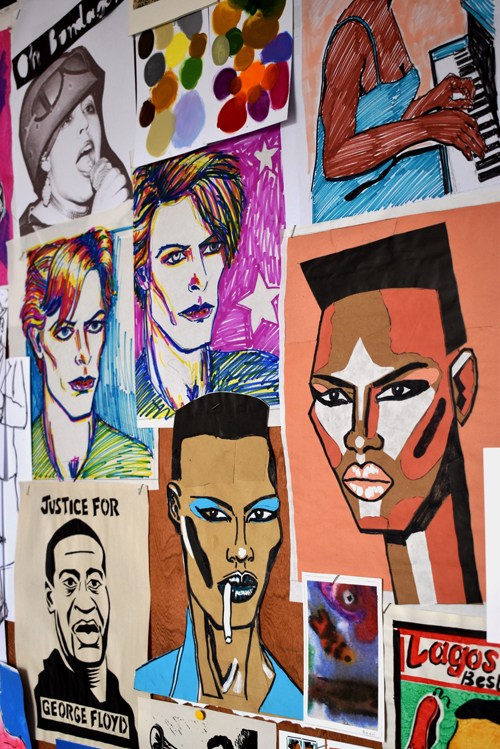
Travel, people watching, street art, films, fashion, music, Japanese and Chinese prints, African art and textiles. I have a big collection of art and textile books which I couldn’t live without. I try to create special, desirable work that people want to wear, based around the images and cultural references that influence and inspire me – from art, music and pop culture to politics. A great T-shirt graphic can give an instant insight into the wearer, the more unique the better.

Artists that inspire me; Matisse, Picasso, Barbara Rae, Margaret Kilgallen, Paul Peter Piech, Sister Corita Kent, the art of the Black Panther movement, Russian Revolutionary art.

What is your favourite printmaking product?

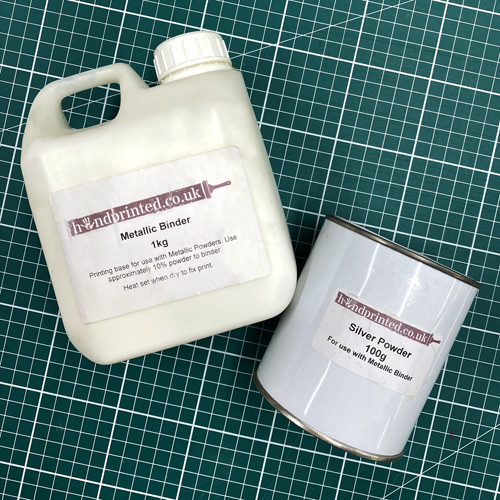
Water-based inks for screen printing. I use Selectasine pigments and binder for fabrics, a little goes a long way. I have favourite screens and squeegees that I have had for decades. When lino printing I use Caligo safe wash relief printing inks, Pfeil cutting tools and soft paper, like Japanese HoSho.

What have you made that you are most proud of?

The T-shirt designs I produced for the Anti-Apartheid Movement during the 1980s and early ’90s, some of which were adapted for use as backdrops at the Nelson Mandela 70th Birthday Tribute Concert at Wembley Stadium.

Where can we see your work?

On my website, Instagram and a great indie gift shop based in Leeds. York River Art Market, local Maker’s Markets, Pocklington Area Open Studios, unfortunately, all cancelled this spring/summer.

What will we be seeing from you next?

I am constantly developing new designs to join the T-shirt collection. I’m often asked if I sell screenprints on paper but the inks I use are not suitable. I recently bought some Daler Rowney System 3 screen ink to try out with different weights of paper to see what results I get. I’m going to add a small edition of my ‘Grace Jones’ lino print to the Kwatz shop soon.

Do you have any advice for other printmakers and creatives?

Follow your own impulses. Printmaking rules can be broken. You don’t need loads of equipment to be able to produce something beautiful.

To see more from Amanda follow her on Instagram!

Setting up a Hinged Board for Screen Printing and Printing Using a Mylar Film Stencil

Mylar film is an extremely useful addition to your printmaking kit. It can be used to mask off areas when relief printing, as registration plastic for screen printing or even used to make stencils. In this project, we use mylar film to make a registration device and a mask for screen printing.

Mylar film can be wiped clean and used again and again. Unlike paper stencils, mylar stencils can be cleaned and used another day or with another colour. Using Mylar film for registration means the same piece can be used over and over. The mylar film comes rolled so it may need flattening out before use, especially for large stencils.

We are printing onto paper using a hinged board: a melamine coated MDF board with hinge clamps attached at the top. The hinges have been lowered a little by routing out the surface of the board so that the screen lies closer to the surface. We’re using an A4 90T screen.

The registration device can be created by taping a piece of mylar film to the bottom of the board. Use tape on both sides to create a hinge. It needs to be big enough to cover the whole board but not interfere with the hinges.

Use parcel tape to tape the edges of the screen, leaving an aperture in the centre for the ink to go through. If you’re making a stencil, make the aperture slightly smaller than the stencil. If you’re using a mask, tape a neat aperture that will fit nicely onto your paper.

Use scissors or a scalpel to cut the mylar film into your desired stencil shape. We are creating a mask: a positive shape that will block the ink from the paper.

The film can be drawn on with a permanent pen to help with the design.

With the screen attached to the board using the hinges,
place the stencil or mask underneath the screen, making sure the whole stencil fits in the untaped area of the mesh. Load a line of Acrylic Screen Printing Ink along the bottom of the screen.

Prop the bottom edge of the screen up on a block using something like a roll of tape. This should hold the screen away from the board at one end. Use the squeegee at a 45′ angle to push the ink up the screen. This floods the mesh with ink. You don’t need to press, just glide the ink along the mesh.

Remove the block that’s propping up your screen and place it down on the board. Make sure the mylar registration plastic is covering the board underneath the screen.

Use the squeegee at a 45′ angle to drag down the screen, pressing firmly this time. The squeegee movement should sound a bit like a zip. Lift up the screen and reveal the print on the plastic.

The stencil should stick to the mesh.

Leaving the registration plastic in place, slide a piece of paper underneath, positioning it where you would like the print to be placed. The print on the plastic should show you where the print will go.

Use small pieces of tape or mount board to mark where the paper should be placed each time. You can also spray a little low-tack spray mount onto the board to help hold the paper still.

Remove the registration plastic by folding it down in front of the board out of the way.

Repeat the printing process by flooding the screen and then printing firmly with your squeegee, this time with paper underneath. Lift the screen to reveal the print!

Repeat this process until you have your entire edition, placing the paper down using your tape markings each time.

When you are finished with the stencil, it can be peeled off and washed to be used again another day or with another colour.

If you are printing a multi-layered print, the registration plastic is even more useful! When printing your second layer, slide the first layer of the printed paper underneath to check they will line up. Use new pieces of tape or mount board to mark where the prints should be placed.

For this project you will need: