Using Drawing Fluid and Screen Filler can create a semi-permanent design on a screen, allowing you to print multiples of your design without stencils, over several sessions if you like. This is not a photographic technique so there’s no need for a light source, a computer or a dark space. This makes it accessible to so many more people. Scroll to the bottom of the page for a video or read on for instructions.
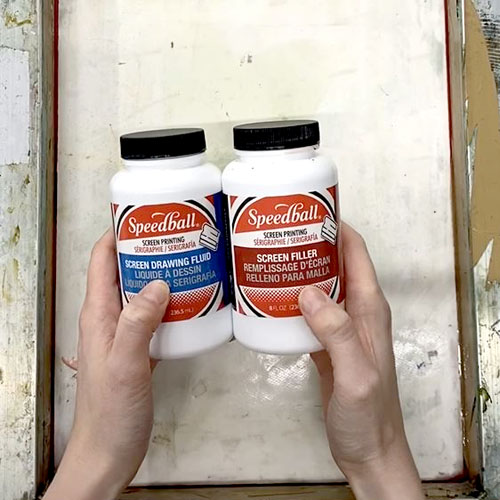
Speedball Drawing Fluid and Screen Filler are designed to work with one another. The Screen Filler works as a block to stop ink from going through the mesh. Drawing Fluid is designed to resist the Screen Filler and is washed out before printing. This creates an area of open mesh that will allow ink through where the Drawing Fluid was applied.
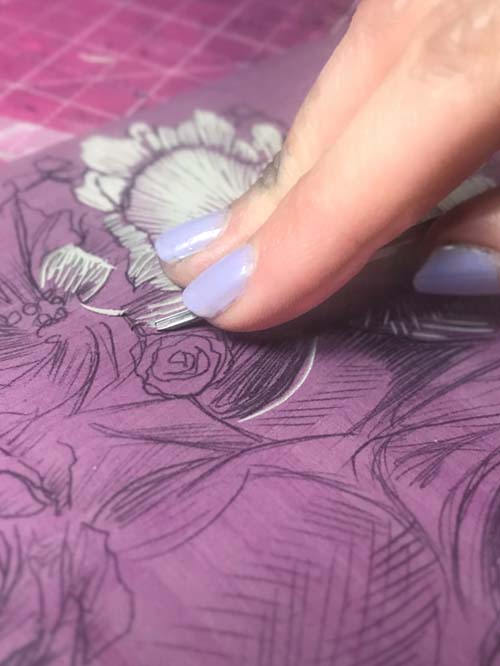
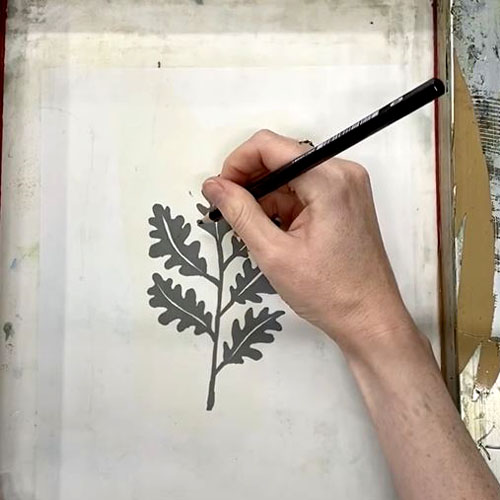
Begin with a design on paper. Lay the screen flat on top of the design so that the mesh is against the paper. We are using a 43T meshed screen which is perfect for printing onto fabric. Use a soft pencil to gently sketch the design onto the mesh.
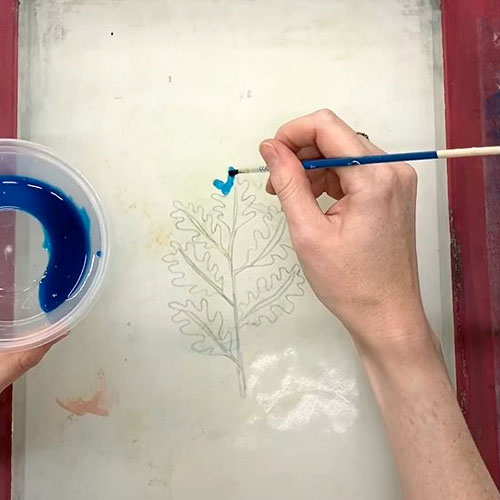
Next, flip the screen over: we are going to work on the back. The mesh should now be off the surface of the table. Pour a little Drawing Fluid into a pot. It’s best to decant it rather than dipping your brush into the bottle to avoid contamination and spoilage.
Use a small brush to fill in the design on the screen, using the pencil lines as a guide. Note, we are painting the area that we eventually want to print with our ink (the positive design). The design should look backwards at this point as we are working on the back of the mesh.
The Drawing Fluid is quite viscous so it can be tricky to get sharp corners and very fine edges with a paintbrush. We can adjust the edges later if needed.
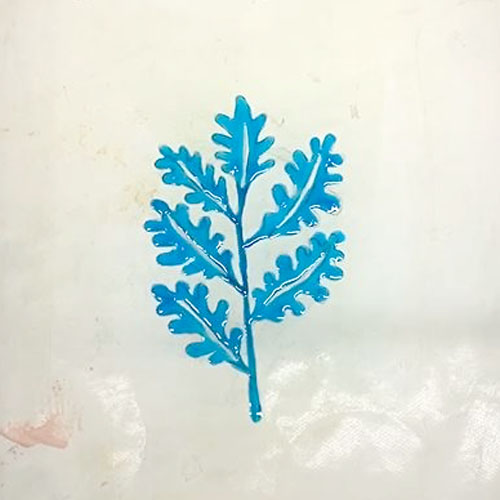
Wait for the Drawing Fluid to dry completely.
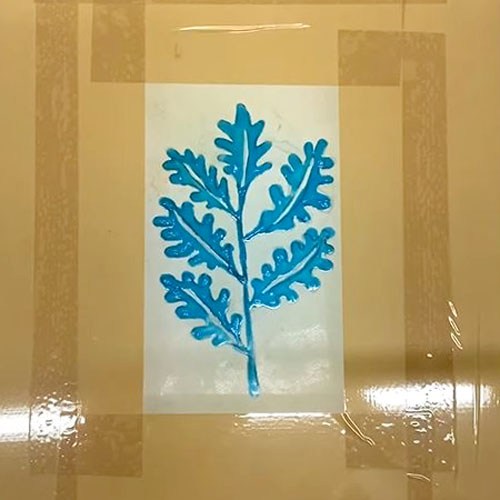
When the Drawing Fluid is dry, use parcel tape to mask off a rectangle around the design (still on the back of the screen). This is to use less Screen Filler which would be wasteful but is also a little time consuming to remove from the screen at the end of the project.
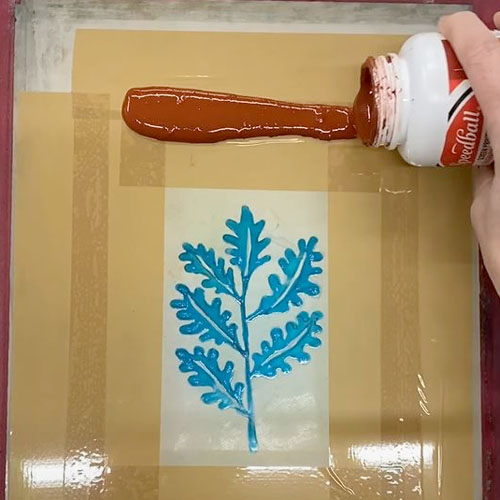
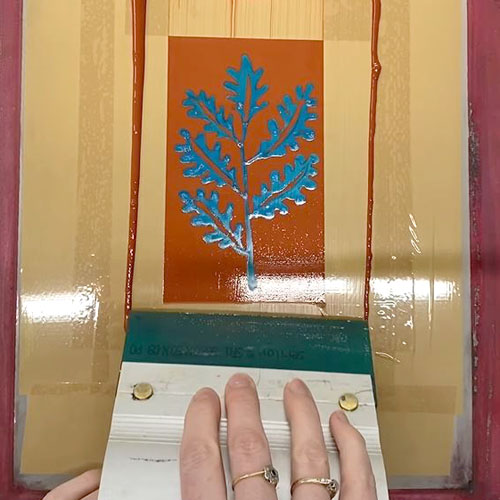
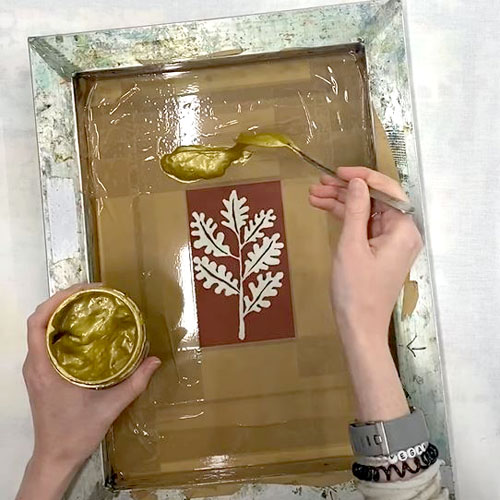
We are now ready to add our Screen Filler. The Screen Filler will be used to block all the negative space around the design and stop the ink from going through. Working on the back of the screen still, pour a line of Screen Filler onto the tape above the design, making sure that the pool of Filler is slightly wider than the rectangle of open mesh around the design.
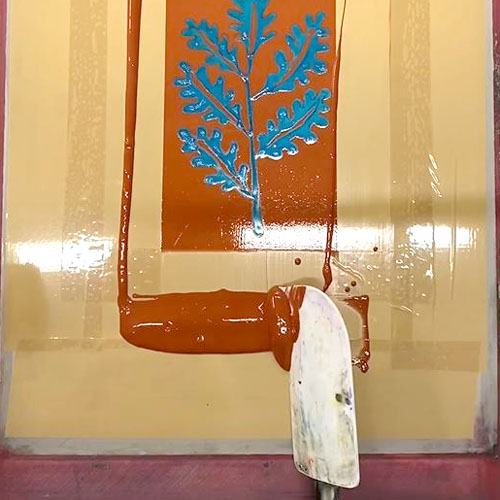
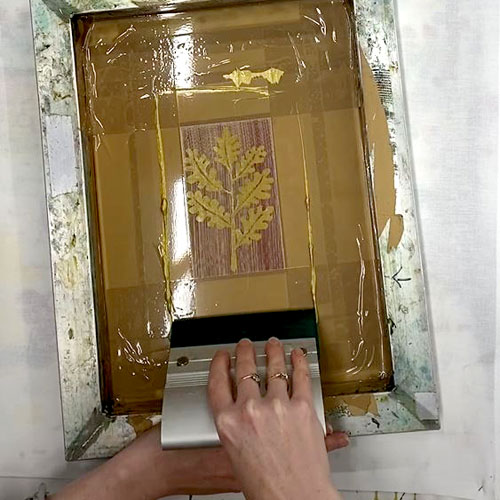
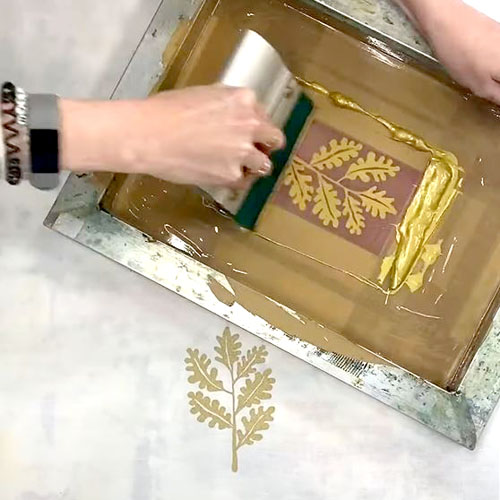
Use a squeegee to pull the Screen Filler down the screen to cover the design. Hold the squeegee at a 45′ angle for best results.
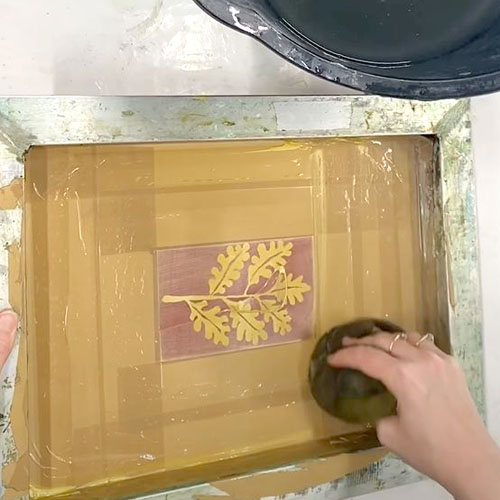
Use a spatula to scrape any excess screen filler from the tape so that it can go back into the pot.
Wait for the Screen Filler to dry completely.
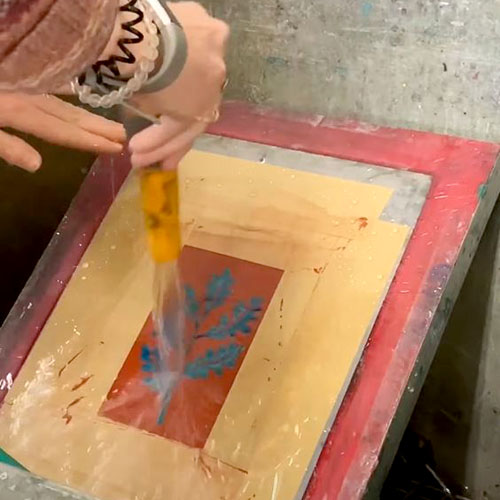
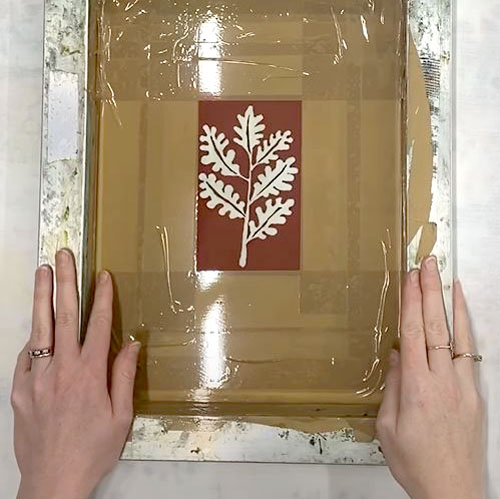
Now it’s time to wash the Drawing Fluid from the screen. Use a shower or garden hose to rinse the screen until the Drawing Fluid has all come out.
Wait for the screen to dry again. When it is dry, touch up any edges or gaps with Screen Filler if needed. Leave to dry again.
Use parcel tape to cover the edges of the screen to stop ink from going through any areas of mesh that we don’t want to print.
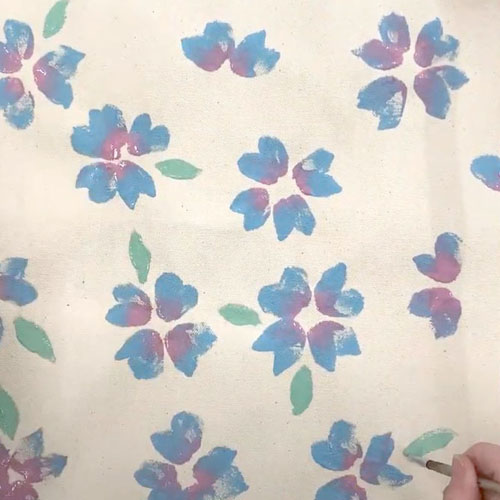
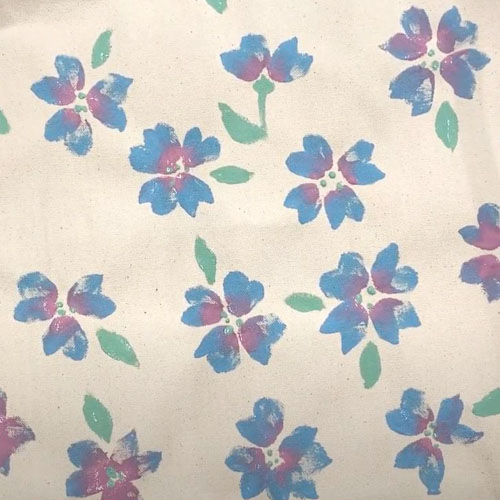
Lay your fabric onto a padded surface and pin it down if necessary. Place the screen on top. Use a spoon or spatula to place a generous line of ink above the design.
Hold the screen still with one hand. With the squeegee in the other hand at a 45′ angle to the mesh, drag the ink gently down the screen.
Leave the ink at the bottom of the screen. Return the squeegee to the top of the screen and drag down again, pressing more firmly this time.

Peel the screen from the fabric and place it back down in a new spot (or replce with a new garment). Be careful not to place the screen on a wet print. Use a hair dryer on the wet prints if necessary but be careful not to let any ink dry in your mesh. You will need to work quite quickly.
When you have finished printing, scrape any excess ink from the screen and put it back into the pot.
Use a bucket of cold water and a soft sponge to clean the screen on both sides. Remove the tape and rinse again.
The screen can be used again for more of the same design or cleaned using Speed Clean and hot water to remove the Screen Filler.
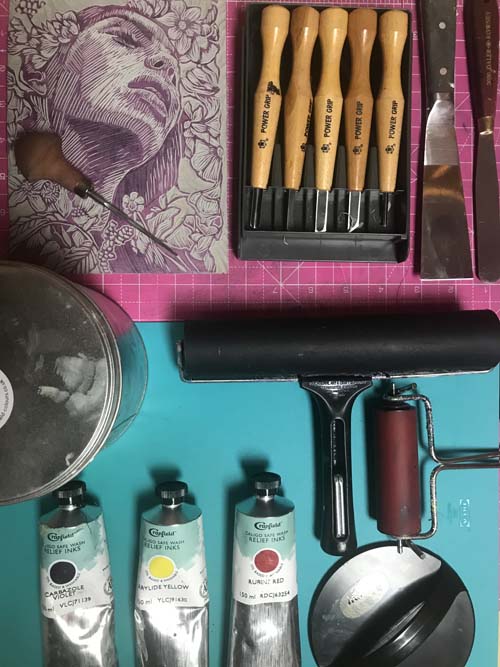
For this project you will need:
- Speedball Drawing Fluid
- Speedball Screen Filler
- 43T screen
- Soft pencil (8B or similar)
- Pot/ jam jar/ palette
- Small paintbrush
- Parcel Tape
- Squeegee
- Fabric Screen Printing Ink (like this Gold ink)
- Fabric or garments to print onto
- Padded surface
- Pins (if necessary)
- Bucket of cold water and a soft sponge
- Speed Clean to remove the Screen Filler