Meet the Maker: Steve Edwards

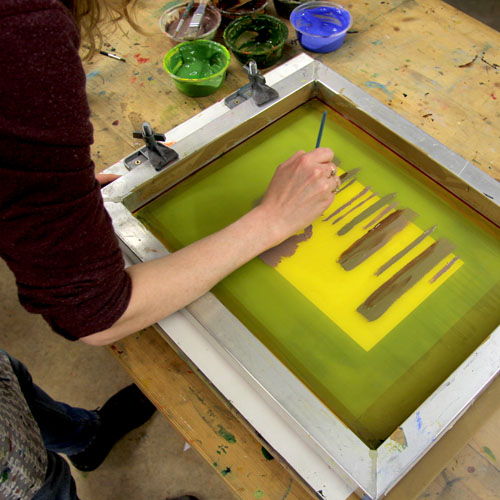
Printmaker Steve Edwards will be joining us in the Handprinted Studio to teach Multi-Block Etched Lino on Saturday 20th and Sunday 21st June 2020!

How and where did you learn to print?

Hello my name is Steve Edwards, and I make prints. I was a part-time graphic designer for many years but have always had time and access to a studio to pursue my artwork. I come from Bristol, but have lived in London since 1979 when I began a BA in textiles at Camberwell School of Arts and Crafts. During the degree we studied printmaking as a subsidiary subject. That was when I became captivated by printmaking, particularly silkscreen printing and monoprinting.

In the mid 90s I decided to re-engage with printmaking so I joined a taster course at the City Lit, and this time it was etching that captivated me. I continued signing up for courses at both City Lit and Morley College to gain access to the equipment and fellow printmakers until I saw a poster on the wall at City Lit asking for new keyholders to join East London Printmakers (ELP). This was a key moment in my printmaking journey, as I needed a space I could work in more frequently and develop my own practice. I continued to etch until about 2003, but being at ELP and seeing other keyholders and their practices was influential in my switch to lino.

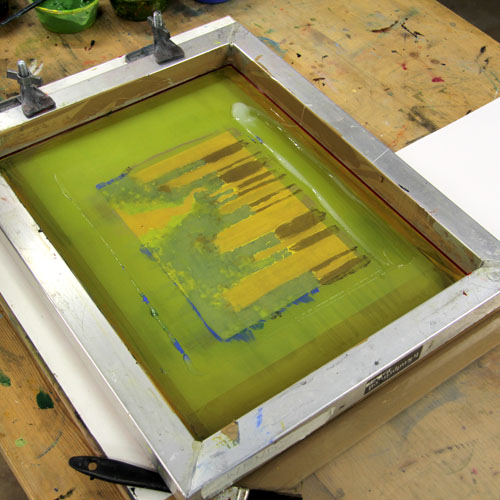
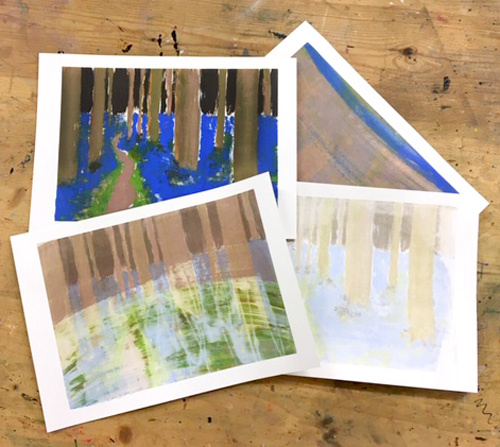
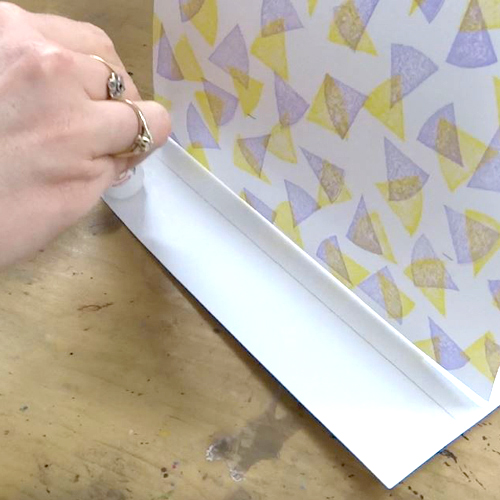
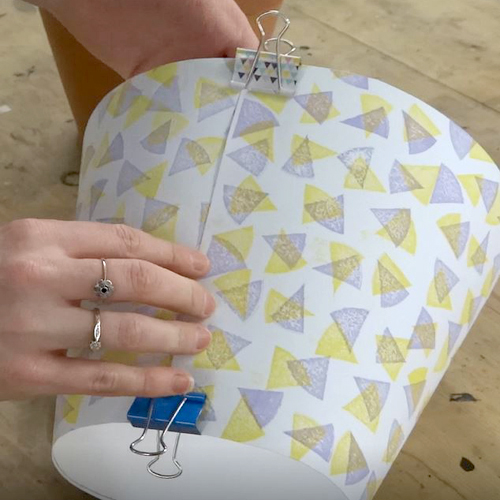
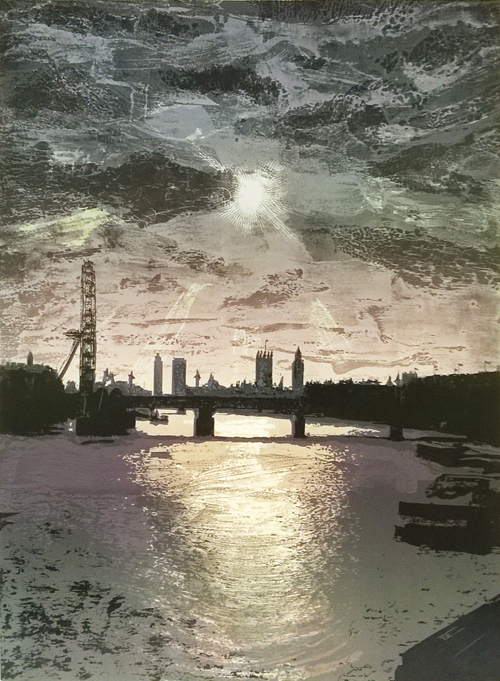
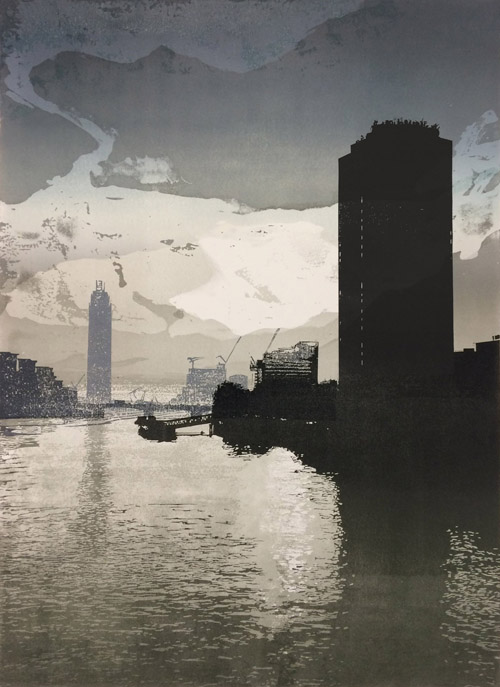
At Camberwell I had loved using colour in my prints, then the language and processes of etching had grabbed me, but using colour in etching is not as easy as in other techniques, so I started my linocut journey. I dug out some notes I had kept from Morley College on lino techniques and discovered a recipe for caustic soda etch. Having been an etcher I was intrigued by this idea, so after a while I started experimenting. Also around this time ELP had organised a group show called Love Letter to London and my response was to depict a view from Waterloo Bridge looking east, my first landscape.

Why printmaking?

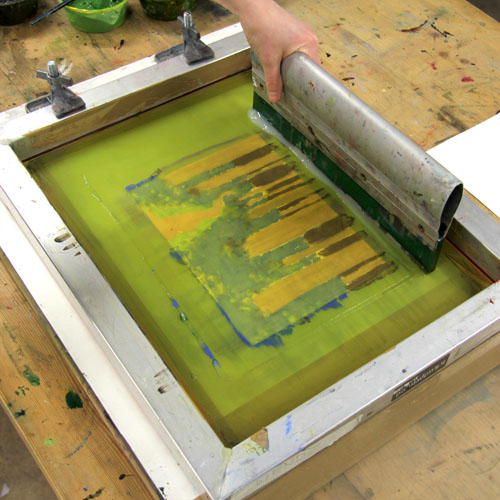
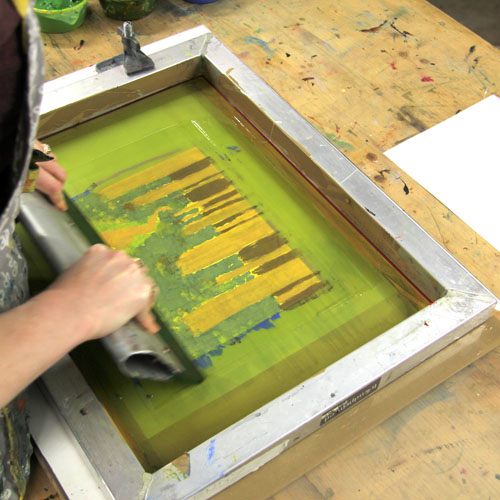
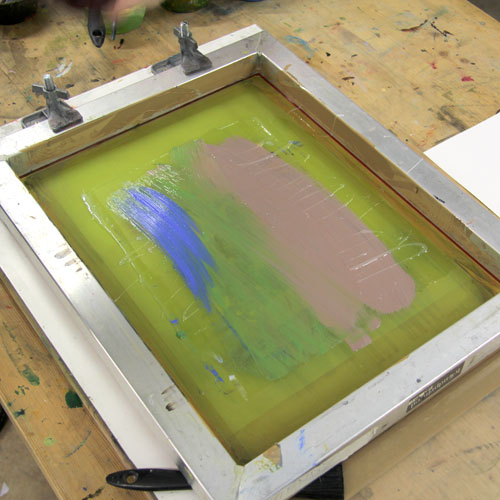
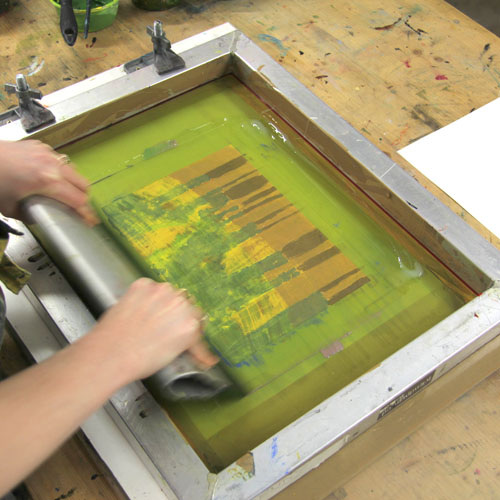
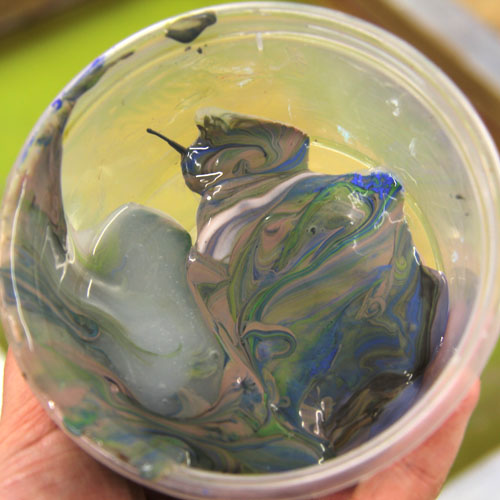
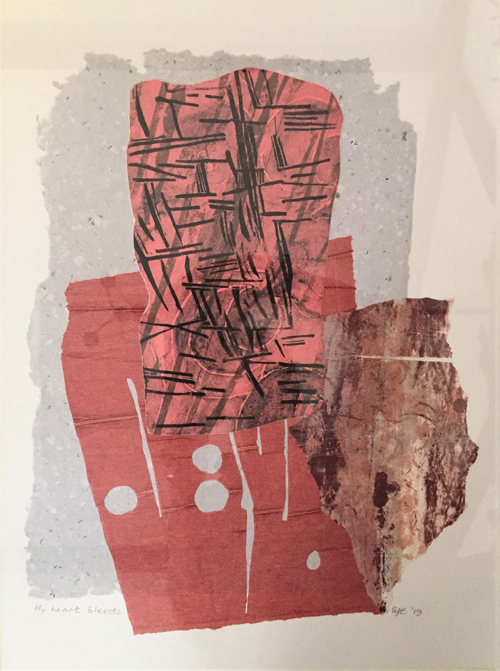
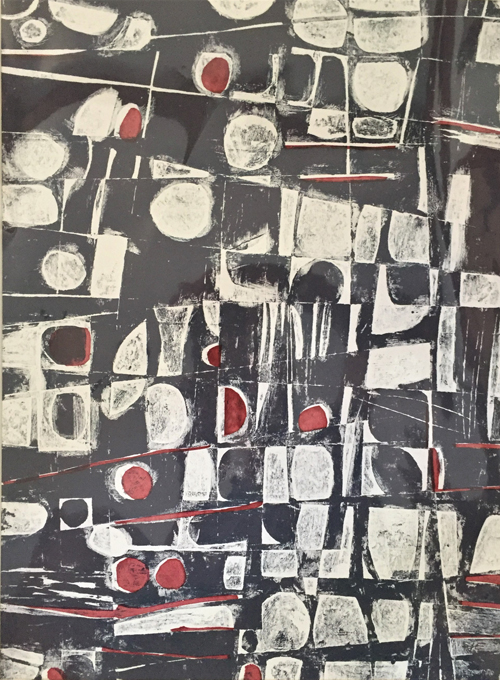
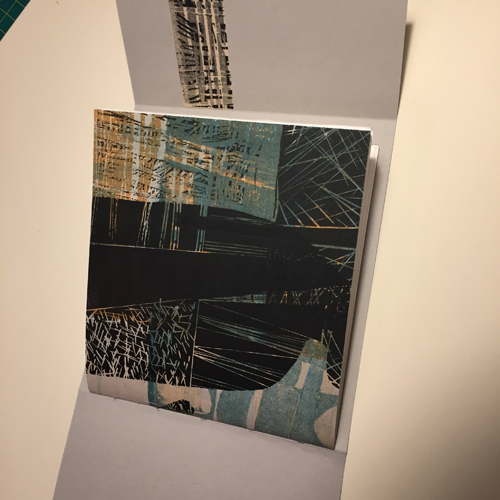
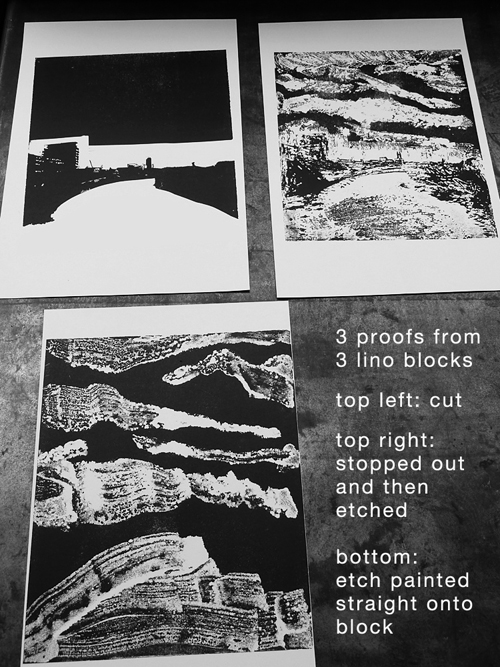
I believe that the combination of human hand/eye/brain/soul creates the most exciting and revealing art that we can create, from early stone age wall paintings to Peter Doig. For me, all artistic practices have their own languages, and printmaking has several very distinct ones. There are so many things about printmaking that appeal to me: using the machinery, inks, equipment, processes, multiplicity. In my own practice I like the combination of the relatively controlled process of carving the lino with the more unpredictable lino etch process, which creates marks and textures that I find exciting.
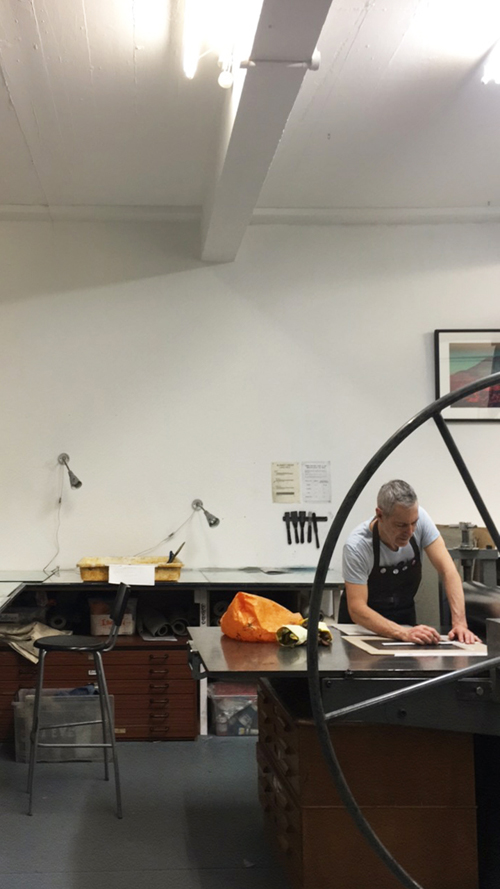
Where do you work?

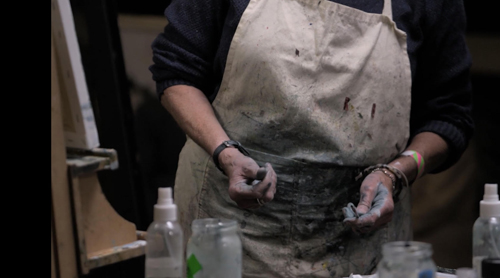
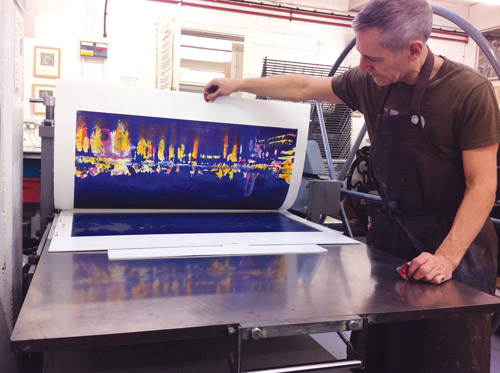
I am still a member of ELP and try to work there 3 or 4 days a week. The studio is very well run and organised as a co-operative, and it has excellent equipment. Also my fellow printmakers at the studio offer a supportive community and inspiration. A typical day will usually involve working on one or two projects, either creating a new print or continuing editions of older prints. I tend to do my editions in batches of around 10, and let them run out (which can take a while) before I do the next batch. Because of this and the techniques I use, I create variable editions.

What inspires you?

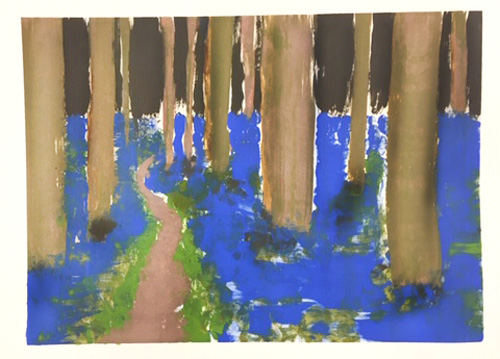
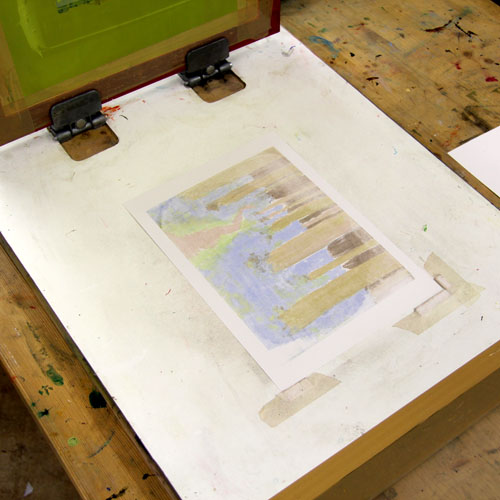
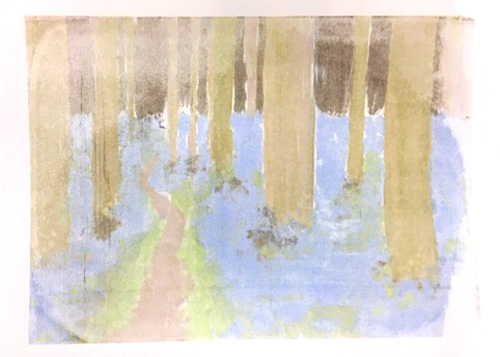
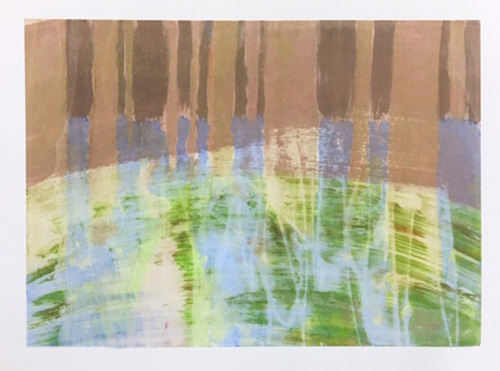
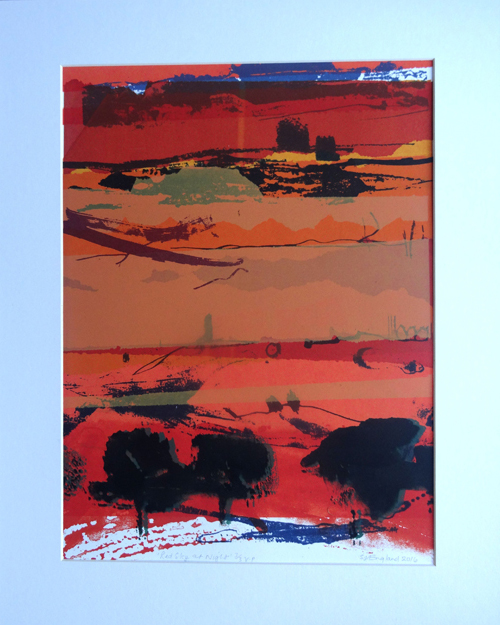
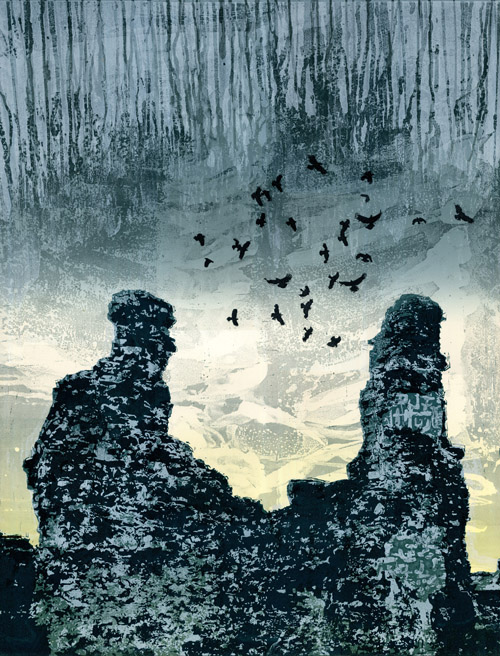
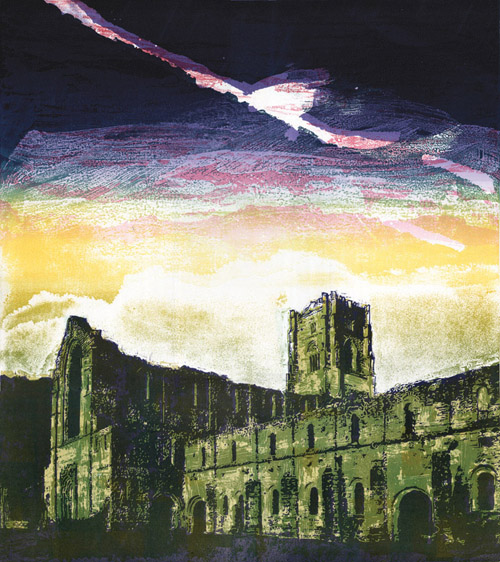
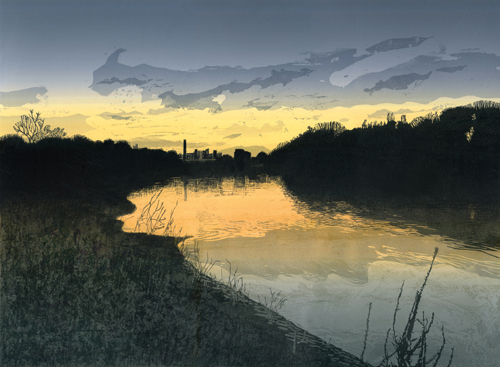
I think that I am inspired by the whole printmaking process. I love being in the studio with other people being creative together. I think that creativity which involves utilizing the hand/eye/brain has a therapeutic quality which I embrace. My prints are all based on photos that I have taken. In my work I want to try to capture a particular view and the atmosphere created by the light and elements. For me, looking at the sky or a landscape can open me and connect me to nature and the beauty of existence, and I want to express this in my work.

Where can we see your work? Where do you sell?

I am a member of several printmaking groups. I have already mentioned ELP, but I am also a member of Greenwich Printmakers, a printmaking co-opertative who run a gallery in Greenwich Market. Also I am a member of the Printmakers Council. These three groups offer opportunities to sell my work, including stands at the Affordable Art Fair at Hampstead and Battersea. I also submit to open call exhibitions like the Woolwich Contemporary Print Fair and The Masters/NOPE. My work is also available to buy at a gallery in Ealing called For Arts Sake.

What will we see from you next?

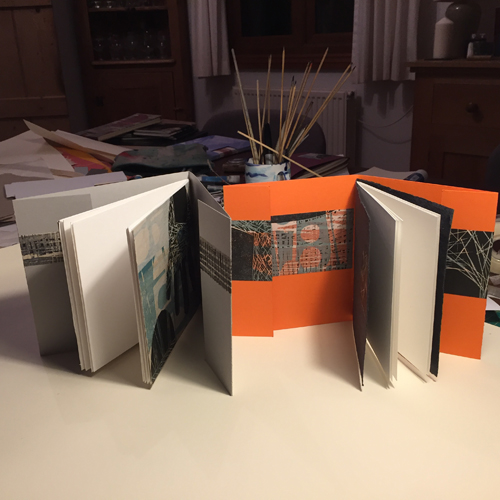
I have been commissioned to create a London landscape, a view from Woolwich Arsenal of the Thames and the London cityscape. I am starting this January 2020.

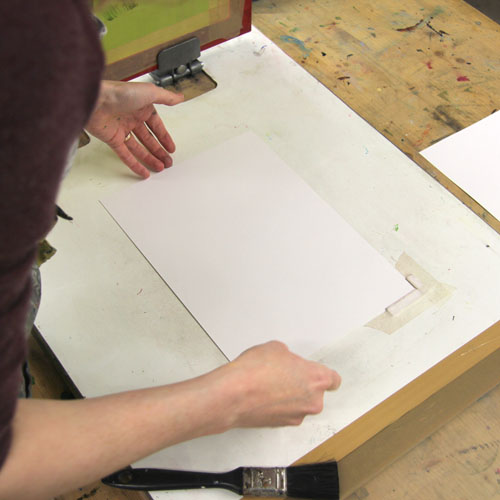
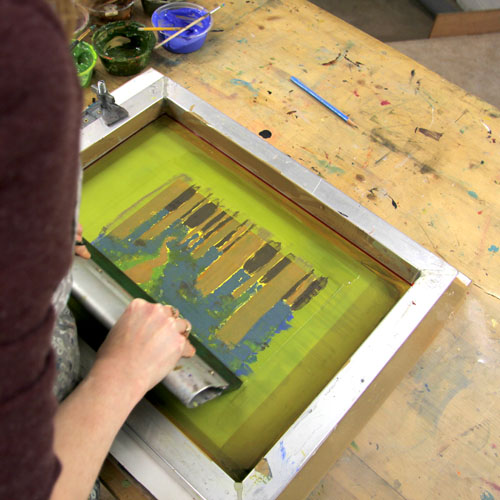
Steve will be joining us in the Handprinted Studio to teach Multi-Block Etched Lino on Saturday 20th and Sunday 21st June 2020!

Mono-Screen Printing

Mono-screen printing is a great way of loosening up your printing style and producing a series of quick, spontaneous prints. Use as a standalone technique or in conjunction with photographic exposed screens, paper stencils and more.

We are using a screen that has been exposed using photo emulsion to leave an open rectangle of mesh in the centre. You could tape around the edges to form an aperture in the centre instead. Our screen is attached to a board using hinge clamps to keep it in place. Before starting your design, place a black piece of paper (the same size as your printing paper) under your screen and position it in relation to the open area of the screen. Lift up the screen and mark where the paper sits on the board. This will show you where to place each piece of paper when you print.

Hold the screen a little away from the board by placing a pencil or paintbrush underneath the frame at the end without the hinges. This will keep the ink off the board and paper until you’re ready to print.

Using acrylic screen printing inks, paint a design onto the open area of the mesh. Be sure to use inks, not straight acrylic paints – you can make acrylic screen printing inks by mixing acrylic paint 50/50 with acrylic screen printing medium.

The design needs to fill the entire open area with no gaps at all. Any parts that you wish to remain white on the paper need to be painted with plain acrylic medium.

When the design is ready, use a brush to paint a row of acrylic printing medium along the top edge of your design, where your squeegee will start. You may wish to rotate the screen and drag your squeegee along the other direction. We are printing in this direction because of the vertical design of the trees.

Life up the screen and place a sheet of paper on the board underneath, using your registration marks as a guide.

Remove the pencil or paintbrush holding up the screen and place the screen down. Starting with the squeegee above the line of acrylic medium, drag it down the screen at a 45′ angle. You will need to press quite firmly and should hear a zip sound.

Lift up the screen to reveal the print underneath.

Between each print, be sure to clean the squeegee so no unwanted colours contaminate the print.

There will still be some residue of the painted design in the mesh which will show up in the next print. This can create some really interesting layered designs. We are going to print a ‘ghost print’ by printing the residue through the mesh without adding any more to the design.

Add a little more screen printing medium to the top of the screen, replace the paper and print through the screen as before.

This ghost print is a much paler version of the previous print.

As well as making ghost prints, the design in the mesh can be used as a layer for a more complex design. Below, we have simply painted the screen with strokes of ink.

When printed, the previous layer and the new layer combine to make an interesting print.

Interesting results can be achieved by adding water to a paintbrush or drizzling plain acrylic medium onto the screen – experiment to find new marks and textures.

The marbled ink from your monoprint session can be collected and used for interesting marbled effects on other prints!

For this project you will need:

Meet the Maker: Sue England

Describe your printmaking process.

Ideas come first and they can come from anywhere! Landscape and the immediate natural environment is a constant source. I draw and refine and draw again. I collect colours from nature, from magazines, from other people’s work. I like to mess about with different print methods and don’t get to hung up with the ‘right and wrong way’ idea of process. Experiment, try things, discard, eliminate, start again.

How and where did you learn to print?

 Did some basic work at Art College back in the day, but always wanted to try again and didn’t do that until I retired as a graphic designer – a bit of a wait! Then I did a few day courses, went to a studio space in Portsmouth and then on to Handprinted – what a fantastic resource virtually on my doorstep! Then teaching myself by trial and error and talking to other printmakers.

Why printmaking?

It’s a wonderful counter balance to painting. I’m also an oil painter and a very messy one at that. Printing is another discipline. You need to approach it in a different way. More precision, more working things out and planning, being clean!

Where do you work?

When I want to print bigger than A3, I go to Handprinted and use their fabulous space and facilities. For smaller screen printing work, I use the kitchen (luckily I have a big kitchen space) and last year I bought a 70×50 etching press which is housed in my extremely cramped garden shed. BUT it makes you get organised and makes you tidy. I like to keep my printing space separate from my painting which is in another studio just down the road and can be much messier.

screen print, lino print and collage

Describe a typical day in your studio.

I usually do my ‘planning’ in the evenings, so that when I get to the ‘doing’ stage I can crack on and try out the ideas that have been perculating. If making a plate-collograph or lino mainly, I will have already prepared that. If using photo screens, I will have got that already done so the screens are ready to go. I then like to set up the equipment, prepare the space, cut the paper etc, all of which gets your head in a calm space. I like mixing colours and trying out sample prints as part of the process and may not try any actual ‘finished’ prints until much later or even another day.

collograph and screen print

How long have you been printmaking?

I started about 10 years ago but haven’t done it all that time as the painting is very important to me too. Now, the year tends to split and I print more during the winter months. I do like to refresh my practise with short courses when I can as you always learn something new which then feeds back into the work.

What inspires you?

Anything! I love looking at other people’s work and trying to work out how they have done it! The outdoor environment is a constant source. Walking and being IN the landscape will always set me off with some ideas. I love simple texture and like the way different kinds of print making can be combined.

What is your favourite printmaking product?

Blimey, I don’t have enough knowledge to really say. I will always ask advice from those who do, depending on what I want to try and achieve. I love my heavy roller and tend to use Akua intaglio inks at home and System 3 Acrylic and medium for screen printing.

screen print from photo exposures of drawings

What have you made that you are most proud of?

That will always be changing. I was pleased with a series of prints a couple of years ago about seeds, which led on to me using further ideas incorporating collage. At the moment I am quite pleased with some books I have made (after some courses, one of which was at Handprinted), which again require a different discipline. The main reason initially, was to use up all those printing scraps we accumulate and have sitting in folders and boxes, but now I seem to be obsessed with the actual books!

using pieces of old prints and papers in stitched books

Where can we see your work? Where do you sell?

I usually do the Chichester Art Trail, the first two weekends in May at my home and in my studio. I am involved with 2 Art Groups, ARTEL and OCTAGON who exhibit annually, usually at the Oxmarket (In July and September respectively). Wills Art Warehouse in Putney have my work (mostly paintings) and have taken me to the Bristol and Battersea Art Fairs in previous years. I will have work in the Clarendon Gallery in Mayfair from 17-23 January 2020 as part of the Sky Landscape Artist of the Year Exhibition, in which I was a finalist this year. Otherwise, I post venues as they happen on my Instagram and website. I am always happy for people to come round and see my work with ABSOLUTELY NO OBLIGATION to buy, they just need to get in touch.

using pieces of old prints and papers in stitched books

What will we be seeing from you next?

I am off to New Zealand at the end of January which I know will provide lots of inspiration, but no idea what! I want to try out more experiments with print work developing ideas and process and looking to simplify and contrast.

Do you have any advice for other printmakers and creatives?

Just DO IT! Process is the key and ideas come from engaging and drawing, always go back to drawing as the starting point and then draw again!

https://www.sueengland.co.uk/
Instagram – 28sueengla0547
Facebook – sue.england.39
https://www.wills-art.com/artists/30-sue-england/

Block Printed Plant Pot Cover

This is a really quick, easy and inexpensive way to change the look of your indoor potted plants. Create a streamlined paper cover printed with your own design. Read on for full instructions or scroll to the bottom for a video of the whole process.

You will need a large piece of stiff paper or card. This will need to be large enough to roll the plant pot along in one full revolution. We are using a piece of A1 Snowdon.

Mark the plant pot with a line at the top. Draw a line (or stick a piece of tape) straight down the length of the pot and draw another mark at the bottom. Starting with the marked edges to the paper, trace the curved path of the pot as it rolls along the paper.

Trace both the path of the top edge and the bottom edge each time you turn the pot a little.

When the marked edge makes contact with the paper again, mark the paper at the top and bottom matching the marks on the pot. Continue to trace the path onto the paper for a few centimetres to create an overlap for the paper cover.

Use a ruler to join the marks on the top and bottom lines at both ends of the shape. Cut out the paper, leaving a little extra at one end for the overlap.

Check your paper cover by wrapping it around the pot.

Create your stamping block using an acrylic stamp block. Mastercut printing stamps are self-adhesive and so can be stuck onto the block and used immediately. Sticky foam could also be used. Make sure to stick to one material per stamping block as the height of the raised areas must be consistent.

Mastercut blocks can be cut using a scalpel or with scissors. We are cutting each circle into six wedge shapes. We will use these to create a scattered repeat pattern.

In order to make our pattern repeat but not leave obvious grid lines between prints, it can be helpful to create a shaped paper template. Begin with a paper rectangle the same size as the acrylic block. Cut a curve off one edge, move it over to the other side and trace it. Cut off the other side so they both have the same curve.

Repeat this process on the top and bottom of the paper.

Place the paper underneath the block. This gives us an area to fill with pattern that we know will fit together well, giving an even scatter pattern without large gaps or crowding whilst also disguising the grid of the repeat.

Peel the paper backs from the shapes and stick them to the block.

Place the block face up and, using a Versacraft Ink Pad face down, pat the stamp block to cover all of the raised areas with ink.

Press the block face down on the paper. A slightly padded surface can help ensure the prints are even. We have placed our paper on top of a sheet of newsprint so that we can print over the edges.

The transparent block will enable you to see where each print is being laid down in relation to the prints around it.

Continue to build the repeat pattern until the whole template is covered.

To print another colour, gently wipe the ink from the block, being careful not to detach the Mastercut. Ink up the block with the new colour.

We have flipped our block upside down in order to shift the pattern whilst maintaining a regular repeat that will print evenly.

The lemon yellow and wisteria coloured inks overlay to create ochre as a third colour.

When the ink is dry, wrap the paper around the plant pot and mark where it overlaps. Take the paper off the pot and use tape to secure the two pieces together on the inside. Glue the two pieces together on the outside of the pot cover.

Sure the ends together with clips until the glue dries.

For this project you will need:

– plant pot to cover
– large piece of stiff paper or thin card
– pencil
– ruler
– scissors
– Acrylic Stamp Block
– Mastercut Printing Stamps
– Versacraft Ink Pads
– masking tape and/or glue stick
– bulldog clips or paperclips