Meet the Maker: 2019

We have had a huge selection of amazing printmakers for year’s Meet the Maker feature. Take a look through our 2019 list to remind yourself of our makers and catch up of those you may have missed. Start 2020 with a dose of inspiration by reading through all the advice given out from all our talented printmakers:
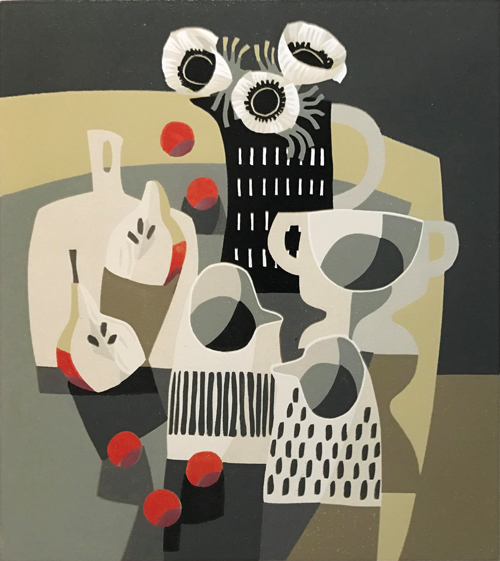
Alexandra Buckle

Try things for yourself, find out if it works for you, if it doesn’t try something else.

Be particularly wary of anyone telling you ‘you should create more of this’ or that or the other… If you enjoy creating it, carry on, if people enjoy
buying it, even better.

Read more.


Kiran Ravilious

Never give up!

Read more.


Gemma Dunn

Create. Do it for the sheer joy of it, do it for yourself, do it because the creativity is fiery in your bones. But also make the time and effort to grow
in your skill because a lifetime of learning is the way to stay fresh and humble in what you are doing. You don’t need expensive tools and materials as much as you need an attitude of perseverance. Start with what you have to hand.

Read more.


James Green

Take your time and find the medium for you. I tried all sorts of things, most of which I didn’t really get on with. Book on a workshop or two and see what takes your fancy. I also think it is important for creative people to do what you enjoy, not what is currently in fashion. If your heart isn’t in it
you won’t last long.

Read more.


Wayne Longhurst

I am currently attending an evening drawing class at Northbrook College. The tutor (Steve Carroll) has his own mantra which is ‘just leave it!’. What he means is that if you make a mistake, then don’t worry about it, just move on, live with it, and adapt to it. Make it work into your piece. Don’t be so precious over every tiny little detail. That has really stayed with me, as it not only applies to drawing, but to printmaking too. If you happen to carve something away but you weren’t meant to, just leave it! You cant undo it, so go with it. Sometimes it’s really hard, but you have to.

So, whether it be drawing, or carving, if you do happen to make a tiny mistake, it’s okay, just leave it. It’ll be fine. The world won’t end! It has taken a while for me to learn that, and I’m not 100% certain that I have completely yet, but I’m getting there!

Read more.


Masha Tiplady

Main advice would be just to go for it! In my experience, the best way to learn is to try something new, even if it scares you and feels overly-ambitious. You’ll make mistakes but that’s the best way to learn.

Read more.


Kat Flint

Find your own voice – being distinctive will serve you well, because the people who like your work will like it for the right reasons, and will stick with you to see what you do next. Don’t chase trends all the time, but if you do, make sure to do something unique with them that could only have come from your brain. Practise. A lot. Don’t give up when things go wrong – invent solutions, seek advice, share your mistakes for a laugh… and don’t stop.

Read more.


Ink and Bear

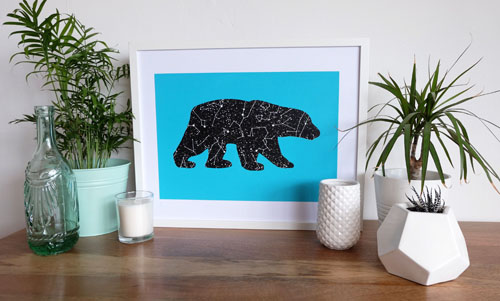
Just jump in and go for it! I spent years using a full-time job as an excuse not to find time to create and now it’s such a nice balance to be able to make something from scratch with such a hands on process.

Read more.


Kaylene Alder

I find I have to remind myself that everyone has their struggles – none of us are alone in that and I know that I have a creative crisis of confidence at least once a month! That’s really common for creatives – self-doubt – but I guess the challenge is to try and focus on the positives and learn from the negatives. So I guess my advice is to be kind to yourself and don’t be afraid to ask questions – there are lots of great peeps out there who are happy to help you through a print problem or just to give a few words of encouragement. Print nerds love a print problem!
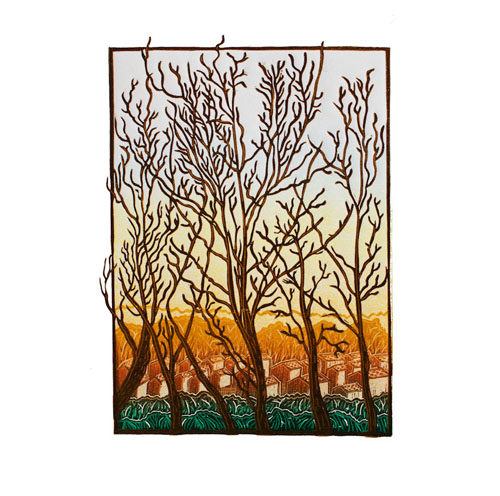
Read more.


Anne Desmet RA

When I was at art school, printmaking – and especially wood engraving – was considered highly unfashionable and not an area of art that any self-respecting artist should have any interest in. I had great support there from the printmaking tutors but regular criticism from tutors who weren’t involved with printmaking and who spent much time criticising my practice and encouraging me to make large-scale paintings instead. In the end, whilst weighing up whether or not any criticism you may get is justified, I do think you ultimately need to work at whatever feels truest to you, whether or not it’s ‘fashionable’ or ’trendy’. It’s impossible, really, to predict what will be the next ‘in’ thing in the art world so there’s not much point in trying to second-guess it. All you can do is make work that comes from your heart and that you believe in. Hopefully, in either the short or the long run, that integrity in what you make will be appreciated by a discerning audience so, stick with it and don’t be downhearted if the sphere of art you have chosen to work in attracts criticism or even disinterest – working as an artist is a long game and you have to enjoy making what you make and believe in it or your life and career may not feel fulfilling. I feel very lucky to have had a long (ongoing) career doing something I truly love and I am delighted that, over the years, my work has built up a strong audience.

Read more.


Hugh Dunford-Wood

Neither hide nor hoard your talents, but share them, and accrue to them by enquiry with other artists and makers.  Celebrate life and remember that the world is full of hosts – there are just not enough guests. So travel, overland, with your sketchbook and not with a camera.

Read more.


Yuk Fun

Stop worrying about things going wrong and just go for it! It’s so easy to put stuff off that you’re unsure about, but you never learn until you give it a go.

Read more.


Sarah Burns

Follow your passion and be brave.

Work hard and keep going – stamina is just as important as talent.

Try and learn something from everyone you meet – everyone has something to teach you.

Find good people to work with – the ideas you have together will nearly always be better than thoughts you have alone and they will be there to keep you going when you run out of steam.

Read more.


Sean Starwars

Stay active in the studio, take advantage of every minute you have – don’t just wait till you have a big block of time to work, and lastly be willing to reach out for opportunities – don’t wait for them to come to you! and VERY LAST – HAVE FUN !!!

Read more.


Jane Dignum

My advice to other creatives would be to always be looking out for new ideas, never be afraid to try new things and just keep on creating.

Read more.


Susie Hetherington

I think the main advice that has helped me is that just getting on and doing is better than overthinking what you are going to do and what it will turn into. I had no idea where drawing again would take me. I had no idea what was going to happen when I picked up a Lino cutting tool for the first time. I now teach beginner Lino cutting workshops from time to time, and that is my main message; don’t worry too much about the results. You learn so much just by doing.

Read more.


Krona Prints

Create things for yourself. Make things that you want to own and things that make you happy. If you do that, then you’ll pretty much never be disappointed.

Read more.


Lucy May Schofield

The best advice I’ve ever received in terms of printmaking, was from my Japanese mokuhanga sensei, Tetsuo Soyama san, who said,

‘The world is between the paper and the block. The world changes every minute, therefore the printing can also change.’ 
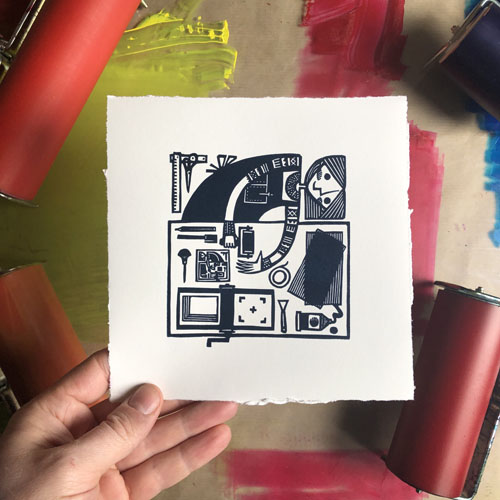
Read more.


Tristan Sherwood

Good cutting tools make a huge difference as do good inks, so visit a specialist supplier and slowly build up your equipment, better to have a few good quality materials and add what you need as your confidence builds. Start on smaller projects and spend time really planning. The online community of artists and printmakers on Instagram has been such a positive experience and really supports my practice. I would recommend setting up an account and following printmakers you admire.

Read more.


Andy English

I encourage people to make the work that interests them, rather than what seems fashionable. Work on the craft of printing and do not be discouraged if the results do not match the image in your mind. Learn from it and start the next one. Finally, enjoy those happy accidents that happen to improve a print.

Read more.


Jane Walker

If you finish a print and aren’t entirely happy with it, put the edition away in a drawer – it usually looks much better after a few weeks (not always though).

When it seems that everything you touch is a disaster just keep going, don’t stop and then get out there and be inspired by what other people are doing.

Read more.


Georgia Bosson

Never ignore your gut instinct, when it comes to choosing exhibitions, deciding which products to make or just which colour to work in that day, you know your work better than anyone so try not to be led by what others think you should do.

Read more.


Wuon Gean Ho

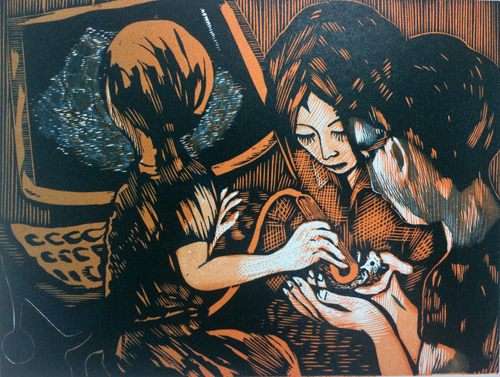
Keep walking towards your goals, even if the path is not straight or easy, because you will always learn something, and the journey is going to be full of surprises.
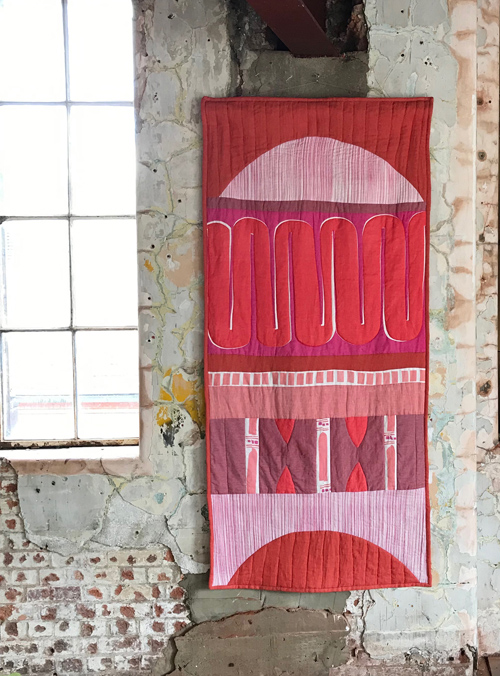
Read more.


Claire Whitworth

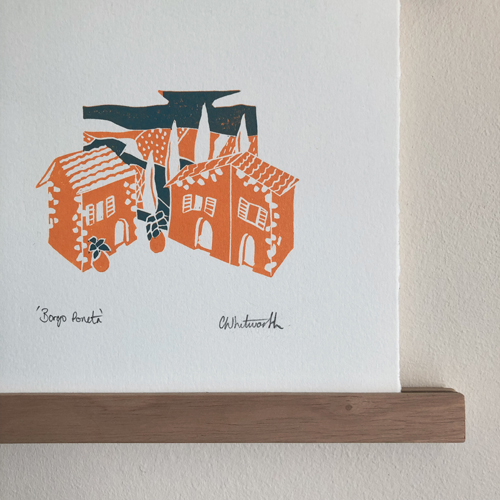
Don’t try to copy someone else’s style just because you can see its working for them. Be your own person and trust your instincts for how you want to create, I know it sounds cliche but it’s so true!

Also never be afraid to try something new, even if it’s completely different to your normal practice. New things can help you grow and develop your style, but it’s also a lot of fun to experiment with a new technique or process and see how you can introduce it into your own work.
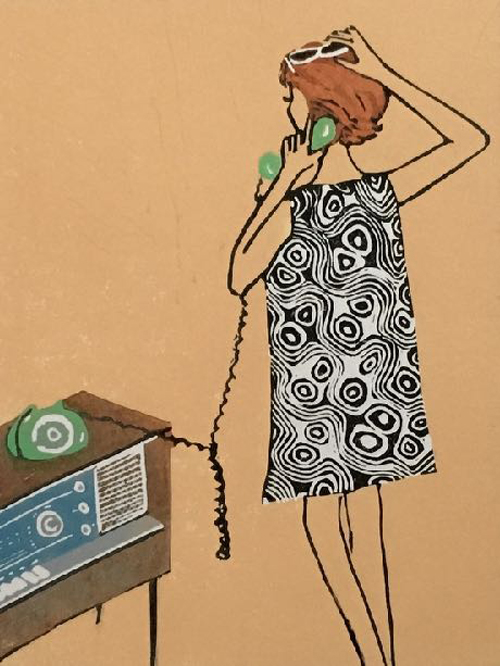
Read more.


I Dress Myself

If you’re printing for a client, it’s important to be thorough.  Clarify every detail and check back with your client whenever you need to.  Ensure that everything is in writing and that nothing is open to interpretation.

If you’re printing for yourself, when you have the idea, just go for it. Doing is the most important thing, you’ll learn as you go.

Read more.


See all of our Meet the Maker interviews here.


Handprinted Studio 2019

We’ve had another fantastic year in the Handprinted Studio. We are so grateful to everyone who supports us by attending workshops and events, using the studio or teaching with us – thank you!

Here are just a few examples of the amazing work made in the studio this year. This small sample shows examples of screen printing, relief printing, intaglio, textiles, dyeing and more:

Christmas Veg Printed Place Names & Tags

Use vegetables to print name place cards and gift tags. This quick, easy Christmas make is a perfect way to get the kids involved! Raid your fridge and grab a few veggies for this quick printing project.

Carefully slice your chosen vegetables in half (adults only please!) Cutting them through the root or stem should give you the best profile for printing.

We are printing with a brussel sprout, a baby chantenay carrot and a shallot!

Ink up the veg by pressing it gently onto a Versacraft Ink Pad. You could also use paint and a piece of sponge.

Press the veg onto your chosen printing surface. Here, we are printing name cards for the Christmas table. Printing on top of a padded surface will help you achieve a good print. Versacraft Ink pads are suitable for printing onto fabric too!

Blend the colours by inking up with several Versacraft pads. For this brussel sprout, begin with Spring Green.

Gently dab the Forest ink pad around the edge…

…and dab the base gently with Lemon Yellow. These small ink pads are particularly useful for blended inking like this.

This shallot is being inked gently around the edges with Wisteria with a touch of Spring Green at the root and Lemon Yellow at the top.

Decorate your Christmas table by slotting the cards into pinecones!

Try printing your veggies onto gift tags or wrapping paper too!

Meet the Maker: I Dress Myself

Describe your printmaking process.

We have worked exclusively with eco-friendly water-based inks since the very early days in 2006 and screen print and digitally print most garments.  We still print some garments by hand but also have an automatic screen printing carousel now, which means we can offer eco-friendly screen printing for large scale print runs.  We offer digital printing (Direct-to-Garment) for small print runs, one-offs and full-colour printing.  The inks are still ecologically sound and it’s still great quality – it costs more per print but there’s hardly any set-up time so ideal for smaller orders.

How and where did you learn to print?

We’ve mainly learnt on-the-job by trial and error, over the years.  Neither Pete nor I (co-founders) had any printing experience outside of college before we started.  Water-based inks were particularly unforgiving but we persevered and learnt so much that we now offer technical advice to other printers looking to make the switch.

Why printmaking?

We get great satisfaction from taking an initial design all the way through to the completed article.  We spend time making a PDF proof to ensure that artwork size and positioning is correct and match all colours carefully.  We love getting emails from clients who are so excited to receive their first print run of a new design and to see their idea realised.

Where do you work?

We have a large studio in an industrial unit in Frome, North Somerset.  We have two print carousels (one auto and one manual), two DTG machines, a paper printing table and a lock-stitch machine for labelling.  There’s some smaller rooms off the main room (office, DTG room, kitchen, sewing room etc) and a big mezzanine for storage and paper printing.  We have a glass skylight and a giant roller door, which is so good to open up the front of the print shop on a sunny day.

Describe a typical day in your studio.

There are seven of us here now, working various hours and days, so life is very different to how we started out.  There’s always a coffee and production meeting to start the day and then we all get on with our various roles.  It’s nice to have our own responsibilities but great to work as part of a team.  We mostly have lunch together and finish at 5pm.  We try to organise the timetable so that we don’t have to work late as it’s so important to have the evenings to recharge.

How long have you been printmaking? 

Since we started in 2005, printing from our house in Nottingham.  We could only fit two arms on the carousel because the bedroom it was in was so small, we exposed screens in the cellar and washed them out in the shower.  It was an exciting time but a tricky way to try and work.  It was only a few months before we got our first studio in Nottingham.

What inspires you?

We really appreciate seeing something that stands out.  We’ve printed so many great T-shirts, over the years but still get amazed by a certain colour combo that we haven’t seen before or a particular design

What is your favourite printmaking product?

We especially love the Permaset inks. They’re great quality, the colour and durability are amazing and they contain no harmful solvents so are really nice to use. We are also trialling a new organic water-based ink from another company that stays wet a little longer and has a really great, solid white.

What have you made that you are most proud of?

Over the last year we’ve been working lots with the Tate, which we’ve been enjoying.  We printed some T-shirts for a US artist called Jenny Holzer a few years ago and she remembered us.  When she had an exhibition at the Tate, she told them they could only do T-shirts of her work if they used us!  That was a very proud moment, when we found out.

Where can we see your work? Where do you sell?

We’ve taken a break from selling products as we found that we really enjoy producing high-quality garments but didn’t have time to spend marketing them.  However, we are planning a new range of garments, with some of our favourite artists, for Spring 2020 so watch this space!

What will we be seeing from you next? 

In 2020, we’re planning to introduce a plastic-free embroidery service and are really excited to be adding to our eco-friendly garment decoration services.

Do you have any advice for other printmakers and creatives?

If you’re printing for a client, it’s important to be thorough.  Clarify every detail and check back with your client whenever you need to.  Ensure that everything is in writing and that nothing is open to interpretation.

If you’re printing for yourself, when you have the idea, just go for it. Doing is the most important thing, you’ll learn as you go.

To get in contact with I Dress Myself:
info@idressmyself.co.uk
www.idressmyself.co.uk
01373 464865
insta: @idressmyselfprint
facebook: idressmyself

Handprinted Christmas Project: Shirley’s Star Garland

Shirley’s star garland is a beautiful and colourful addition to your home this Christmas!

Begin with several sheets of stars – print Shirley’s star template A4 page here. This long garland used 8 sheets of stars. Use whatever paper that can go through your printer – Shirley is using Kent which is thin enough to go through our printer but sturdy enough to create a stable garland.

Use A3 newsprint to create a stencil. Concertina fold the newsprint into long strips. Tear semi-circles along both edges and open the paper out to reveal the stencil. Make one stencil for each colour layer you would like to use.

This image has an empty alt attribute; its file name is Shirleyxmas001-500.jpg

Place the printed star paper onto a hard surface. Shirley is using a board fitted with hinge clamps. Place the stencil over the top.

This image has an empty alt attribute; its file name is Shirleyxmas002-500.jpg

Tape off the area of the screen outside of the A4 printable area. Shirley is using an A3 90T screen exposed with an A4 aperture.

Holding the screen slightly away from the paper, spoon a row of acrylic screen printing ink (ready-mixed or acrylic paint mixed 1:1 with acrylic medium) along the bottom of the screen. Holding the squeegee at a 45-degree angle, push the ink up the screen to flood the mesh. Place the screen flat onto the paper and then drag the squeegee, again at 45-degrees, down the screen to push the ink through. You should hear a zip sound.

This image has an empty alt attribute; its file name is Shirleyxmas003-500.jpg

Lift the screen, replace the star paper with another sheet and repeat until there are enough to make a garland of your chosen length. When the sheets have dried, flip them over and repeat the print on the back to make double-sided stars. Dry them with a hairdryer if necessary as we don’t want any ink to dry in the screen.

This image has an empty alt attribute; its file name is Shirleyxmas004-500.jpg

Peel off the stencil and clean the screen with a soft sponge and cold water. When the screen has dried, repeat the process with a fresh stencil and a new colour.

This image has an empty alt attribute; its file name is Shirleyxmas005-500.jpg

Vary your colours, to create lots of beautiful colour combinations! Don’t forget to print the backs too.

This image has an empty alt attribute; its file name is Shirleyxmas006-500.jpg
This image has an empty alt attribute; its file name is Shirleyxmas007-500.jpg

When the ink is dry, cut out the stars.

This image has an empty alt attribute; its file name is Shirleyxmas008-500.jpg
This image has an empty alt attribute; its file name is Shirleyxmas011-500.jpg

Carefully feed the stars through the sewing machine using a fast running stitch.

This image has an empty alt attribute; its file name is Shirleyxmas009-500.jpg

Hold the sewn end of the garland as it comes out to maintain the tension and feed it through.

This image has an empty alt attribute; its file name is Shirleyxmas010-500.jpg
This image has an empty alt attribute; its file name is Shirleyxmas012-500.jpg

For this project you will need:

Made this project? Tag us on Instagram @handprinteduk and add the hashtag #printmakingforthepeople

Handprinted Christmas Project: Bridget’s Furoshiki Fabric Wrapping

Every year we buy so much gift wrap that is only enjoyed for seconds before being thrown away. Bridget’s furoshiki fabric wrapping can be used over and over again and makes a great addition to a gift! Furoshiki is a beautiful Japanese way of wrapping parcels for gifts and travel.
Use scraps of fabric leftover from previous projects for extra eco-friendly bonus points.

Bridget is using a thermofax with a snowflake design to enhance the fabric. You can find the template for Bridget’s snowflake thermofax here.

Pin a large square of fabric flat onto a padded surface.
Spoon a row of ink along the top edge of the thermofax. Using a thermofax squeegee at a 45-degree angle, drag the ink down the screen. You can pass the squeegee over the screen a couple of times to make sure enough ink has been pushed through the mesh. Bridget is using Speedball Fabric Screen Printing Ink in white. This white ink is slightly opaque and so shows up well on this fabric.

This image has an empty alt attribute; its file name is bridgetxmas003-500.jpg

Lift the thermofax and place it in another area of the fabric. Print wherever you like for a scattered snowy effect.

This image has an empty alt attribute; its file name is bridgetxmas004-500.jpg

This beautiful red lustre coloured ink was mixed from Permaset Textile ink in Copper and Red. it shows up beautifully on this dark green fabric (an offcut from a handmade school skirt!)

This image has an empty alt attribute; its file name is bridgetxmas005-500.jpg
This image has an empty alt attribute; its file name is bridgetxmas006-500.jpg
This image has an empty alt attribute; its file name is bridgetxmas007-500.jpg

When the ink is dry, iron the fabric on high heat for about 30 seconds to heat set the ink. This will make the print washable.

When ready to wrap a gift, lay the fabric print side down.

This image has an empty alt attribute; its file name is bridgetxmas008-500.jpg

Place the gift in the centre. The fabric needs to be quite a lot larger than the item you are wrapping.

This image has an empty alt attribute; its file name is bridgetxmas009-500.jpg

Fold one corner over the items and fold in the corner. If the item is not square, begin with one of the covers nearest the longest edge of the items.

This image has an empty alt attribute; its file name is bridgetxmas010-500.jpg

Repeat with the opposite corner, tucking the end in.

This image has an empty alt attribute; its file name is bridgetxmas011-500.jpg

Fold in each of the sides as in the picture below.

This image has an empty alt attribute; its file name is bridgetxmas012-500.jpg

Pinch the sides together and bring it upwards around the edge of the gift.

This image has an empty alt attribute; its file name is bridgetxmas013-500.jpg
This image has an empty alt attribute; its file name is bridgetxmas014-500.jpg

Gather both ends in your hand.

This image has an empty alt attribute; its file name is bridgetxmas015-500.jpg

Tie the ends into a knot at the top of the gift.

This image has an empty alt attribute; its file name is bridgetxmas016-500.jpg

The ends can be tucked in for extra security or left loose.

This image has an empty alt attribute; its file name is bridgetxmas017-500.jpg
This image has an empty alt attribute; its file name is bridgetxmas018-500.jpg

For this project you will need:

Made this project? Tag us on Instagram @handprinteduk and add the hashtag #printmakingforthepeople

Handprinted Christmas Project: Holly’s Stamped Newspaper Gift Bags

The quest for a more eco-friendly, less wasteful Christmas is a great opportunity to get more creative about the way we wrap our presents. These pretty gift bags use up old newspapers – no non-recyclable wrapping needed. So raid your recycling bin and read through the instructions below.

In order to make these bags Christmassy, unique and beautiful, we are decorating them with hand-carved stamps. Sketch a collection of shapes onto a carving material. Holly chose to create a selection of natural Christmas garland motifs out of Mastercut. This is a great project for offcuts of stamping block or lino and they can be used over and over again.

This image has an empty alt attribute; its file name is Hollyxmas001-500.jpg

Use a V tool to carve around the edge of each shape and then use the V and small U tool to carve the detail into the blocks.

This image has an empty alt attribute; its file name is Hollyxmas002-500jpg.jpg

Cut out each stamp using a craft knife. Use the groove around the edge of each shape to guide the knife.

This image has an empty alt attribute; its file name is Hollyxmas003-500.jpg

To make the gift bag, lay down a sheet of newspaper. For an extra-strong bag, use two sheets together. If it isn’t already folded, fold the newspaper down the centre. The side facing the table will be the outside of the bag so choose carefully.

Along the long edge, fold in around 2 to 3cm. This will give us the top edge of the bag.

Fold one side into the middle of the newspaper, meeting the edge with the centre crease.

Repeat this on the other side, this time overlapping the centre a little. Use a glue stick to glue the two pieces together along this join.

Fold the side furthest away from you down around 1/4 to 1/3. This will be the base of your bag.

Open out this folded end as shown in the picture below.

Fold the bottom side up, overlapping the centre a little. Glue this down in the two corners either side.

Fold the top of this section down, overlapping slightly. Glue this flap down in the two corners either side and along the dotted line below.

Fold in the side of the bag. The point should roughly meet the point marked with an x in the picutre below. repeat on the other side.

Gently open up the bag, pushing the bottom section out flat. Invert the side creases so they face inwards towards the inside of the bag.

Lay the bag flat once more. We are now ready to decorate!

Use a Versacraft stamp pad to ink up the stamps. It is easier to place the stamp facing upwards and dab the ink pad onto it, especially when the stamps are large.

Place the stamp ink side down on the bag and press down firmly. It helps to have a slightly padded surface under the bag to get a strong, even print.

Build up the stamps until you are happy with the way it looks.

Use a hole punch to punch two holes in the top of the bag. Thread string or ribbon through and tie to create handles.

Create different bags with other types of paper – try maps, sheet music or old wrapping paper. Vary the size of the bag with larger or smaller sheets. Why not skip the handle stage altogether and roll down the top instead? Secure the bag closed with a pretty bulldog clip, paperclip or staples.

You can choose to create a stronger base to the bags by inserting a piece of card at the bottom.

For this project you will need:

Made this project? Tag us on Instagram @handprinteduk and add the hashtag #printmakingforthepeople

Handprinted Christmas Project: Jez’s Printed Bauble

This gorgeous DIY bauble will look amazing hanging from any tree! Use ink and paper to match your favourite Christmassy colours. Jez has opted for gold ink on black paper. Here’s how to make it:

Print out our bauble template onto A4 paper – it can be downloaded here. We use using black paper for a striking bauble. Trace one quadrilateral shape of the design and trace it to a piece of lino. We are using traditional lino which is made of completely natural materials.

Draw a design into the quadrilateral.

Carefully carve the design into the lino. A small U tool will carve fine, even channels in the lino. A V tool will give clean, sharp edges with fine detail. A large U tool is perfect for clearing large areas. We are using a set of Japanese cutting tools. Remember that the area left uncarved is the part that will print.

When the design is carved, carefully cut the quadrilateral out of the lino block using a craft knife and a metal ruler.

Use a small roller (such as this Speedball Deluxe 1.5″ Roller) to roll out a small square of ink. It should not be squelchy or leave long track marks when rolled. We want the ink to have a suede texture and make a zzz sound when rolled. This Schmincke ink is a beautiful bright gold. It’s water-based so will dry quickly on the paper – perfect for speedy bauble making!

Roll the ink onto the block.

Carefully place the block onto one of the quadrilateral shapes on the template. Press on the back with your hand or use a hard roller to roll onto the back of the block. Re-ink and print in each of the quadrilateral shapes on the template.

Wait for the ink to dry.

Cut around the net of the bauble, being careful to not cut off the tabs.

Score along the fold lines – we are using an etching needle and a metal ruler.

Fold all of the scored lines into mountain folds so that the net will form a bauble shape. Carefully glue the tab and stick it to the underside of the card to form half the bauble.

Tie a bead to a piece of thread from which the bauble will hang. The bead will prevent the thread from slipping through the hole.

Continue to stick the tabs to the underside of the card one at a time to complete the bauble. Before sticking the last two tabs, side the bead under the point of the bauble. The bead should hold it in place. Glue the final two tabs.

The bauble is now ready to hang!

To create Jez’s Christmas bauble project you will need:

Made this project? Tag us on Instagram @handprinteduk and add the hashtag #printmakingforthepeople