Relief Printing with a Rainbow Roll

A rainbow roll is a great way of adding interest and depth to a linocut. By blending colours on a roller, we can add fading colours and rainbows to our work. Scroll down to watch a video or read on.

In this project we are using a jigsaw linocut block but you could use any linocut block.

We are using Caligo Relief Printing Inks which are oil-based but can be cleaned up with soap and water.

Choose 2 colours of ink that you’d like to graduate between. We started with magenta and yellow. Place a small blob of each colour at the top of your inking plate, slightly less than your roller’s width apart. Choose a roller that’s an appropriate width for the piece of lino you will be inking up. The placement of the rainbow will be important so we cannot move the roller around the block as we normally might.

Use the roller to drag the ink down. Lift up the roller at the bottom of each stroke and place it back at the top. Keep your roller in the same direction. Add a little more ink if it’s getting too thin or scrape some away if there’s too much.

At this point you should have two columns of ink with a space in between.

To blend the colours, keep the roller in the same orientation but start to slightly place it down a little to the left and right of it’s original position. Remember to lift the roller up and put it down so the ink applies evenly to the surface of the roller.

Continue rolling like this until you have an even colour blend.

When inking up the lino, think about the direction of the rainbow roll. For example, you may want a sky that blends from dark blue at the top to pale blue at the bottom, or a leaf that blends from red at the base through to green at the tip. You can also ink up your pieces in carved roller movements to blend from one colour in the centre of a shape to another colour on the outside (see the video at the bottom of the page for a demonstration of this at 5:24)

Hand burnish or press print your block as normal and peel back the paper to reveal your print!

For this project you will need:

Jigsaw Linocut

Jigsaw Linocut is a fantastic way of creating a multi-coloured print from just one block and just one layer. By cutting our carved block into jigsaw pieces we can ink them up separately before putting them back together and printing. Scroll down for a video or read on.

When using this technique, it’s necessary to choose a suitable type of lino block. Traditional lino is very tricky to cut up into fiddly shapes so opting for a softer lino like Softcut, Japanese Vinyl or Easy Carve is a better choice. In this project we have used Easy Carve (which is grey in the photos but we now stock the blue version instead).

Draw a design onto the block. Pencil can be tricky to see and can smudge so a permanent pen or permanent pencil is better. You could use a Sharpie but there’s a chance you’ll have transference to the print when using light coloured inks so a permanent pencil is ideal. Use red carbon paper to transfer the design from a drawing if you prefer.

To begin carving, go around the outer edge of the whole design (if it is a cut-out style design like this one) with a V tool. We are using our Japanese Cutting Tool Set and some Pfeil Tools for this project.

Next, carve in any detail with a fine tool. We are using Pfeil 11/1 tool here.

If there are any large areas (that aren’t around the outer edges) that need to be removed, use a large U tool to gouge these out.

Before cutting out the whole design with a scalpel, work around the outer edge with a large U tool to create a channel. This gives us a simpler outline. You do not need to clear the whole sheet of lino.

Next, use a scalpel to cut the design free from the background, cutting within the channel you have just carved, not right up to the design. Press lightly to work through the lino in a few shallow cuts rather than trying to press too hard.

When the main design is cut out, divide it up into separate parts using the scalpel. Each part can be inked up with a different colour. Try not to have any areas that have to fit inside one another (like trying to put the hole back in an O) as these will be hard to put back together once inky. Instead, try to cut shapes that can slide up alongside one another. Groupe fiddly shapes together if they’re being printed in the same colour. Leave the excess carved lino on the pieces.

Use a piece of plain paper (the same size as the paper you will be printing onto) as a registration sheet. Place each piece in the correct position face up on your sheet and draw around it in pencil. This will help you assemble the design later. Number the back of the pieces too if that will help you.

Roll out a small square of each colour ink you will need. You will need a roller for each colour. These small rollers are ideal for the small pieces. We are using Schmincke water-based ink but you could use oil-based like Caligo instead to give yourself a bit more working time.

Ink up each piece of lino in turn and place it face up on your registration sheet.

Carefully lay your printing paper on top using the registration sheet as a guide. Carefully hand burnish the print using a baren or a spoon. Use your free hand to hold the paper still.

Peel up your paper to reveal your print.

For this project you will need:

Easy Printing with Pencil Erasers

This speedy project is great to loosen up you printmaking when a blank page is too daunting! It used simple materials and equipment and is great for children too. Scroll down to watch a video or read on.

We will be printing with pencil erasers – the little round rubber ends of pencils are perfect tiny stamps. We will one for each colour. Versacraft Ink Pads make no mess and come in a variety of lovely colours. You can also use these to print onto fabric. Assemble together your chosen colour palette of ink pads.

We are going to use a paper mask to create a design. Letters work especially well for this technique to create monograms but other silhouettes can be used too. Cut your mask from paper, making sure it’s smaller than the paper (or fabric) you are printing onto.

Use small pieces of bluetack to hold the paper mask in place. Don’t stick it down with tape as this will overlap the edge. If you are printing onto fabric you can mask a whole area with masking tape instead.

Take the lids of the Versacraft Ink Pads and assign one pencil to each pad.

To make a print, dab the pencil eraser in the ink pad and press it down onto the paper. You should be able to print several times with the same inking, with the spot getting paler each time.

Build up the spot prints, focussing on the edge of the paper mask. Make sure to overlap the edge of the mask as this edge will define our design when it’s removed.

Switch between pencil erasers and pads to change the colour. Build up the spots until the whole of the edge of the mask is covered.

Remove the paper mask to reveal your design! If you are printing onto fabric, wait for the ink to dry fully and then heat set the ink with a hot dry iron.

For this project you will need:

  • Pencils with eraser ends
  • Versacraft Ink Pads
  • Paper or fabric to print onto
  • Paper for mask (80gsm copy paper is perfect)
  • Bluetack
  • Scissors
  • Iron (if printing onto fabric)

Meet the Maker: Anna Hermsdorf

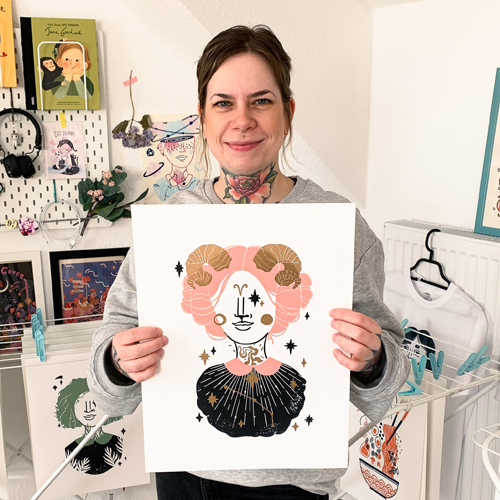
Hey, my name is Anna, I am 34 years old and from Germany. I started linocut printing in 2018 but my first printing experience was during my product design studies at University. I love bold and colourful illustration styles, tattoos and graphic design.

Describe your printmaking process.

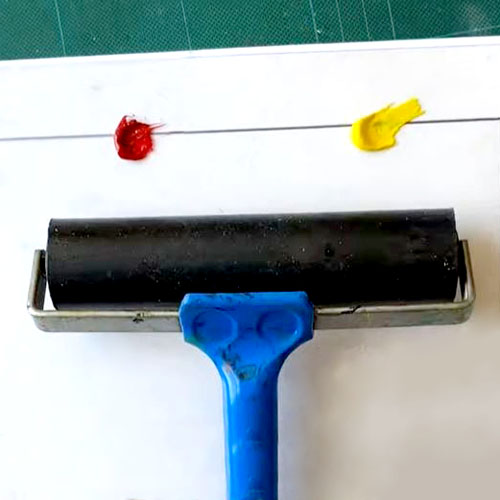
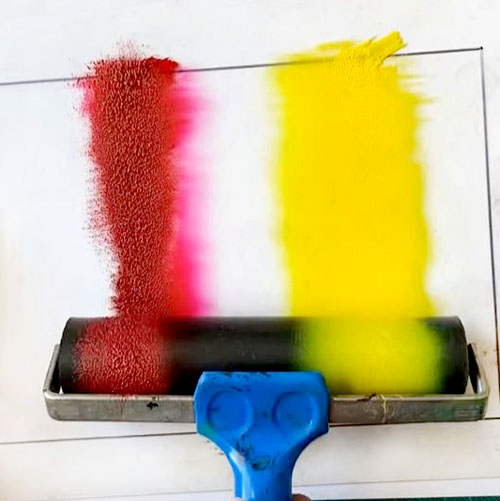
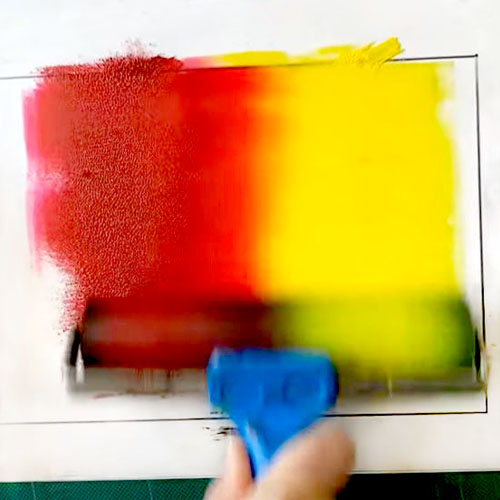
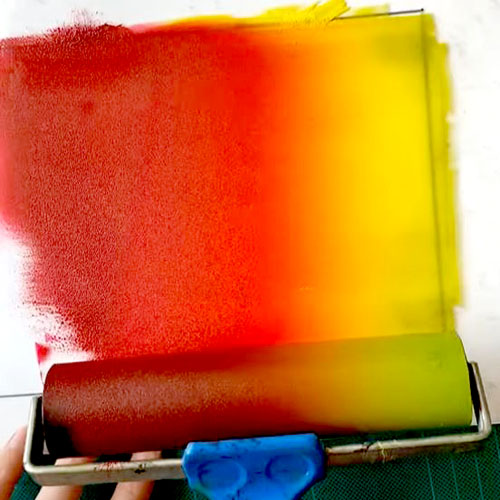
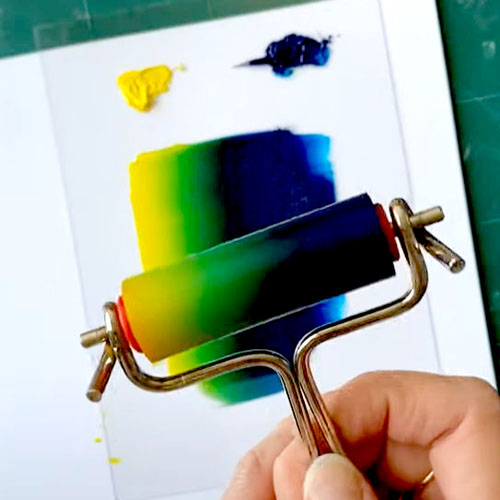
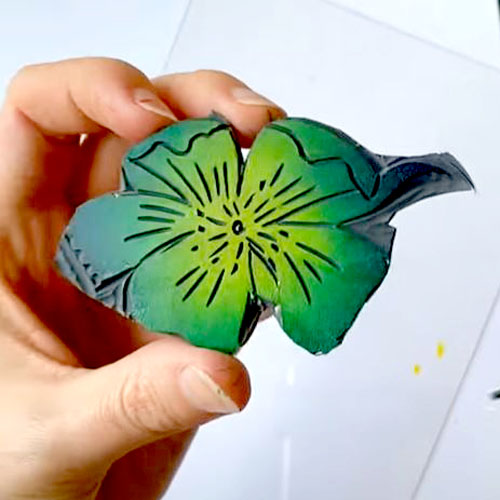
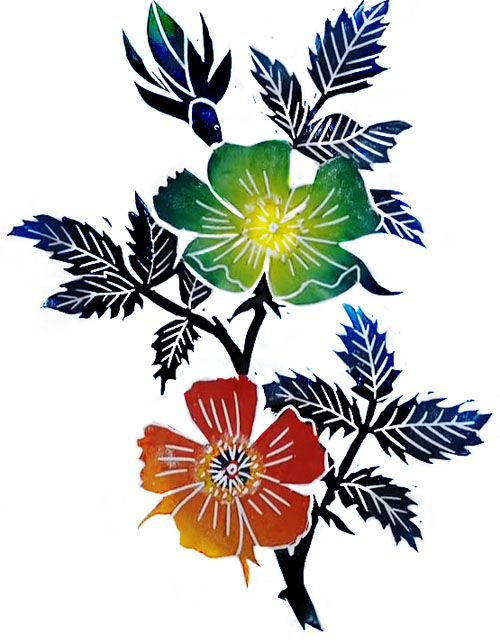
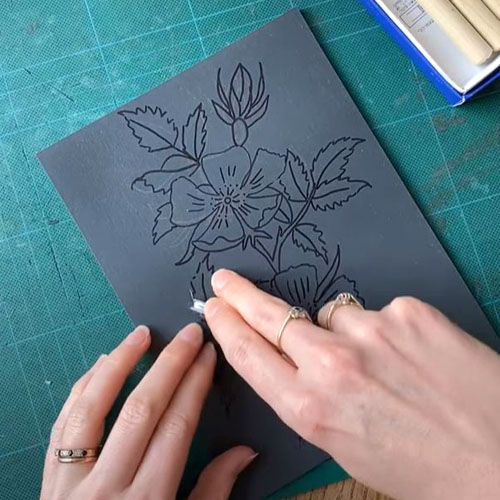
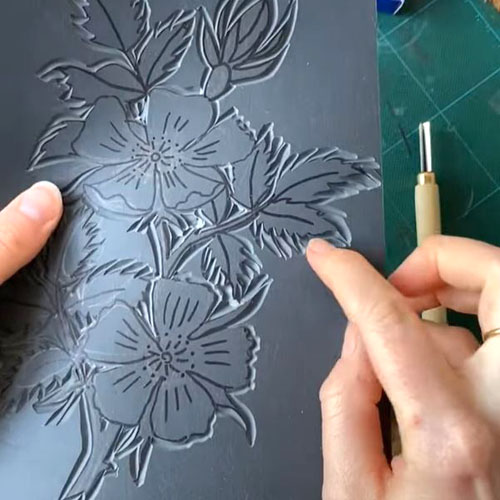
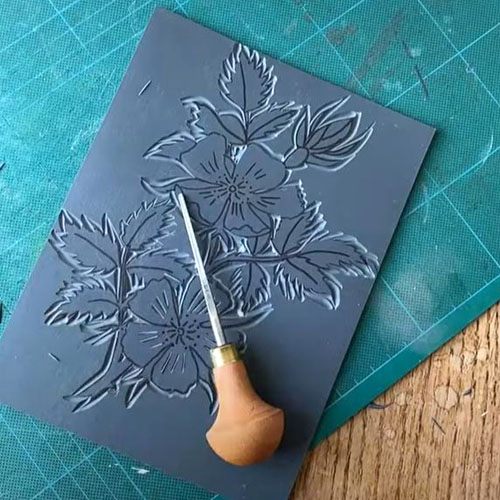
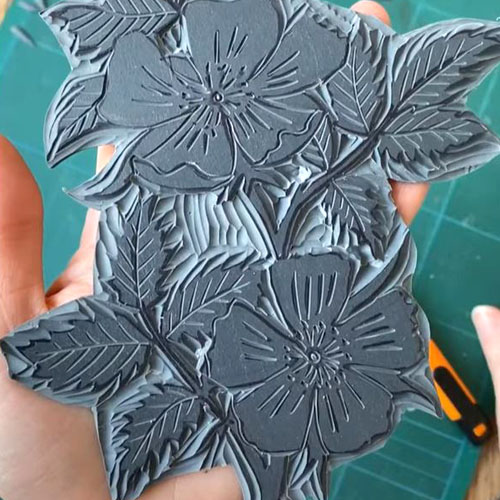
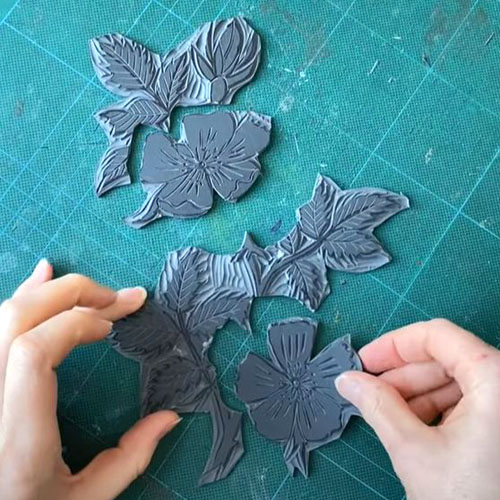
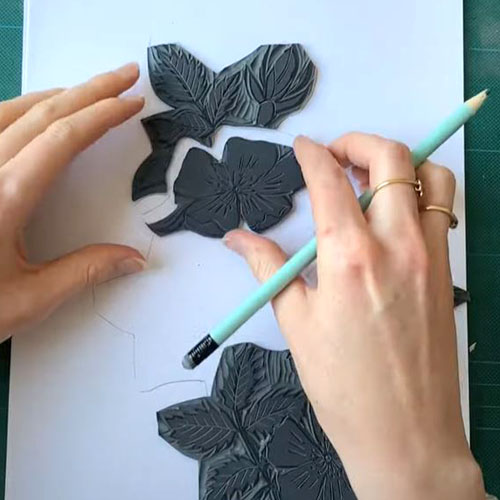
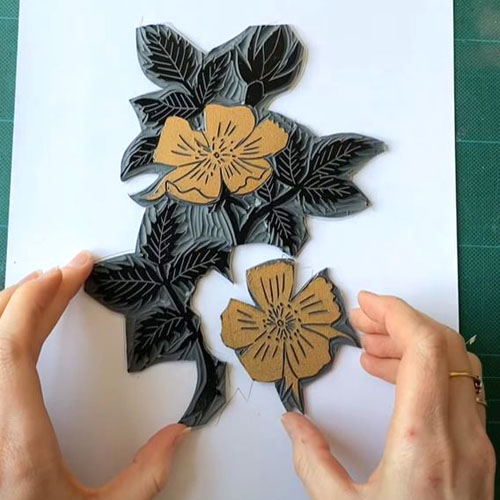
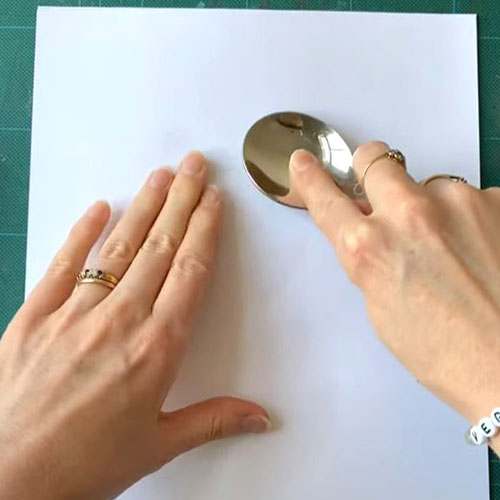
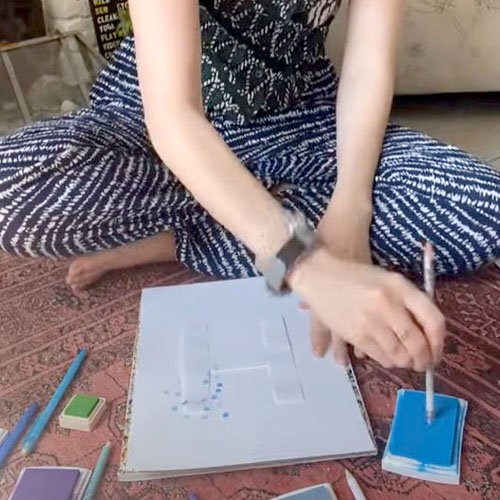
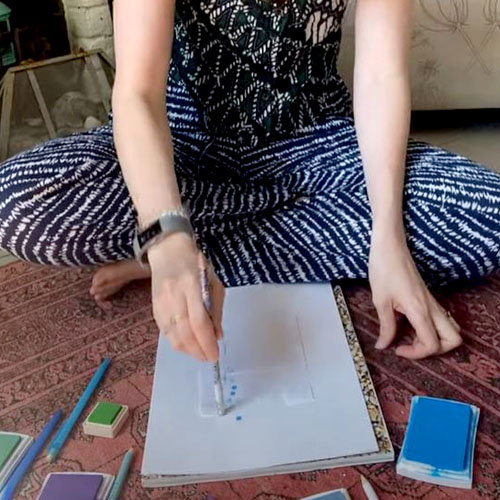
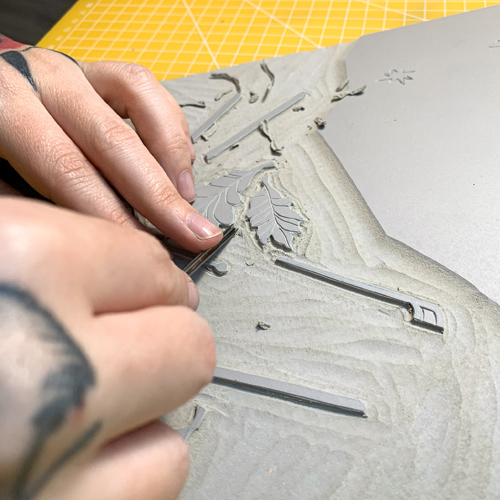
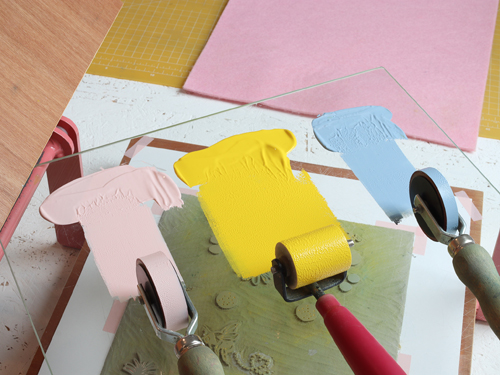
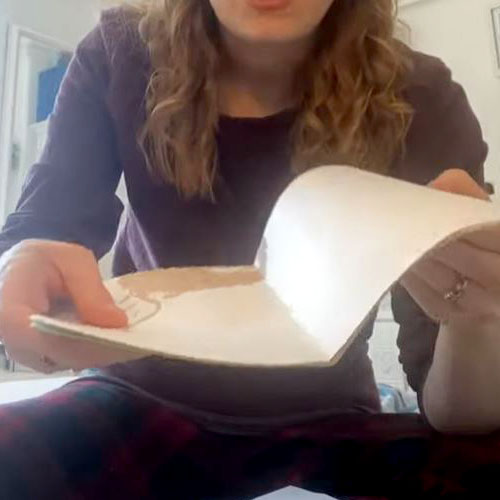
I usually start with a vision of a new design. I try to put this on paper, usually in tiny little sketches that don’t allow for much detail, but only the essentials. Once I’m satisfied with the sketch, I work it out digitally on the iPad. There I also plan the colours and layers. I print these layers mirror-inverted and transfer them separately to my linoleum blocks, which, printed on top of each other, form the whole design. I carve the first layer and print it. A few days later the process continues with the second layer and finally the third and last. Since I work with oil-based inks they take a few days, at best, to dry.

How and where did you learn to print?

I attended a lino printing class at uni in 2016, that’s where I learned some basics that gave me an idea of what I would need to get started on my own. But then I learned step by step while making. I watched others on Instagram and saw what materials they were using, read blogs and just got started. My best influence was the desire to create and find solutions to problems.

Why printmaking?

I love illustration but found it a shame that many works just languish digitally as a file. I also wanted to create a product with my own hands and control the entire process. Linoleum printing was therefore the best of both worlds for me.

Where do you work?

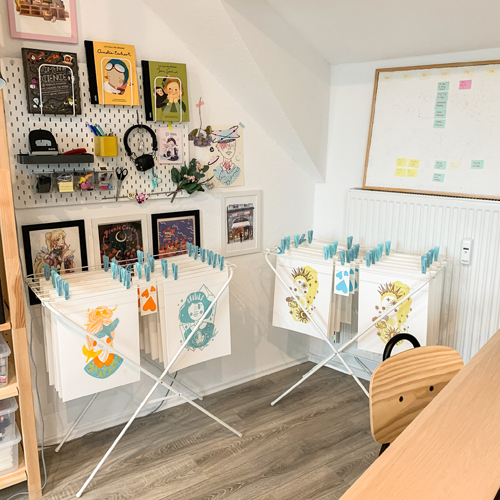
I work from home. I have my own creative space that is all about printing.

Describe a typical day in your studio.

The most typical day probably consists of checking orders, printing, filming and editing. I love the bright midday hours to capture my process on film. Instagram is also an integral part of my day, so I usually put my film footage into my Stories. Later, I sit at my PC and create either a Reel from it or edit a photo or two. I am a bit unorganized still and tend to work from day to day.

How long have you been printmaking?

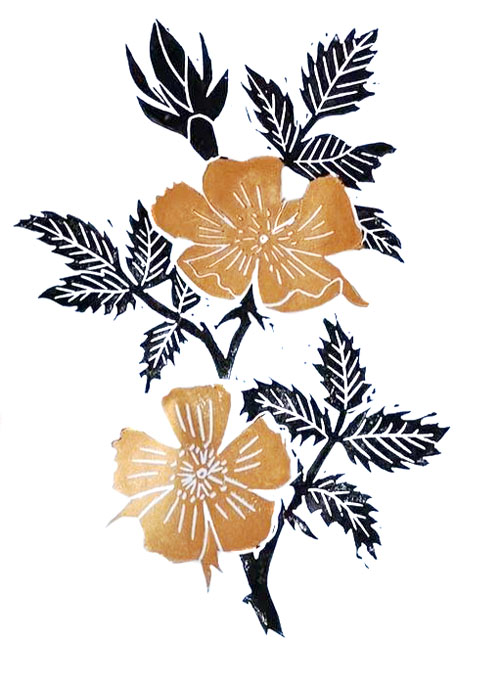
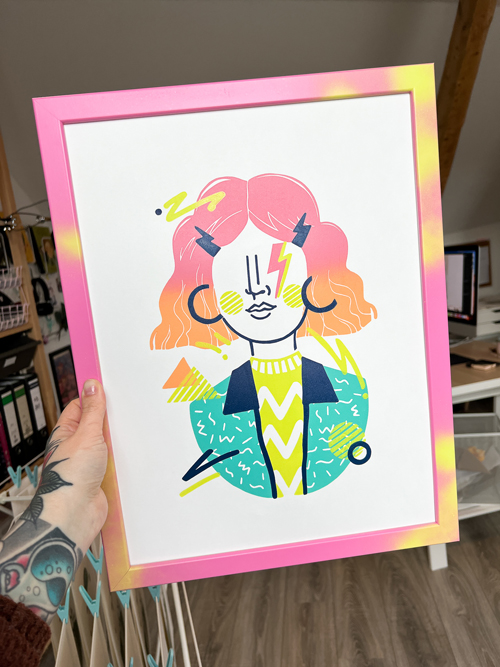
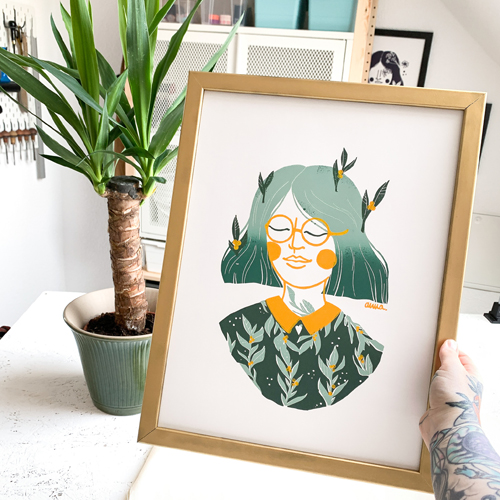
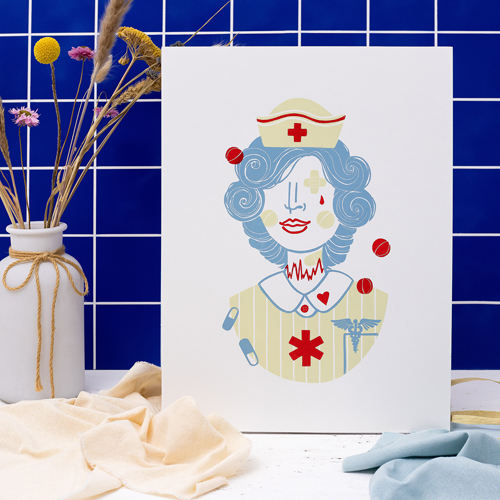
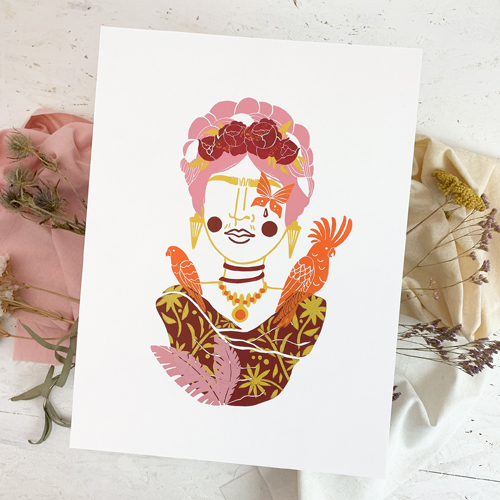
In the summer of 2018, I made the first steps at home and in October I created the first of my typical “girl designs”. Discovering this design direction for myself was the best thing that could have happened. I prefer to work serially, that’s what I took from my design studies. The fact that I found my style so quickly was a stroke of luck for me, it set everything in motion. I’m sure everyone is different, but for me, a certain framework helps me to be creative. My framework is the recurring structure of my girls, their themes are new.

What inspires you?

Especially illustration. Whether digital, traditional or as a tattoo. Colour compositions can also be totally inspiring. Movies, books, games – generally everything that is visual. But I wouldn’t limit myself to that. Most of the time I don’t have to make an effort to find an idea, they always come to me.

What is your favourite printmaking product?

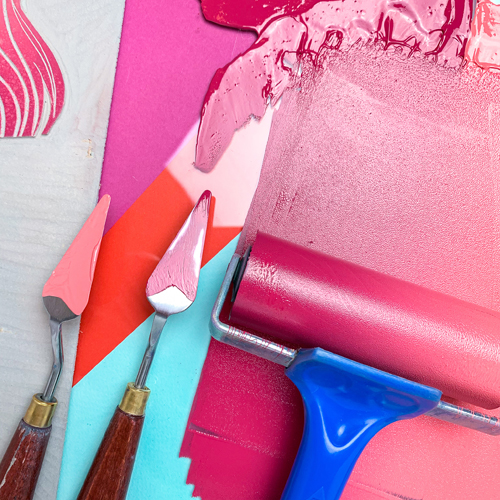
I think it’s the ink that I use. Mixing up the colours that I have planned digitally beforehand is a ton of fun. So my all-time favourite is the Caligo Safe Wash colours from Cranfield Colours. It was a game-changer for me to switch to (easily washable) oil-based inks and can only recommend it to everyone!

What have you made that you are most proud of?

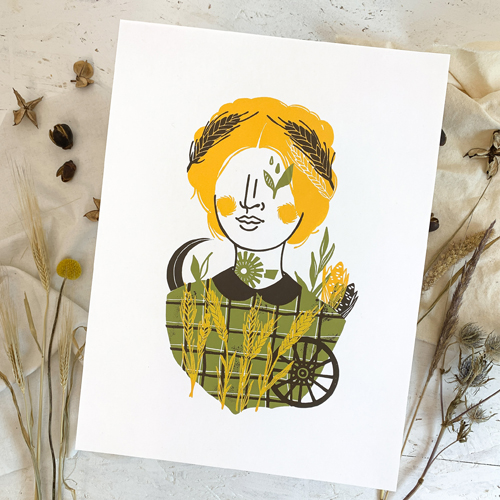
If I leave out the jump into self-employment and I just focus on the prints, I would say the zodiac sign series. It was probably the most challenging because I had to actively do research, sometimes for a long time, to figure out the essence of a zodiac sign. My very favourite of those I created is Aquarius.

Where can we see your work? Where do you sell?

I sell my products on Etsy. Since I sell mainly abroad, this platform is still a great relief. On Instagram I am very active, there I show especially the creation process of my works!

What will we be seeing from you next?

I let my inspiration guide me very spontaneously, haha. But I’m trying to keep the number of new creations down a bit, on the one hand, to give more attention to the existing ones and on the other hand because I’m working on my own online course for lino printing beginners! There I will show the whole process structured and step by step. On Instagram, I already share many processes of my work but that of course is rather wild and spontaneous. My online course will be launching in the spring of 2022.

Do you have any advice for other printmakers and creatives?

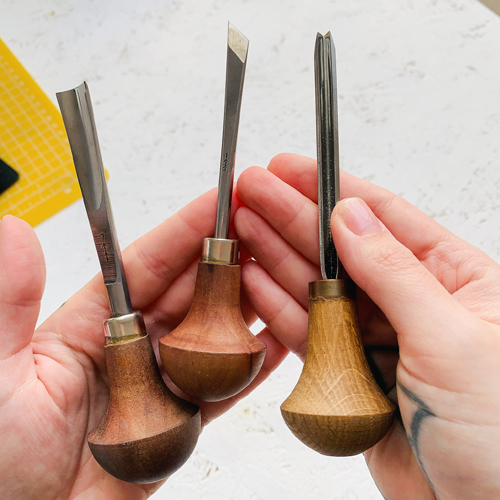
Be sure to invest in good material if you are seriously interested. Nothing is more daunting (and dangerous) than having to work on old, hard linoleum plates with dull knives. You will lose motivation very quickly! Rather, acquire a few high-quality materials and expand your collection. I started with two cutting knives, unfortunately, chose the wrong sizes and had to reorder new ones directly. But of course, you learn the most from mistakes. Ask other artists what they recommend or use!

To see more from Anna follow her on Instagram and make sure to visit her Etsy shop and website. Feel free to join her waiting list so you don’t miss any information about her upcoming online course for linocut beginners.

Simple Bookbinding to Use Up Misprints and Scrap Paper

If you have a stack of papers in your house too pretty to recycle then here’s a way to make something beautiful from them. It’s perfect for misprints and test prints too!

These little sketchbooks and notebooks are easy to make and can be wonderfully personalised. Scroll to the bottom to watch a video or read on.

Begin with a little stack of papers – you can mix up the paper types but we want them all to be the same size. Fold them all down the centre. Arrange them in an order you like inside one another’s folds like a booklet.

Cut another piece for a cover – it helps if it’s a mm or two longer than the others so the edges of the booklet are neat. Fold this like the others and place it around the outside of the inner pages.

Next, we need to make the holes in the pages so they can be stitched together. Ideally, we would stab through all the pages at once but depending on your tool, you may need to do just a few pages at a time. You will need an awl or an etching needle to punch holes through the pages. At a push, use the point of a scalpel blade or a very sharp pencil to do one or two pages at a time.

To mark where the holes will be made in the pages we can make a template. Cut a strip of paper the same length as the spine of your booklet. Fold it in half and mark the centre. Divide each half into 3 so there are 5 equidistant marks in total along the length of the paper. When we place this paper along the inner spine of the book, it will show us where to puncture.

Use your awl, etching needle or similar to puncture through the spine or each of the pages (a few at a time), using the template to get the right position. Use a piece of cardboard underneath to protect your table.

Use bulldog clips to secure all the pages in a stack, lining up the holes. The booklet should be in an open position. Use the awl, etching needle or a sharp pencil to check you can get all the way through all 5 holes. Make sure your cover is at the back, facing outwards.

Choose a strong cord to bind your book. You may need to work the holes a little bigger if the cord is thick. Thread a thick needle with the cord (a darning needle is ok but a needle where the eye is not fatter than the length is even better). If the cord is stiff and you’re not working with too many pages, you may be able to do this without a needle at all. You could also try using ribbon or string.

The spine is stitched in a specific pattern (less confusing than it first looks):

1 – First, go down through the centre hole. Pull a long tail through.
2 – Come up through the middle-left hole. Pull it tight.
3 – Go down through the outermost left hole. Pull it tight.
4 – Come up through the middle-left hole again. Pull tight.
5 – Go down through the middle-right hole. Pull tight.
6 – Come up through the outermost right hole. Pull tight.
7 – Go down through the middle-right hole. Pull tight.
8 – Finally, come up through the middle hole. Pull tight.

1 -Down through the middle
2 – Up through the middle-left

3 – Down through the outermost left hole

4 – Up through the middle-left hole again
5 – Down through the middle-right

6 – Up through the outermost right

7 – Down through the middle-right

You should have loops between each hole on the front and the back.

Tie a secure knot in the middle where both ends of the cord should be. Cut off any excess cord.

Unclip the pages and fold to see your final book!

You will need:

  • Stack of papers
  • Scissors or scalpel and cutting board
  • Awl, etching needle or something else sharp
  • Scrap of cardboard
  • Strong cord or similar
  • Needle (not essential)