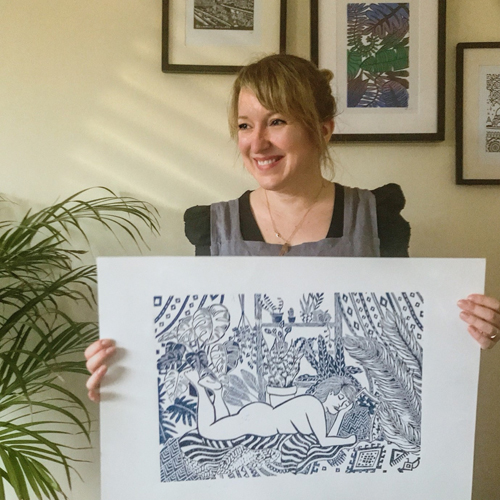
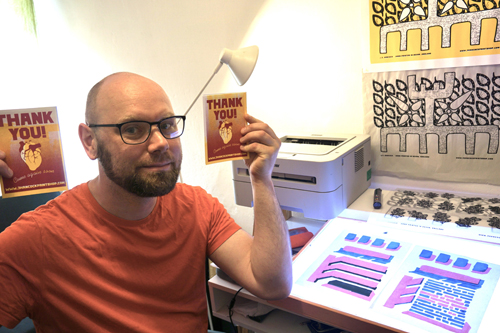
Hi, I’m Jack, I am an interdisciplinary artist, craftsperson and keen screen-printer. I live on the edge of Dartmoor in Devon with my partner and baby daughter. My day job involves making handmade pewter giftware. I try to squeeze printmaking in between work and family life.
Describe your printmaking process.
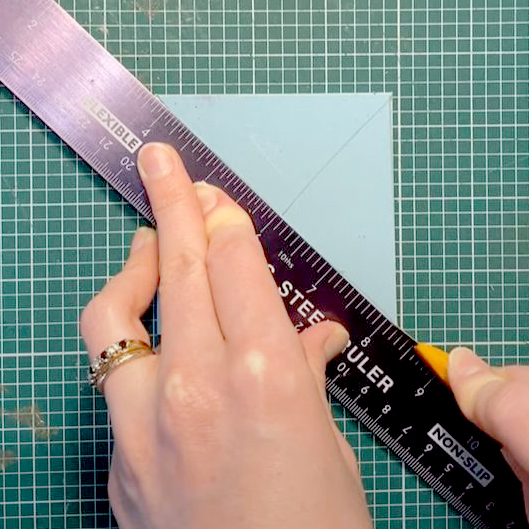
I would love to say free and spontaneous! But really my printmaking is meticulous. I don’t have my own studio so I spend a lot more time designing, drawing and prepping than actual printmaking. I have to use my studio time really efficiently so don’t have much time for experimentation. I always have the finished result totally planned out so as not to waste time and materials.
How and where did you learn to print?
I found it hard to get into screen printing and spent a couple of years wanting to start but not being able to afford any courses or equipment. I eventually found an affordable intro course at Gloucestershire Print Co-operative. The work I took away from that weekend I ended up selling at the gallery I worked in at the time. That must have given me the confidence to invest further but it was still a year or two before I got on a course at Print Club London and became a member there afterwards. The course there was much more in-depth and my time spent there as a member honed my skills.
Why printmaking?
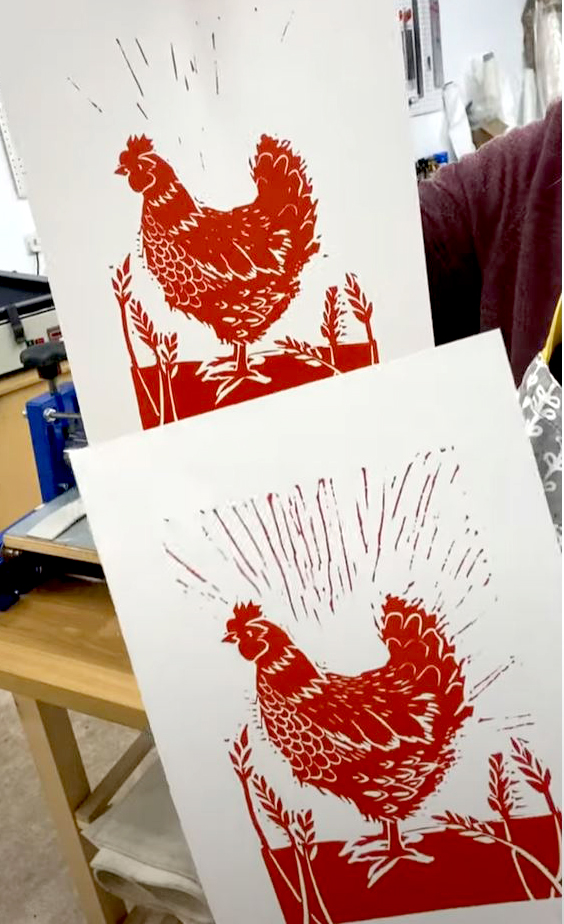
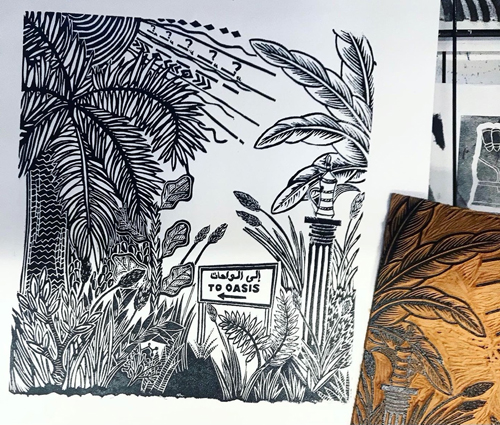
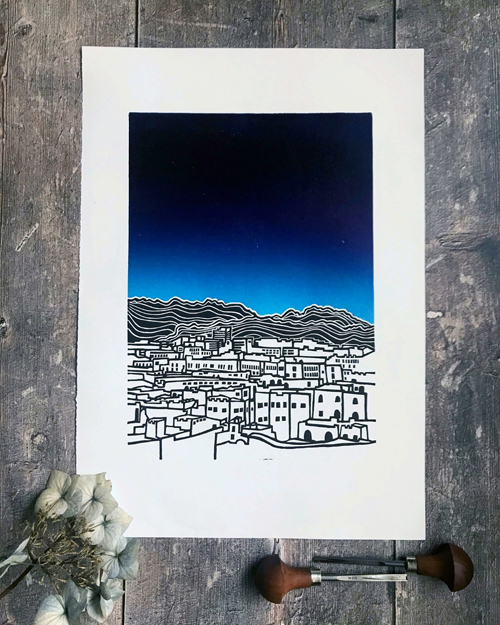
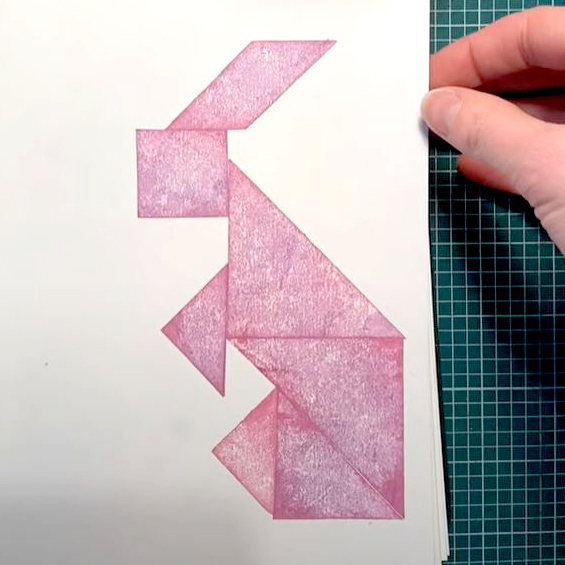
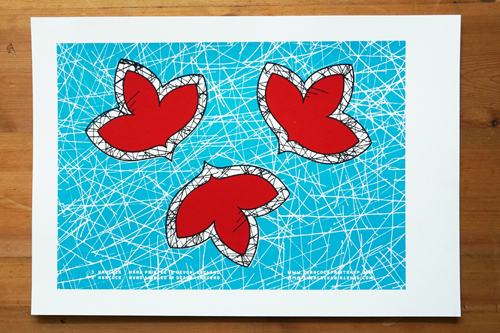
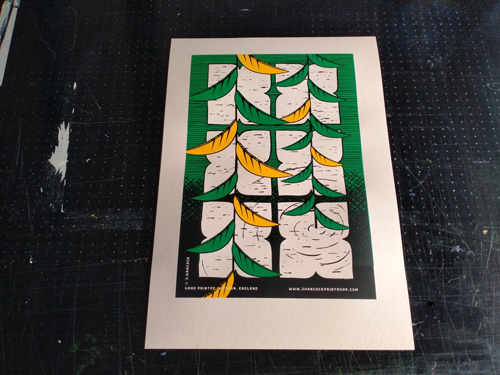
I love the
very definite lines and the flat, even layers of colour that I could never
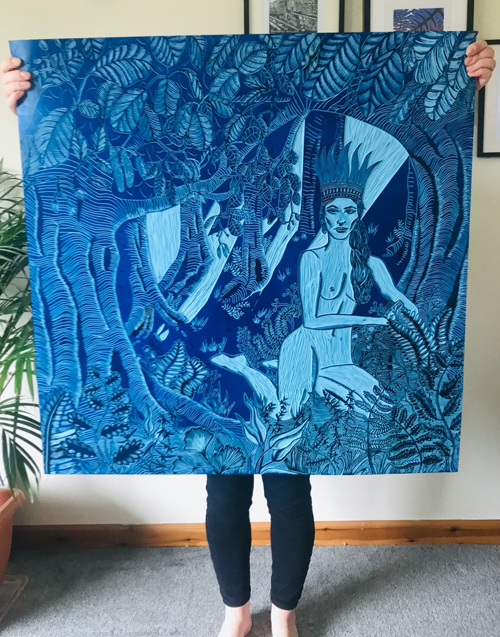
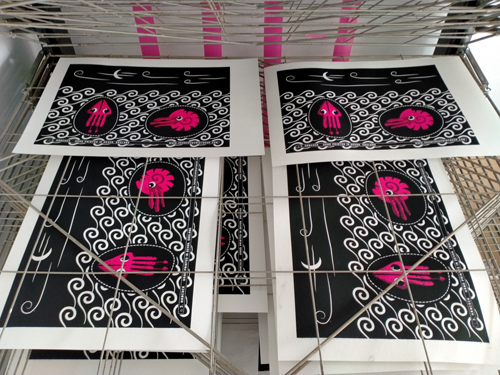
achieve with a paintbrush, I enjoy working with a very limited palette as well,
making an image work with just two or three colours can lead to some
interesting and striking design choices.
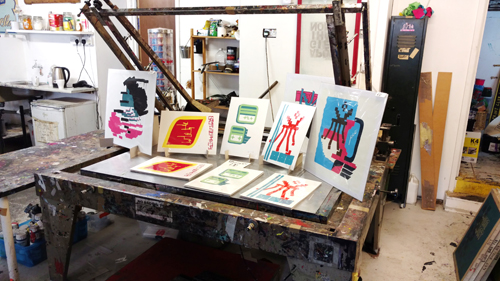
Where do you work?
I currently hire the facilities at The Printery in Plymouth. It is a very pleasant place to work, I recommend checking it out if you are in the area.
Describe a typical day in your studio.
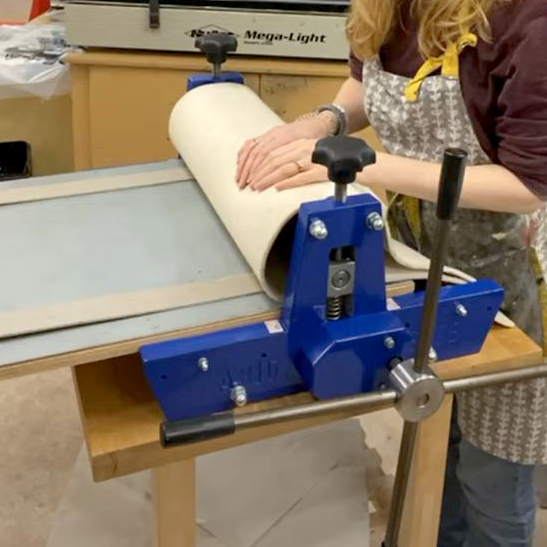
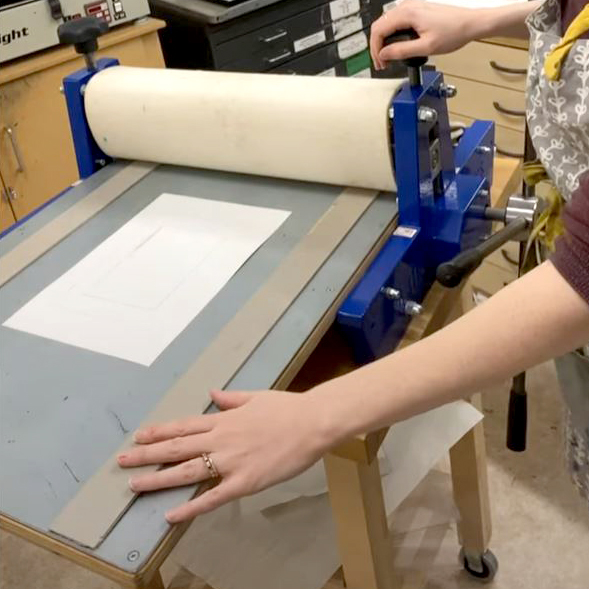
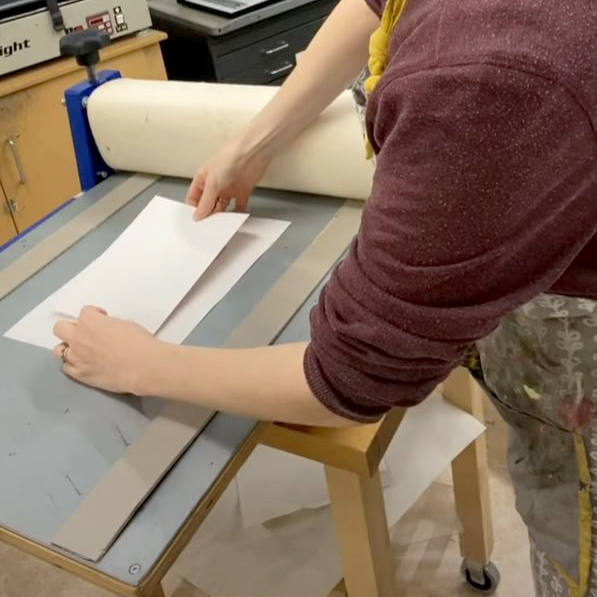
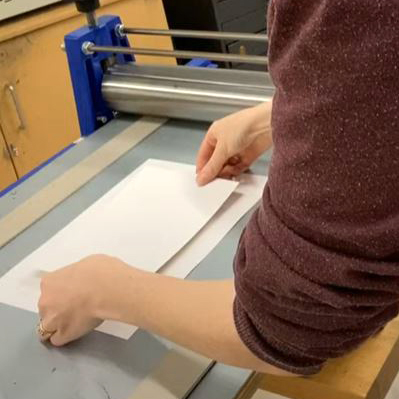
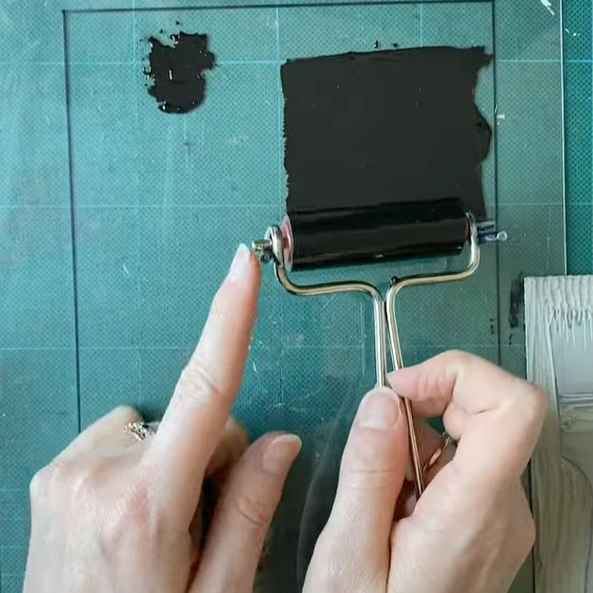
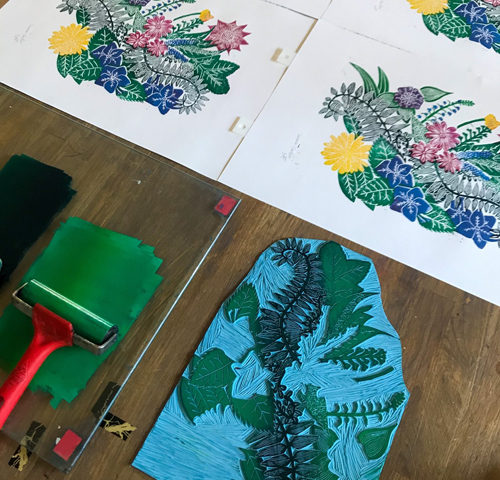
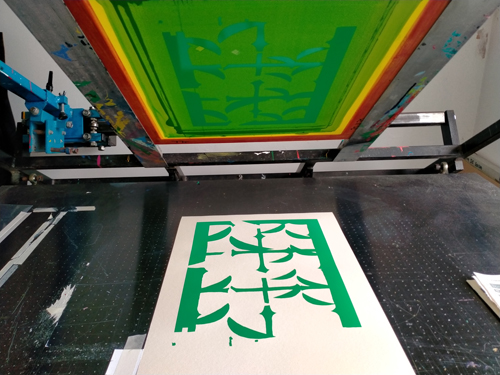
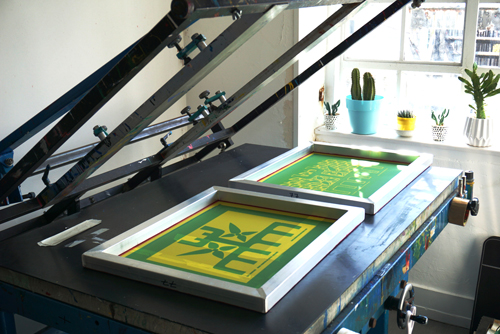
When I’m actually printing it’s very mechanical. I coat and expose my screens, lay down the colours, try not to get ink everywhere, wash and reclaim my screens, pack up, and go home as soon as the ink is dry. I always use a vacuum table and have a nice thick sheet of transparent film for registration.
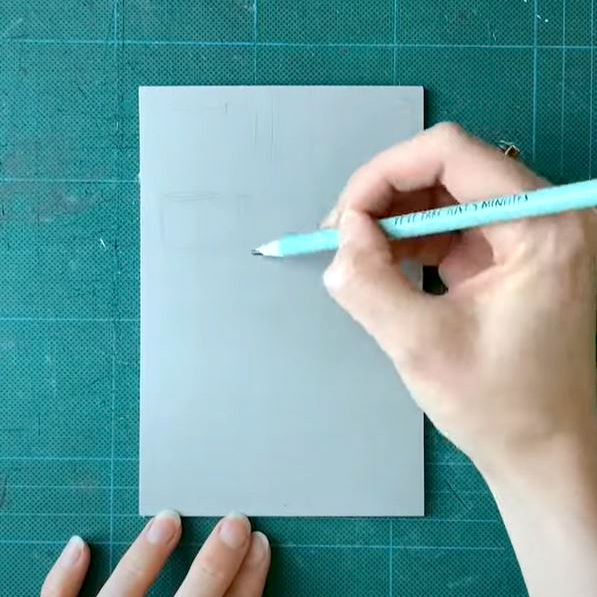
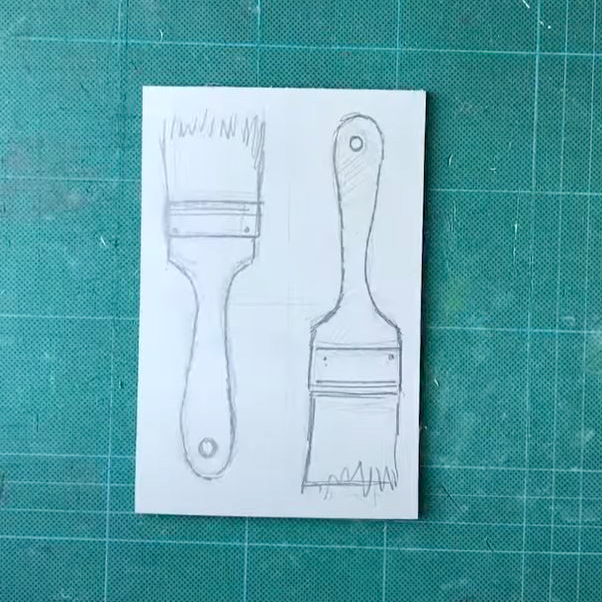
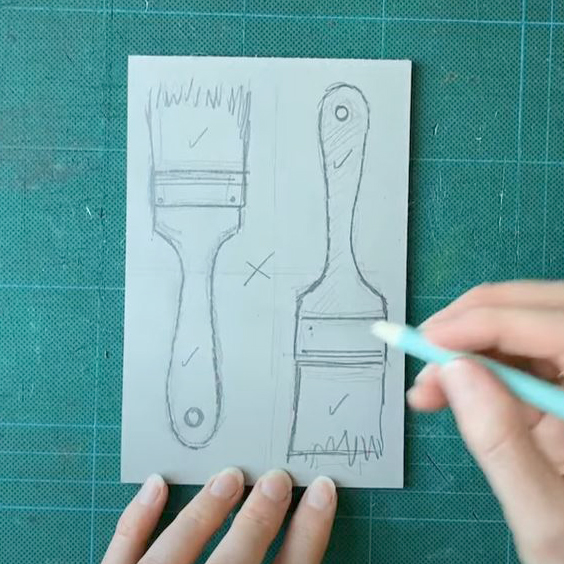
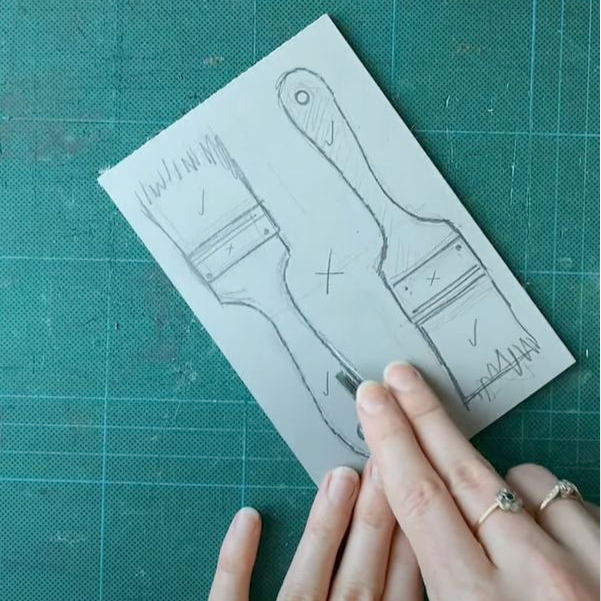
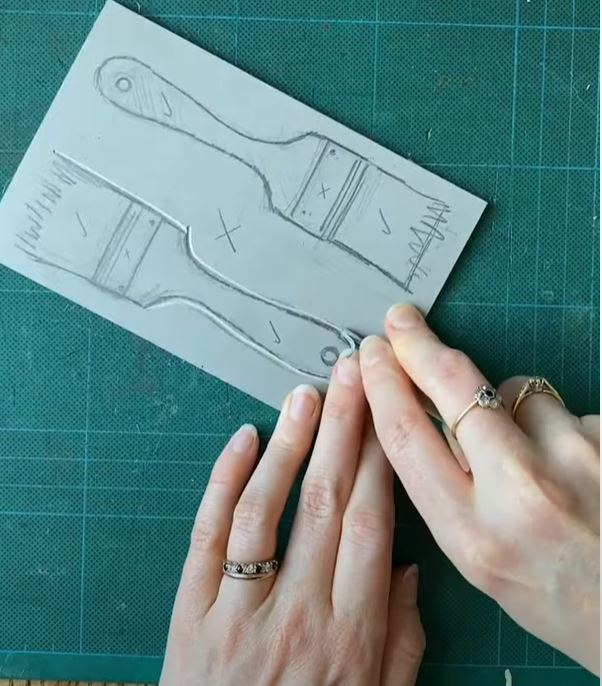
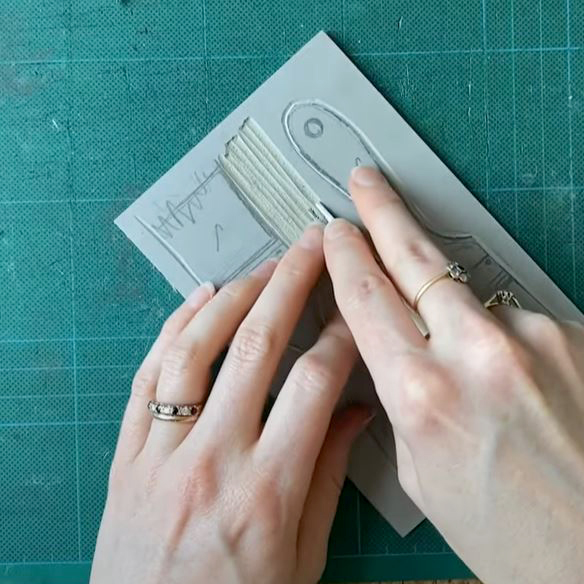
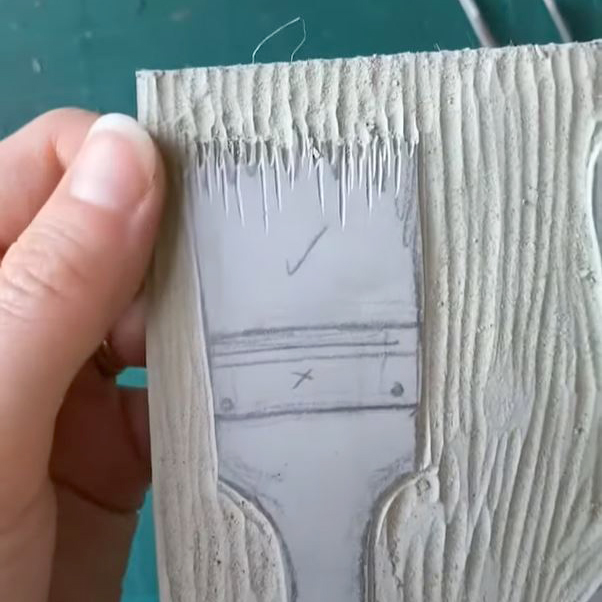
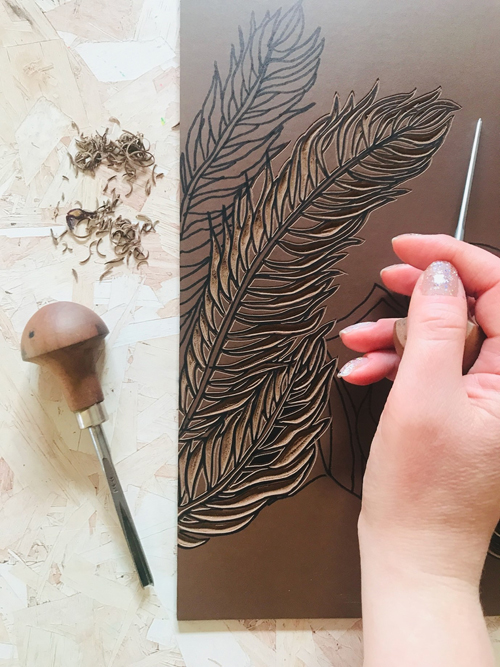
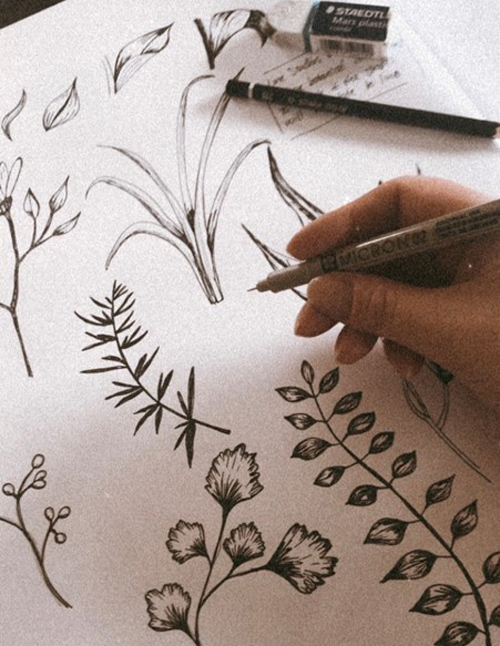
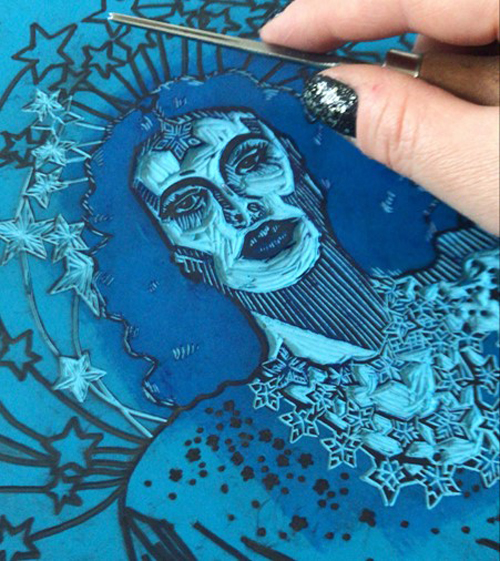
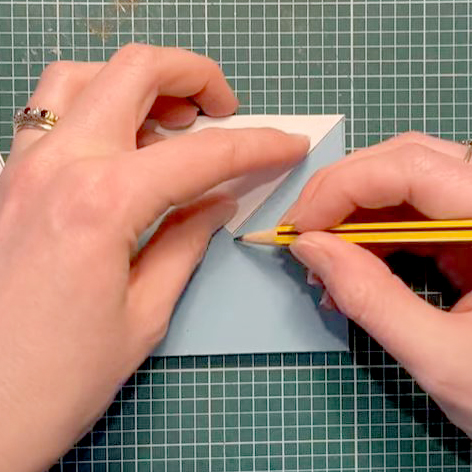
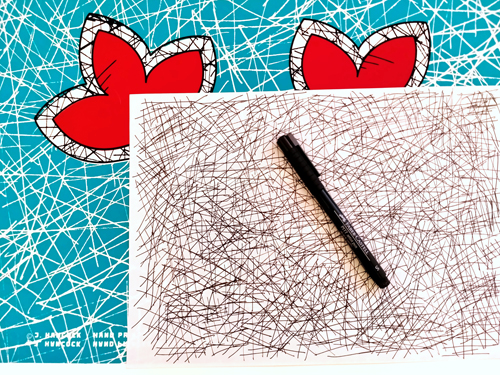
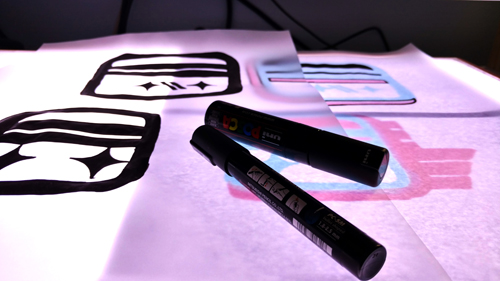
My drawing time is much more liberating. I do a lot of hand drawing, initial sketches in pencil and Pro-Markers and making positives with Posca pens on to tracing paper with a lightbox. I have been trying out using the computer more lately in an effort to speed things up but I still end up incorporating a lot of hand-drawn elements. I don’t think it’s made anything quicker, just made different things possible.
How long have you been printmaking?
I started
screen printing in 2014. I started drawing with screen printing in mind a
couple of years before that.
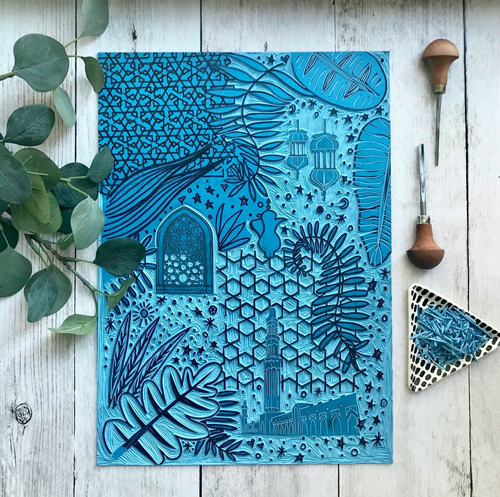
What inspires you?
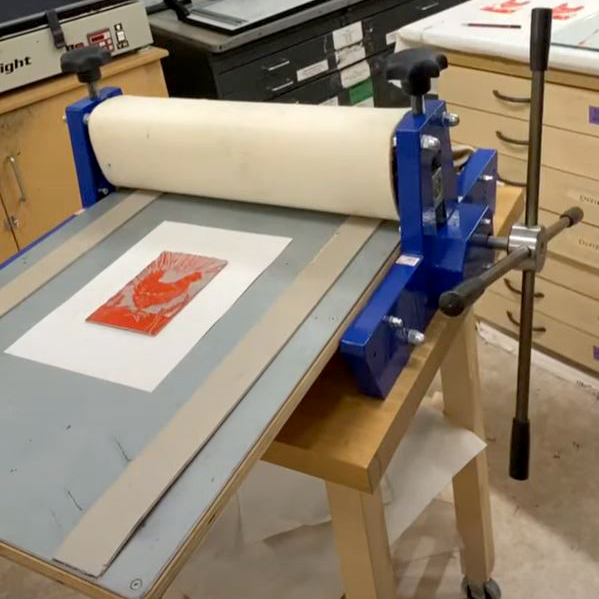
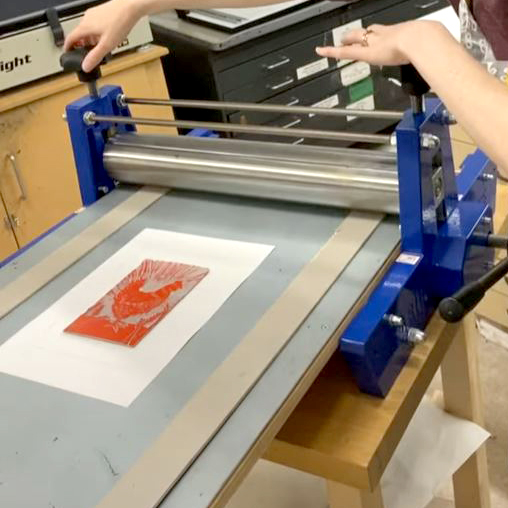
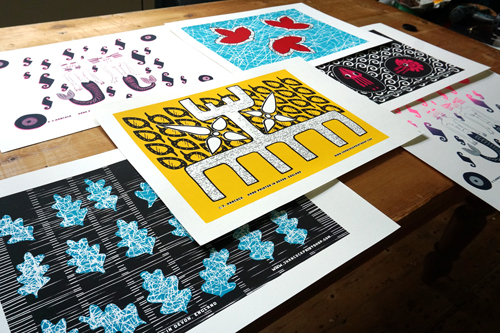
My biggest
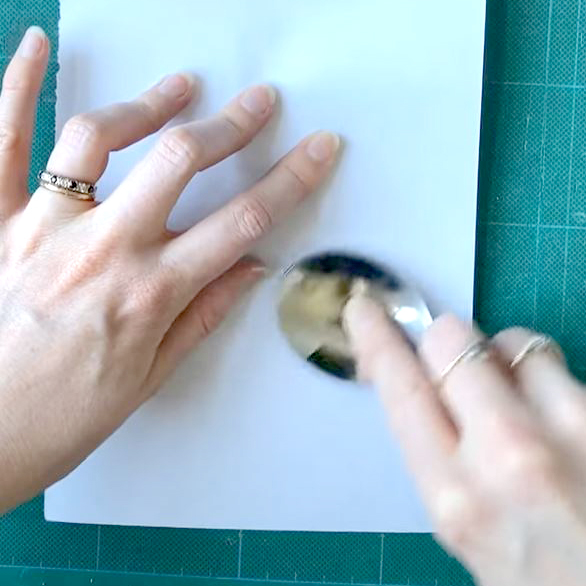
inspiration to keep printing is seeing the crisp wet ink freshly laid on the
paper. It looks so perfect and beautiful. The inspiration for my subject matter
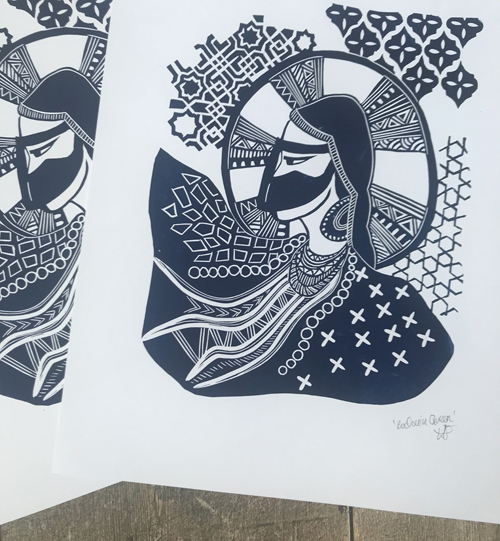
comes in many shapes and forms. Mythology and symbolism weave a thread through
most of my work. Visual inspiration comes from a lot of the shapes and colours
of 1970’s graphic design as well as the comic books I read as a kid; 2000 AD,
Judge Dredd and the odd Manga comic I would come across before anybody knew
what Manga was. I don’t read comics much now, but they burned an image on the
back of my brain of halftones and incredible ink work.
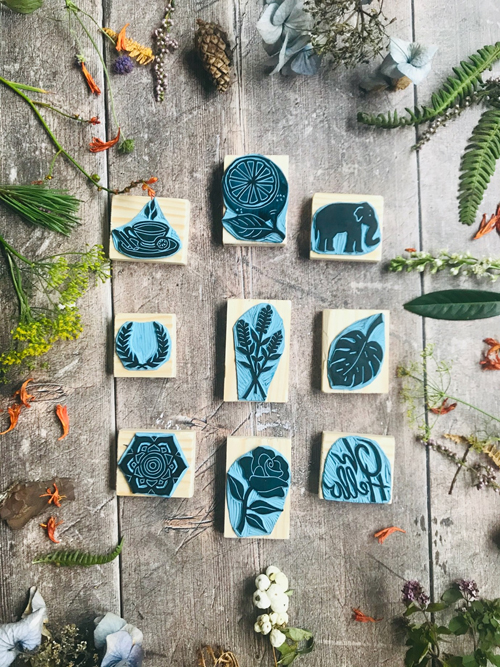
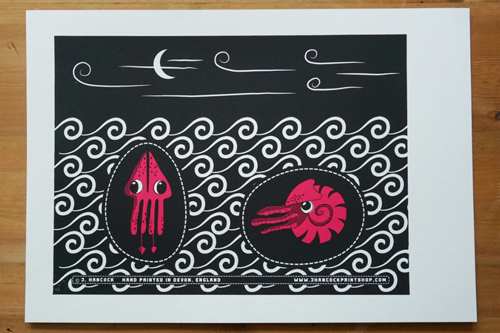
What is your favourite printmaking product?
Speedball acrylic inks. They are so bright and opaque. I love using them.
What have you made that you are most proud of?
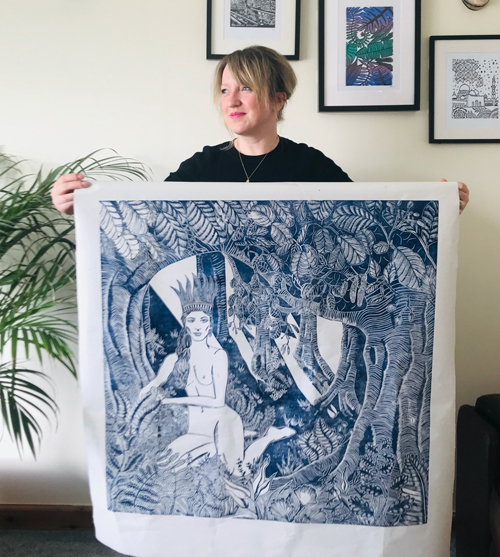
I don’t have one single thing I’m proud of. I’m proud of all the work I make if I have put my passion into it. I don’t feel like I have done my best work yet in print. The ultimate creative vision is like the pot of gold at the end of the rainbow, I keep chasing it but it keeps moving just out of reach!
Where can we see your work? Where do you sell?
My big project at the moment is starting my own online shop for my work that lets me sell completely independently. I am launching it with a collection of affordable poster designs and hope to introduce limited edition and fine art prints later on. It’s early days yet but hopefully, by the time you read this it will be online!
You can reliably find me on Instagram where I share my works in progress and new design ideas. Drop by and say hi!
What will we be seeing from you next?
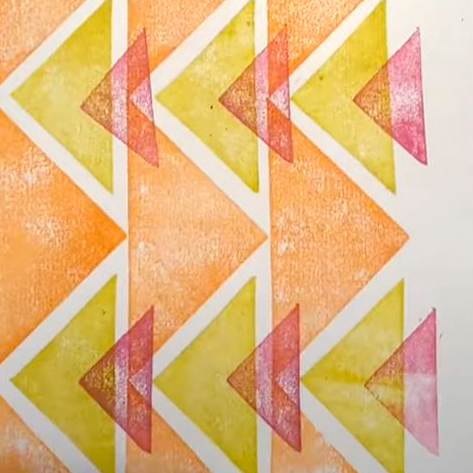
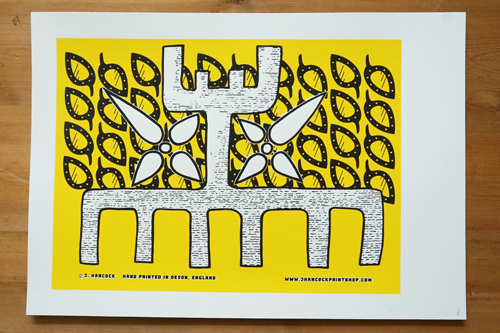
I’m really enjoying designing bright, high contrast posters at the moment. I have a couple of rules; no more than three colours and the image must fit in off the shelf frame sizes. Other than that, anything goes. I would like to end up with a varied catalogue of designs for people to browse through online. It’s really making me question myself as an artist. If I can do anything I like, what do I really want to do? Which styles do I want to work in? When I started, I thought I would just print everything that came out, but there is a growing pile of designs that have not made the cut. So even when anything goes, not everything goes!
Do you have any advice for other printmakers and creatives?
Gosh, I don’t feel qualified to dish out advice! I was once told, “Knowing what you don’t want to do is sometimes more important than knowing what you do want to do.” I get a lot of mileage out of that one.
To see more from Jack follow him on Instagram.