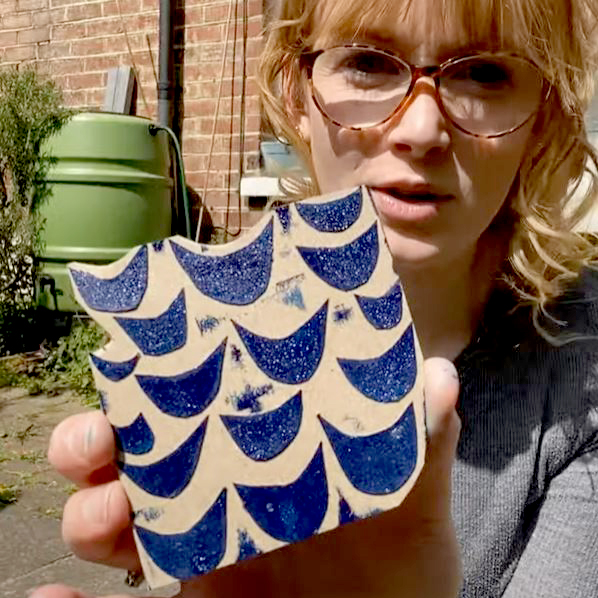
This is an easy way to create a relief print without using any lino! It’s a great project for children as requires no gouges – you can use scissors (grown ups can use craft knives too). These designs would make lovely cards to send your loved ones. Scroll down to watch a video or read on:
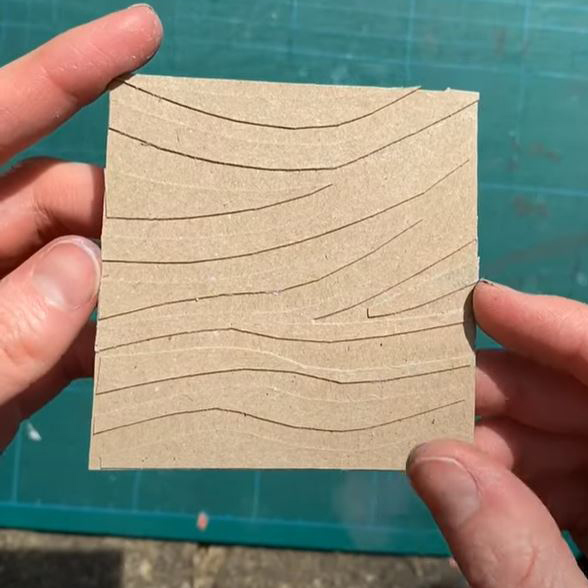
To make our block we need some card packaging. We don’t want to use corrugated cardboard because it will create a stripy print. Card packaging from cereal or cracker boxes is ideal.
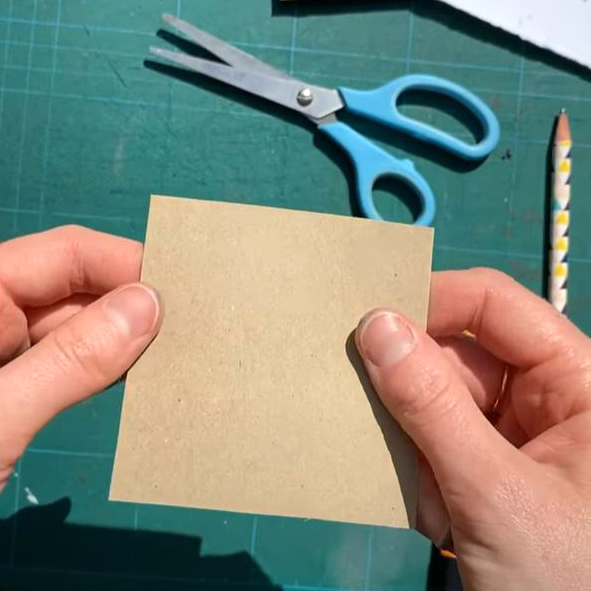
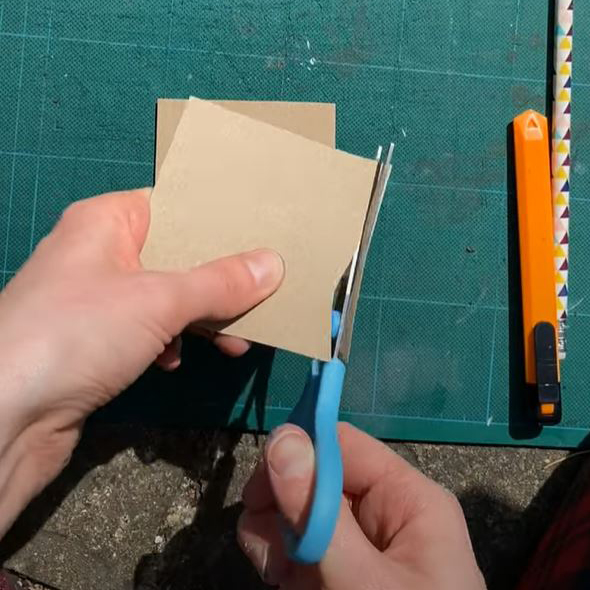
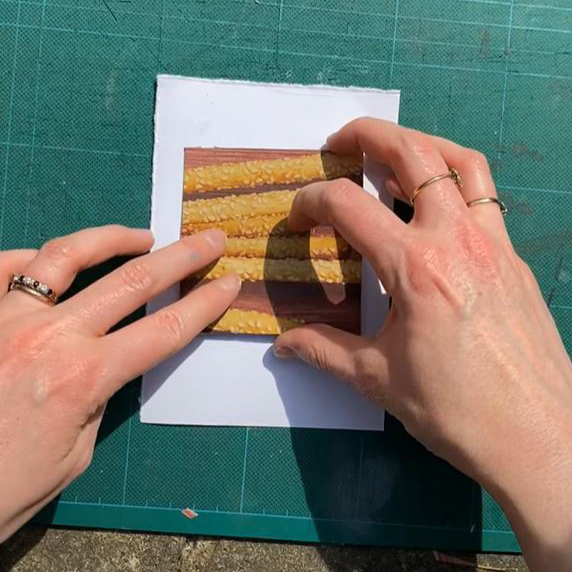
Next, cut shapes to add to the block in a single layer of raised design to the block. We need each piece we use to be exactly the same height, so choose one piece of card to cut all the pieces from. If some of the pieces are higher than others we won’t get an even print.
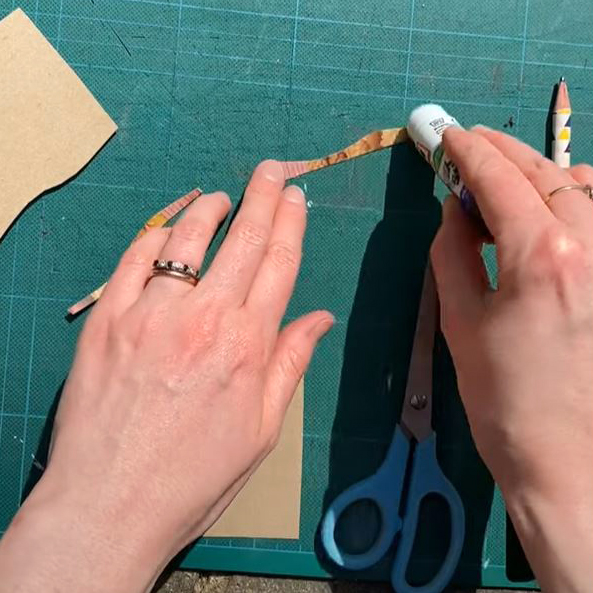
Use a glue stick to stick the pieces onto the block, shiny side down.
For best results, the raised areas of your design should be quite close together, not leaving any large areas between them. This is because the roller may dip down in large gaps and place ink where we don’t want it.
When the glue has dried, roll out some ink onto an inking tray. We are using Caligo Safewash Relief Ink but you can use a water-based ink like Schmincke if you prefer. Acrylic paint is not suitable as it can dry on the rollers and spoil them, and dry on the block too quickly to take a print.
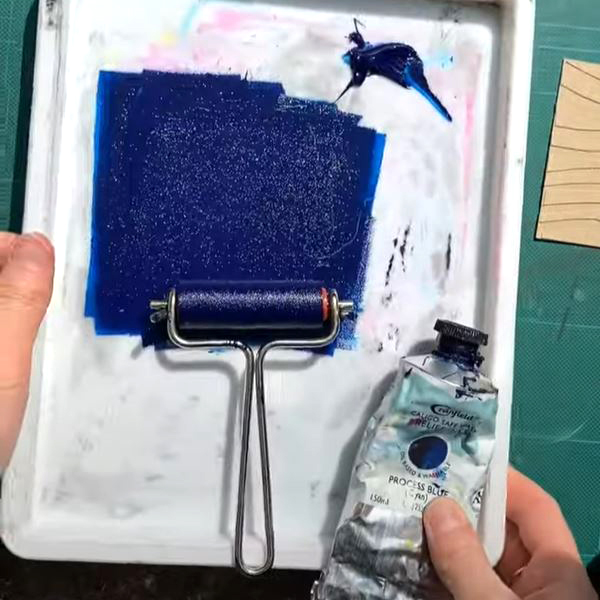
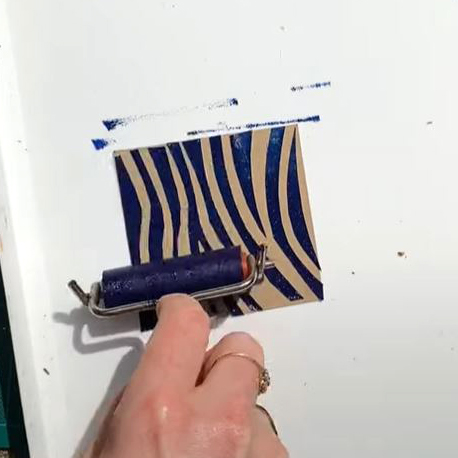
Roll a thin layer of ink onto the block.
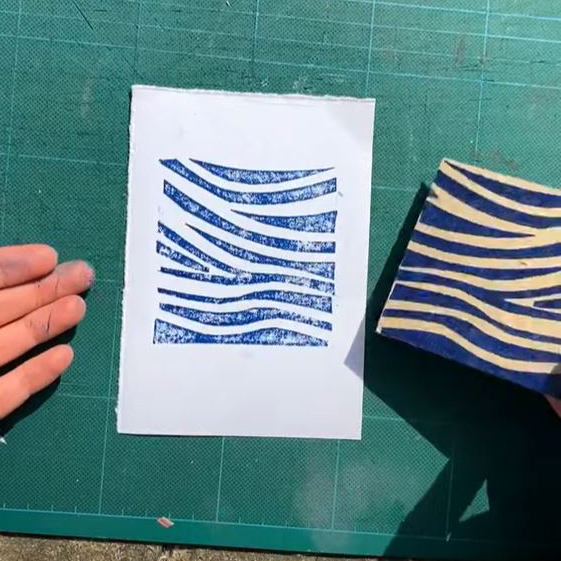
Place the inked up block face down onto a piece of paper. Use the heel of your hand, the pad of your thumb, a spoon or a baren to press the block onto the paper. Be careful not to let it slide.
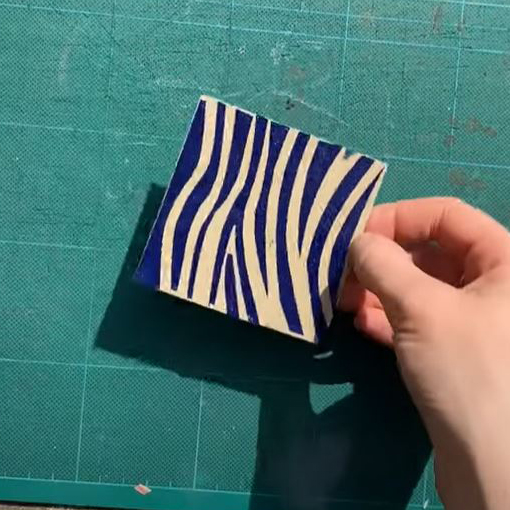
Peel off the block to reveal your print!
To make more prints, ink up the block again. These blocks are very hard to clean (we wouldn’t bother trying!) so stick to the same colour or allow the inks to blend and experiment! After you’ve finished, leave the ink residue on the block to dry.
For this project you will need:
- Card packaging (such as a cereal or cracker box)
- A cutting mat (or thick sheet of card to cut on)
- Scissors or a craft knife
- Glue stick
- Inking tray
- Relief Printing Ink (like Caligo or Schmincke)
- Roller
- Paper to print onto