This speedy project is great to loosen up you printmaking when a blank page is too daunting! It used simple materials and equipment and is great for children too. Scroll down to watch a video or read on.
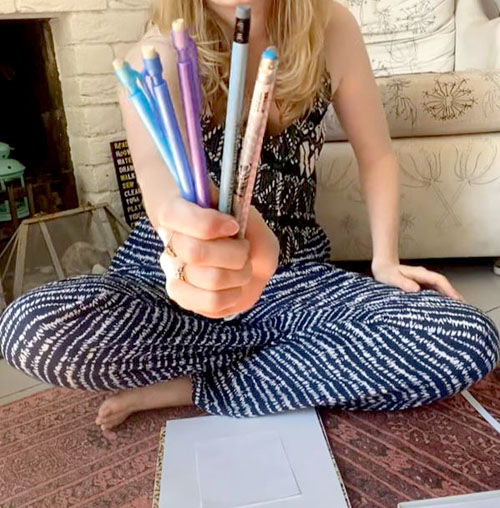
We will be printing with pencil erasers – the little round rubber ends of pencils are perfect tiny stamps. We will one for each colour. Versacraft Ink Pads make no mess and come in a variety of lovely colours. You can also use these to print onto fabric. Assemble together your chosen colour palette of ink pads.
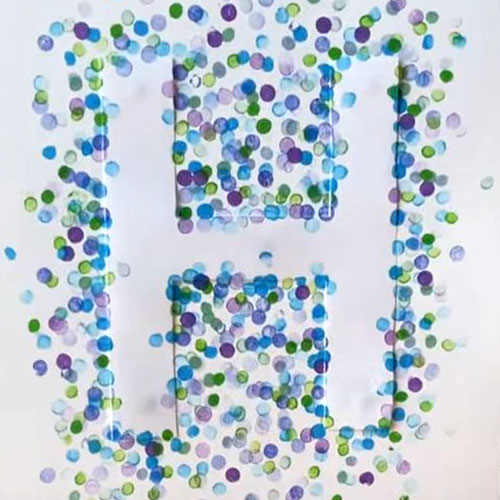
We are going to use a paper mask to create a design. Letters work especially well for this technique to create monograms but other silhouettes can be used too. Cut your mask from paper, making sure it’s smaller than the paper (or fabric) you are printing onto.
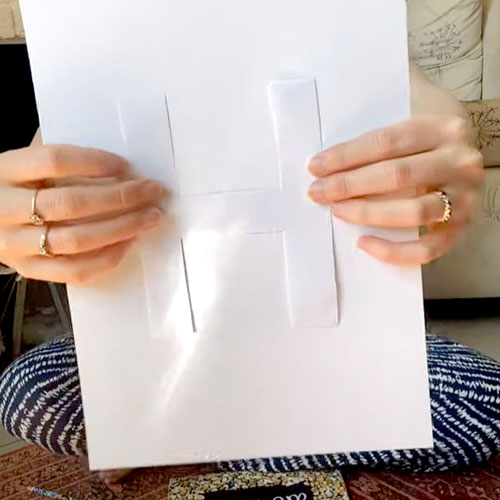
Use small pieces of bluetack to hold the paper mask in place. Don’t stick it down with tape as this will overlap the edge. If you are printing onto fabric you can mask a whole area with masking tape instead.
Take the lids of the Versacraft Ink Pads and assign one pencil to each pad.
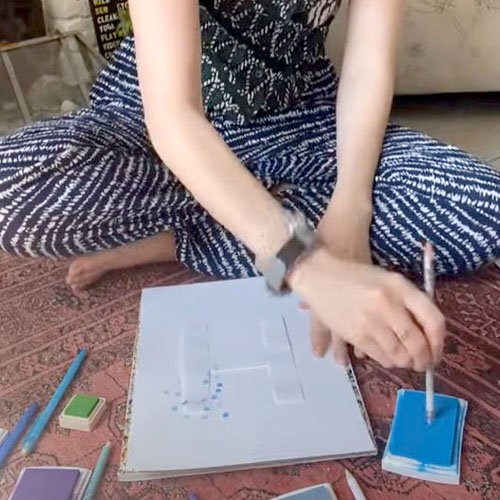
To make a print, dab the pencil eraser in the ink pad and press it down onto the paper. You should be able to print several times with the same inking, with the spot getting paler each time.
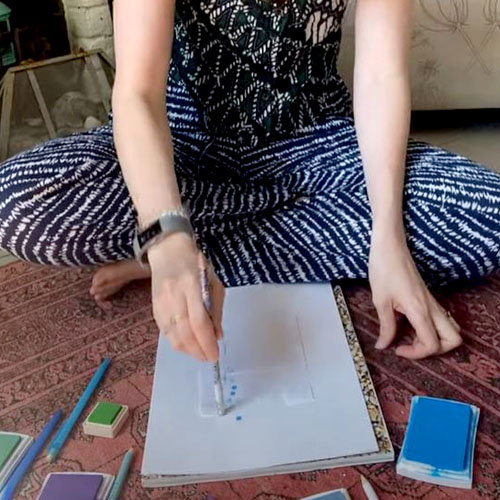
Build up the spot prints, focussing on the edge of the paper mask. Make sure to overlap the edge of the mask as this edge will define our design when it’s removed.
Switch between pencil erasers and pads to change the colour. Build up the spots until the whole of the edge of the mask is covered.
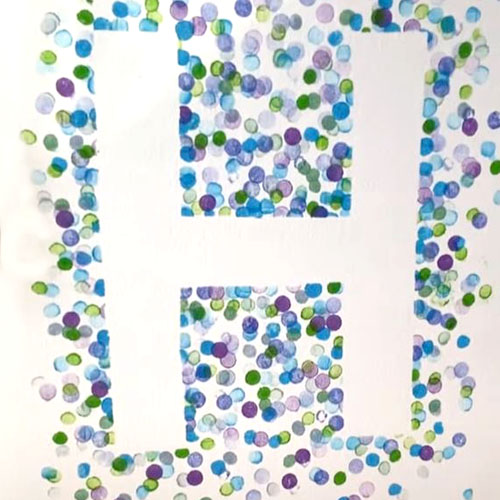
Remove the paper mask to reveal your design! If you are printing onto fabric, wait for the ink to dry fully and then heat set the ink with a hot dry iron.
For this project you will need:
- Pencils with eraser ends
- Versacraft Ink Pads
- Paper or fabric to print onto
- Paper for mask (80gsm copy paper is perfect)
- Bluetack
- Scissors
- Iron (if printing onto fabric)