Meet the Maker: Clare Morgan

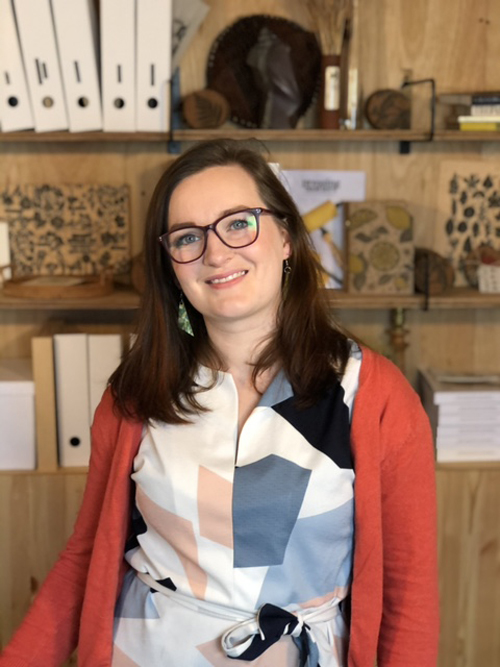
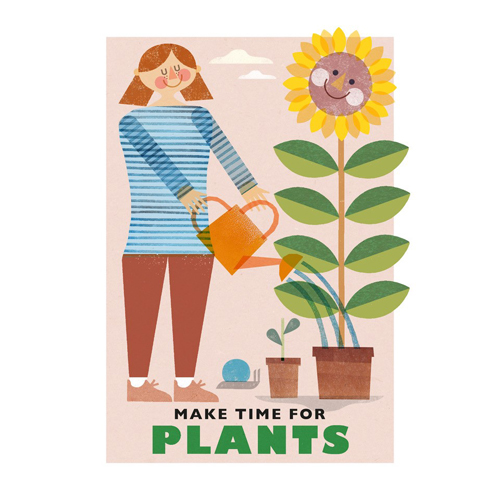
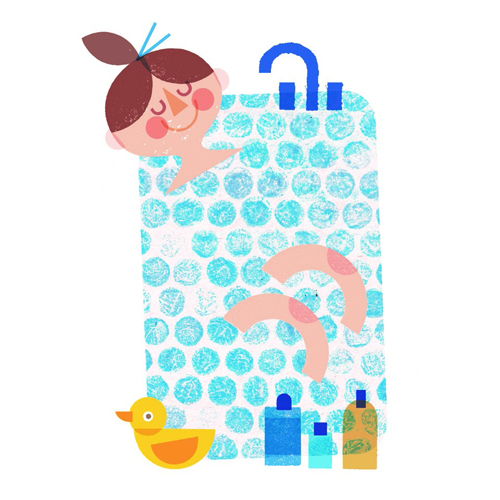
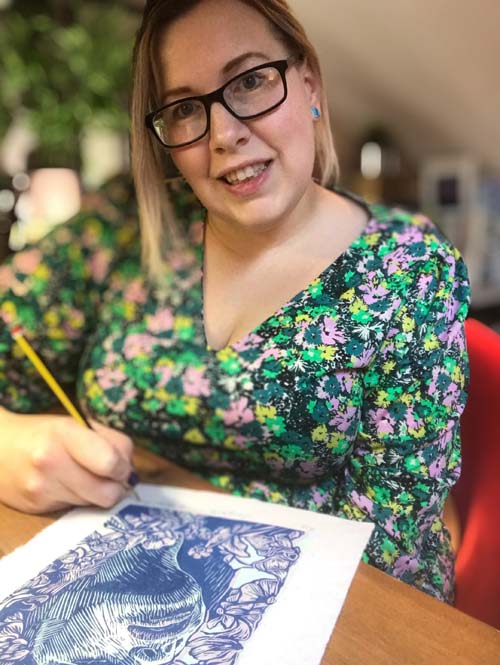
Hi, my name is Clare, a printmaker and teacher based in Derby. I am a compulsive creator, obsessed with the process of printmaking. I have used many different techniques over the year’s, but the figure always seems to be a constant subject matter in my work. I love to create empowering figurative artworks that encourage reflection, empathy and calm.
Describe your printmaking process.

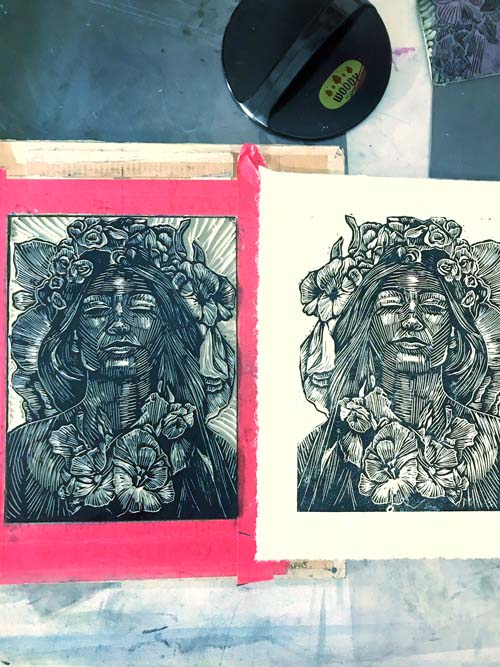
Most recently I have been using lino printing, this was a result of having to find a way of printing from home. I hadn’t worked in relief since university but ordered myself some supplies from Handprinted last spring and gave it a go. It was quite a transition from the screen printing I had been doing for the previous 2 years, but changing the process gave me the creative freedom I needed to push forward with new ideas. It feels like it is one of the best things I could have done for my practice.

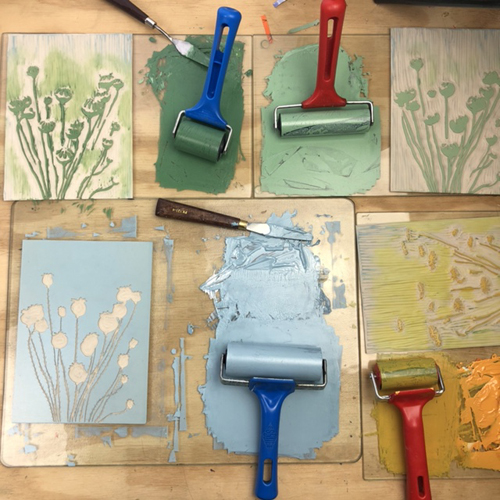
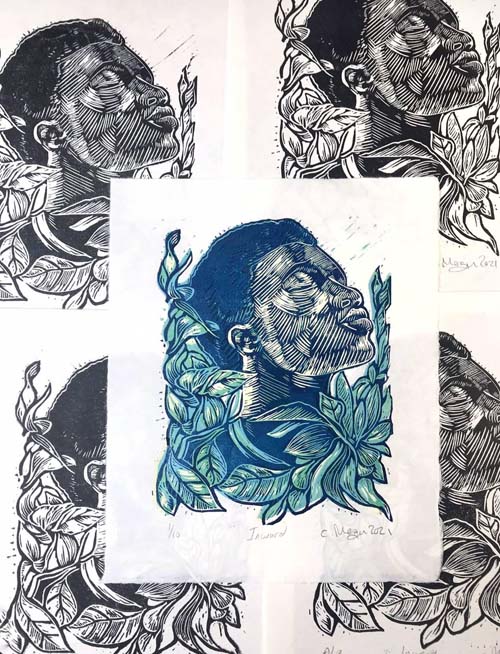
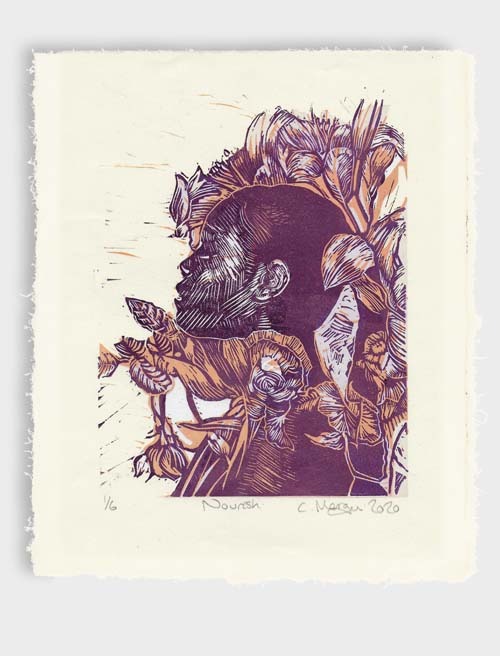
I started to explore reduction printing first, carving one plate working from light colours to darker ones to bring the image to life.  My experiments then led me to use a combination of techniques, cutting the plates into pieces so that I could use contrasting colours more easily, alongside areas of reduction.

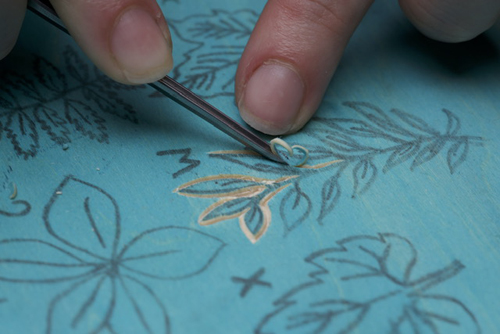
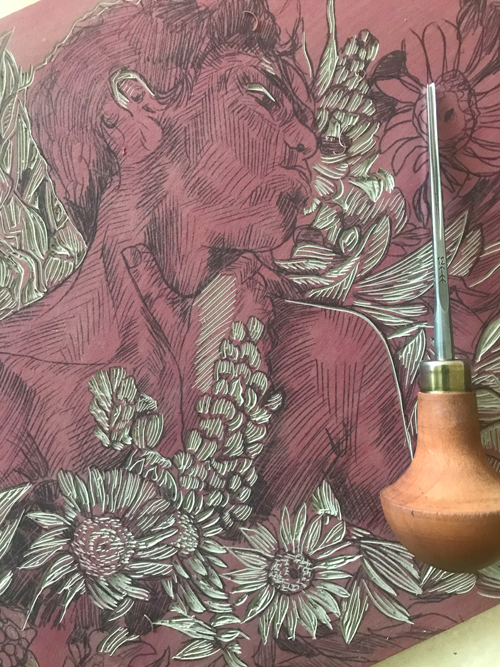
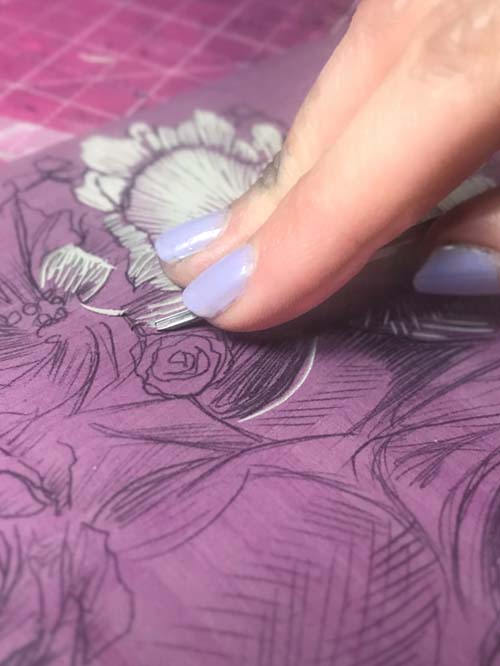
Right now I prefer to make a detailed ‘key plate’ using a very fine Pfeil tool before adding blocks of colour with an additional piece of lino, using reduction.
How and where did you learn to print?

I first discovered printmaking at art college 20 years ago! I adored the print room, the smell of the inks, presses and huge drying racks, it was just such an industrious space. I continued to explore print at university while studying fine art, mostly collagraph and screen printing. It wasn’t until I left university and started to create at Green Door Studios (an open-access printmaking space in Derby) that my print practice developed further. I began to learn about a wide range of processes, such as aquatint, etching, mezzotint and waterless litho, I continued to develop collagraph and loved intaglio processes, often working exclusively in monochrome, which is very different to my work over the last few years!

I am thankful to have had such a good introduction into printmaking, to have learnt about editioning, inks, papers and the studio set-up and what makes good practise, this knowledge had shaped my approach to printmaking.
Why printmaking?

I was hooked by the process, the preparation; tearing the paper and creating plates to the methodical process of printing. The discipline and patience involved with the creation of work excite me. There’s also an element of unpredictability, and the thrill of the reveal is always so worth it! I love that after the initial more creative parts such as the design and the creation of stencils or plates, the final stage is process orientated. There are rules, it uses different thought processes to the creative parts of art. It is an action, is repetitive and can feel quite mindful. I find joy in those studio days.
Where do you work?

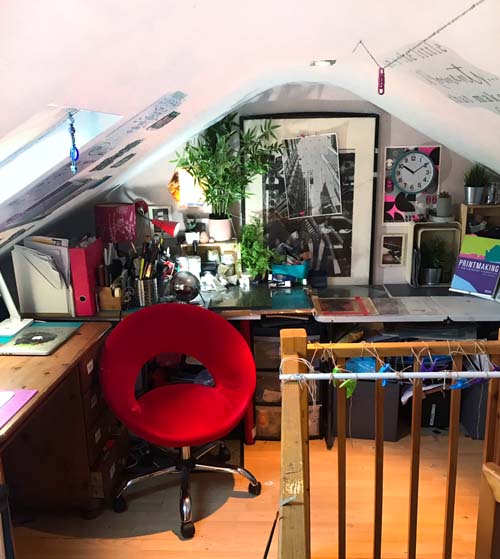
I currently work from my home studio in the attic, it’s a small space but perfect for lino. I also use the open-access space at Green Door Printmaking Studios when I need more equipment or space.
Describe a typical day in your studio.

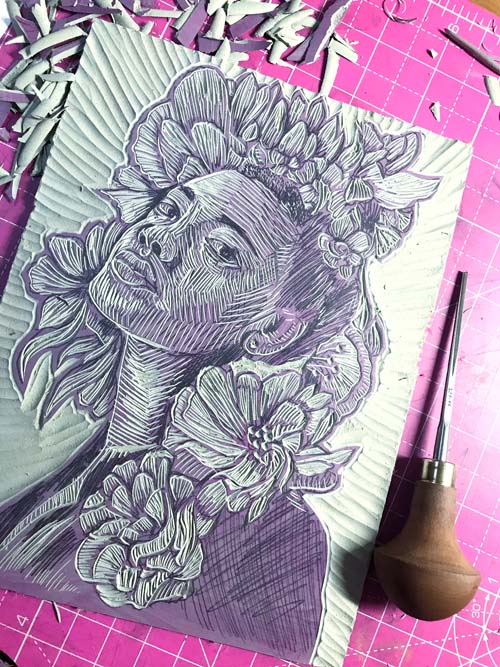
I usually have had ideas in my head for a while by the time I get to the studio. I often use photoshop to create some mock-ups. I like that I can move things around, explore different compositions and change things quickly. I can invert these images so that they are reversed (as printmaking is always backwards) and use these designs to base my plate on. They always shift from the original plan slightly as I begin to carve, as the carving is quite an intuitive process, and I am definitely in the flow.

I will make a proof and leave it for a day or so before deciding if I need to carve anything else away. I make colour palettes for inspiration and print these off to inspire me when mixing ink for the colour layers. I take a second plate for the colour and plan out where the colours will be going by transferring the design of my key plate onto the new plate. (I have put some videos of my specific processes on my IGTV channel) I work quite intuitively so will decide on the colours while looking at the plate, and the palettes and refine it as the reduction evolves.

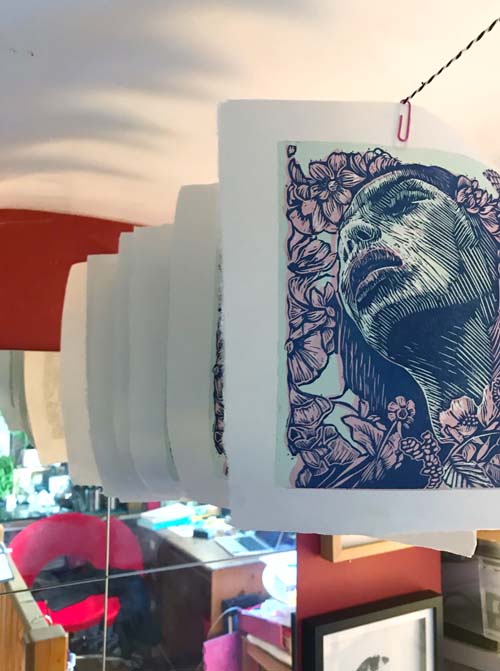
My space is small so my prints get hung from the ceiling! But I love seeing them all in a row, and the room fills with the smell of the ink and it’s lovely.
How long have you been printmaking?

For about 20 years, although in this time I have explored so many printmaking techniques! I am fascinated by the process and learning new things. I love seeing how processes can influence each other, and even be combined. For example, making screen-print stencils from collagraph prints to capture texture.
What inspires you?

The recent combination of the figures and flowers that have emerged seems to be a natural progression of the idea of change. I have been fascinated with the concept of embracing the growth that can come from change and uncertainty since being diagnosed with blood cancer in 2016. Fortunately, I had a life-saving donor stem cell transplant which gave me my new beginning. This experience has shaped my approach to creating.

“The lotus flower is a reminder of the beauty that comes from change, the magic that a new beginning brings, and the seed of potential that’s buried in the most unlikely places.” – Jennifer Williamson

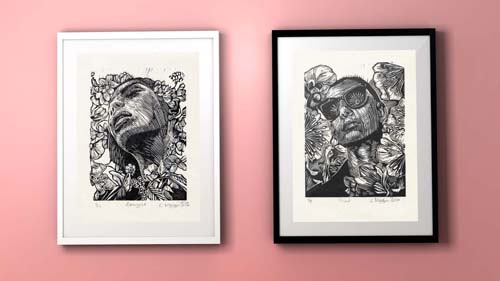
My artistic explorations over the last few years led me to the Japanese concept of Wabi-Sabi. It is the beauty of things imperfect, impermanent and incomplete. We are reminded of this in nature which has been the main influence in this recent series of artworks. To me, Wabi-Sabi reflects the art of living, it helps me to be more present and let go of the need to have complete control – which is always an illusion. The figures show strength, hope, vulnerability and the use of colour, expression and composition act as reminders, allowing us to reflect and take from it what we need.

Working with lino, I love leaving evidence of the process, marks create life and energy. I want to share work that celebrates strength and vulnerability, acknowledging that everything is impermanent, imperfect and incomplete and that is beautiful.
What is your favourite printmaking product?

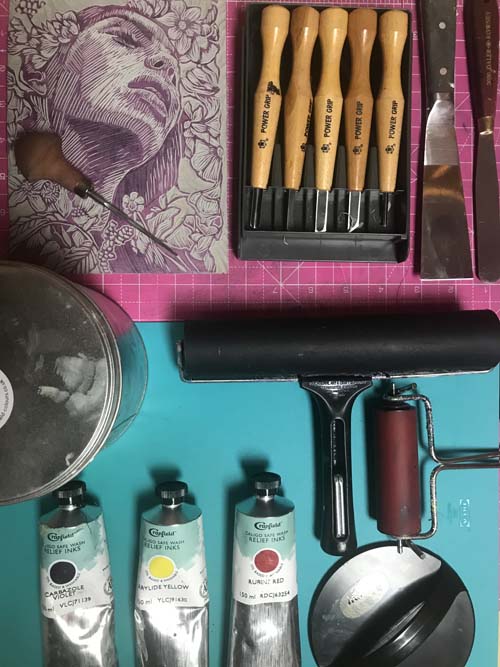
I adore the Caligo safe wash inks, I have used these to create my intaglio prints since 2005 and adore the vibrancy of colour and the fact they can be cleaned with soap and water. I was delighted to discover the relief inks when I started using lino, they are so silky, rich and smooth and I love how the layers sit over the top of each other.

I also love the Awagami papers which are so strong yet thin, and I love the history and ethos of the family-run company.
What have you made that you are most proud of?

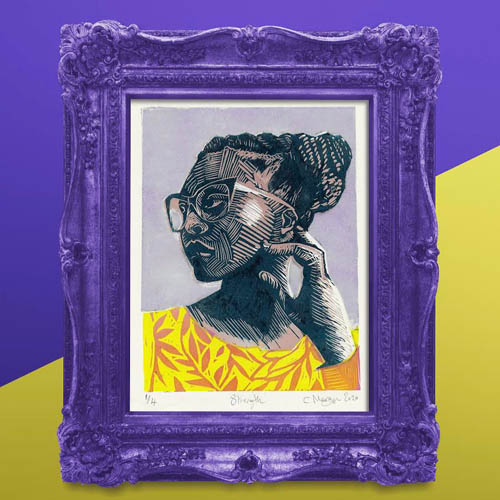
It’s hard to choose one thing, as there is usually something from each series I create that I think embodies it. If I had to choose a piece though it would perhaps be ‘Strength’ as it was a complete experiment, my first jigsaw print and I adore it! You can find the work in progress images on my blog.
Where can we see your work? Where do you sell?

On my website where you can see more work, buy art and get details of upcoming events and stockists.
What will we be seeing from you next?

I am looking forward to getting back to the studio to explore how I could combine screen printing and lino and the potential in that, as well as working a bit larger to capture more of the figure and movement.
Do you have any advice for other printmakers and creatives?

I think it would be to let go of the need for perfection, to embrace the unexpected, explore, experiment and approach creating with a sense of curiosity. Keep asking… I wonder what would happen if…  and let the process do its thing!

To see more from Clare follow her on Instagram and Facebook.em0

How to Clean Caligo Inks

Caligo Inks are oil-based but water-washable so they are a fantastic option for your printmaking practice but how do we clean up after using them? Read on or scroll to the bottom of the page for a video.

No solvents or special cleaners are needed to clean up Cranfield’s Caligo Inks. Fill an old jug or bowl with cold water. Add a little washing up liquid and mix. Use a rag or sponge to squeeze a little of the soapy water onto the inky plate. Use the same rag to wipe the plate until the ink is gone. It’s that simple! Use a dry rag to finish wiping the plate and remove any excess inky water.

If there is still a lot of ink on the roller, roll it onto a piece of scrap paper to remove excess. Alternatively, roll the roller onto the inking plate and wipe up as before. Use a soapy rag to clean the ink off the roller. Use a clean, dry rag to dry.

For your blocks, use a soapy rag to wipe ink from the surface. Traditional lino shouldn’t get too wet as it can warp.

Sometimes white ink (or yellow) can be a little stubborn. In that case, squirt a little washing up liquid straight from the bottle onto the ink, wipe to work the soap into the ink and then clean as before.

Meet the Maker: BooLouLew Design

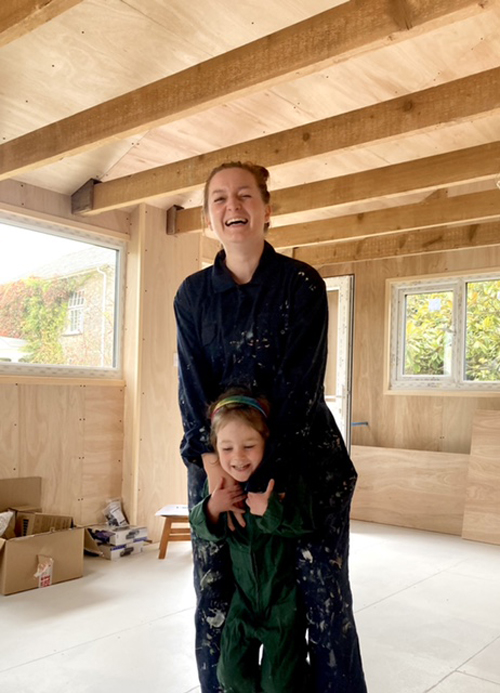
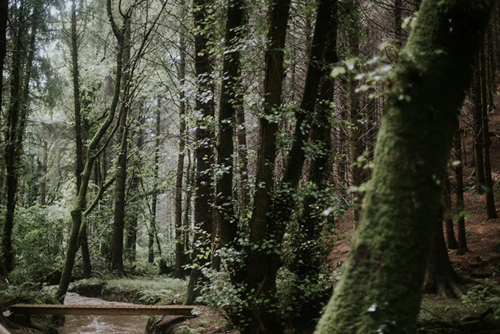
Hi! I’m Beth Louise, also known as BooLouLew Design, I am a relief print and stamp maker. I live in North Cornwall with my husband Sam and our daughter Eda, a bunch of chickens and a baby tortoise called Roger. We moved back to my homeland from Bristol to start full time managing a 28-acre ex-plantation woodland, returning it to a natural working woodland and event space for learning, weddings and parties as well as a woodland Gym for my husband to teach out of! We’ve spent a massive chunk of the last 2 years renovating our home, building my new studio and building lots of new things for the woodland business, so when I’m not printmaking, I’m painting, decorating, making furniture, designing and planning all the projects we are juggling! Next up: felling our own timber to build a beautiful barn for people to celebrate their marriages in!

Describe your printmaking process.

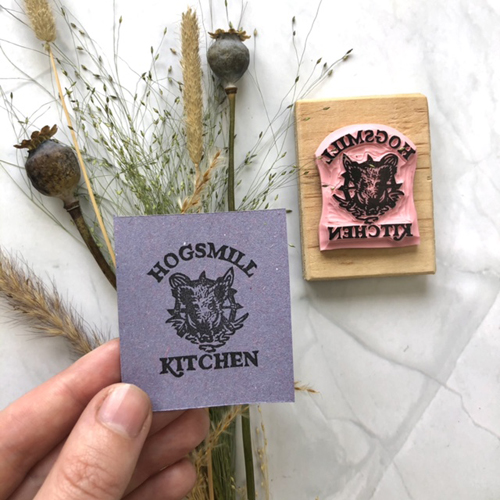
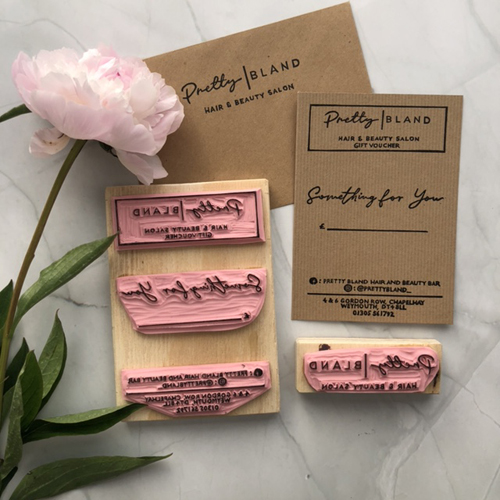
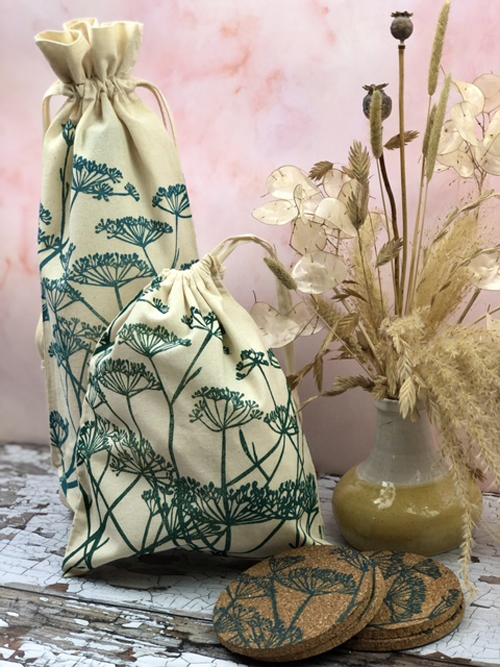
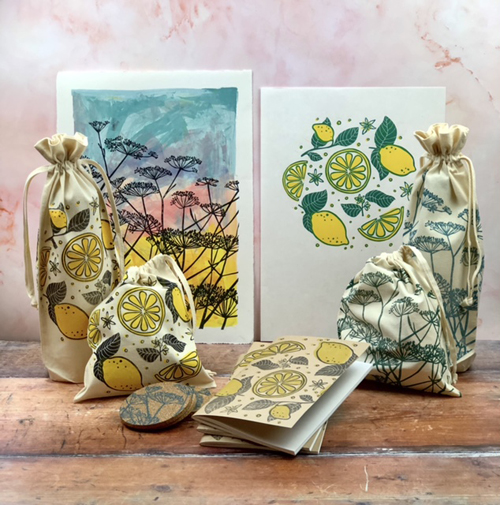
I sort of have two printmaking processes, on one side of my business, I design, create and carve custom stamps for other small businesses, so I spend many many hours of nearly every day carving but never really printing from hundreds of blocks/stamps a year. And on the other side, I am relief printmaking working predominantly on lino but sometimes wood too, learning and exploring on my feet making traditional prints but also some more unusual applications of printmaking onto fabric gift bags, cork coasters, notebooks, wooden toys, puppets and basically anything flat I can get my hands on, I love to find something simple and print beauty onto it!

How and where did you learn to print?

I am very much self-taught, I was lucky to do a few taster courses during art college and my design degree, but at no depth and I often wasn’t paying attention! So it’s very much been trial and error for me. Watching my peers on Instagram, buying and trying new products and a lot of experimenting, my favourite thing! I have a traditional art & design education starting at Plymouth College of Art and Design as a 16 year old, and then onto Bath Spa where I first studied Fashion Design then Graphic Communication.

Why printmaking?

It’s just magic to me! I find carving so ridiculously calming, I love the smell of ink and the constant space to learn and experiment, I know I’ll never ever master this craft and that REALLY excites me! I think printing was destined for me, my parents were offset litho printers when I was a baby, so I grew up around the smell of ink and scraps of paper to play with. Since the moment I could hold a crayon and scissors I’ve was making menus for make-believe restaurants for my grandparents, drawing dresses I would one day make, magazines to sell at primary school, song books for dreadful Christmas piano shows I put on for my poor family, and any sort of thing I could think up so I could make!

Where do you work?

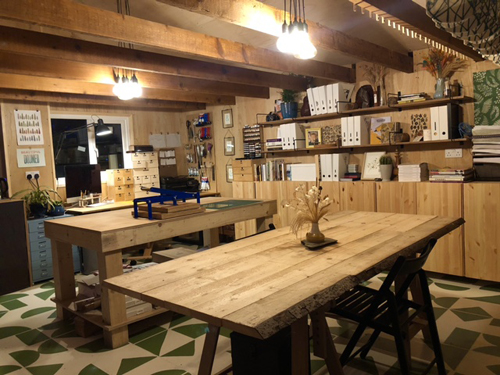
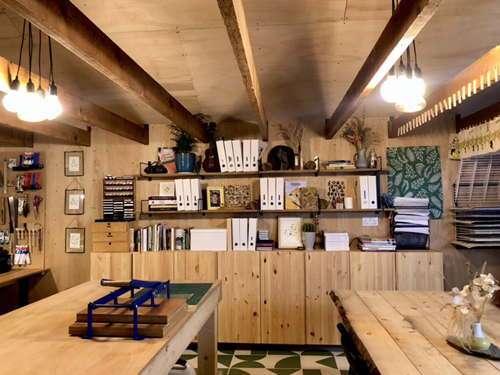
This year I finally built my dream studio! I’ve always worked out of a corner or spare room, but in September we converted the old double garage in our new house (it was one of the main selling points to finally give me a working space!). I wanted a calm, tidy, versatile open space where I could make, play and also teach! I’ve clad the whole space in beautiful plywood, with loads of storage, a handy little kitchen, a hot desk for hire and 2 beautiful big tables in the middle made from our own timber that I got to mill up at the sawmill from our woodland! I painted a faux tile floor onto the loft board flooring to save some pennies, and I’m so glad I did as it’s the thing I get the most compliments about! I am really hoping 2021 is the year I can welcome learners into my space to hold workshops here in North Cornwall, perfect for anyone on their holidays looking for a rainy day activity… because it nearly always rains here!

Describe a typical day in your studio.

There isn’t much of a typical day for me in the studio at the moment, we have been homeschooling our 4.5 year old daughter during the lockdown (eek!) and we’re both self-employed running 3 busy businesses between us, it’s a juggle! But my ideal day in the studio starts with a long coffee in bed, a little potter around a quiet house whilst I come around, I am NOT a morning person, and then I head to the studio. I try and get my admin done first because its my least favourite task, then pack orders and get them to the post office, after I settle into making, starting on custom stamps. On a really productive day, I can make a new print or product (my little luxury) when my client work is running on schedule!

How long have you been printmaking?

Not very long! About 3.5 years, but I have been a designer/creative all my life. I ended up studying Graphic Communication specialising in Longset static typography (book design to you and me!) and have worked as a book and graphic designer for the past 10 years. It wasn’t until after the arrival of my daughter, when I was looking to get creative again, that I found a block of lino and some blunt tools at the back of a cupboard from my uni days that I gave it a proper go!
What inspires you?

As it is for so many artists, nature is my biggest inspiration. I’m not naturally an outdoors person, despite growing up on an organic farm, but whenever I feel at a low ebb of creativity I head to our woods or the beach and that’s usually when something clicks. Naturally, my work features a lot of botanical, natural themes but I am starting to feel myself trying to capture not just what I see, but how I feel or a sense of how it affects my world. My early work was very factual so this is new territory for me, scary and exciting at the same time!

What is your favourite printmaking product?

My pfeil 11/0.5 TINY gouge. Since I got it I’ve been able to carve even smaller details for custom stamps and it brings me so much joy to see a detail on a clients design and think… I probably should say ‘no, that’s too small’… but I do it anyway! I think I finally understand why people like sport, the competition I have with myself to carve smaller and smaller letters is addictive!

What have you made that you are most proud of?

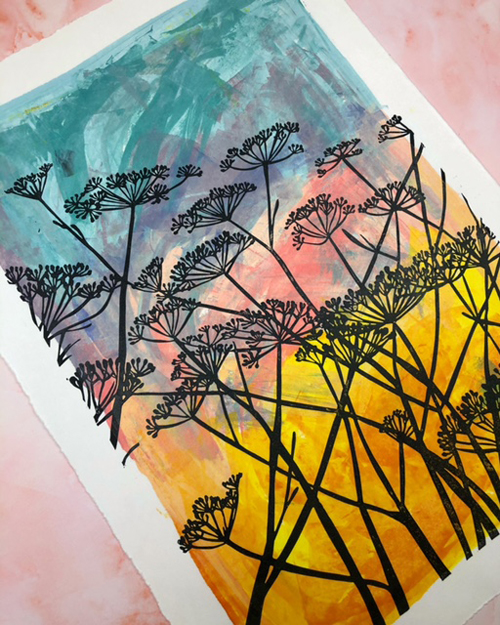
I find it quite hard to be proud of my work, I feel like the stamps I make aren’t actually mine, they always belong to the client in my mind, so even when they go really really well, I feel more pride/happiness for the client than the actual work I created. With my own printmaking, I feel like it’s been such a short and extreme journey of learning that I too easily write off all the past prints as the newest one is better in some way. However, I do feel really proud of my recent fennel print because I feel like the new techniques I tried were something unique to me and that feels great!

Where can we see your work? Where do you sell?

I sell mainly through my website as well as a few indie shops, and on Etsy but I share the most on my Instagram, especially on stories, where I share probably way too much about my family life, printmaking and stamp making! You can also see more about our woodland journey on Instagram too.

What will we be seeing from you next?

I’ve got a new print idea floating in my head as we speak which is something quite different to my usual work, (not sure if that’s a good thing or not!), and I’m going to be releasing a new spring/summer collection very soon with lots more homewares, notebooks and lovely gifts! More colour and fresh spring designs! And if we are ever allowed, I would LOVE to get teaching again, small workshops, creative printmaking and even wedding stationary making in my lovely new studio!

Do you have any advice for other printmakers and creatives?

Keep playing, there are no rules! Don’t be precious, put the wrong ink on the thing and see what happens, make something work for you even if it’s not been done before, print on any surface you find, and enjoy the never-ending piles of things that didn’t quite work! And carving is muscle memory, the more you carve the more you can carve! So just keep going!

To see more from Beth, follow her on Instagram.

Meet the Maker: Tens Studio

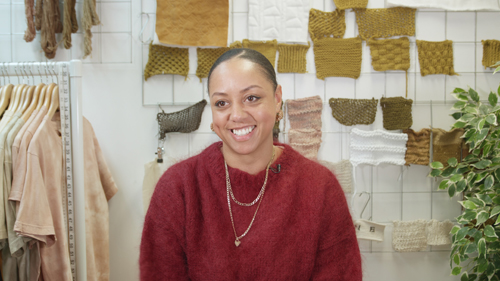
My name is Sam, I own a clothing brand called Tens Studio and I am a textile designer and artist. My work explores the visibility of my heritage and Black British history through sustainable handcrafted textiles.

Describe your dyeing process.

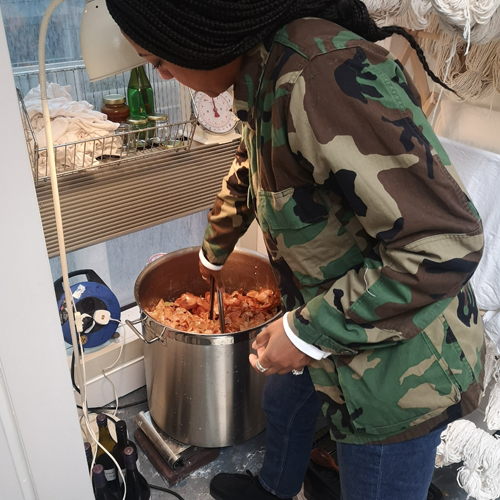
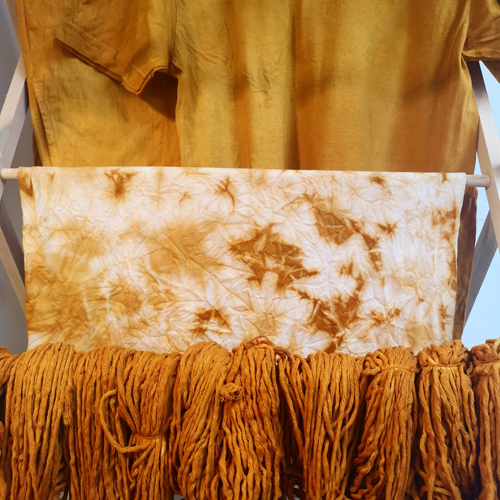
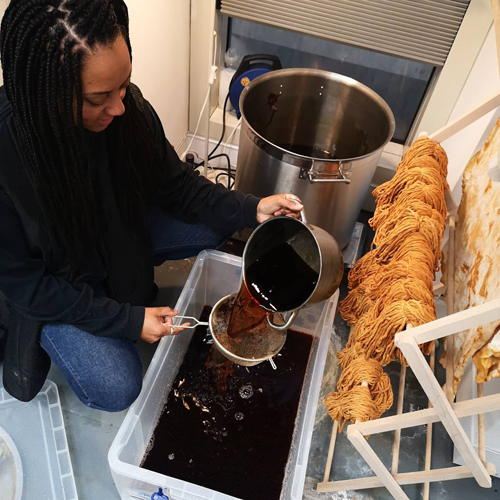
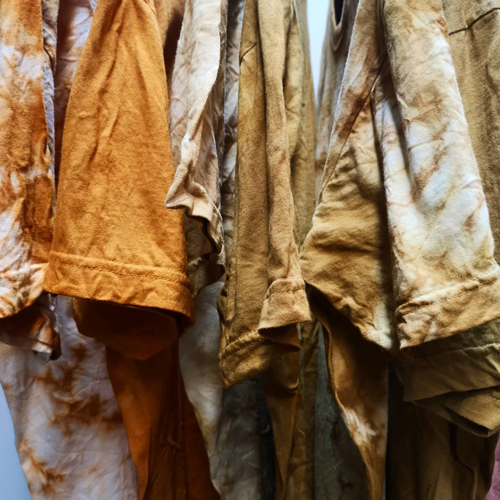
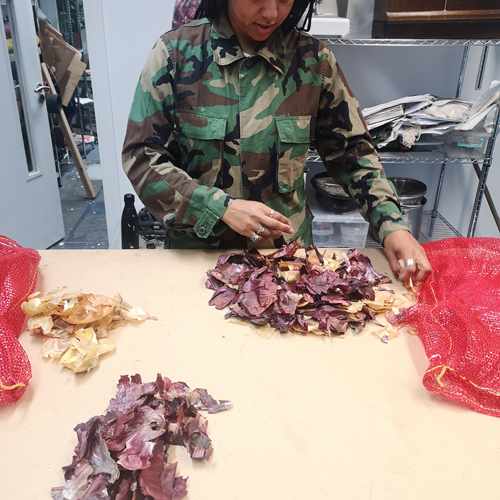
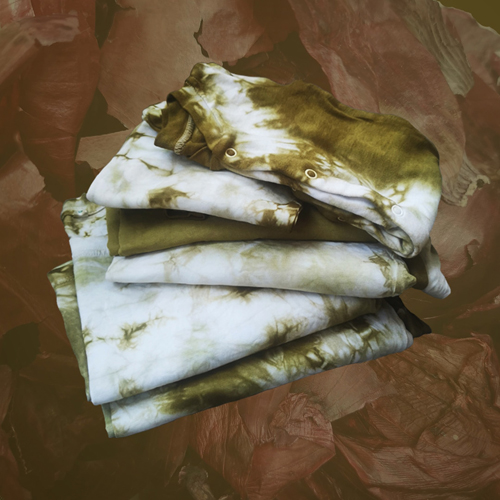
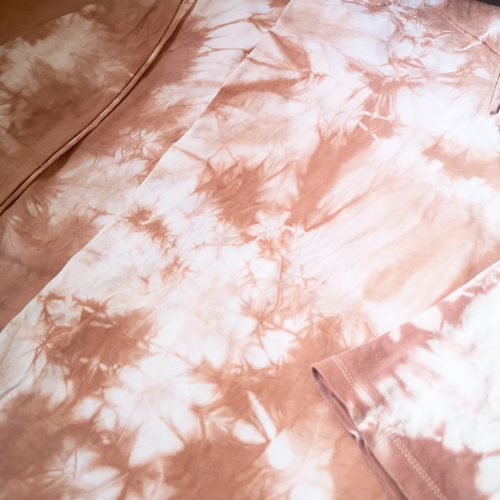
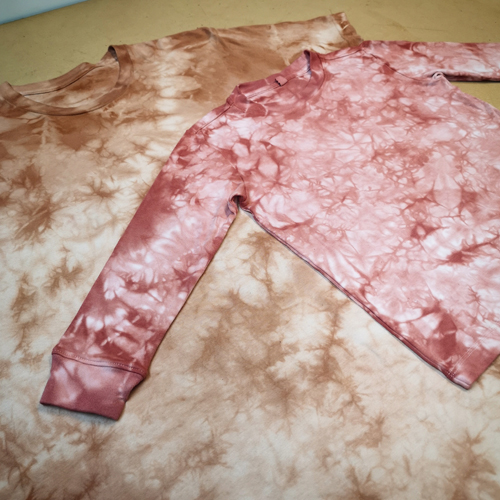
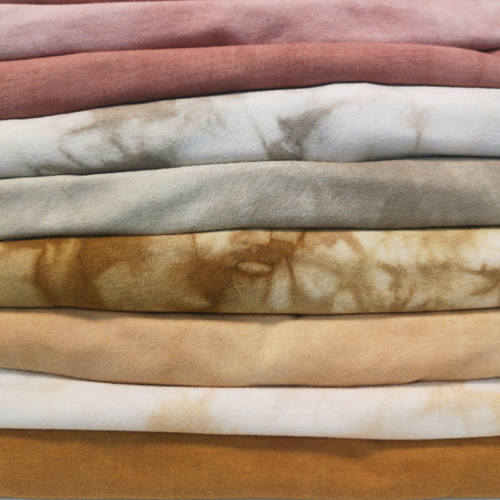
I make natural dyes using food waste such as onion and avocado skins. I have also made my own copper and iron modifiers which alter the tone of the dyes to produce a wider range of colours. I have been experimenting with pattern and tone with tie-dyeing techniques.

How and where did you learn to dye?

I learnt this process at home from Jenny Dean’s books during the first lockdown last year. I also got a lot of help from May Hands. The beginning stages of learning the process was quite daunting so it was nice to be able to ask her lots of questions! When learning something new, I always find I make a lot of mistakes and with the natural dyeing process, I have had to learn to let go and enjoy the process.

Why natural dyeing?

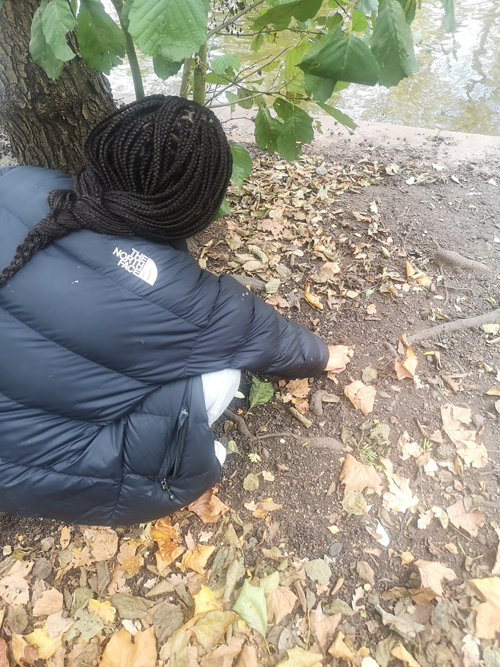
I wanted to try natural dyes for a while. I love the idea of going back to basics and using what you have in your immediate surroundings. I love saving food waste and foraging for things like alder cones and acorns in the park. When making your own copper and iron water you can see it start to work after a few weeks when the water changes colour, which is a really satisfying feeling. I find it all so interesting and I love the DIY aspect of it.

Where do you work?

I have a studio on Holborn Viaduct which is part of The Koppel Project so I am surrounded by lots of talented artists and makers.

Describe a typical day in your studio.

A typical day in my studio includes some part of the natural dyeing process. The process is quite long, lasting a few days so I’ve always got different buckets with different things going on in each of them. I’m always flitting between each step of the process throughout the day. Once I’ve used the dye bath I will reduce the liquid down to a pigment to use as an ink or to paint with. In between this I am doing admin or planning the completion of my new collection.

How long have you been natural dyeing?

I started natural dyeing during the first lockdown last year and I’ve been doing it every day since. I’m still amazed at how something that I used to throw away, like onion skins, has become so useful to me. I’ve got lots of friends and some Instagram followers saving their food waste for me to dye with.

What inspires you?

Nature and the stillness of the first lockdown inspired me to go back to basics and made me consider my impact as a designer on the planet. I am always inspired by Black history. Last year’s events, starting with the announcement that Black and brown people were 4 times likely to die from Coronavirus, despite this people were being sent back to work. This news angered me and led me to look at Black British activism during the ’70s; the British Black Panthers, the Mangrove 9 and key figures like Darcus Howe, Althea Jones Lacointe and Olive Morris. Looking at these activists and inspirational historical events gave me hope that grassroots activism can lead to change. A couple of months later George Floyd was murdered, the BLM movement resurged and the need for grassroots activism was more important than ever.

What is your favourite dye product?

Red onions skins are my favourite thing to dye with because they can produce a lovely deep green, my favourite colour. When you add iron water it turns the colour darker and can be described as a sadder tone. Add copper water and the colour turns a warmer shade. I love that these simple actions can develop new colour.

What have you made that you are most proud of?

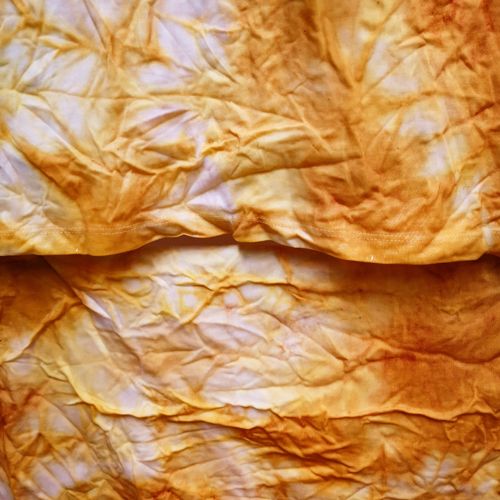
The patterns that come out of tie-dyeing with natural dyes are so beautiful, they look a bit like marble. My new year’s resolution is to make a quilt from hand-dyed pieces of fabric that I have collected over the year from each dye bath, I anticipate this will be my most proud creation!

Where can we see your work? Where do you sell?

You can see my work on my website, at the moment I sell there and on Instagram. This Spring I will be selling on a new platform for Black-owned brands called Ourhood Community. A percentage of the profits will go to supporting Black focused charities and community projects.

What will we be seeing from you next?

Next, I would like to try botanical dyeing with plants like nettle, ivy, eucalyptus and tagete flowers.

Do you have any advice for other printmakers and creatives?

My advice would be to experiment and explore as much as you can and learn new techniques. View creativity as self-care, something to use for your own wellbeing – not for anyone or anything else. Embrace constraints as opportunities rather than restrictions and use this chance to become self-sustainable, creating your own materials.

To see more of Sams work follow her on Instagram.

Meet the Maker: Alyn Smith

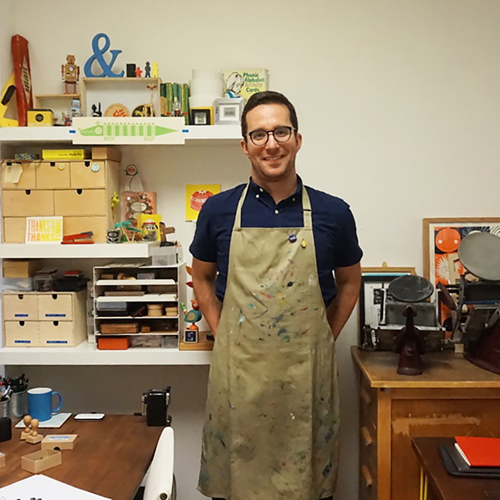
Hi, my name is Alyn, and I am a Cardiff-based Illustrator and Printmaker. I use low-tech print processes, alongside digital technology, to create positive and colourful images.

Describe your printmaking process.

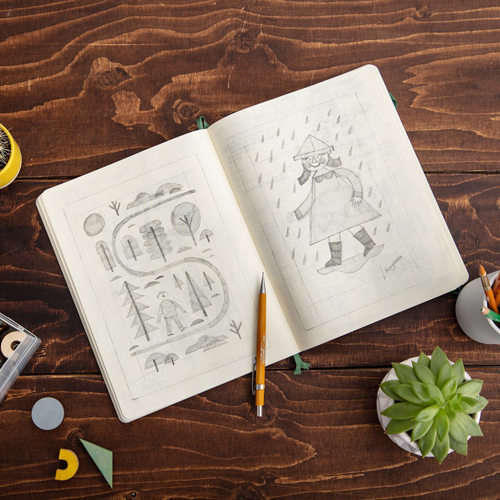
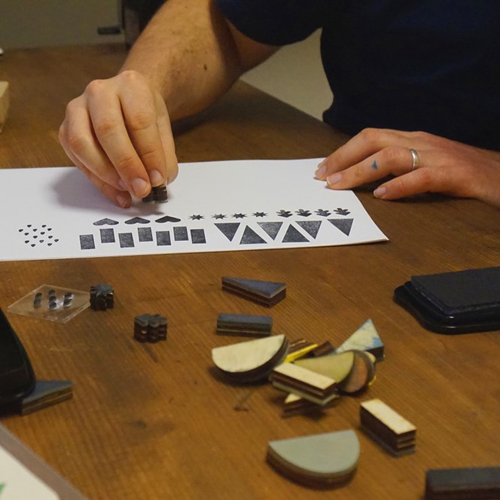
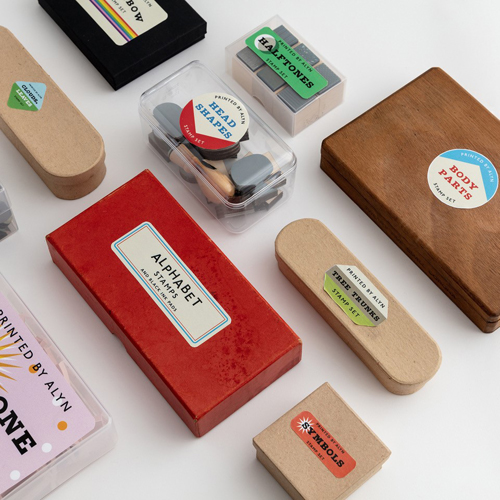
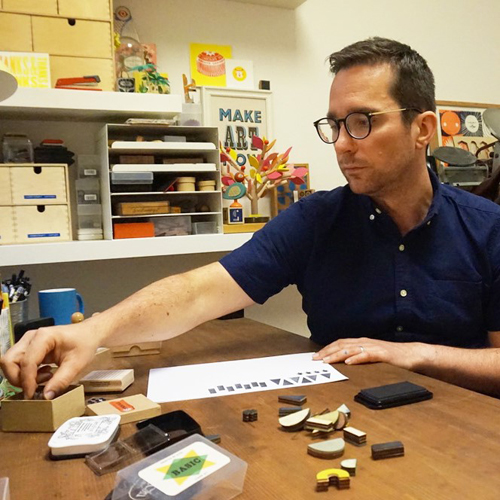
Everything starts in my sketchbook. I always have a sketchbook on the go, and it’s filled with scruffy sketches and notes. Once I have a final sketch pencilled out, I will scan it in and come back to it later. When I am sketching, I try to keep in my mind what rubber stamp shapes I have where they could be used in the composition. For instance, I have a set of head shape rubber stamps and in the sketch stage, I will decide what stamp to use for the head.

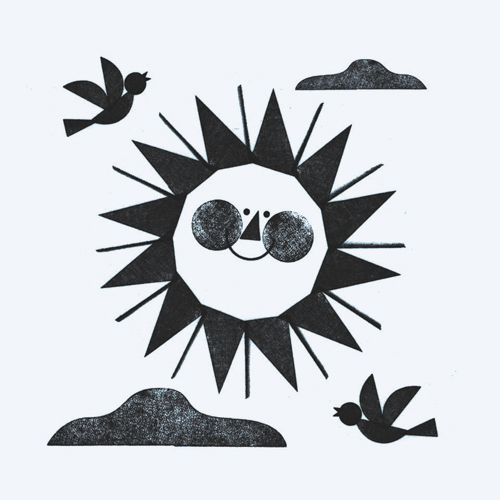
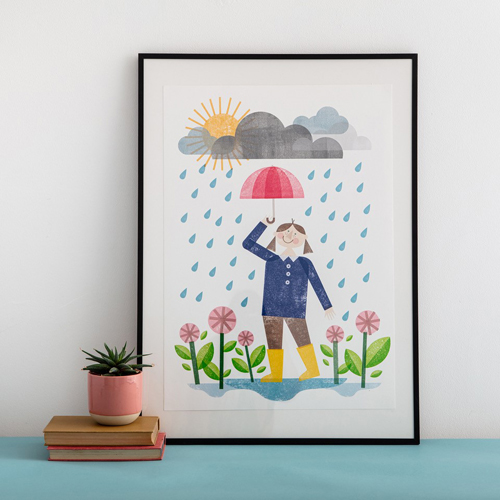
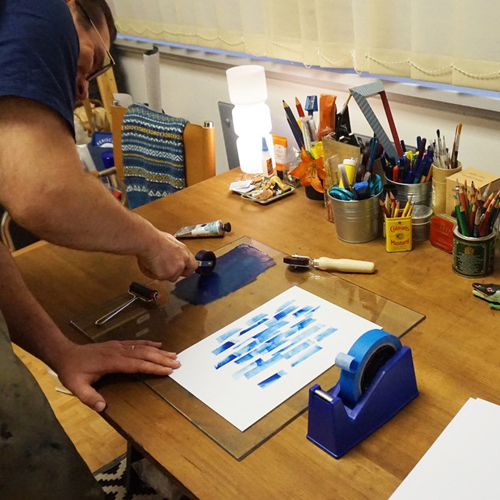
Next is the time I get inky! I use my rubber shape stamps and print them out in black as well as using texture stamps and rollers, which can be used for things like clothing, backgrounds, or buildings. All the printed shapes and stamps are scanned in and manipulated in photoshop, overlaying the initial pencil sketch, to create the final piece. I have a set colour palette that was created from the colour pencils I have on my desk; this way I can easily replicate the colours I have in my sketchbook.

Every time I print a new shape or a texture it gets added to my digital print library, this can then draw on for all future projects and although you can purchase print textures/brushes I like how I am the only one with these particular textures and shapes, which I hope makes my work unique.

How and where did you learn to print?

I did a bit of relief and screen printing at both college and university, but my interest in printmaking really came about when I joined Swansea Print Workshop in 2011. I was there for around 2 years and then later joined The Printhaus Workshops when I moved to Cardiff in 2014.

In June of last year, I completed a master’s degree in multi-disciplinary printmaking at the University of the West of England, Bristol. I did the degree part-time for over 3 years and it was a time for me to be able to experiment and hone my craft using the fantastic equipment and guidance from the amazing staff.

Why printmaking?

I love how hands-on printmaking can be as well as how experimental you can make it. Being able to take some relatively basic tools and some ink and create something like no other in such a short space of time feels almost magical to me.

Over the years I have done a lot of screen printing, even selling quite a large range of screen printed greeting cards at one point. I feel like I have found my niche in using relief printmaking with quite basic geometric rubber stamp shapes and a bunch of rollers.

Where do you work?

I am lucky to have a studio space amongst other creatives at Meanwhile House, which is near the centre of Cardiff. The studio holders there range from a signwriter, fine artists, a chocolatier, and a florist.

Describe a typical day in your studio.

Most days I will take my boys to school and then head to the studio at 10am. More frequently now I am sat at my laptop, but I try and give myself time at least once a week where the laptop goes away and I can get my fingers inky!

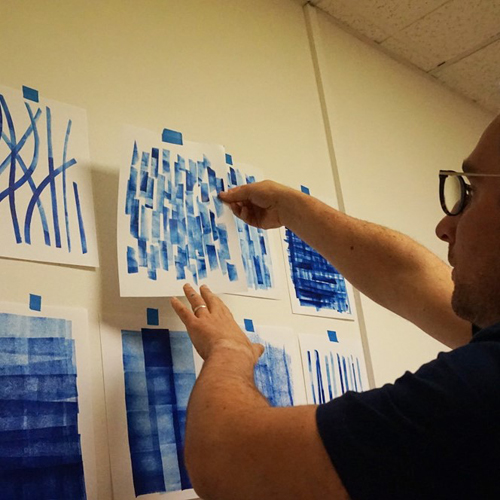
I have kept a wall in my studio empty, so when I have printmaking days, I can tape up all the prints to the wall to dry and be surrounded by printed textures for a couple of days.

On days where I can’t print, I at least try and spend some time drawing. My sketchbook is full of half-baked ideas that may or may not be used at that time, but so many times I have come back to old sketches in future projects. When I don’t have to do the afternoon school run, I stay in the studio until around 6-6:30 and take a relaxed drive home through the centre of Cardiff when the roads are much quieter. This is my time to unwind, process the day and decide what needs to be done tomorrow.

How long have you been printmaking?

I did my foundation art course at college in 2003 where I was first introduced to printmaking with woodcuts and some screen printing using water-based crayons, so over 17 years now!

What inspires you?

I love mid-century packaging and illustration and I try to capture some of its nostalgic charms in my own work. I have, what I call, the inspiration suitcase. It’s an old beaten up leather suitcase that I bought years ago in an antique shop in Cardigan. It’s bursting with old postcards, tickets, packaging, sweet wrappers, matchbox labels and so much more. When I am feeling stuck, I just open up the suitcase and have a rummage through.

What is your favourite printmaking product?

The product I use every day is a Stazon Black ink pad. I have a few that are in varying stages of inkiness. I love the texture that’s transferred to the paper via the stamp and you can print the ink onto anything, and it dries in no time.

A more recent purchase though is a couple of narrow, wooden handled soft rubber inking rollers. I had been looking at them for a while and I decided to buy them as a lockdown treat! I bought the 9mm and 15mm wide rollers to create some new and interesting textures. They’re really fun to use and I can see them being used during a lot of print days in the future!

What have you made that you are most proud of?

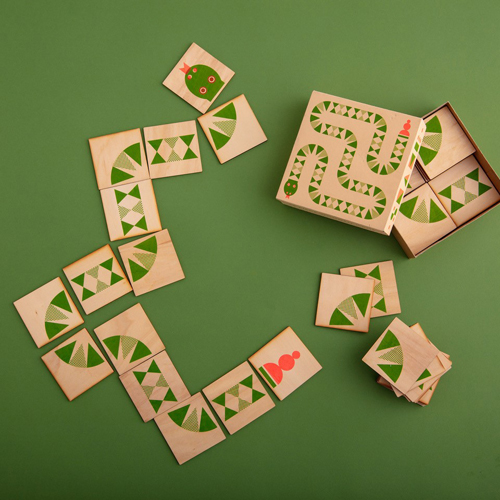
For some reason, and I am not exactly sure why I keep coming back to the snake motif. In 2016, whilst doing a lot of screen printing at The Printhaus Workshops, I created a set of wooden screen-printed tiles that are almost like snake dominoes. I even screen-printed the box they are kept in. The wooden tiles can be laid out to create a meandering snake across the table or floor. There was only one set made and for no reason apart from just for fun, but I think that’s part of its charm. This project still makes me smile today.

Where can we see your work? Where do you sell?

I mostly post images of my work on Instagram and I have an Esty shop where I sell greeting cards, artist stamps and prints. I am working on a website at the moment with some new projects that I hope will be online in 2021.

What will we be seeing from you next?

In 2020 I had my first go at teaching some workshops via zoom and I am hoping that I will be doing more in 2021. I would love to be able to sell small rubber stamp sets that include some of my shapes so that people can have a go at printmaking at home.

2020 was a strange year and although there were many things that weren’t able to go ahead, there was a lot of joy being made by creatives across social media. I have enjoyed being part of that wave of creativity and positivity and I hope to continue creating work that hopefully brings a smile or two to people’s faces.

Do you have any advice for other printmakers and creatives?

Make time to play. By this I mean, take some time to muck about and get messy! You don’t always have to know the outcome before you start. Some of my best ideas have come when my mind has been in a state of play and curiosity. If you are having fun making something, chances are that people viewing your work will see that too. Have some fun!

To see more from Alyn follow him on Instagram.

Screen Printing a Gradient with a Split Fountain

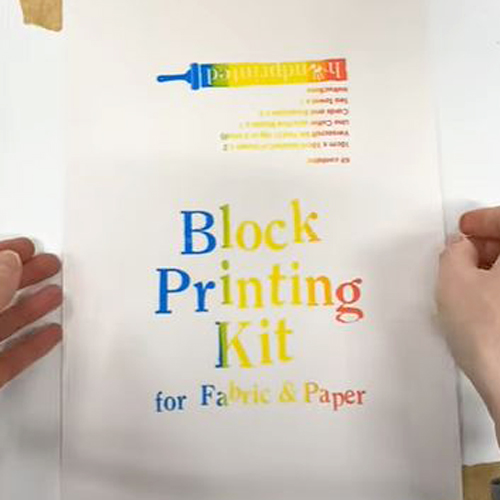
Usually when you’re screen printing you have to use a different layer for each colour. By using a split fountain we can create a single layer screen print with multiple colours! It’s so easy. Scroll down to watch a video or read on.

Set your screen up ready to be printed. You can use a paper stencil, screen filler design or exposed screen for this technique. Tape the edges of your screen and attach it to a hinged board, if using.

Assemble your screen printing inks. Use Acrylic Screen Printing Inks for printing onto paper or Fabric Screen Printing Inks for printing onto fabric.

Think about the direction in which you want your gradient to go. The squeegee will drag stripes down the screen. You can choose to turn the screen 90 degrees and use a wider squeegee to go in the other direction if that works better for your design.

Place a sheet of paper under the screen or place the screen on your fabric.

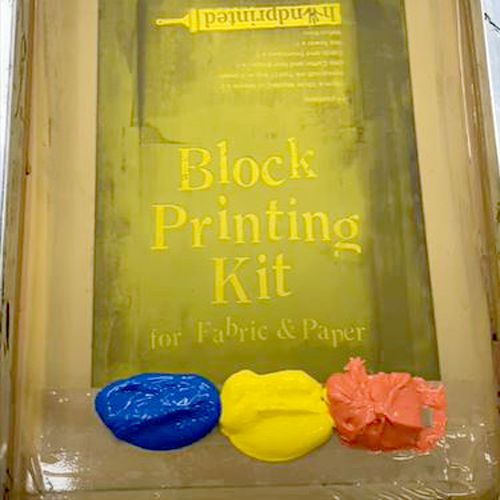
Use a spoon or spatula to place a blob of ink at the bottom of the screen just below the design. Place the next colour right beside it (leaving no gap) and continue all the way along the width of the design with all your chosen colours.

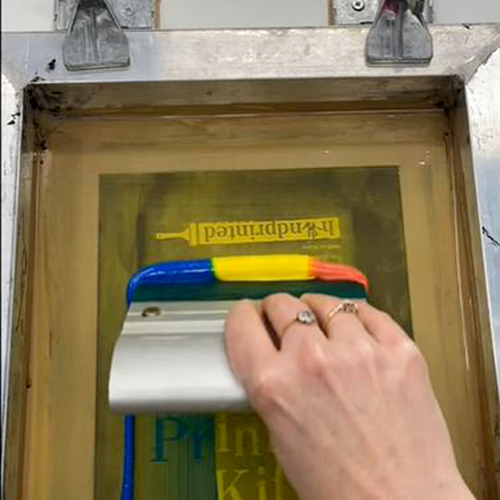
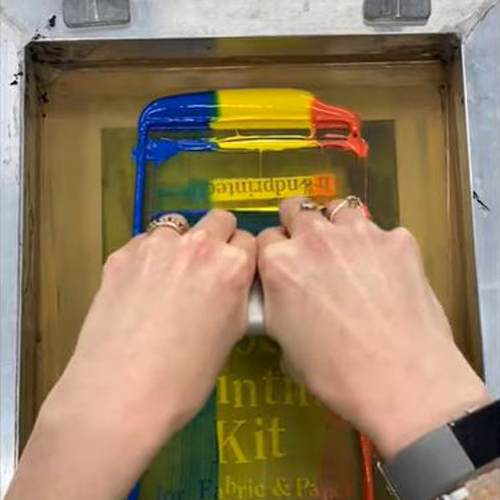
Hold the squeegee at a 45 degree angle at the bottom of the screen. Gently push the squeegee up the screen to flood the mesh with ink. When you reach the top of the screen, holding the squeegee at the same angle, pull it down the screen, pressing harder this time. You should hear a zip sound. Leave the ink at the bottom of the screen and lift the screen up to reveal your print.

Continue to flood and print in this way, adding more ink if you need it. The separate colours will start to blend more and more as you print.

When you’ve finished printing, scrape any excess ink and keep it in a pot for another printing session. Clean the screen with a soft sponge and a bucket of cold water. Remove any tape from the screen and wipe down again. If you have printed on fabric, heat set the prints with an iron when they’re completely dry.

For this project you will need:

Using Caligo Extender and Opaque White

When mixing Caligo Relief Printing Inks (although this also applies to other brands), we can choose between adding Extender or Opaque White when we want a paler colour. They produce quite different results. Watch our video at the bottom of the page or read on.

Extender is a colourless ink. It will make colours more transparent which will allow the colours underneath to show through (this may be previous print layers or just the paper). You can mix paler shades without losing any of the luminosity of the ink.

You can use as much or as little extender as you like. More extender will create a paler, more transparent colour.

Adding opaque white will create a more pastel chalky shade. It will also make the ink more opaque: it will cover more of the colour underneath and start to show on darker coloured papers.

Removing Ternes Burton Tabs from Delicate Papers

Sometimes, when we use Ternes Burton pins and tabs, the tape sticks to the printing paper making a mess. We can choose to cut our paper a little longer so the excess can be trimmed but there’s another way that doesn’t waste paper! Watch the video below or read on.

If you haven’t heard of using Ternes Burton pins and tabs for print registration, check them out here and watch the videos on the page.

When we use Ternes Burton tabs, masking tape is usually used to secure them to the printing paper. Removing this tape can damage delicate papers.

To help remove the tape more easily, simply use a hair dryer to warm it up as you peel! The tape should come off without leaving any sticky residue behind or damaging the paper fibres.

Cyanotype

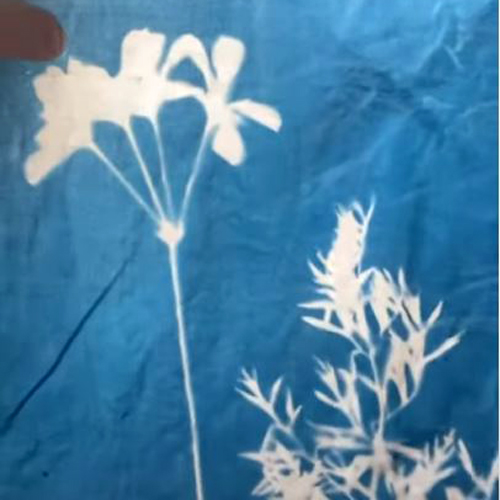
Cyanotypes (sometimes called blueprints or photograms) are made using a really old process that uses light to create designs on fabric and paper. Scroll to the bottom of the page to watch a video on the process or read on.

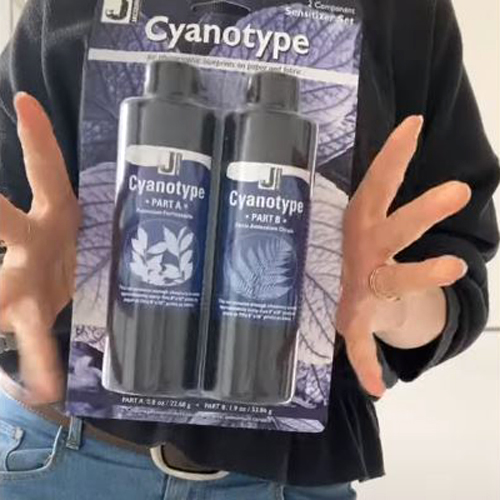
We are going to need a cyanotype kit. The kit contains two bottles, each with powder in the bottom. Fill each bottle with water to make two separate solutions (we mix them just before using). It’s best to add water to the bottles and shake them to mix 24 hours (or longer) before you’re wanting to start your project.

You can make cyanotypes on fabrics or paper – experiment with different surfaces. Once the cyanotypes are made they will be fixed and washable.

When you’re ready to make your cyanotypes it’s time to mix the two solutions together. Work in a space with very subdued lighting if possible. There’s no need to mix the whole amount together at once: it’s better if you only mix what you need as the life of the mixed solution is only a couple of hours. Mix the two solutions together in equal quantities.

Paint the mixed solution onto your fabrics or papers and leave them to dry in a completely dry space – a closed cupboard or box works well. The mixture will stain so be sure to lay down a protective surface first.

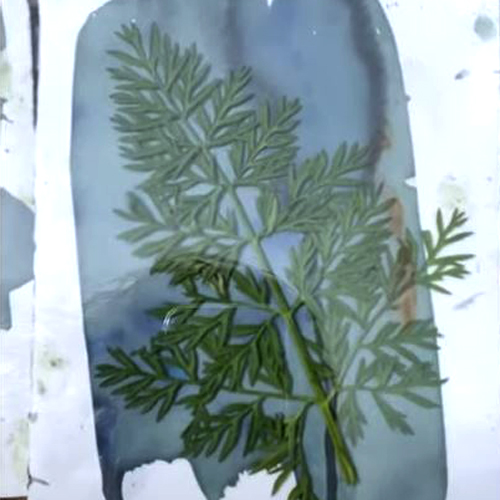
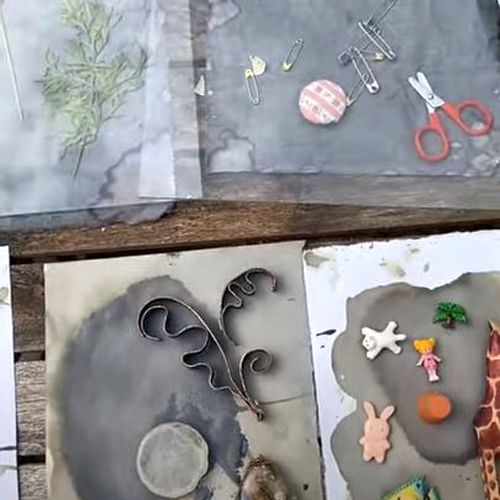
Whilst they are drying, gather together the items you’re going to use as masks. Leaves and plants work well. Objects with a distinctive shape or flat base are best. You may need to pin the lighter items down or place everything under a sheet of glass if it’s windy outside.

After an hour or so, the fabrics and paper should be dry. Make sure to cover them up whilst moving them outside. Placing them between two trays works well.

One at a time, lay the fabrics and papers out and place the objects on top. Pin down on place a sheet of glass to hold everything still. It’s important that nothing moves whilst they’re exposing. The timings for the cyanotypes will depend upon the light levels on the day. The cyanotype solution will start to turn from green to blue and then bronze. Cyanotypes will be paler if they’re under-exposed.

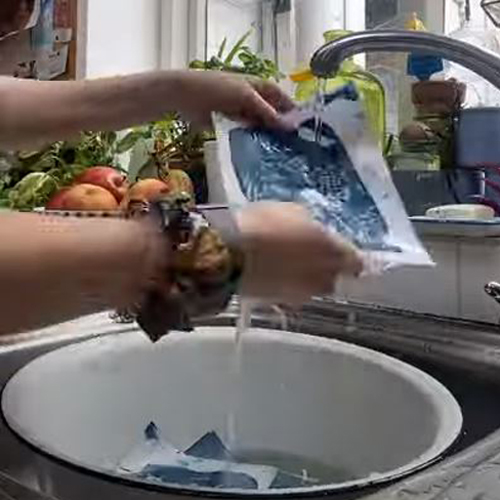
When they have finished exposing, remove the objects on top and immediately place them into a dark space again (back between the trays if using). Rinse the cyanotypes in cold water until the water runs clear. Keep them in a bowl of cold water for about five minutes.

For this project you will need:

  • Cyanotype Kit
  • A container to mix the solutions into
  • Paintbrushes
  • Fabrics and papers
  • A dark space
  • Something to carry the dried fabrics and papers in (e.g. an opaque black bag or two trays to put them between)
  • Objects to use as masks
  • Sunlight (a bright day is best)
  • Cold running water and a large bowl

Taking a Quick Proof of your Linocut with a Rubbing

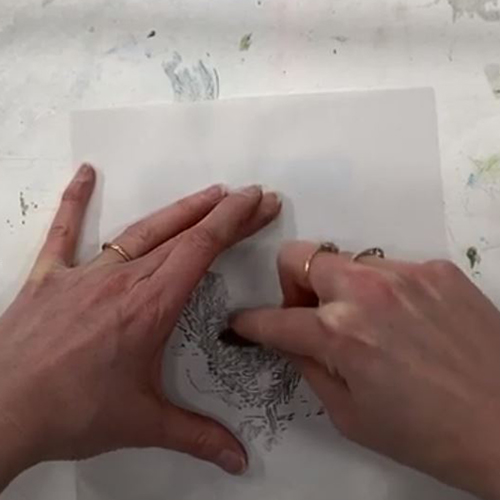
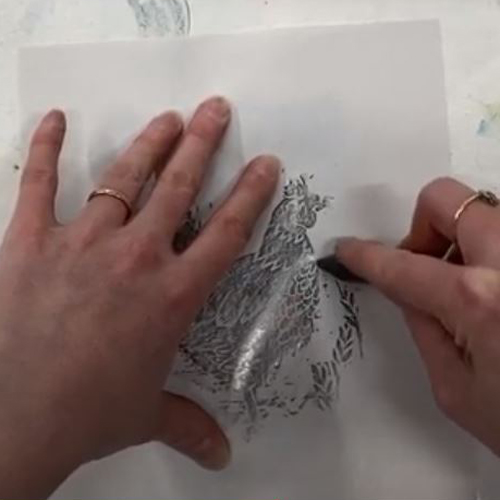
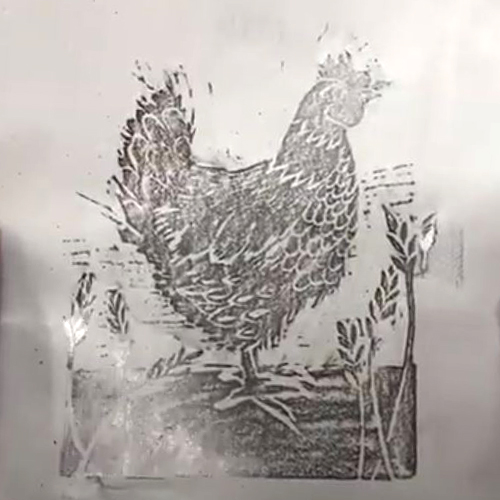
When you’re carving a lino block it can be handy to be able to see how your block will print before you ink it up. By taking a rubbing of your block you can get an idea of what your final print might look like. Scroll to the bottom of the page for a video or read below.

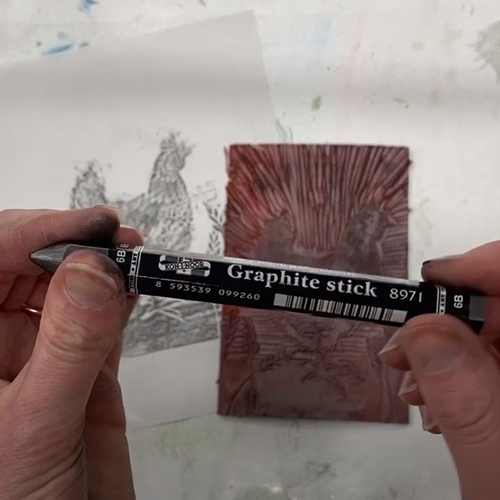
A graphite stick works perfectly for taking rubbings. Use Newsprint as it’s thin and smooth so should give the clearest indication of your carved lino design.

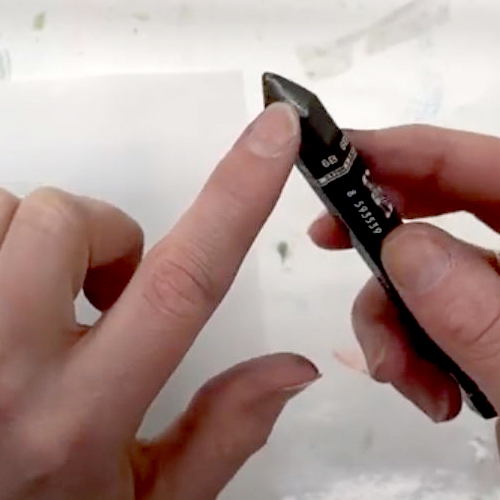
Use the flat edge of the end of the graphite stick, not the point.

Place the newsprint over the block. Hold it still with one hand and gently rub the graphite stick over the lino, focussing on the raised areas of the block.

Your rubbing should show you how your block will look once printed but remember that it will be a mirror image of how your block will finally print!

For this technique you will need: