A rainbow roll is a great way of adding interest and depth to a linocut. By blending colours on a roller, we can add fading colours and rainbows to our work. Scroll down to watch a video or read on.
In this project we are using a jigsaw linocut block but you could use any linocut block.
We are using Caligo Relief Printing Inks which are oil-based but can be cleaned up with soap and water.
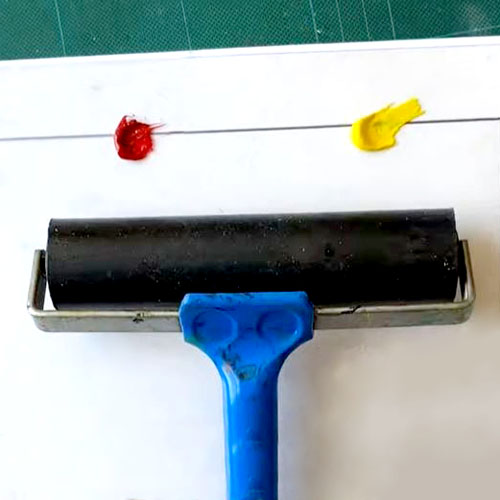
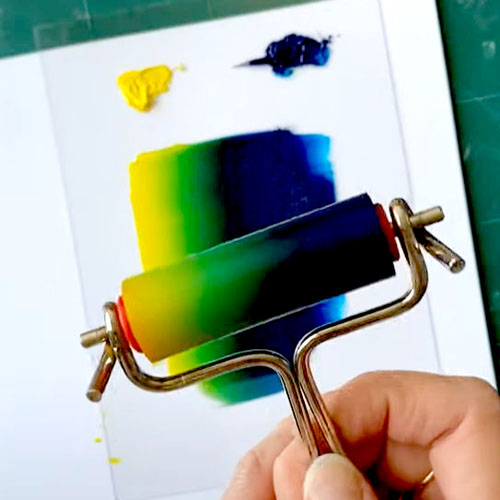
Choose 2 colours of ink that you’d like to graduate between. We started with magenta and yellow. Place a small blob of each colour at the top of your inking plate, slightly less than your roller’s width apart. Choose a roller that’s an appropriate width for the piece of lino you will be inking up. The placement of the rainbow will be important so we cannot move the roller around the block as we normally might.
Use the roller to drag the ink down. Lift up the roller at the bottom of each stroke and place it back at the top. Keep your roller in the same direction. Add a little more ink if it’s getting too thin or scrape some away if there’s too much.
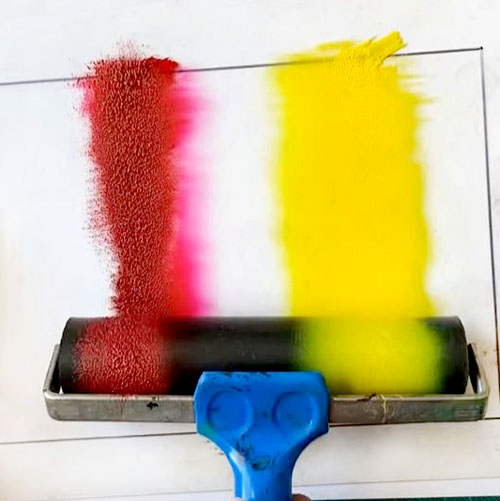
At this point you should have two columns of ink with a space in between.
To blend the colours, keep the roller in the same orientation but start to slightly place it down a little to the left and right of it’s original position. Remember to lift the roller up and put it down so the ink applies evenly to the surface of the roller.
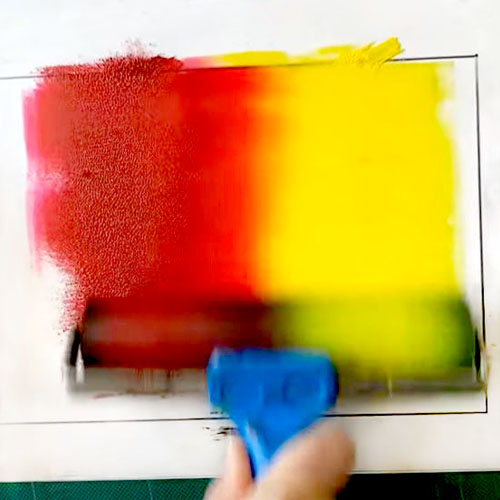
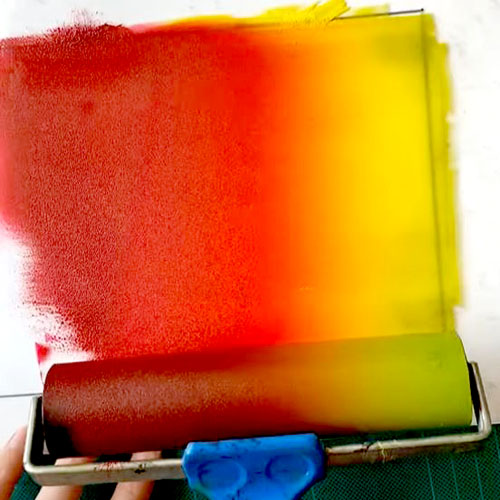
Continue rolling like this until you have an even colour blend.
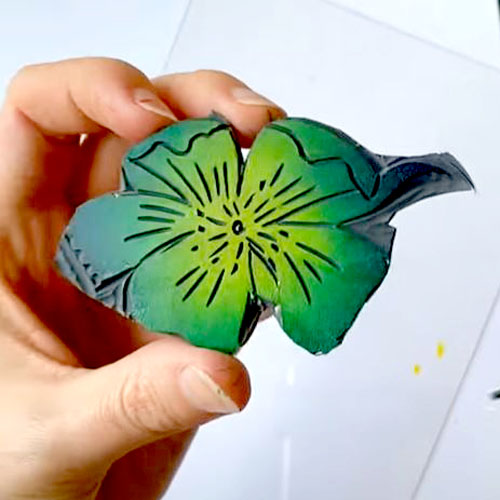
When inking up the lino, think about the direction of the rainbow roll. For example, you may want a sky that blends from dark blue at the top to pale blue at the bottom, or a leaf that blends from red at the base through to green at the tip. You can also ink up your pieces in carved roller movements to blend from one colour in the centre of a shape to another colour on the outside (see the video at the bottom of the page for a demonstration of this at 5:24)

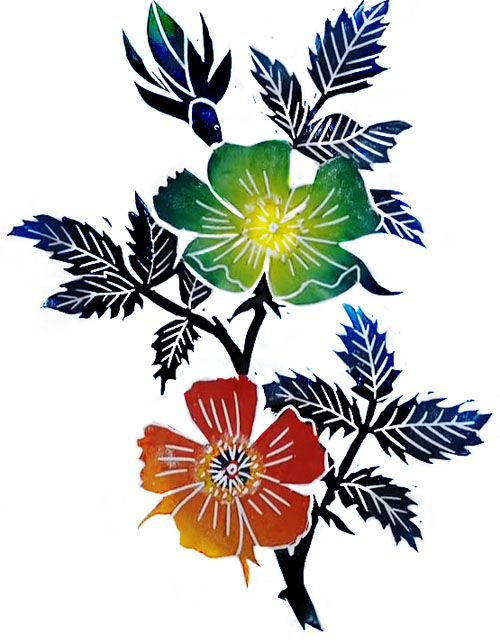
Hand burnish or press print your block as normal and peel back the paper to reveal your print!
For this project you will need:
- Inking plate
- Rollers
- Relief Printing Ink
- Carved Lino blocks
- Paper to print onto
- Baren, spoon or press