Jigsaw Linocut is a fantastic way of creating a multi-coloured print from just one block and just one layer. By cutting our carved block into jigsaw pieces we can ink them up separately before putting them back together and printing. Scroll down for a video or read on.
When using this technique, it’s necessary to choose a suitable type of lino block. Traditional lino is very tricky to cut up into fiddly shapes so opting for a softer lino like Softcut, Japanese Vinyl or Easy Carve is a better choice. In this project we have used Easy Carve (which is grey in the photos but we now stock the blue version instead).
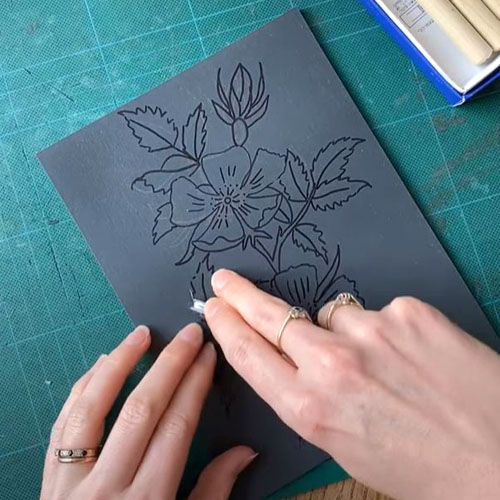
Draw a design onto the block. Pencil can be tricky to see and can smudge so a permanent pen or permanent pencil is better. You could use a Sharpie but there’s a chance you’ll have transference to the print when using light coloured inks so a permanent pencil is ideal. Use red carbon paper to transfer the design from a drawing if you prefer.
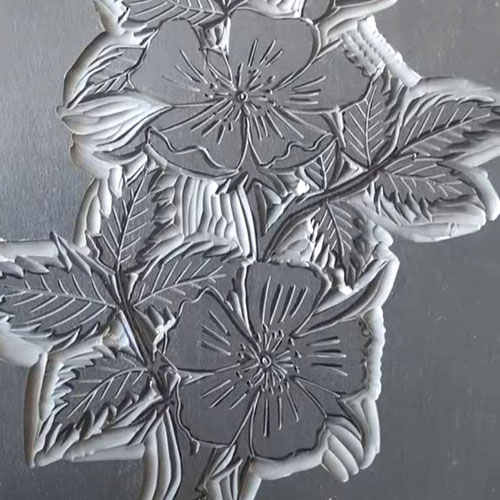
To begin carving, go around the outer edge of the whole design (if it is a cut-out style design like this one) with a V tool. We are using our Japanese Cutting Tool Set and some Pfeil Tools for this project.
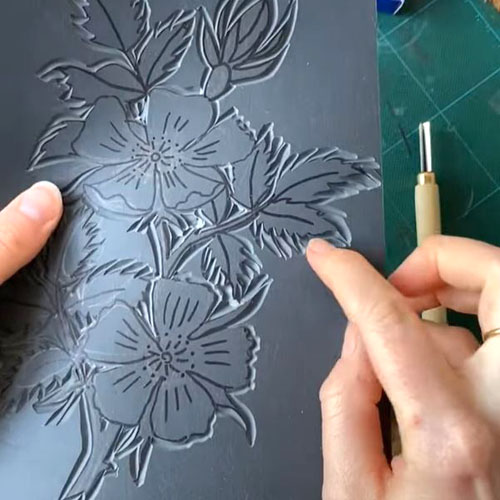
Next, carve in any detail with a fine tool. We are using Pfeil 11/1 tool here.
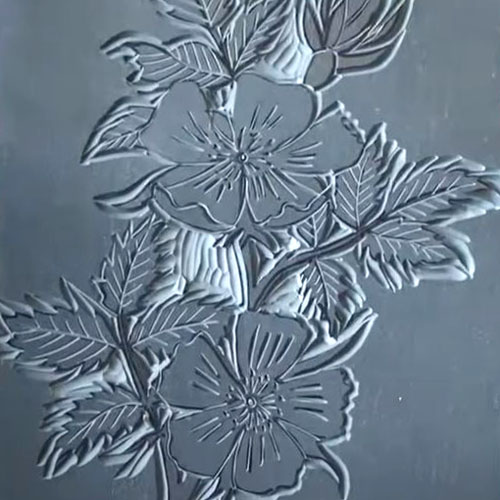
If there are any large areas (that aren’t around the outer edges) that need to be removed, use a large U tool to gouge these out.
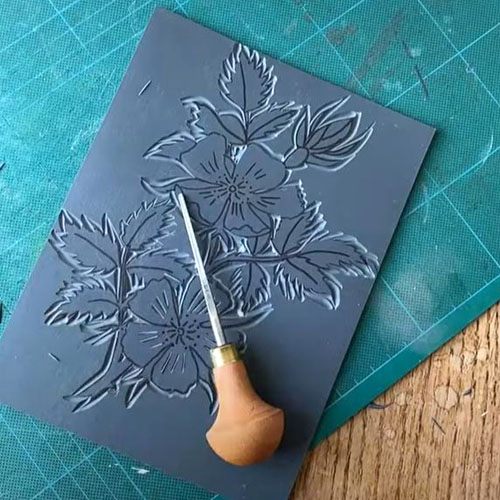
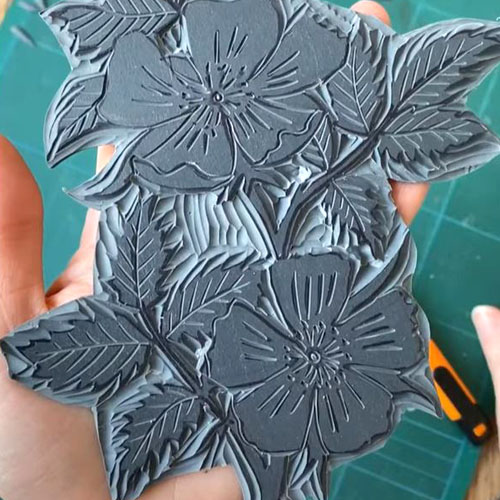
Before cutting out the whole design with a scalpel, work around the outer edge with a large U tool to create a channel. This gives us a simpler outline. You do not need to clear the whole sheet of lino.
Next, use a scalpel to cut the design free from the background, cutting within the channel you have just carved, not right up to the design. Press lightly to work through the lino in a few shallow cuts rather than trying to press too hard.
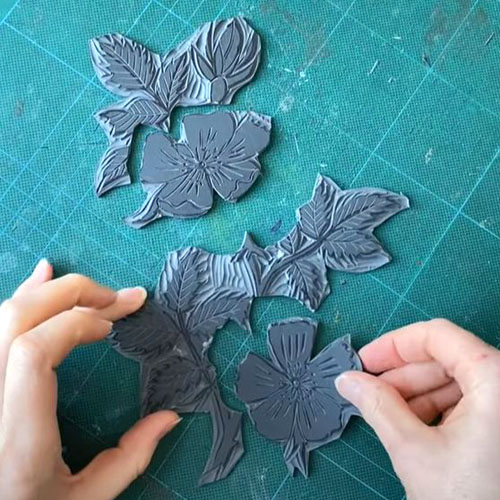
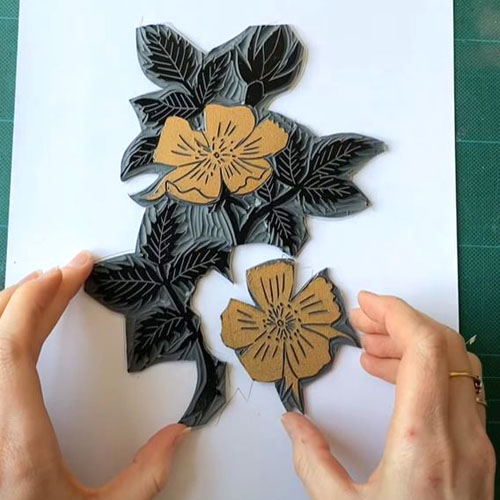
When the main design is cut out, divide it up into separate parts using the scalpel. Each part can be inked up with a different colour. Try not to have any areas that have to fit inside one another (like trying to put the hole back in an O) as these will be hard to put back together once inky. Instead, try to cut shapes that can slide up alongside one another. Groupe fiddly shapes together if they’re being printed in the same colour. Leave the excess carved lino on the pieces.
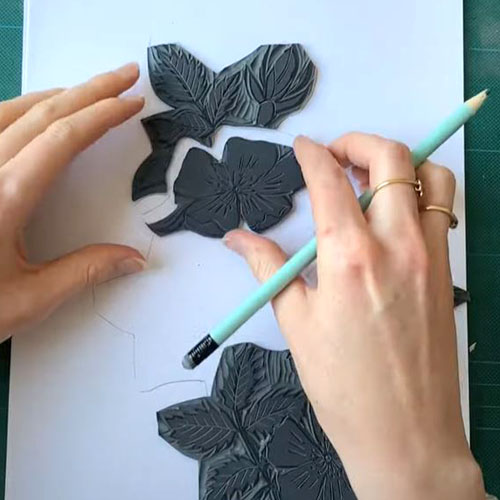
Use a piece of plain paper (the same size as the paper you will be printing onto) as a registration sheet. Place each piece in the correct position face up on your sheet and draw around it in pencil. This will help you assemble the design later. Number the back of the pieces too if that will help you.
Roll out a small square of each colour ink you will need. You will need a roller for each colour. These small rollers are ideal for the small pieces. We are using Schmincke water-based ink but you could use oil-based like Caligo instead to give yourself a bit more working time.

Ink up each piece of lino in turn and place it face up on your registration sheet.
Carefully lay your printing paper on top using the registration sheet as a guide. Carefully hand burnish the print using a baren or a spoon. Use your free hand to hold the paper still.
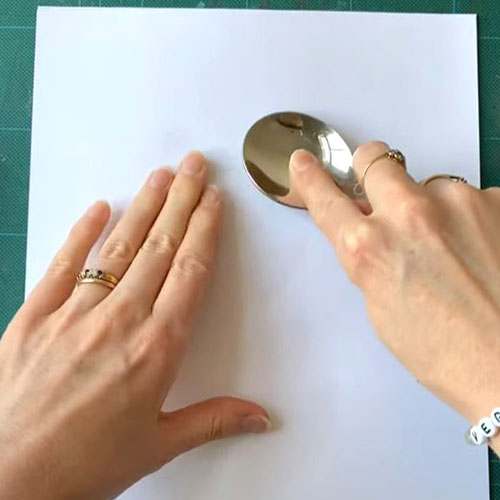
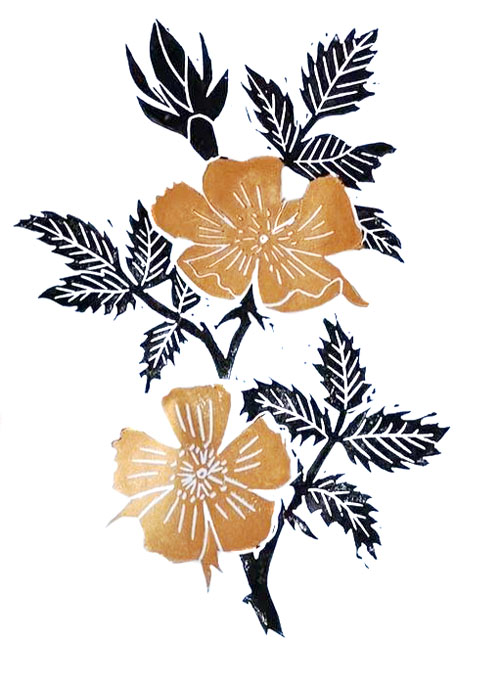
Peel up your paper to reveal your print.
For this project you will need:
- Sheet of Easy Carve, Softcut of Vinyl
- Pencil, Sharpie, Permanent Pencil or Red Carbon Paper
- Cutting Tool Set, Pfeil Tools or other carving tools
- Scalpel and cutting mat
- Inking plate
- Rollers like these small wire handled ones
- Relief Printing Ink (like Schmincke or Caligo)
- Paper for registration sheet
- Paper to print onto
- Baren or spoon