Relief printing is a technique in which the raised surface of a block or plate is inked up and printed when in contact with paper (or fabric etc.) A linocut is a relief printing method using carved lino. Any areas that are left uncarved will be inked up with a roller and printed. This project will work through all the steps needed to make a single colour linocut.
It’s easy to get started with some simple equipment:
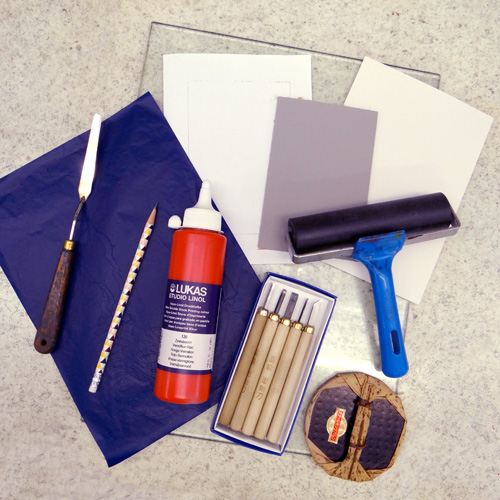
Lino – we are using traditional grey, hessian backed lino. Lino carves beautifully and has a wonderful snap off when finishing your cuts (more on this later). When lino is fresh it is not difficult to carve (nothing like the old, crumbly stuff from the back of the art cupboard at college!) There are lots of other blocks you can choose from too.
Cutting Tools – The Japanese Cutting Tool Set is an inexpensive, good quality set. Each tool has its own handle so there’s no need to keep swapping the blades. More tools can be found here.
Carbon Paper – Carbon paper is optional but can be very handy if you want to transfer a drawing or image onto the block or are unhappy drawing on the block directly. Read about using carbon papers on different blocks here.
Roller – For this project, we are using a Soft Rubber Roller but there are lots to choose from.
Bamboo Baren – Some printmakers will choose to use other kinds of barens such as a Plastic Baren or Ball-Bearing Baren or even a wooden spoon! Of course, you can also use a press to print linocuts such as a relief press or an etching press. We are using a Bamboo Baren which is cheap and prints wonderfully.
Relief Printing Ink – There are many different kinds of ink to choose from. The two main categories of inks are oil-based and water-based. We are using Lukas Studio Linol Ink for this project which is water-based and so cleans up easily and dries quickly on the paper whilst still giving a clear, vivid print. Oil-based inks can have a lovely finish but take a long time to dry on the paper. Oil-based inks will ‘stay open’ on the inking plate for much longer, allowing for more working time.
Inking Plate – Something on which to roll the ink. An inking tray, inking plate or piece of toughened glass all work well.
Paper – We are using Kent which is a lovely 190gsm printing cartridge paper but any smooth, fairly thin paper should work well.
Other bits and pieces you may need –
A pencil for drawing the design
Paper on which to draw the design or an image to trace
Paper to use as a registration sheet
Greaseproof paper for using under your baren
Anti-slip matting to hold the lino still as you carve.
A palette knife
Rags for cleaning up
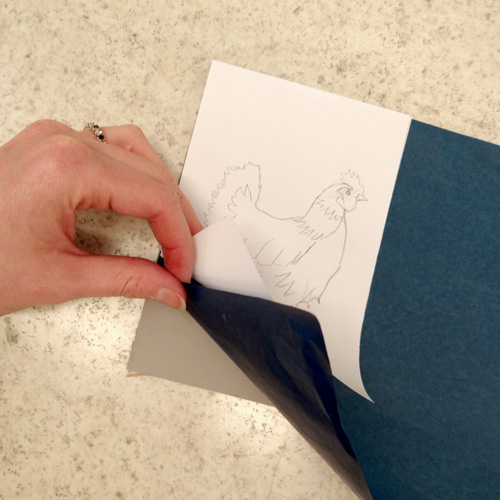
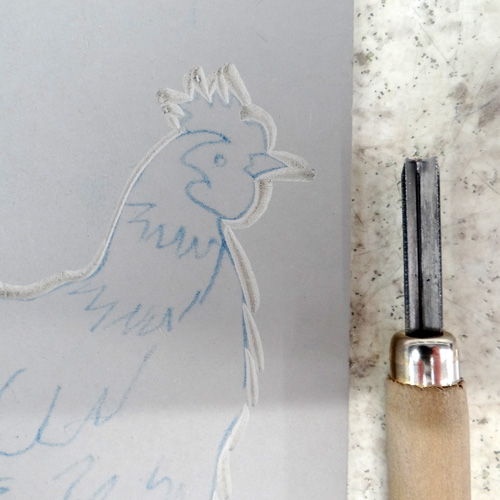
Begin by preparing a drawing. Draw directly onto the block with a pencil or use carbon paper to transfer an image. Place the carbon paper face down onto the block and lay the image over the top. Use a pencil to trace the image, transferring it to the block. When the block is printed, the image will be reversed so bear this in mind when planning the design. Make sure any text is backwards on the block or it will be backwards on the print! We are printing a chicken which can happily be printed either way.
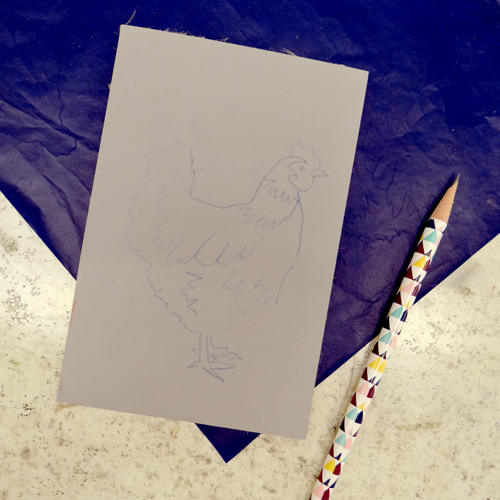
If the drawing is a little faint, go over it with pencil.
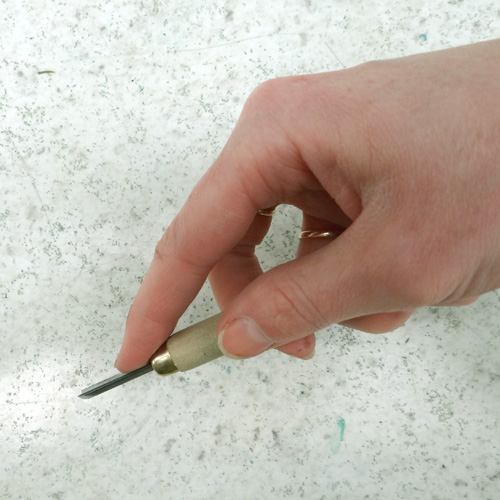
Now we are ready to start carving. A V gouge is a useful tool to start with. The sharp point allows for cutting fine lines which is useful for cutting around the edges of our shapes.
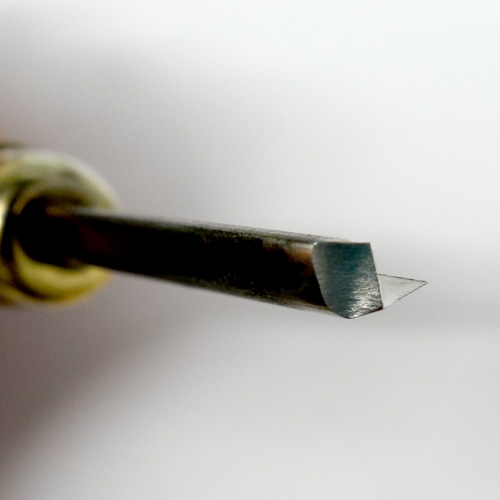
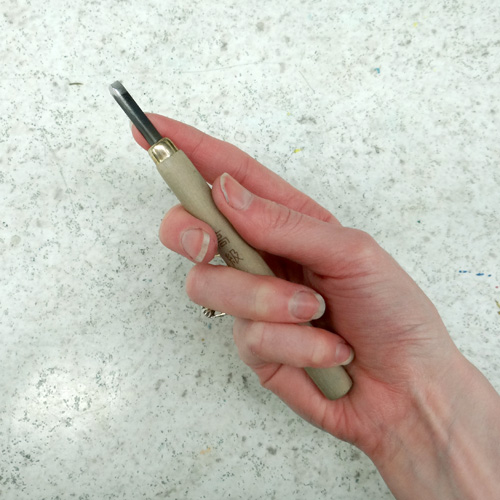
Hold the tool in your hand with an index finger near the top to help control it.
When carving, it’s important to keep your free hand behind the tool in case the blade slips. Always cut away from you, turning the block as needed. You may want to use this hand to hold the block steady. Anti-slip matting can be helpful to keep the block still whilst you are carving.
Using the V tool to cut around the edges of the design will help keep them crisp when clearing the background. Remember that anything we carve away will not be printed (and will appear paper-white on the final print). We want to carve away on the outside of the shape, leaving our chicken uncut.
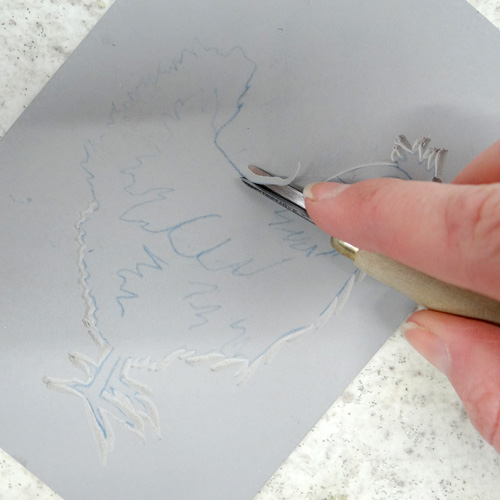
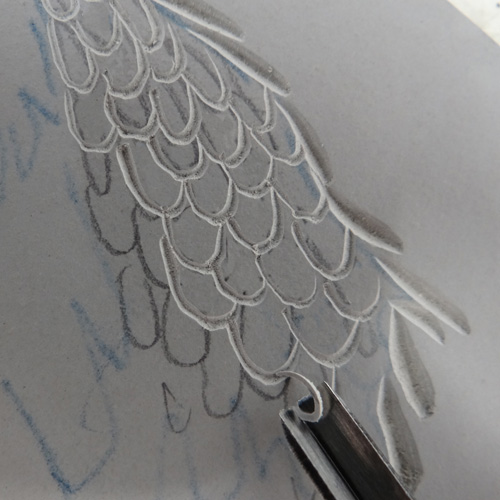
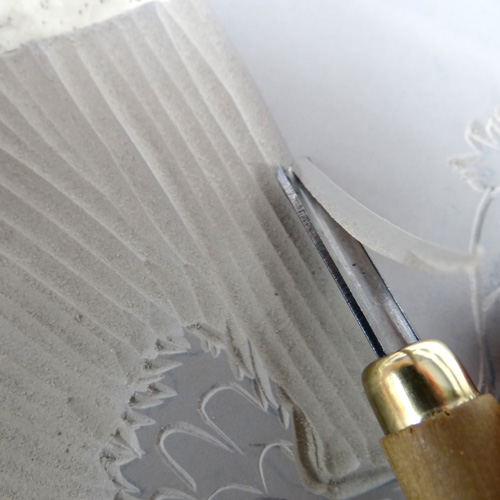
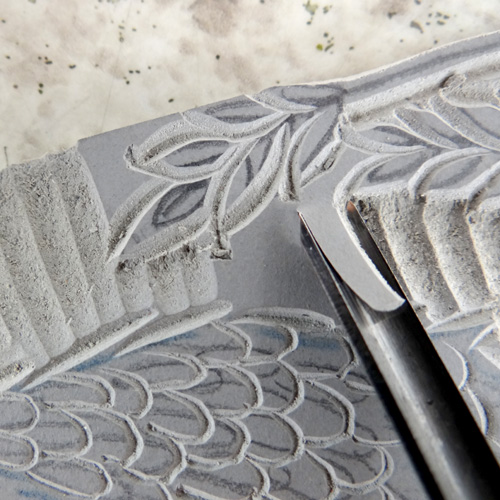
You can use the direction of the blade to suit the design. Instead of carving a smooth line around the tail feathers, we are making little cuts to create a loose, feathered edge.
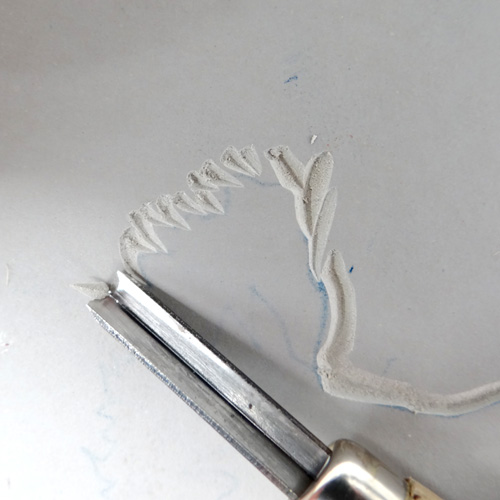
The V tool is also very useful for carving detail. Press lightly to carve fine lines. When carving curves, it is easier to gently curve the lino block instead of twisting the tool.
Experiment with mark making to create interesting textures and patterns. We’ve written a blog about this here.
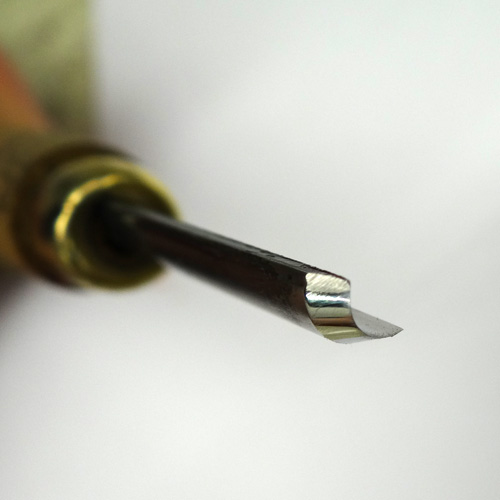
We want our background to remain white when printed so we need to remove the top surface of the lino. A wide U gouge is a useful tool for clearing as it will remove lots of lino quickly without creating lots of peaks and troughs.
We don’t want to leave many peaks as they can pick up ink and create ‘noise’ in our print. Some artists choose to include this noise in their prints as it can be very characteristic of linocuts. It is a good idea to think about the direction in which you are carving, especially when clearing large areas. Noise left by these carved areas can help to add movement or texture to an image. For example, lines sweeping across an open sky or radiating out from a furry dog can add interest to a print.
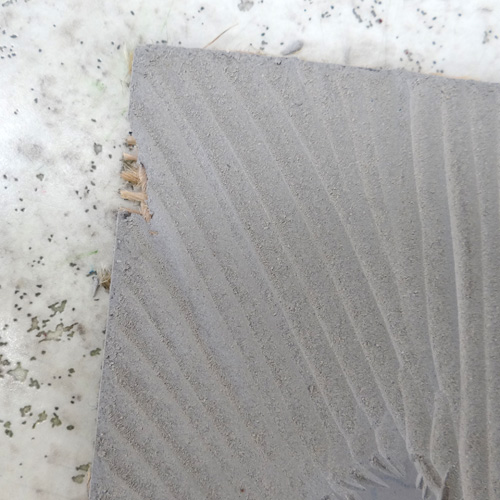
You don’t need to cut too deeply. It’s more important to create a fairly even lower level. If you go too deep you will expose the hessian like this – oops!
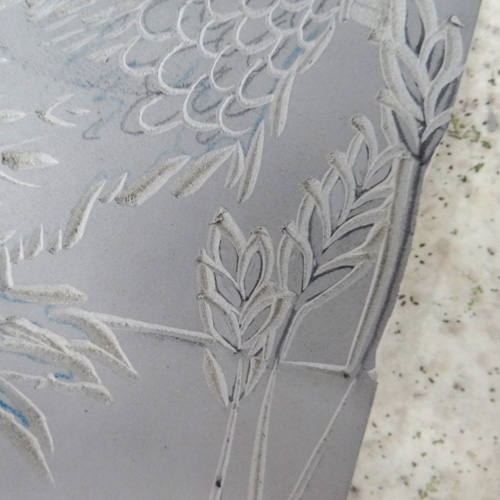
We decided to add more detail to the base of this design before carving it all away.
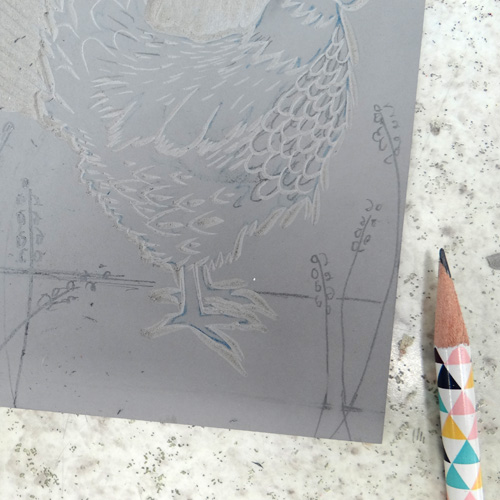
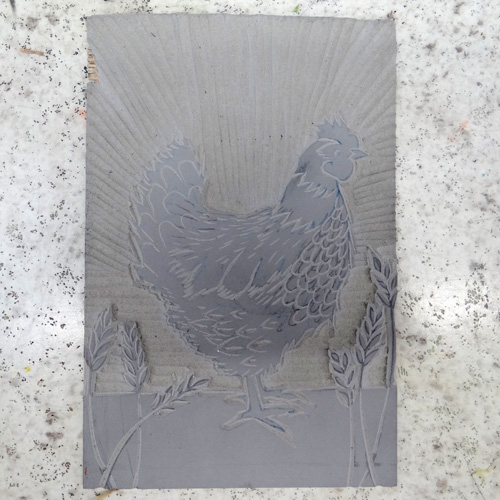
We decided to keep a solid base and break it up with a few grasses. This gives us an opportunity to play with negative space. On the sold printed base, our glasses will be carved out in white, on the white background above, the grasses will be left raised to print in red.
One of the nicest qualities of traditional lino is the ‘snap off’. This means that you can finish your cut by gently pinging the tool upwards. The piece of carved lino should snap off the block, leaving a crisp line. This is particularly useful when clearing areas between two shapes.
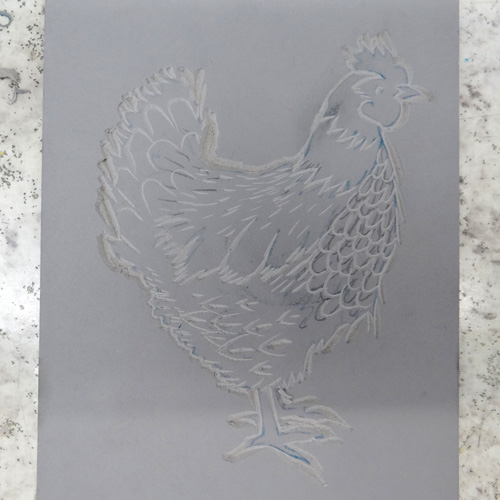
When the block is carved, it is ready to print.
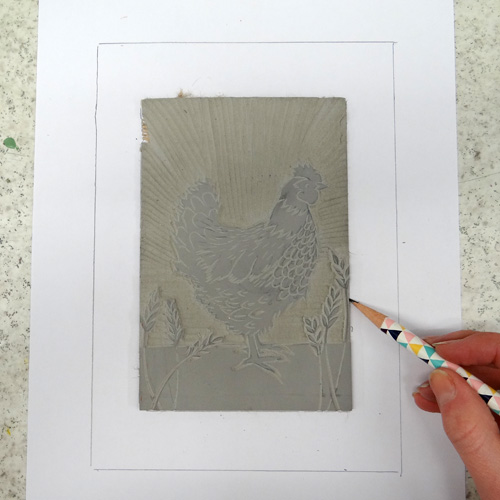
A registration sheet will help ensure the print is centred and straight on the printing paper. To make one, draw around the printing paper onto a piece of copy paper. Place the block in the centre of the marked area and draw around it. This will help you place the lino and paper later.
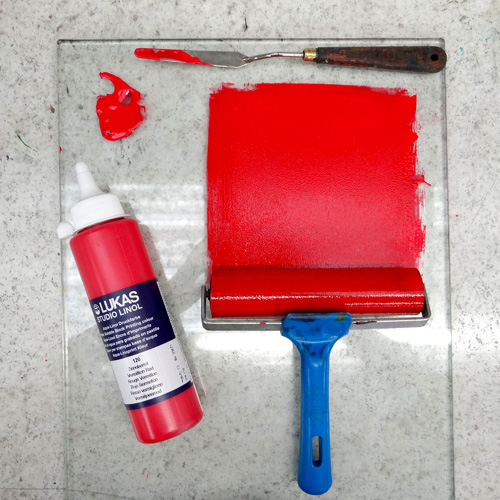
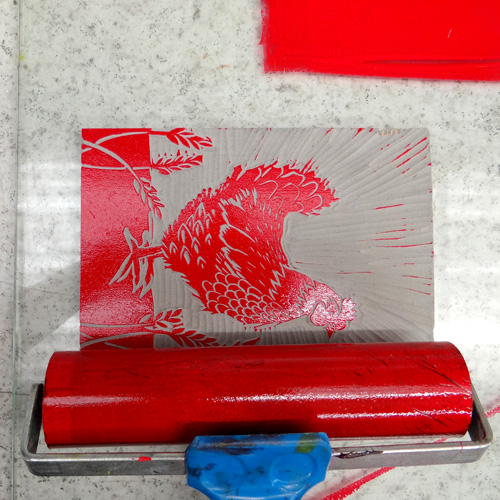
Roll out some ink onto an inking plate, inking tray or piece of toughened glass. We are using Lukas Inks which are water-based.
We want an even layer of ink that is not too thick and squelchy. When rolling we want to hear a zzzz sound. The texture of the rolled out ink should be very slightly bobbly like suede but have no drag marks thick lines. We only need a rolled out square of ink that is as wide as our roller in both directions. Use the roller up and down and left to right until you have an even layer of ink. If you have too much, simply scrape excess away with a palette knife and roll again to even it out.
Roll the ink onto the block. Make sure that all the raised areas are inked. The block should appear shiny but not blobby. We do not want the ink to get into our carved lines. Using a roller that is slightly wider than the block will help to get an even coating but a smaller roller can be used instead. A slightly softer rubber roller will help you to avoid roller marks.
Place the inked up block onto the registration sheet.

Place the printing paper on top (we are using Kent) and cover with a piece of greaseproof paper (if using). Tuck your fingers into the handle of the baren and press quite firmly to rub all over the back of the paper. The stickiness of the ink should hold it still but be careful not to rub so vigorously that the paper slides. Ensure that you have rubbed over the whole block.

Peel back the paper to reveal the print!
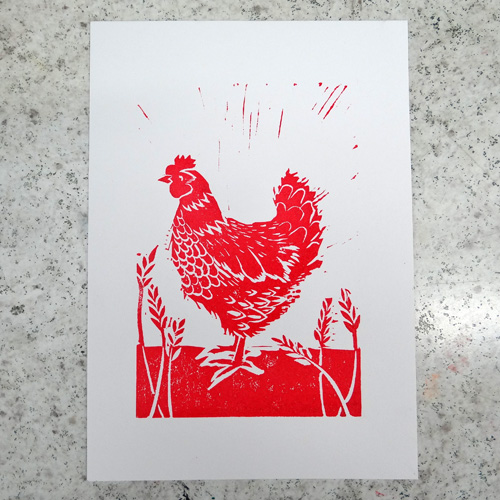
If there are patchy area on the print it may be that either too little ink was used or you need to press more evenly with the baren. If the edges of the shapes are thick with a line of ink then too much ink was used.
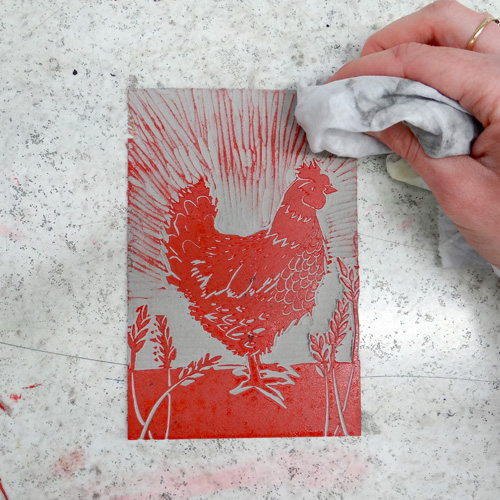
In the image above, we can see the ‘noise’ left by the raised areas of our cleared background. If you are not happy with the look of these, simply wipe them clean with a cloth after inking up the block.
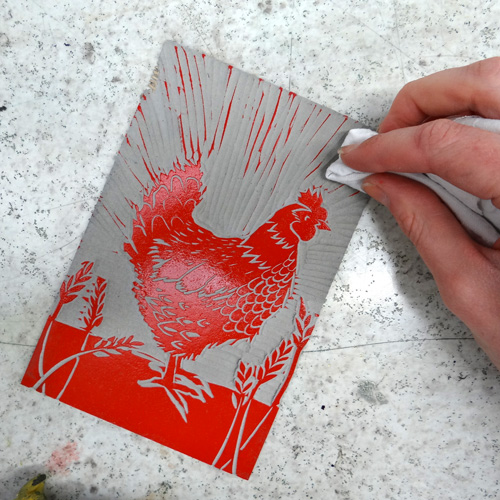
At this stage, we can also choose to carve more areas out – perhaps we missed a little bit or are getting a lot of unwanted noise somewhere.
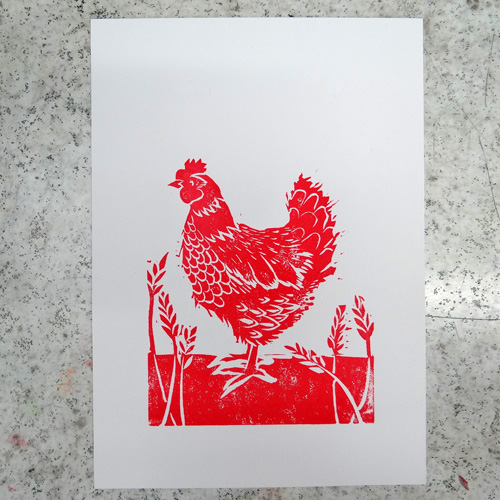
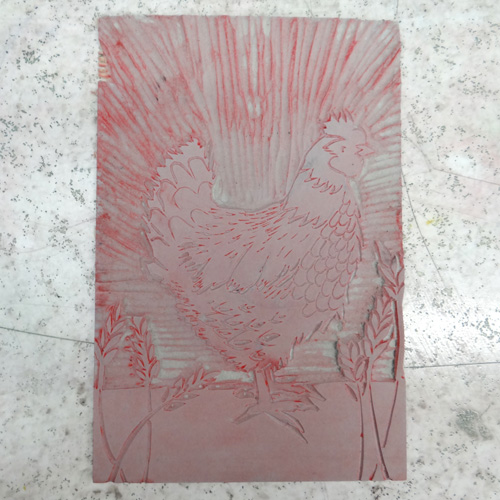
We will need to re-ink the block in between each print as there will not be enough ink left on the block for subsequent prints. (However, pulling a second print from a block or plate that has not been re-inked is called a ‘ghost print’ and can be quite interesting!)
At the end of the printing session, we need to clean the block. This is a water-based ink so we can use a damp rag to wipe away the excess ink. We do not want to get our block too wet as it can warp. A wet rag can also be used to clean the roller and inking plate. If printing with oil-based inks, you can usually clean up with vegetable ink or Zest-It. (Caligo Safe Wash Inks are oil-based but water washable so can be cleaned up with soap and water.)
For more relief printmaking projects, take a look through the blog for lots more ideas and inspiration!