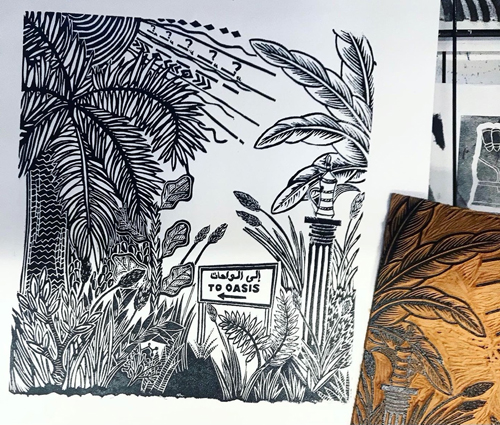
Meet the Maker: Katie Cheng

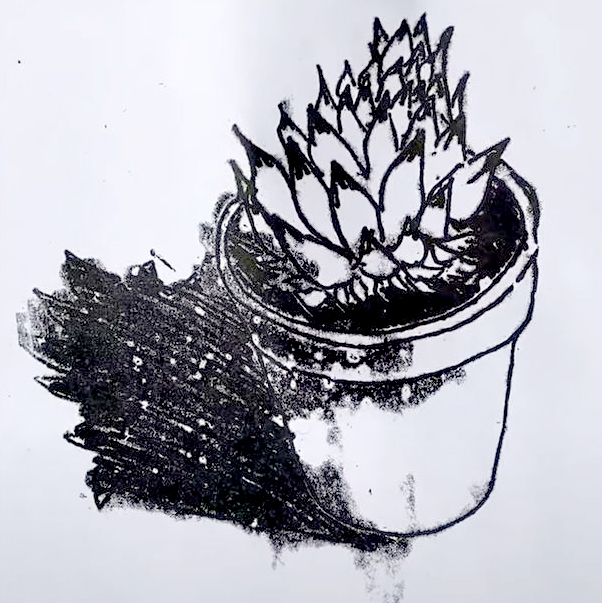
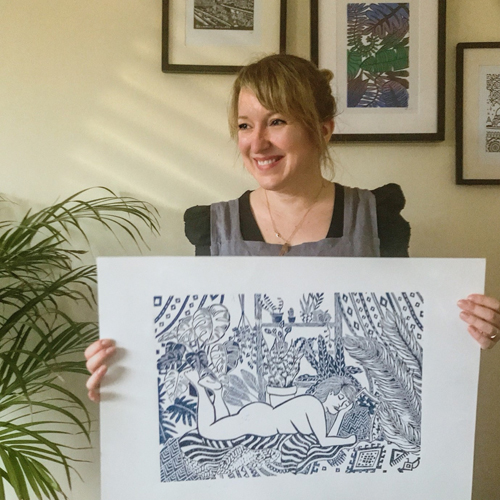
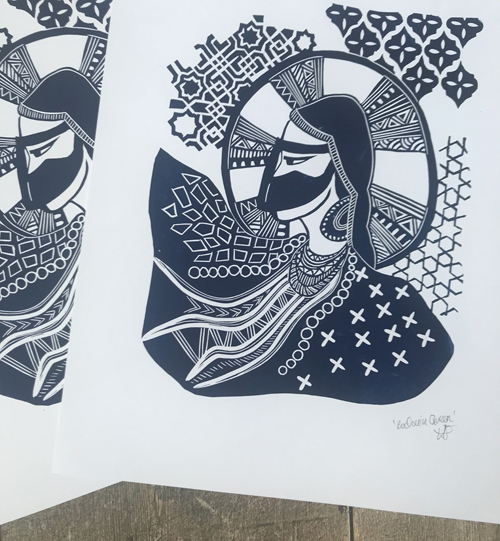
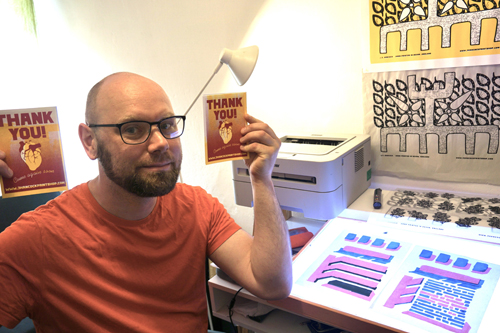
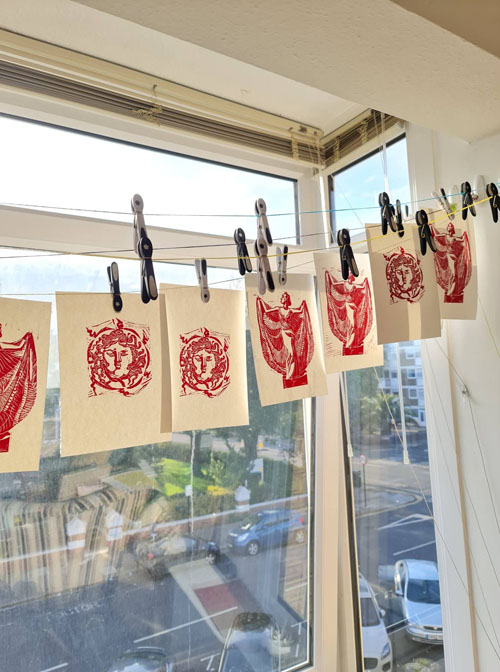
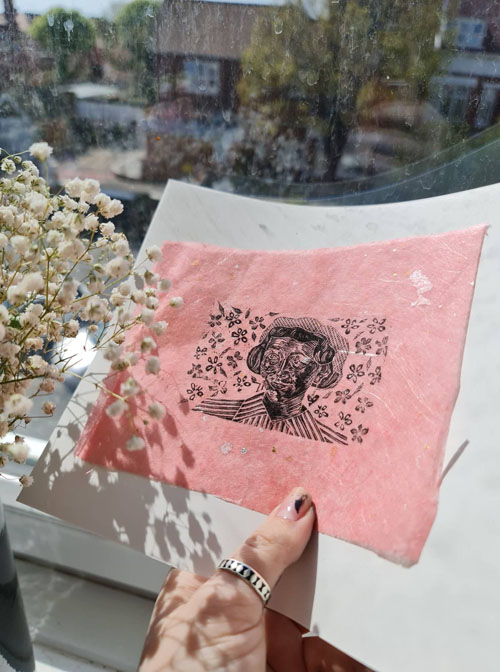
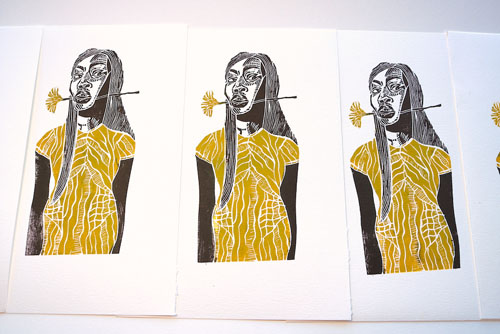
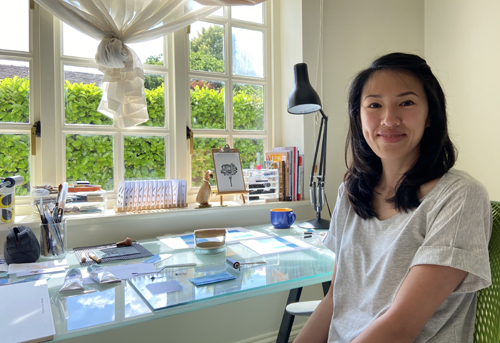
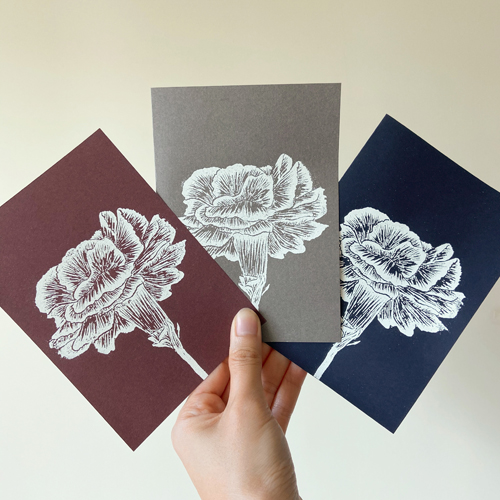
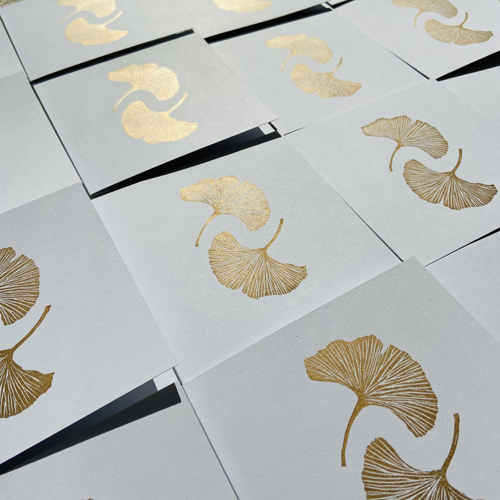
Hi, I’m Katie, also known as Sotibab. I’m an Architect and printmaker currently based in Bristol, UK. My husband and I moved back to the UK 7 months ago after living in Hong Kong for 9 years. My background in Architecture has allowed me to explore other creative mediums, which happens to be printmaking! I’ve been creating botanical and typographic inspired linocut cards and prints of a minimalist nature.
Describe your printmaking process.

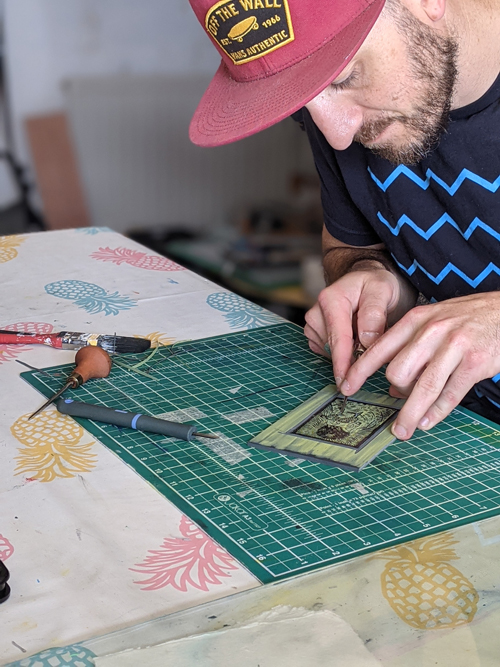
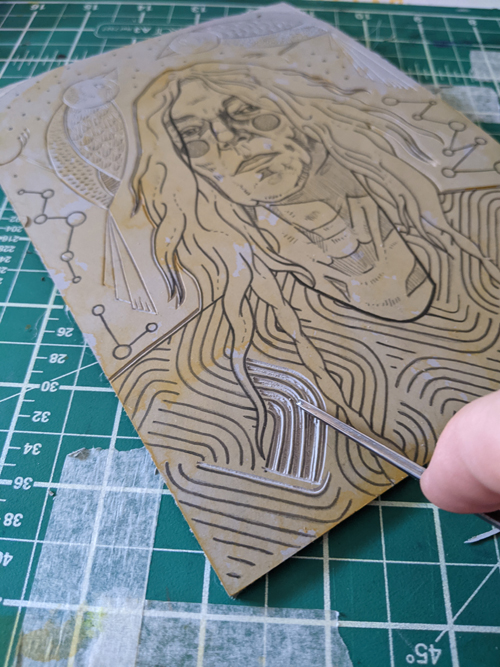
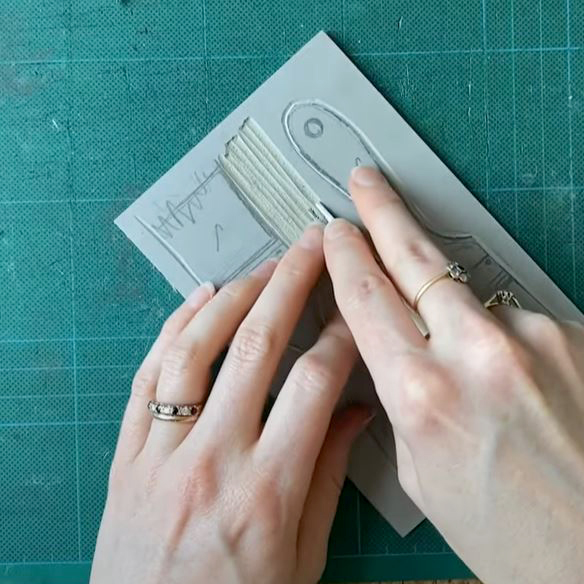
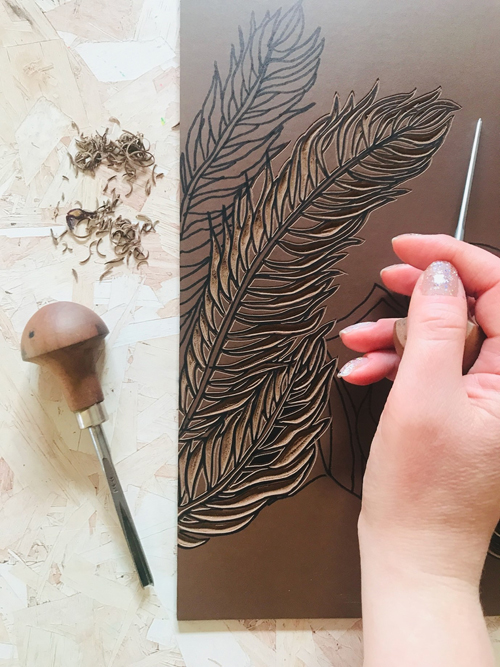
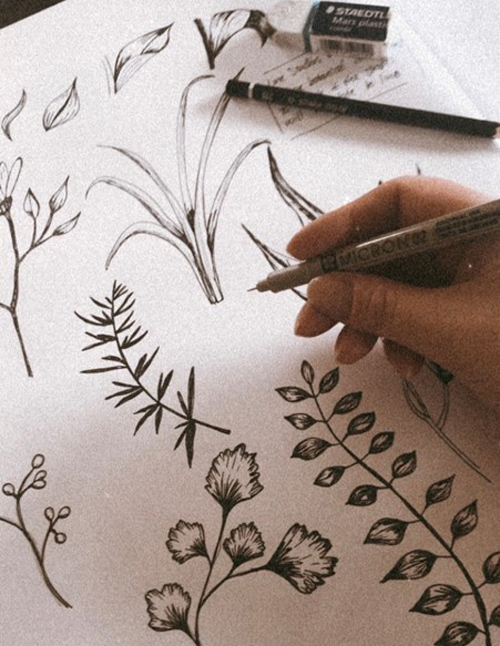
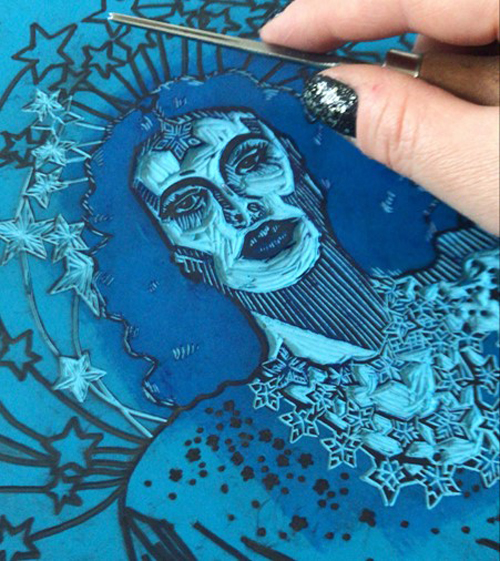
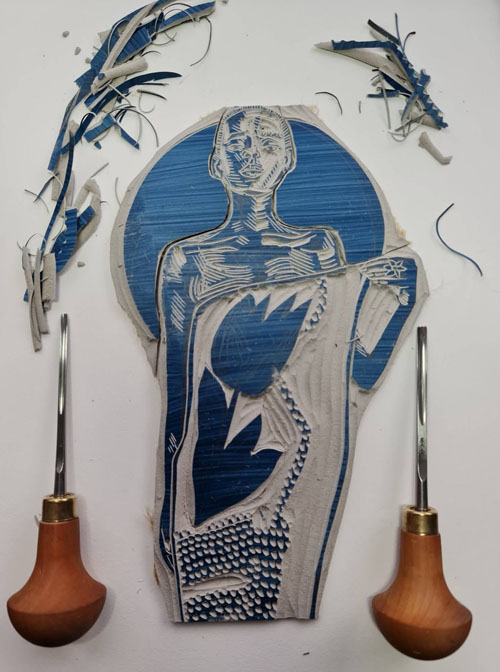
I start by sketching an idea roughly into my sketchbook. I’ll let the idea sit for a while before drawing it properly with most of the fine details intact in Procreate on my iPad. I will then print and transfer the image using Japanese Red Carbon Paper onto my choice of carving material which is usually Lino, Japanese Vinyl or Blue Easy Carve. The choice of carving material depends on the design. If I want nice crisp lines, I would choose Lino or Japanese Vinyl. If the design is more flexible, then I would use Blue Easy Carve.

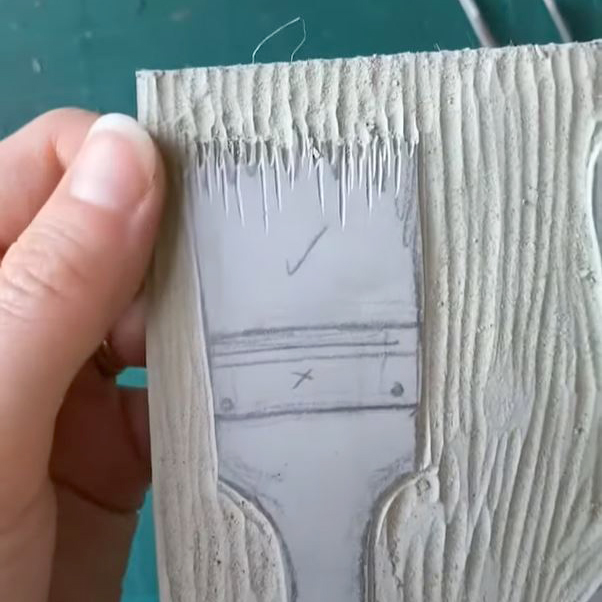
Then the fun part begins – carving! I’ve learnt to work slowly here. I used to be a bit impatient and rushed carving which led to chipping unwanted parts off.

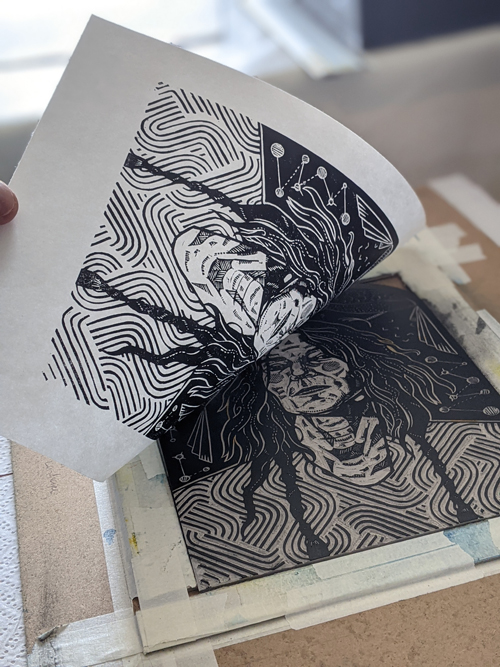
Once carved, I’ll test print with Versafine ink pads, take a step back then make some amendments. There’s a lot of putting the design down and reviewing it in my process. I find that you can see things more clearly after taking a break from it. I’ve rarely designed, carved and inked in one go.

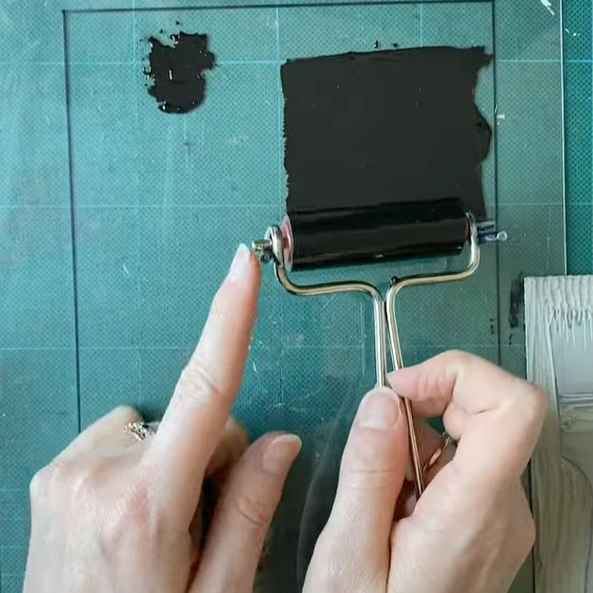
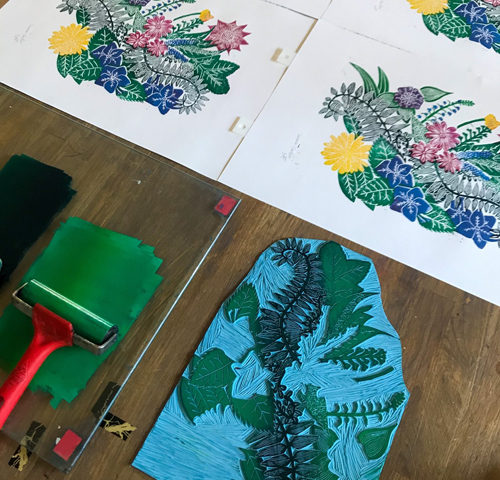
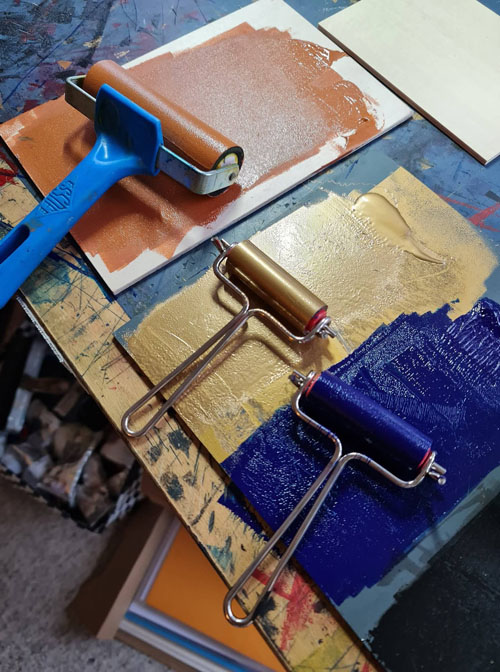
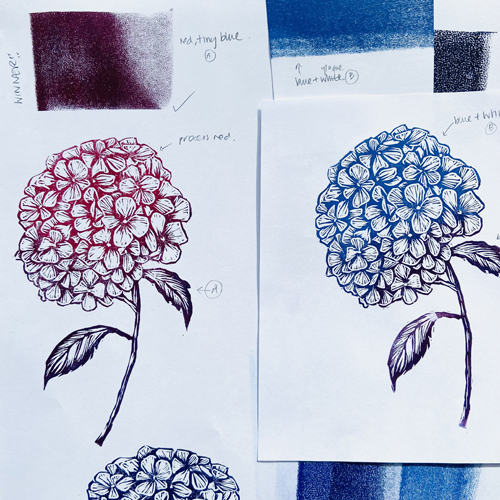
When I’m happy with the design, I’ll start my inking. If I’m using colour, I’ll play around with different colour combinations and keep those swatches in my sketchbook for reference later. I’ll ink with Cranfield’s Caligo Safe Wash inks and depending on the size, I will print using a baren or my press.
How and where did you learn to print?

I am self-taught. A year ago, a friend lent me her Speedball carving tools where I carved my first stamp. Eventually, I bought my first Flexcut carving set and the carving frenzy began!

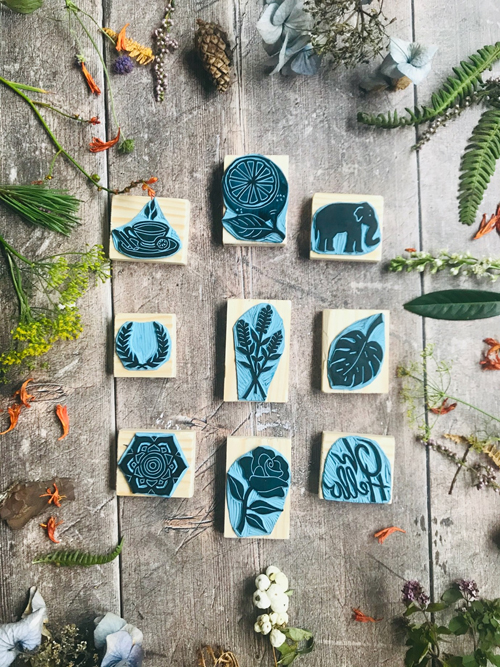
Books, online resources and lots of experimenting have helped me along the way. The printmaking community on Instagram has been a great resource. A lot of printmakers are very generous in sharing their tips and tricks which has been extremely helpful. I started off making small stamps with ink pads and experimented with heat embossing powders.

Moving over to the UK meant printmaking suppliers were more easily available. I started trying different carving materials, different papers and playing with different relief printing inks.
Why printmaking?

I have always enjoyed having a creative outlet and I would go through different phases with watercolour and calligraphy but printmaking was the one that really stuck.

After carving and inking my first stamp, I was hooked. Carving is a very addictive and meditative process in itself. The first test print is always extremely exciting and satisfying as you really don’t know what to expect.

As an Architect, it takes many years for a project to come to fruition. With printmaking, you’re able to see the results a lot sooner. I try to explore subjects other than architecture in printmaking. In a sense, printmaking is my way of escaping the day job!
Where do you work?

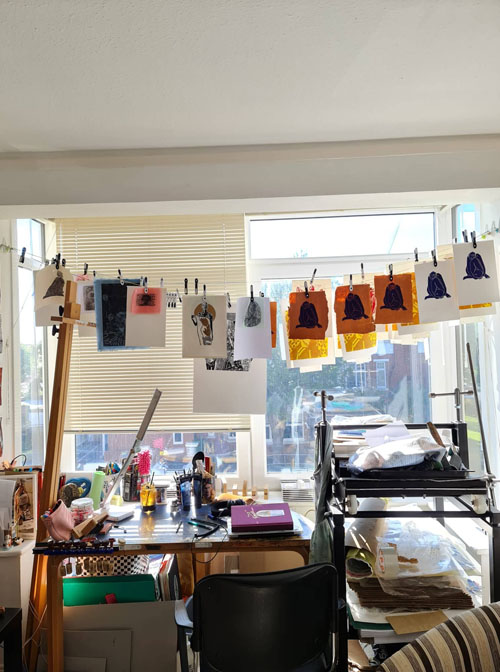
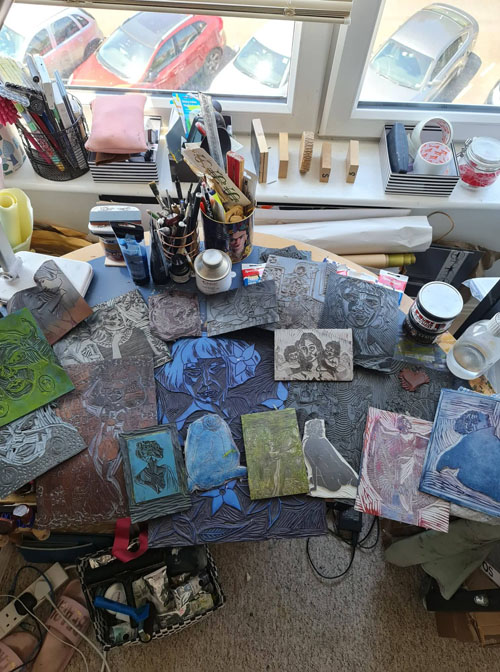
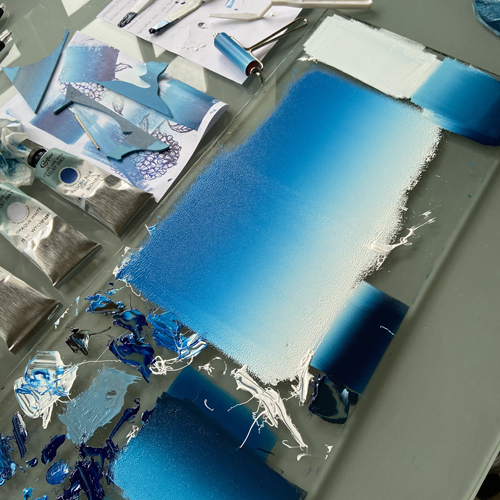
We have a small temporary set up in our bedroom where I do most of my carving, inking and printing. We will be moving to Edinburgh shortly so we shall see what the set-up is there!
Describe a typical day in your studio.

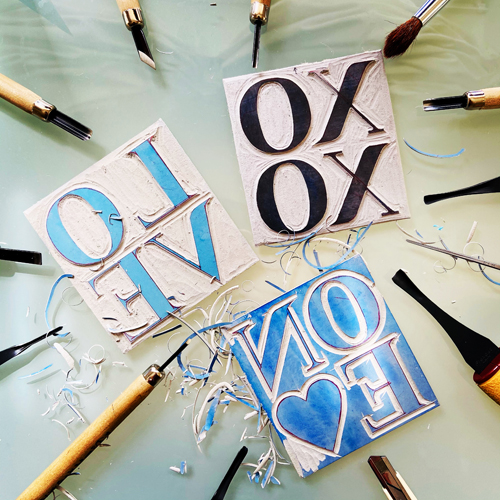
Due to my full-time job, I try to fit printmaking in after work hours during the week. I’ll try to do as much sketching and carving as possible during the evenings and work on multiple carvings and designs. During the weekends, I’ll clear my desk and do most of my inking and printing.
How long have you been printmaking?

I have been printmaking for around a year.
What inspires you?

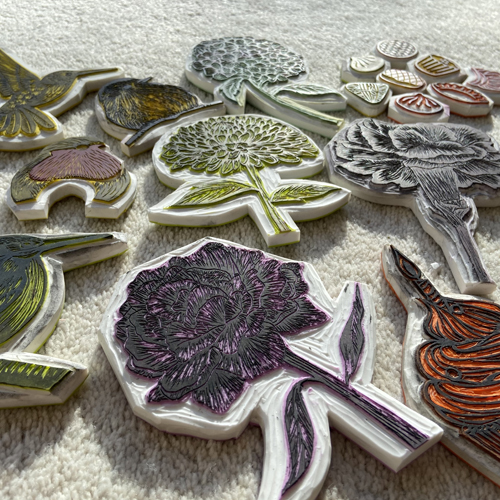
My biggest inspiration comes from nature, landscapes, strong geometry, patterns, colours and typography.
What is your favourite printmaking product?

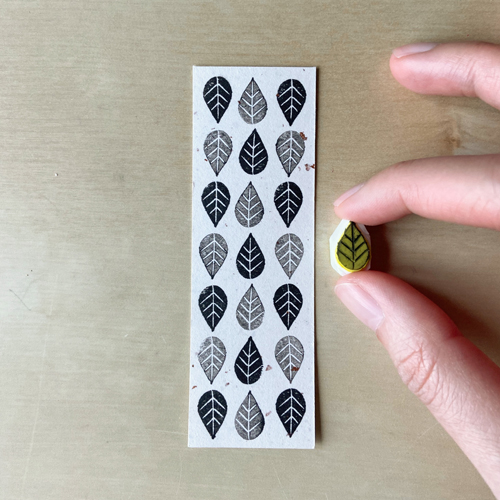
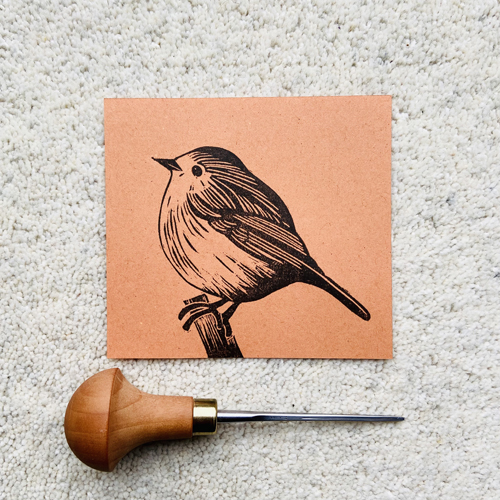
My favourite printmaking tool is my Pfeil 11/0.5mm cutting tool. This little tool allows me to carve the finest details accurately; it stays sharp for a long time and cuts through lino easily.
What have you made that you are most proud of?

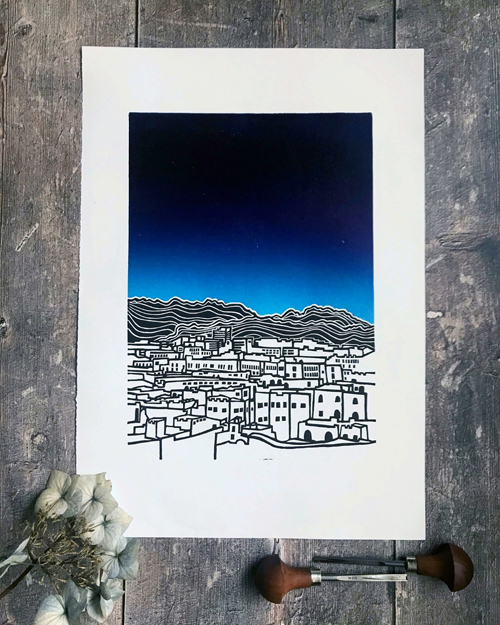
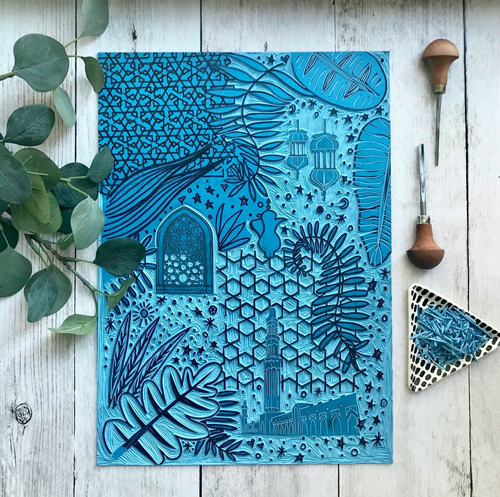
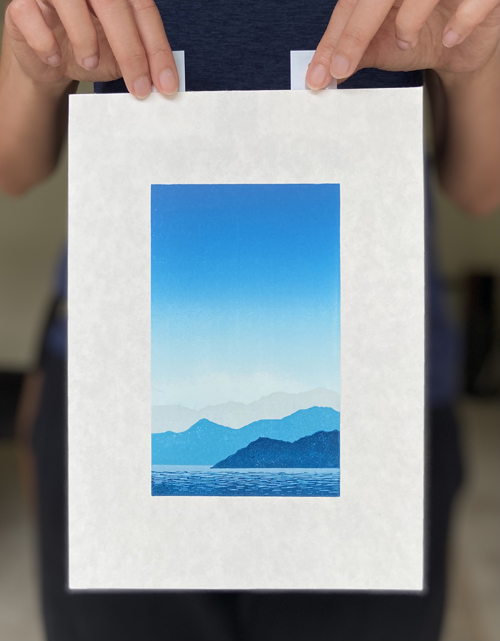
I’m still relatively new to printmaking, but a print that I am most pleased with is my latest blue landscape piece. Although it looks like a simple print, this print was made of many firsts for me – using a registration system, creating a reduction print, applying a large gradient ink roll and mixing complementary colour schemes.
Where can we see your work? Where do you sell?

You can find me on Instagram for my progress and latest prints. My cards and prints are also available here.
What will we be seeing from you next?

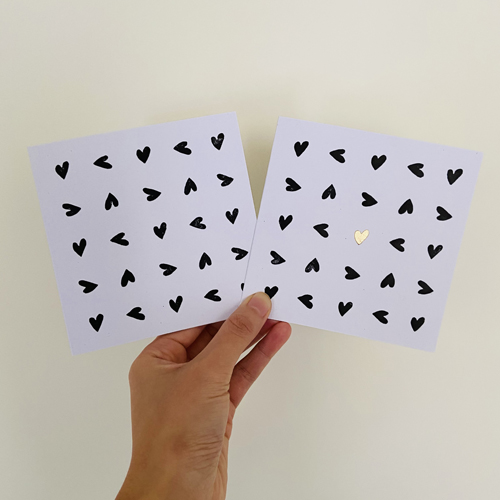
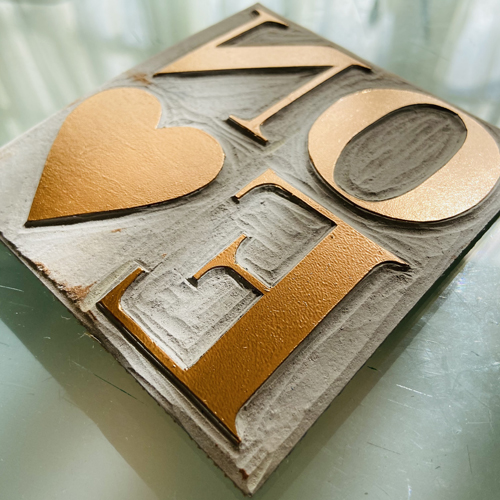
There’s a lot that I’m keen to explore! I hope to create more reduction print pieces such as landscape scenes – reduction printing has opened up a lot of different possibilities. I would also like to create some geometric and typographic prints.
Do you have any advice for other printmakers and creatives?

Allow yourself to experiment and play with different subjects, colours and techniques that interest you without being pressurised on focusing on the end result.

To see more from Katie follow her on Instagram

Designing a Repeat Pattern by Hand

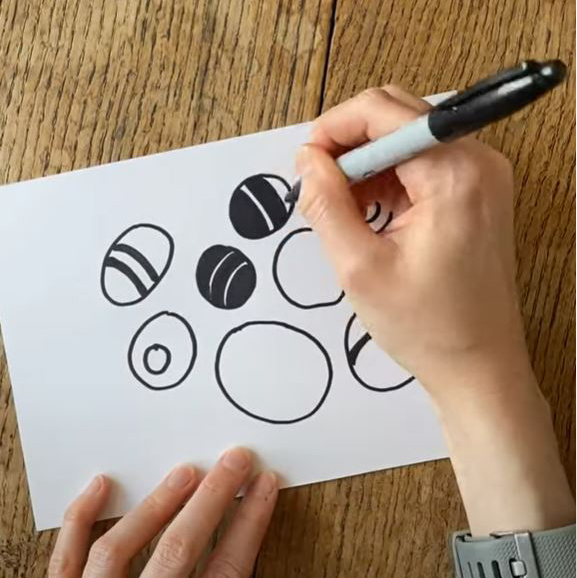
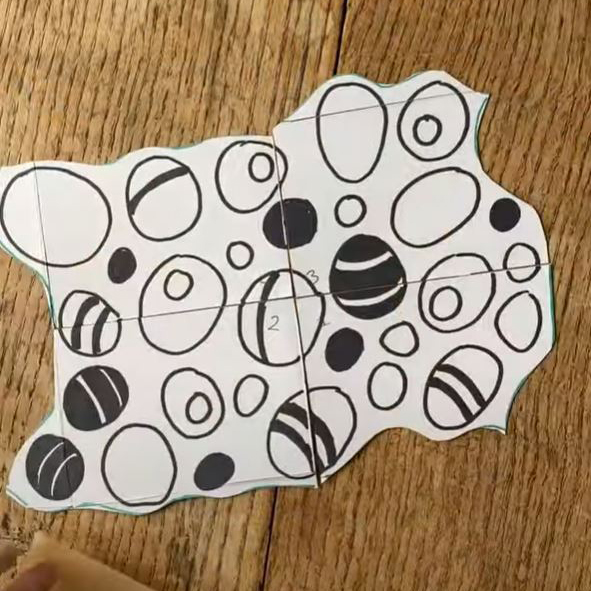
This method is quick and simple. No digital equipment or software is required: all you will need is paper, a pen/pencil, tape and scissors. With this technique, a repeat pattern can build seamlessly with no awkward joins or obvious lines. It’s perfect for a scatter design and can be used for screen printing or block printing.

Read on for instructions or scroll down to watch a video.

This technique will create a straight repeat pattern: you build up the pattern by printing directly alongside and below your previous print.

Begin with a piece of paper a little smaller than the piece of lino you will be using, or a size that will easily fit in the printable area of your screen.

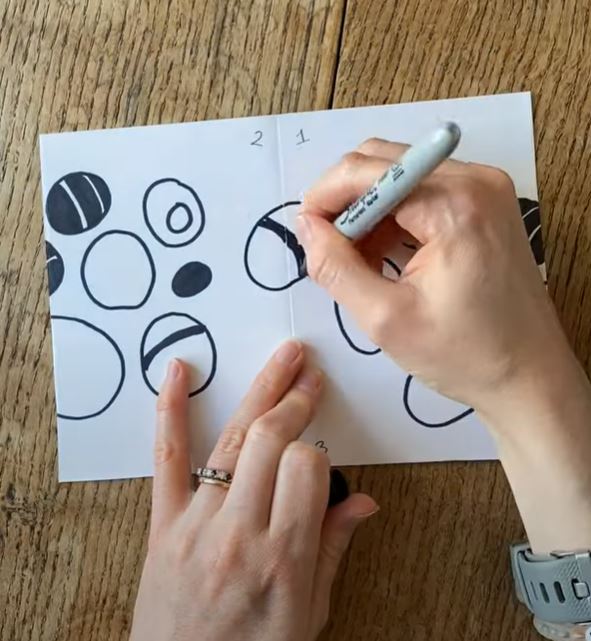
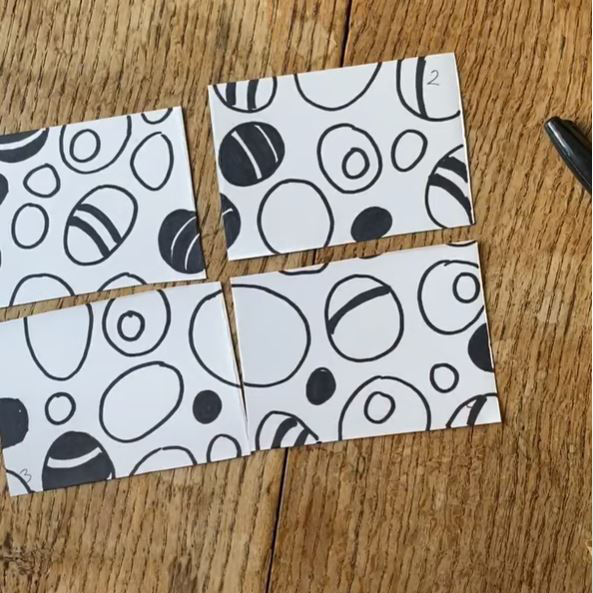
Start to draw your design in the centre of the paper. Fill in the middle of the paper with design but don’t work at the edges yet. Scatter designs are perfect for this technique: this means that the design is created from separate motifs with spaces between them.

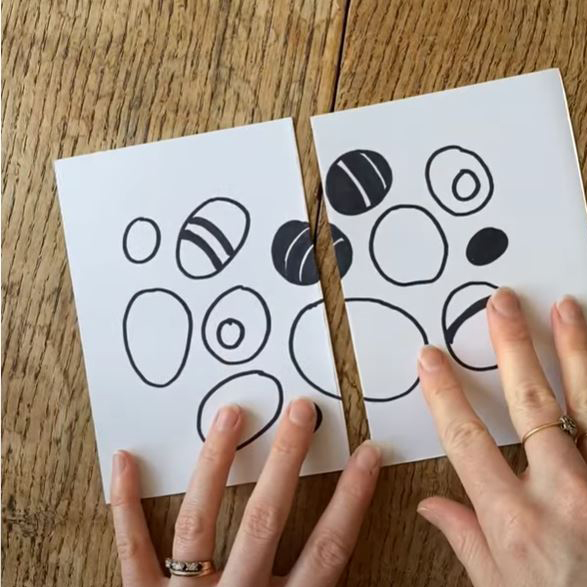
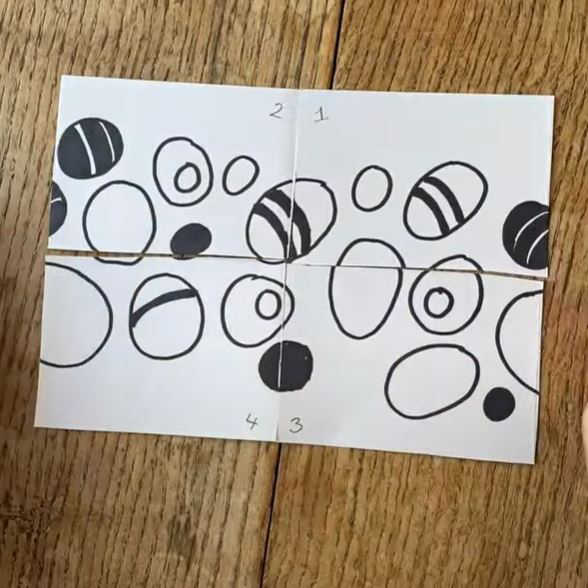
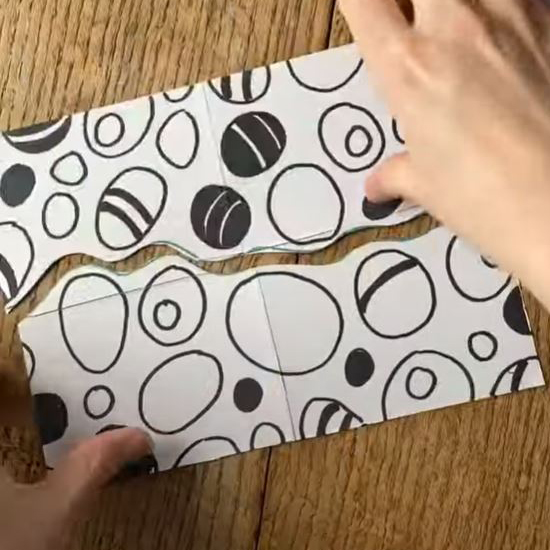
Fold the design in half and cut along the fold line.

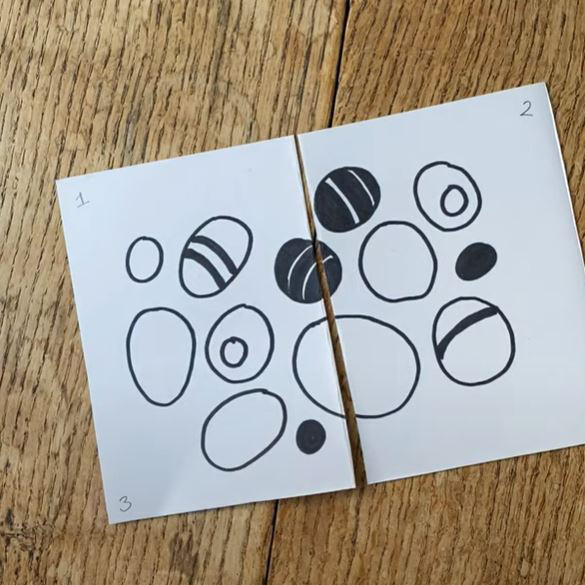
Mark your corners 1, 2, 3 and 4. You can also do this before you fold and cut (but we may have forgotten…)

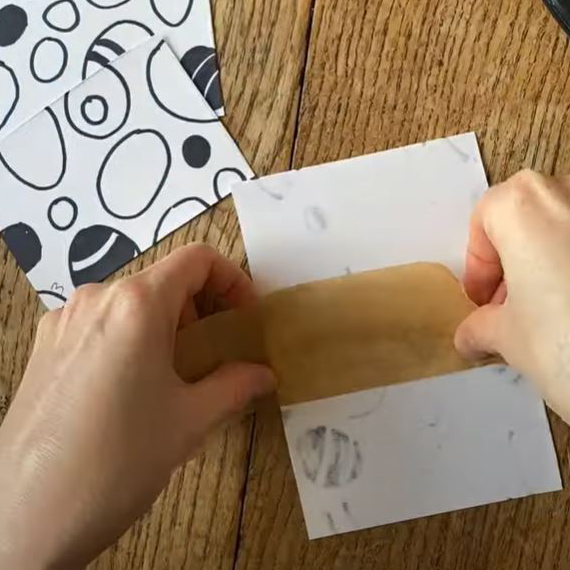
Swap the two pieces round so that the cut lines become the outside edges. Stick them together at the back with small pieces of tape.

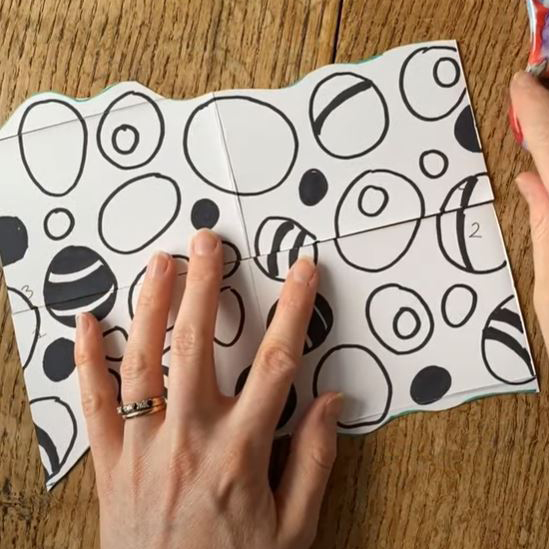
You should now have a new blank space in the centre of the paper, created where the two edges have now met. Draw more design over this new middle. Again, don’t draw all the way to the edges yet.

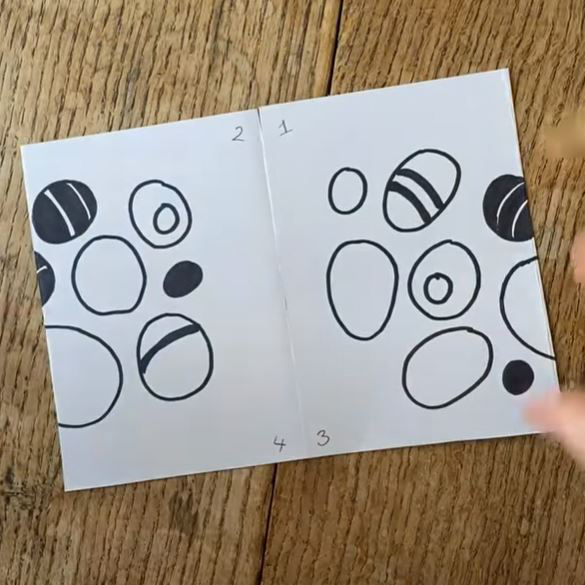
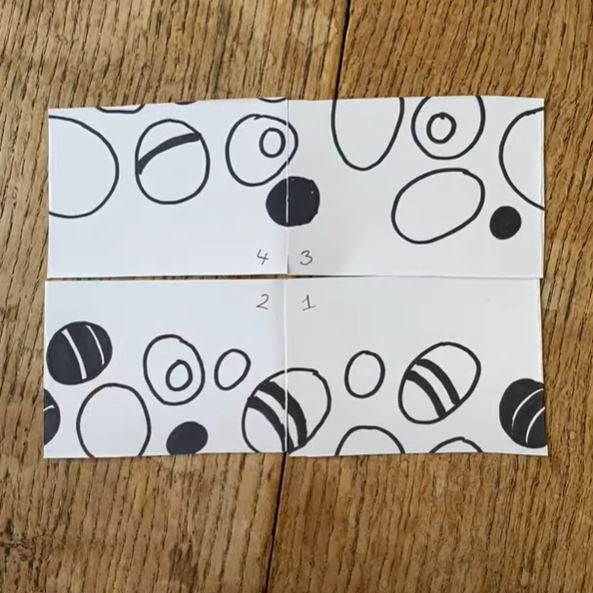
Next, fold the paper in half in the other direction. Cut along the fold line.

Swap the two pieces so that the top becomes the bottom and the bottom becomes the top. Follow the pictures (or watch the video at the bottom of the page) to avoid confusion!

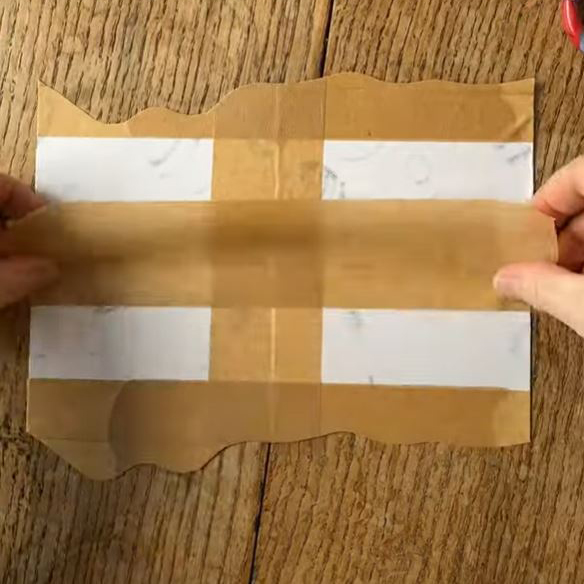
Stick them together with small pieces of tape at the back.

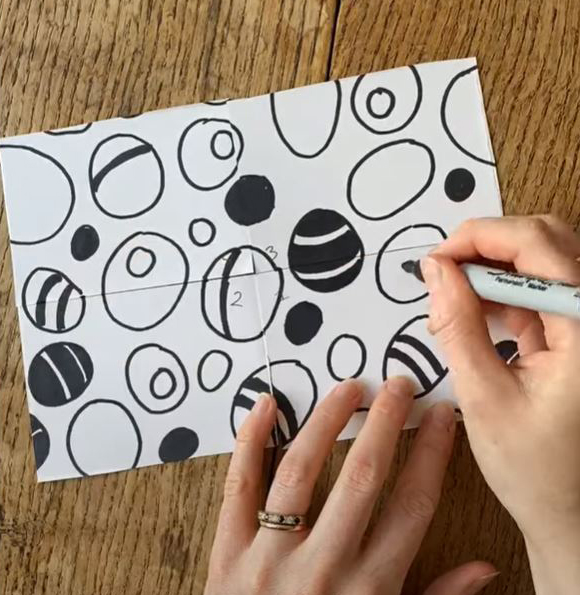
Draw over the new join to fill in any blank spaces. You can draw more closely to the left and right edges but do not touch them with the design.

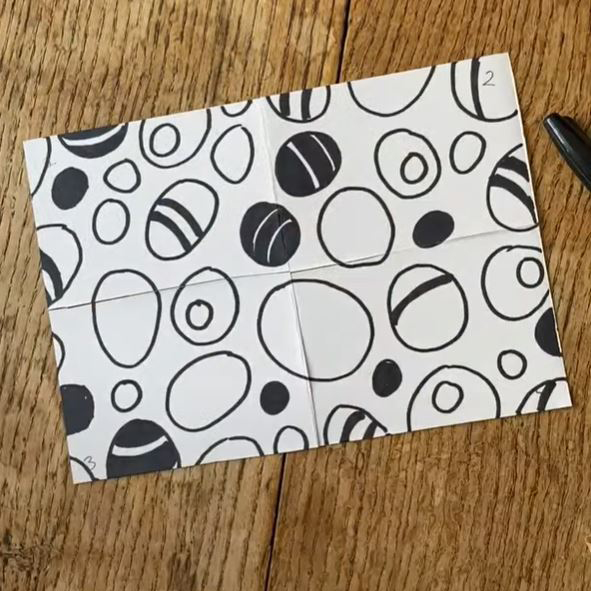
Unstick the pieces and rearrange them in their original places: 1, 2, 3 and 4.

Stick them at the back, with long pieces of tape this time to make sure they stay in place.

We now know for sure that the edges will match up because of the way they were drawn. If we were to expose this design on a screen or carve it onto a block, we would have half-shapes trying to match up. This is absolutely fine for some designs, but to avoid this, we can take it a step further:

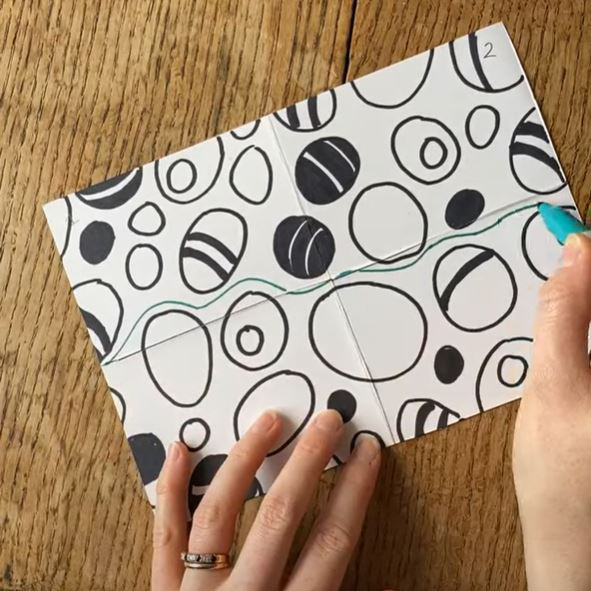
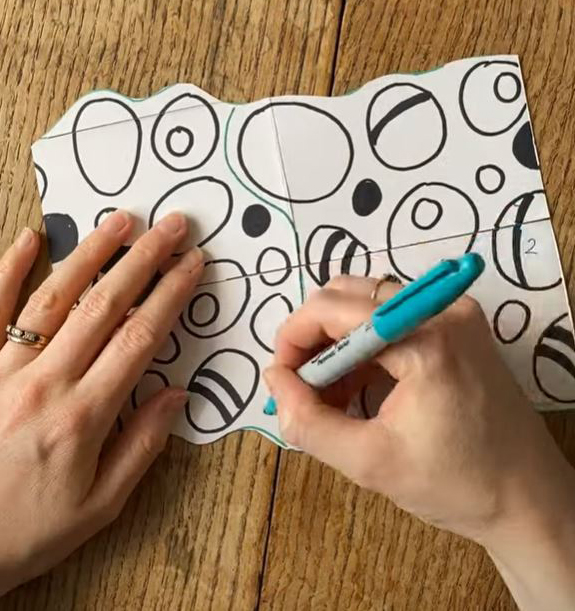
Take a different colour pen or pencil and draw a line down the middle of the design in one direction. This time though, we will wiggle the line between the elements in the design, sticking in the gaps between the motifs.

Cut along this line.

Swap the two pieces around again.

Match up the design and tape it at the back.

Repeat down the middle in the other direction by drawing a wiggly line between the designs, cut, swap and tape.

You should now have a design that fits together like a jigsaw piece but with no half shapes! This design is ready to be transferred to a lino block or screen for printing your repeat pattern.

Monoprinting with the Drawn Line

This method is fantastically quick and easy. If you’re looing for a way to loosen up your drawing skills and mix up your printmaking, this is one to try! Scroll to the bottom to watch a video or read on for instructions.

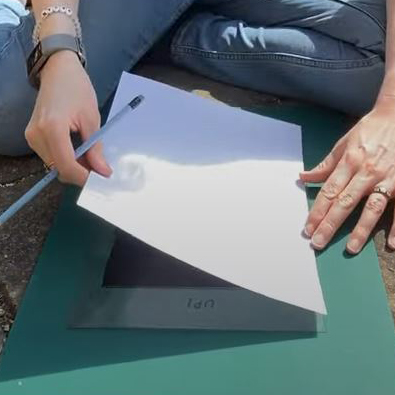
Begin with a sheet of plastic (drypoint plastic works well for this). You could also use an Inking Plate or piece of toughened glass. It needs to be solid, flat and smooth. This is for us to roll ink onto.

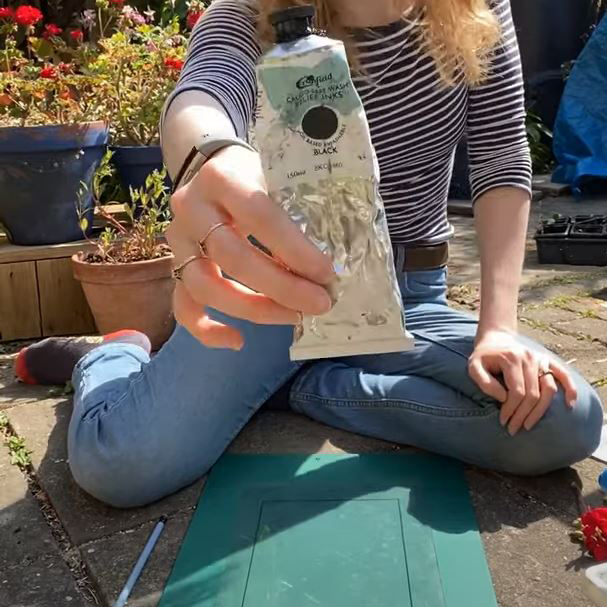
An oil-based ink is better for this project as it has a longer drying time on the plate. Water-based inks could dry before you have finished making the print, causing the paper to stick to the plastic. We like to use Caligo Safe Wash Relief Inks for this technique but Cranfield Traditional Relief Inks or Hawthorn Inks would work well too.

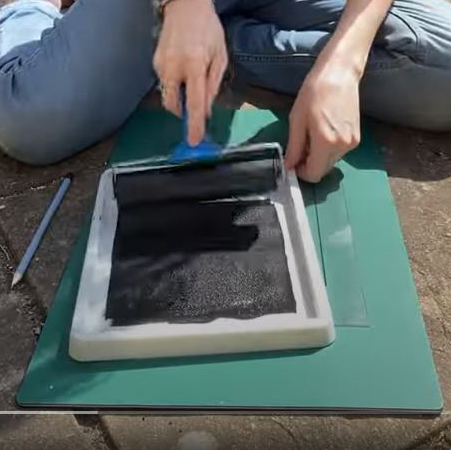
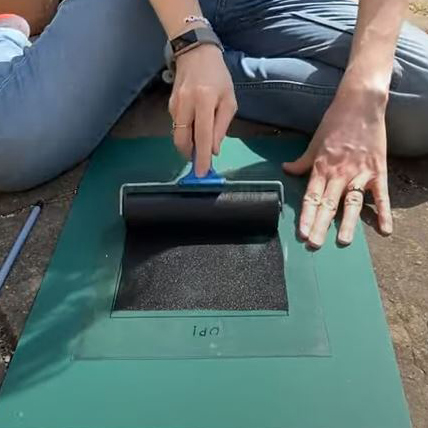
Roll a little ink onto an Inking Tray or separate Inking Plate. Using the roller, transfer some ink to the plastic. You need an even layer that is not too thick but not sparse. Fill most of the plastic sheet but don’t go all the way to the edge – ideally, your inked area should be slightly smaller than the size of your paper.

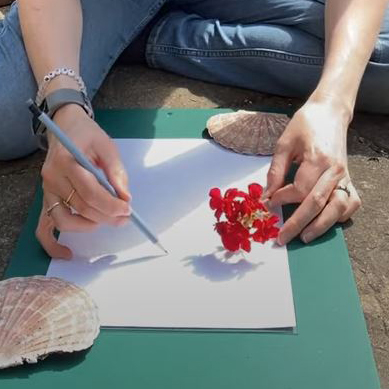
To begin a print, gently rest a piece of paper on top of the rolled out ink. Use a couple of small objects to hold the paper down at the very edges if necessary.

Use a pencil to draw on the back of the paper. Stay within your inked up area (which should be most of the paper minus the edges). Try not to touch the paper as fingerprints will pick up ink on the other side and potentially spoil your print. Press quite firmly with the pencil to make sure the lines pick up ink.

If you’re struggling with drawing freehand, you can lay a magazine page or similar on top of the printing paper and draw over the top. The printing paper will still pick up the drawing.

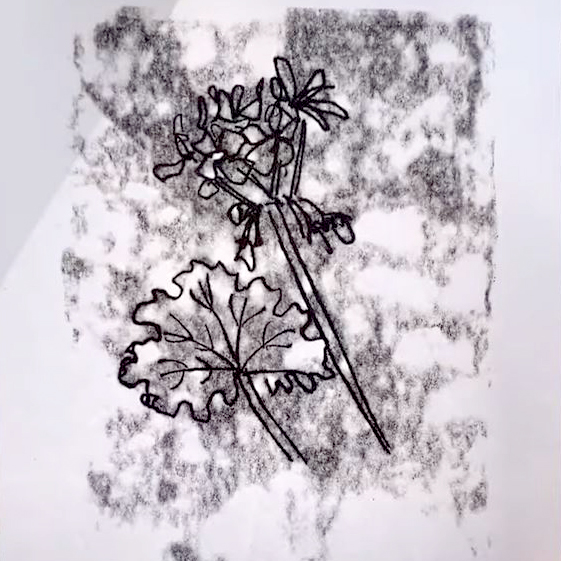
When you have finished drawing, peel up the paper to reveal the print! There is likely to be background texture from the background ink but the drawing should be bold. Different papers will produce varied results so experiment to see what gives your preferred result.

To take another print, replenish the ink, lay another sheet of paper down and draw again.

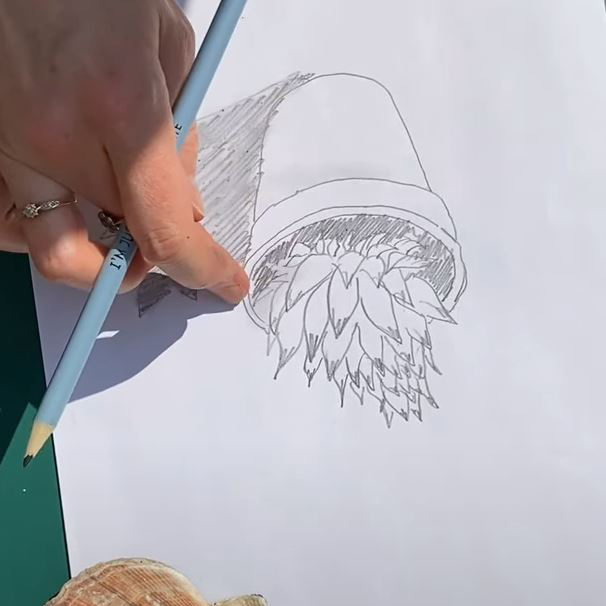
To experiment further, try different mark making tools, use your finger to press lightly on the paper to add shading and tone.

You will need:
– Sheet of plastic such as Drypoint Plastic or an Inking Plate
– Oil-based Ink such as Caligo Safe Wash Relief Inks, Cranfield Traditional Relief Inks or Hawthorn Inks
Inking Tray or another Inking Plate
Roller
– Pencil
Paper on which to print
– Magazine pages or similar (optional)

Meet the Maker – Gareth Barnes

Heya, I’m Gareth, an amateur printmaker currently living in Leeds with a 6-year-old Whippet called Lola.  The majority of my time is spent working at a high school supporting blind students, but outside of that I’m busily working on, or thinking about the next print project. I studied design and illustration at university in my home country New Zealand yonks ago, and after that threw myself into different creative adventures – having a bash at film character design, oil portraits, and general illustration. After a handful of years not doing very much creative work, I felt the yearning to get back to it and after borrowing some lino cutting tools, I had a go and loved it.

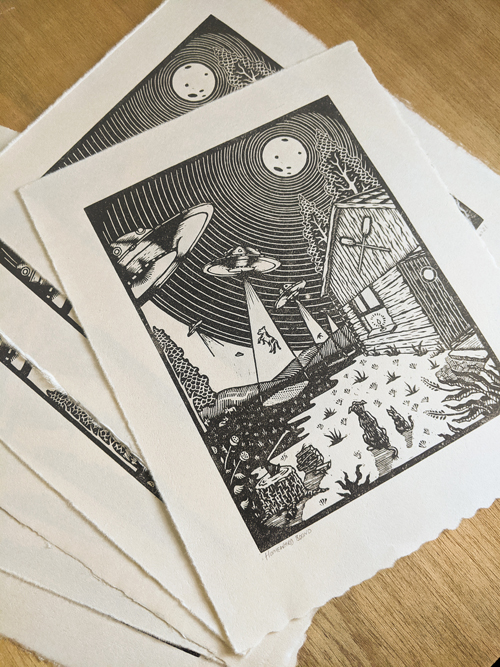
I’m definitely still a learner in some ways and have plenty of skills to sharpen. I’m really enjoying flicking between creative portraiture and larger scale reduction prints that throw in a bit of colour. 

Describe your printmaking process.

After a few thumbnail sketches of potential ideas and a lot of staring off into space visualising it, I draw out a full-size design, leaving out a bit of detail to add later. I then transfer it to the lino using carbon or graphite paper and draw in a few more details.

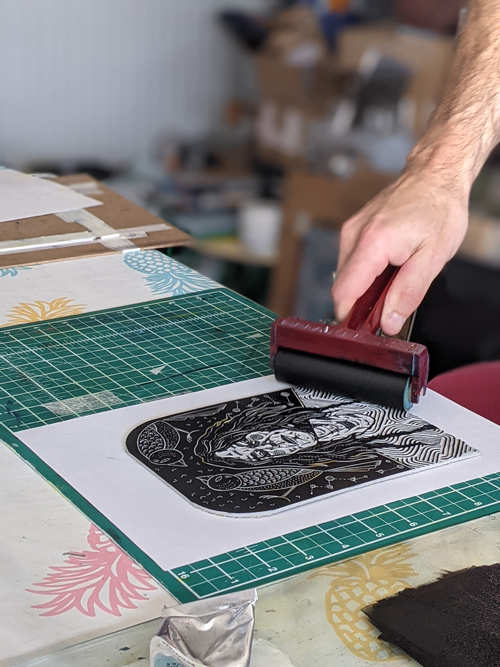
If it’s a straightforward monoprint, I’ll draw it up with an ink pen and get carving, but if it’s a reduction I’ll coat the pen linework in a layer of coloured ink to seal it. This helps protect the drawing from getting rubbed off every time I clean the lino after a layer has been printed. It’s the best solution I’ve used so far. Then, when it’s all carved and I’ve high-fived the whippet, I do a test print to check if there are any carved areas to tidy up. Then, I cross my fingers and get printing using my Ternes Burton pins, baren and printing press!

How and where did you learn to print?

I’ve learned what I’ve learned so far mainly through the experience of doing it a lot in a short-ish space of time and learning from mistakes. I have picked up a few useful tips from Youtube and printmaker’s blogs. The Handprinted website has also been super useful for learning about materials and how to get the best out of them. I haven’t really been doing it for very long and there’s still loads to figure out. 

Why printmaking?

One aspect I really like about it is the process. I really enjoy the different stages involved – the drawing, the carving, the inking and working with paper.  It’s been a really helpful creative outlet to focus my mind on (especially during the Covid crazy times). It also enables me to produce work that is a satisfying mixture of graphic, bold, and finer detailed bits. It brings together the different styles I’ve used with illustration and painting from the past, and is very hands-on which is ace.

Where do you work?

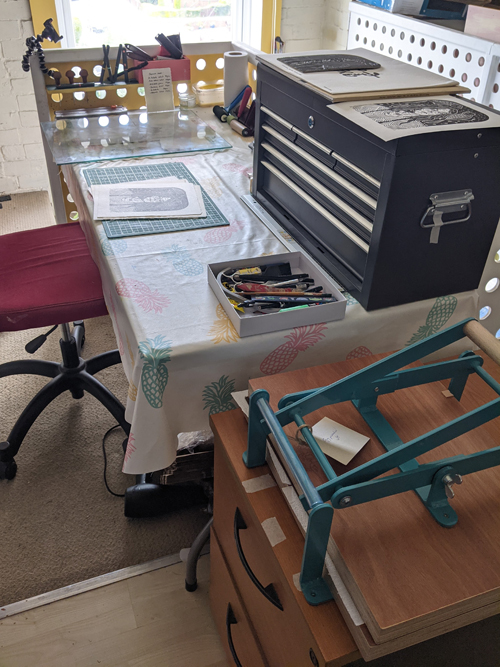
I mainly work at my desk in the converted loft of my house. It’s a bit of a chaotic room, where I share the printing space with DIY tools, tents, squirrels, and a load of other things that get stored in lofts, so it’s not quite as photogenic as a lot of studios you see! It’s nice and light and has a futon for my Whippet to snooze on though, which is the main thing really.

How long have you been printmaking?

Since January this year, so a bit of a newbie.

What inspires you?

Other printmakers and other artists of course. Always great to see their jazzy work and what processes they use.  With my portraits, definitely the subjects themselves. The main reason I’m making a print of them is that they’re inspirational and awesome in different ways.

What is your favourite printmaking product?

I think my Woodzilla A3 press is my favourite printmaking product I’ve used. Looks like a dream, saves time and achy muscles. Closely followed by my Pfeil 12/1 carving tool, which I use all the time and has become an extension of my hand…in an Edward Scissorhands kind of way.

What have you made that you are most proud of?

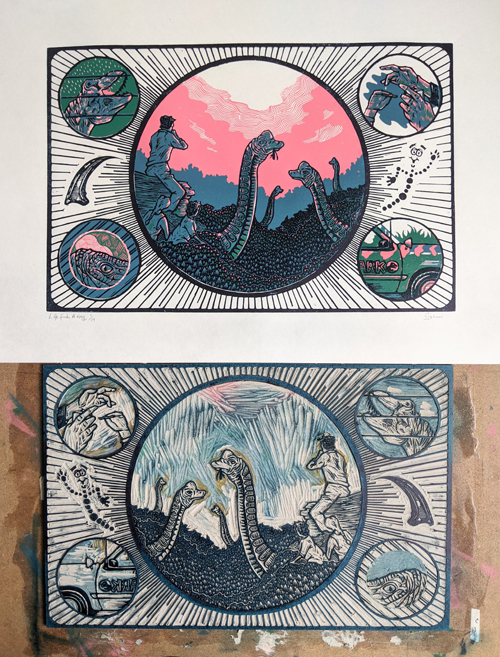
I guess I’m most proud of my Jurassic park print which I rolled out recently. It quickly turned into a much more complicated piece than I’d originally planned, with four layers in total and two separate lino pieces. It was a little stressful at times, but I was really chuffed with the final print in the end.

Where can we see your work? Where do you sell?

At the moment you can see my work on Instagram, and my prints are available to buy on Etsy. You can also message me directly to buy or for a commission.

What will we be seeing from you next?

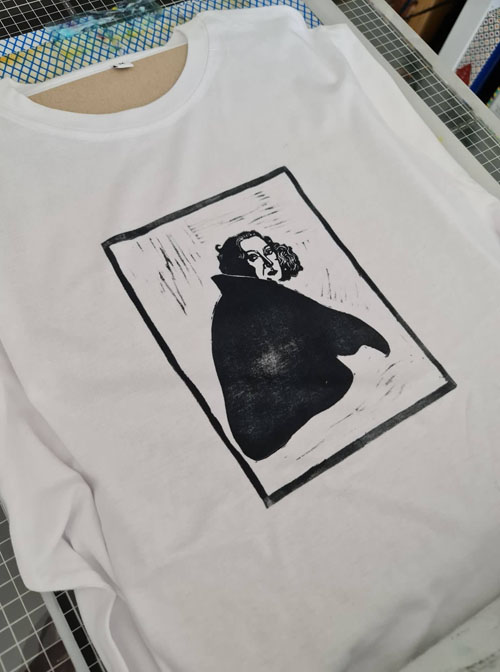
I’m working on some ideas for a two-colour reduction print which I’m excited about and aiming to have some t-shirts, patches and cards in the mix.

Do you have any advice for other printmakers and creatives?

My advice would be to try not to compare your work to others, and devote your time to what you enjoy, what makes you the happiest. Don’t get bogged down by the number of Instagram followers you have.  Immerse yourself in the creative community and talk to other creatives as it’s a warm and welcoming place. Also, get a whippet.

To see more from Gareth follow him on Instagram
Using an Etching Press to Print a Linocut

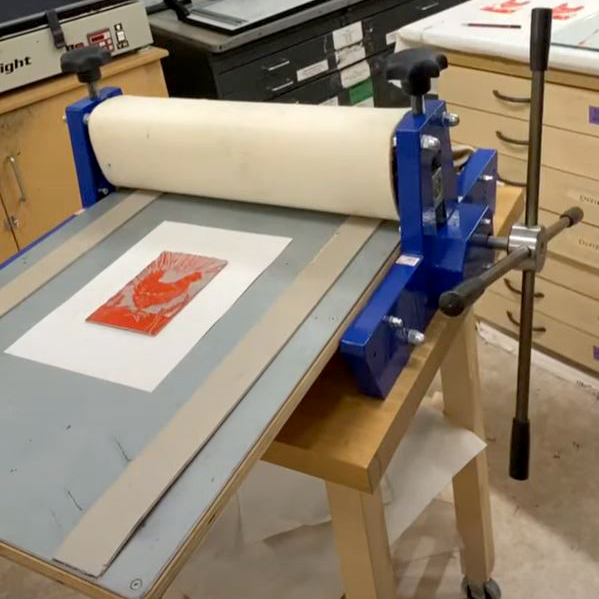
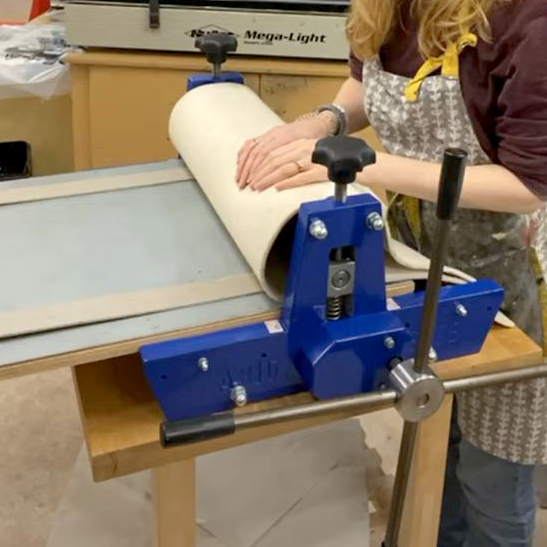
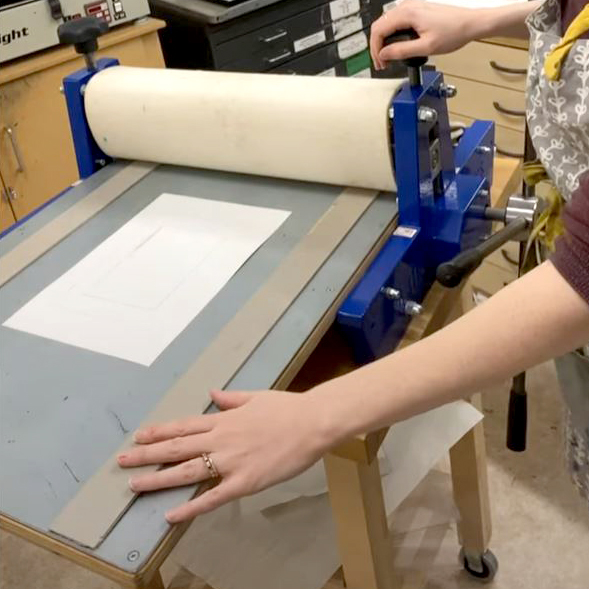
Etching presses aren’t just for printing etchings. They have a bed that is rolled between two rollers, the top of which is adjustable in height. This makes it great for printing from lots of different surfaces as the tension is customised for each print! Printing a linocut with an etching press is easy with a few adjustments.

Scroll to the bottom to watch a video or read on.

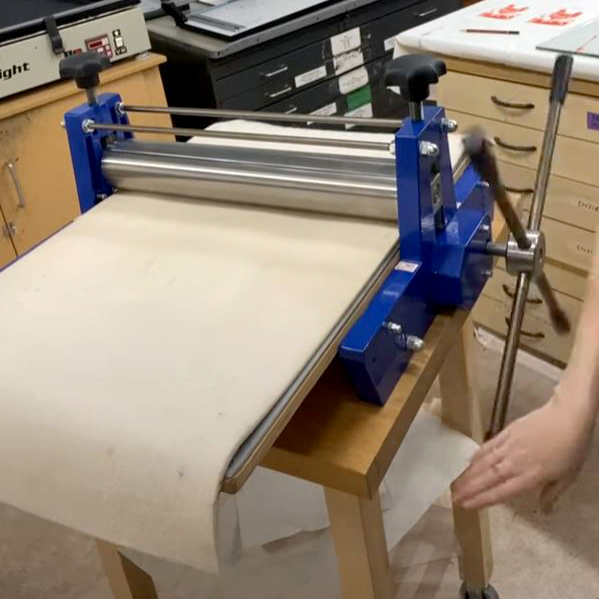
One of the presses we use in the Handprinted Studio is the Abig geared 50 x 70 press but you can print linocuts on any etching press.

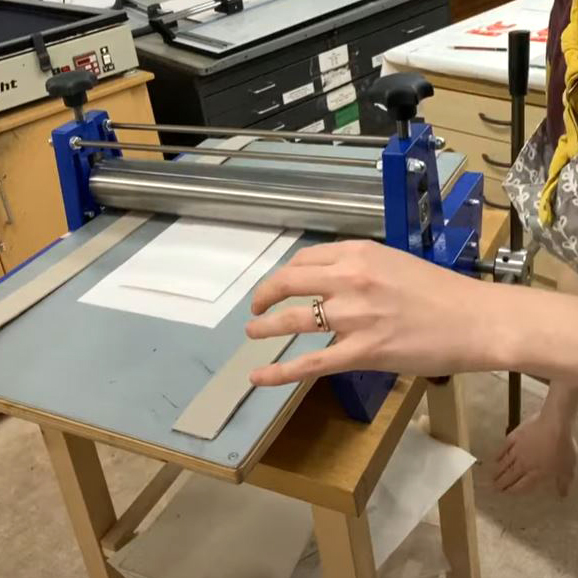
The most important thing to amend when using an etching press for lino printing is to use a pair of runners. These are strips of lino that run down the edges of the press bed. They are the same height as lino (3mm) and help keep the roller in contact with lino the whole way along the bed. This means that your top roller will turn easily at the right height. It will not get stuck on the edge of the lino block, which would cause smudges and jumps.

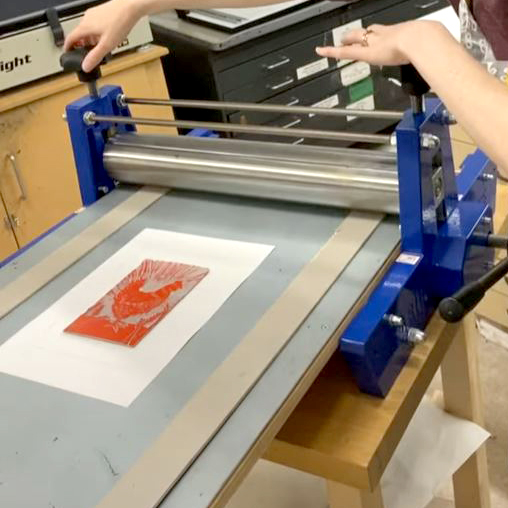
To set the press height, first establish whether or not you will be using a press blanket (read on for more information on that). Raise the top roller up. Lay the runners either side of the press bed. Lay the blanket(s) on top (if using) and lower the top roller so that it sits on top of either the blankets or the lino runners. If you like, you can put an un-inked piece of lino and a blank sheet of paper through the press. You should be able to tell the correct pressure from the paper as it comes out – too much of a dent from the lino and the top roller is too low, absolutely no mark at all and your top roller is probably too high.

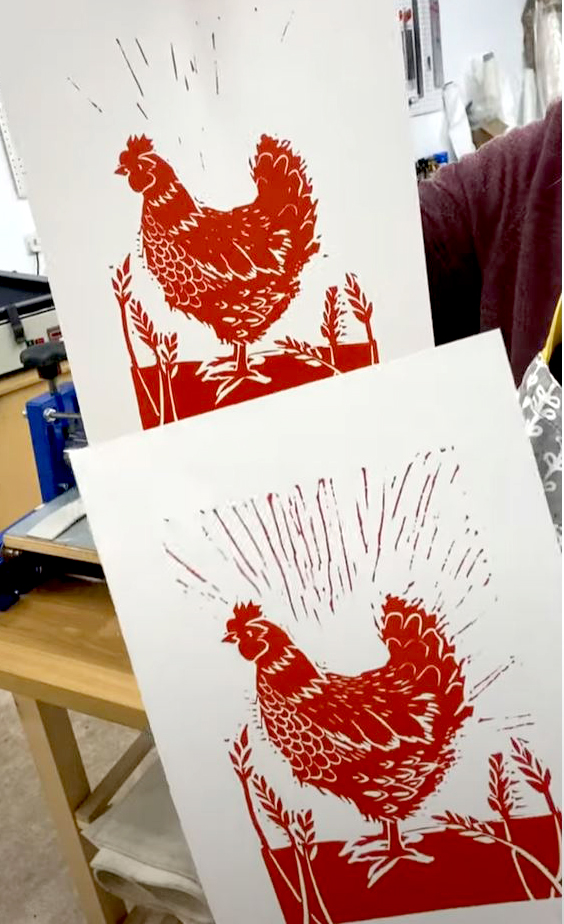
Most etching presses are used with blankets. Some have just one, some two or three. Printing linocuts with the blankets will result in the paper being presses into the lino more. This is likely to pick up lots more of the ‘chatter’ background lines. Whether or not you would like this is an individual design choice for your print. Printing linocuts without blankets will result in less chatter.

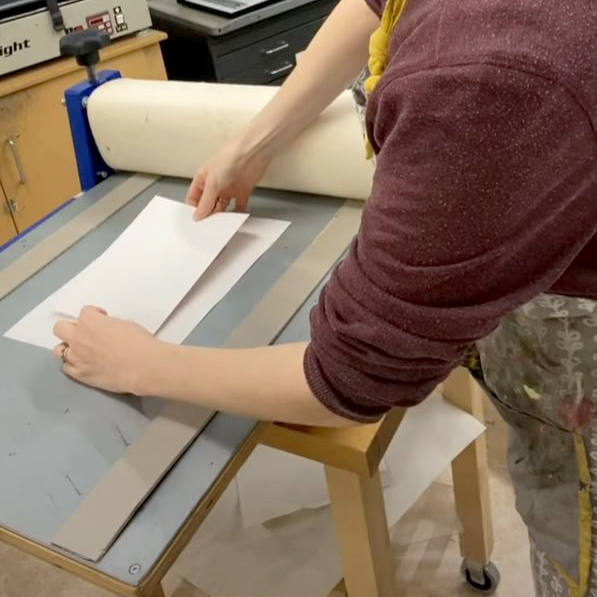
You may want to use a registration sheet under the lino to help position the paper in the correct position for your print.

Lay the inked lino face up in the centre of the press bed.

with a blanket
without a blanket

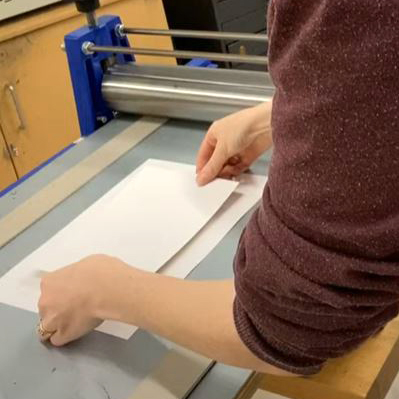
Gently lay your paper on top of the lino.

with a blanket
without a blanket

If using blanket(s), carefully lower down on top.

with a blanket

Turn the handle on the press to wind the bed through the rollers and take your print.

without a blanket
Top: print taken without a blanket
Bottom: print taken with a blanket

You will need:
An Etching Press
Runners
– A lino block, inked up
Paper on which to print

Introduction to Linocut for Beginners

If you are completely new to linocut and would like help getting started, you are in the right place! Read on or scroll to the bottom to watch a video.

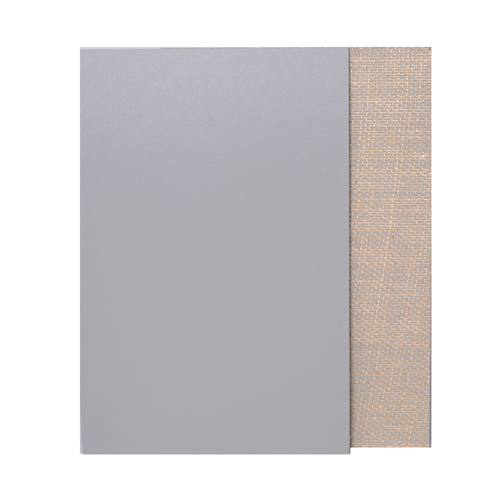
Start with a piece of lino. There are several to choose from, from traditional Lino to Easy Carve to Softcut. You can learn more about which may be right for you, here. We will be using traditional grey lino for this project. If you have memories of using hard, crumbly lino at school or college don’t worry – it only goes like that when it’s old! fresh sheets should be flexible and not crumbly at all.

Traditional Lino

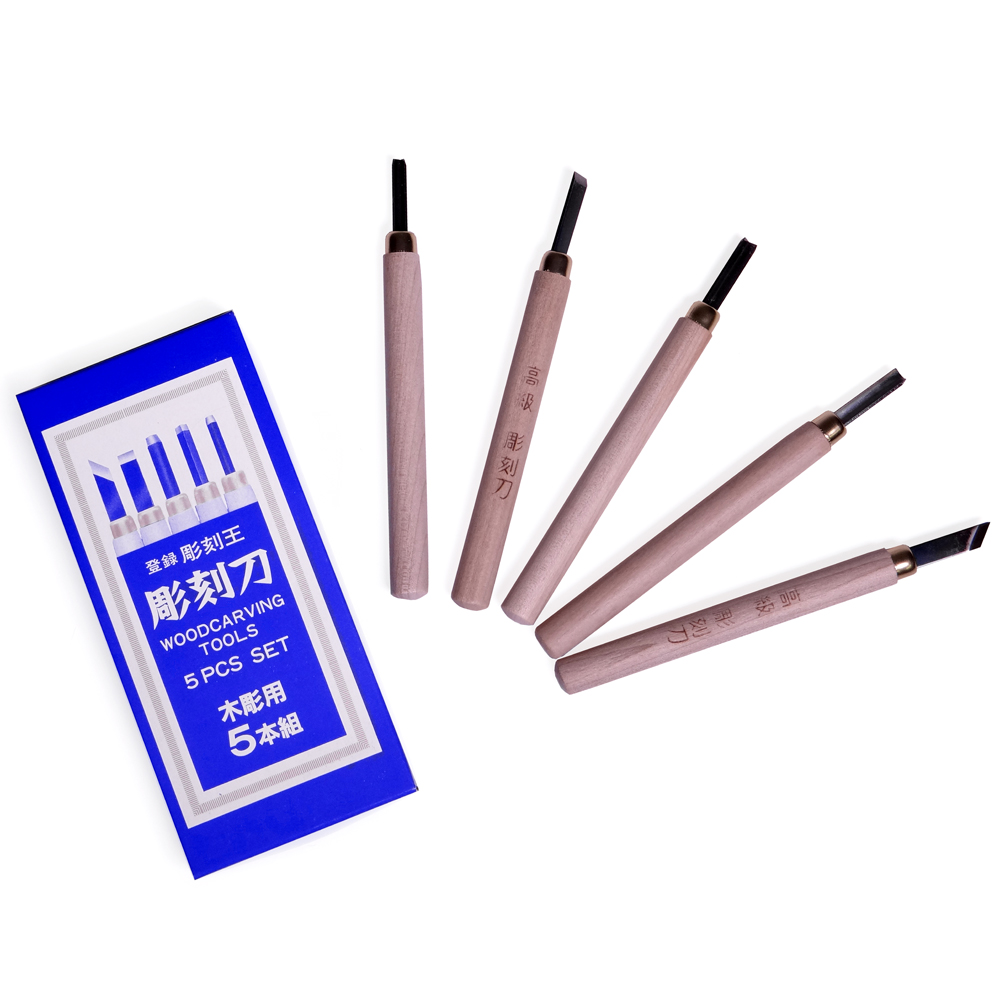
You will need some lino carving tools. There are lots of cutting tools available to choose from. We are using a set of Japanese Cutting Tools for this project. They’re inexpensive and carve beautifully. You can also keep the blades sharp with a Slipstrop.

Japanese Cutting Tool Set

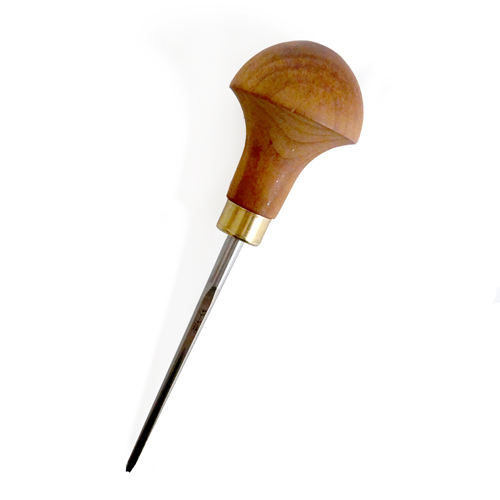
Pfeil Tools are another one of our favourites – the quality is fantastic. They’re more expensive, come in a range of sizes and shapes and can be bought individually.

Pfeil Tool

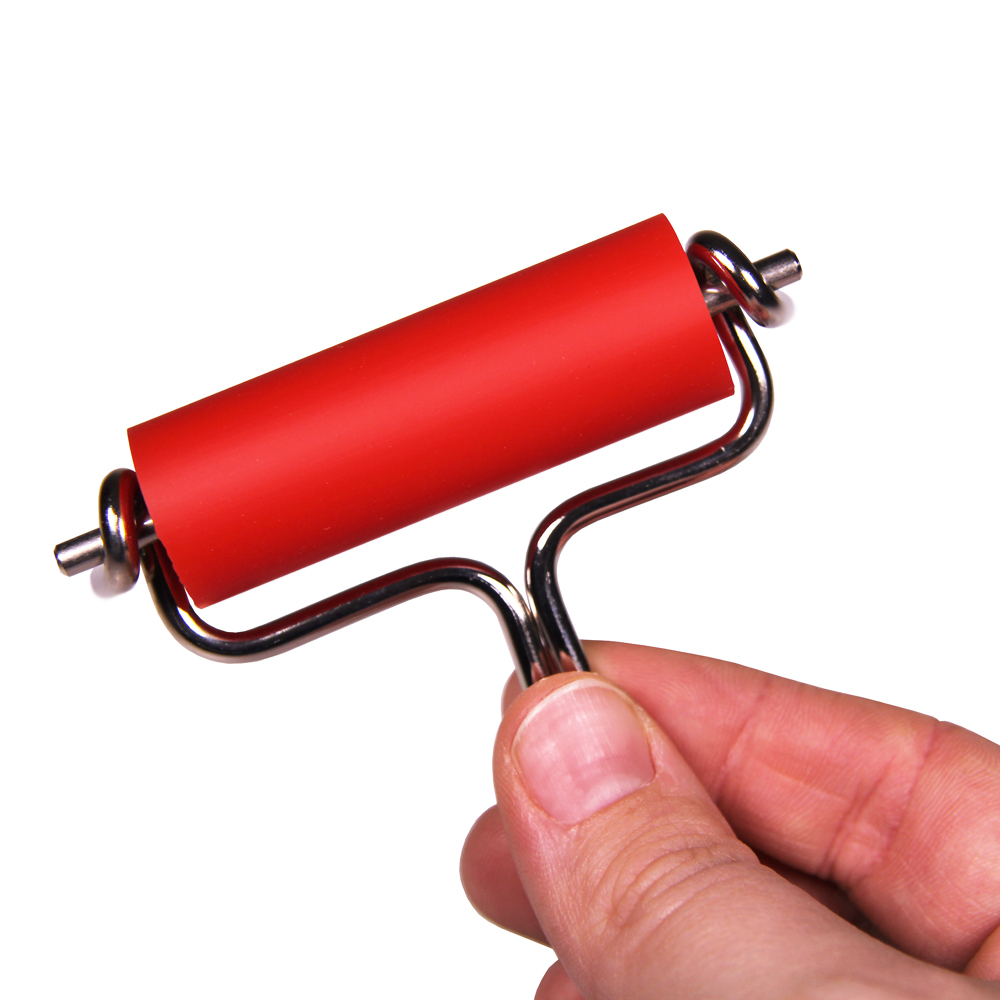
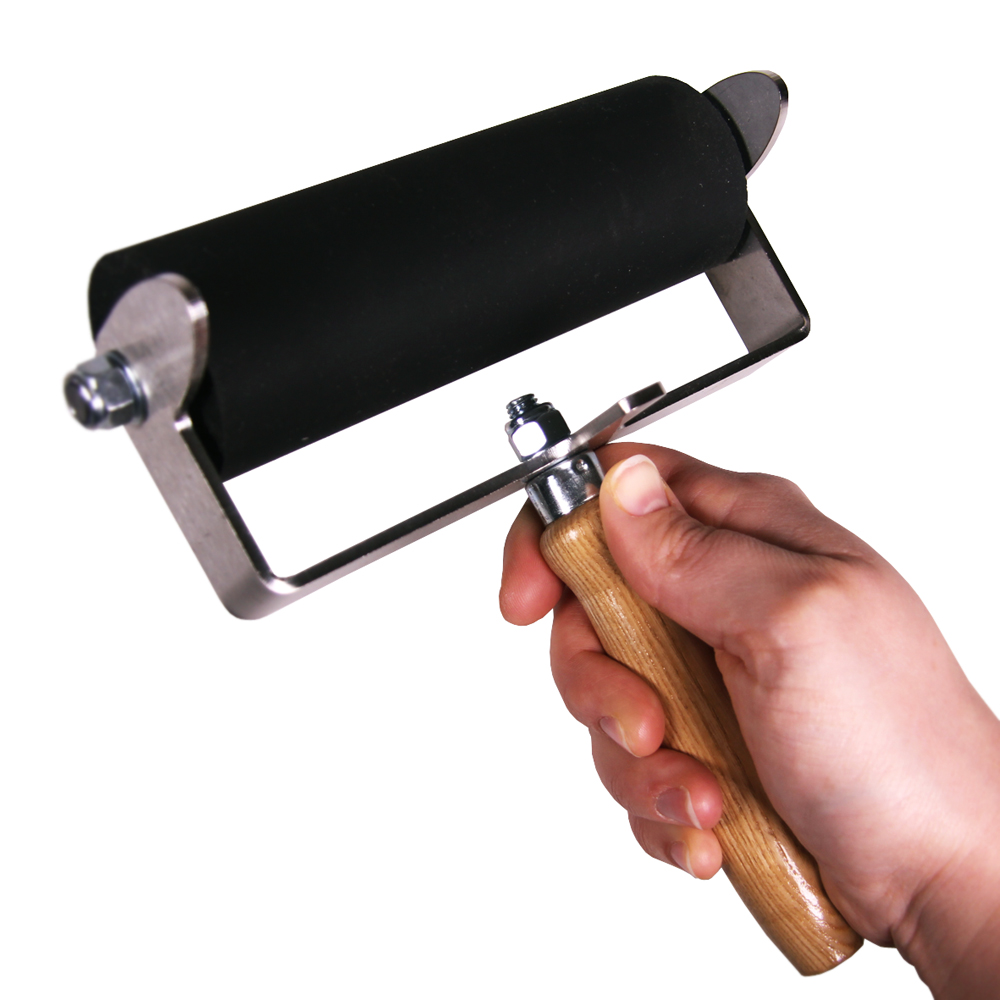
A roller is needed to transfer the ink to the block. A little Abig Roller is a great one to start with as they’re inexpensive and lovely to work with.

Abig Roller

There are lots of different rollers to choose from, with hard or soft rubber, in various weights and sizes for all budgets. For a wider option, these Soft Rubber Rollers are a great option. Hawthorn Rollers are fantastic if you would like something a bit special.

Hawthorn Roller

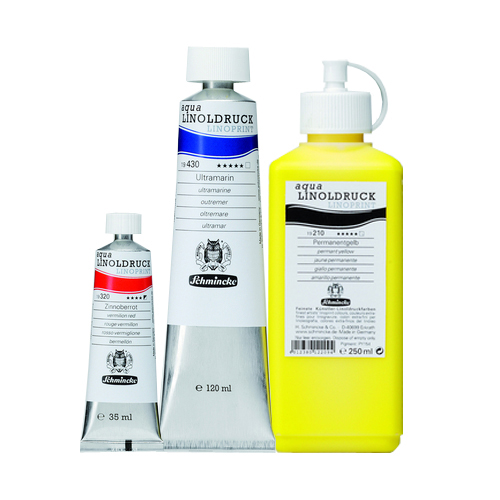
When choosing ink, there is one main factor to contemplate: oil-based or water-based. Water-based inks dry quickly – Schmincke and Speedball make lovely ones.

Schmincke Ink (water-based)

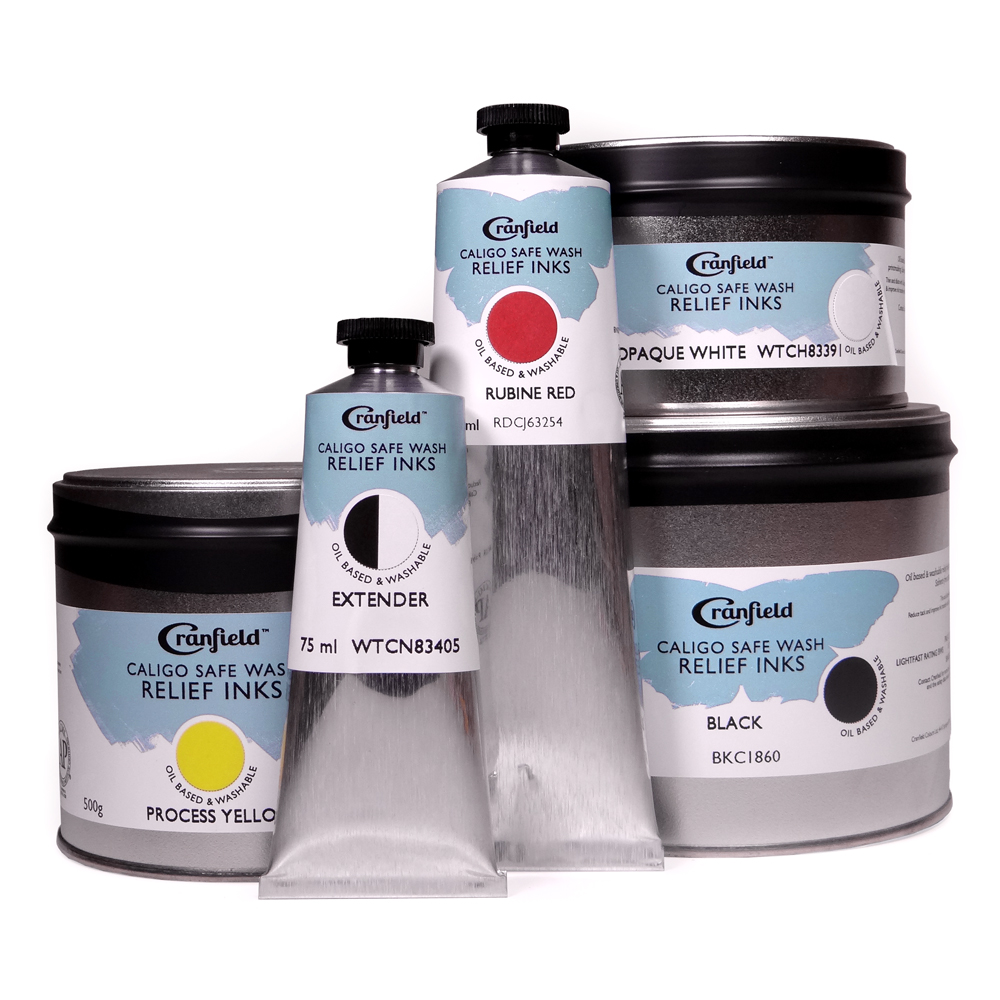
Oil-based inks dry slowly – Caligo Safewash Relief Inks are a great option. We are using Schmincke water-based ink for this project.

Caligo Safe Wash Relief Inks (oil-based)

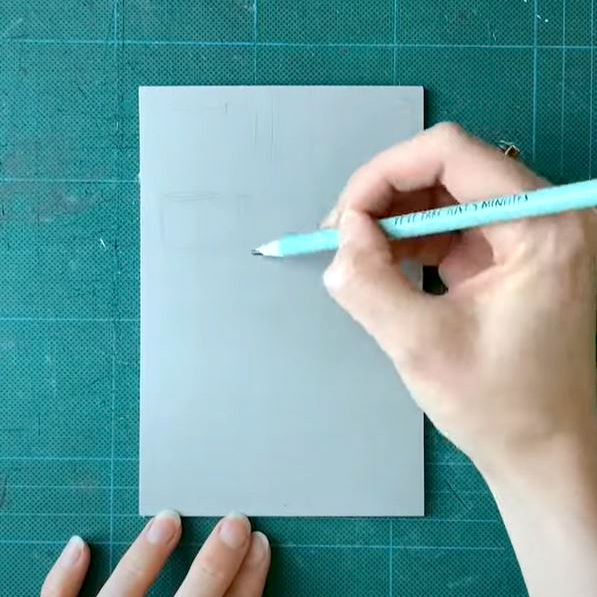
When you’re ready to make a print, the first thing to do it to draw a design on the lino. You can do this with a pencil (or permanent pencil) directly onto the surface, use tracing paper or carbon paper (red or blue).

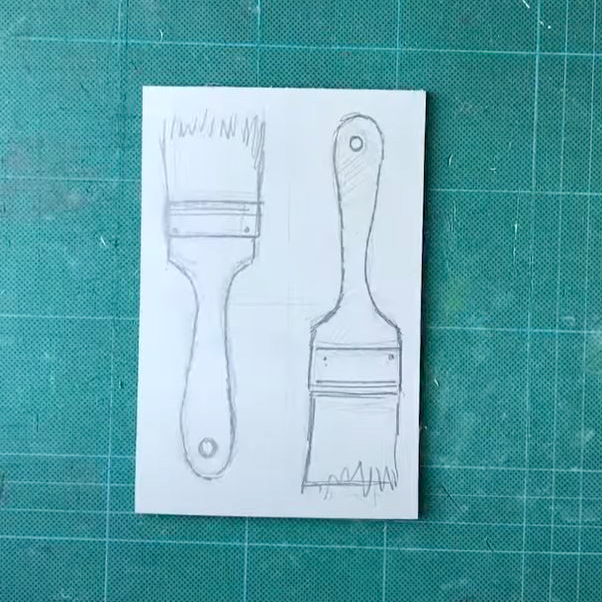
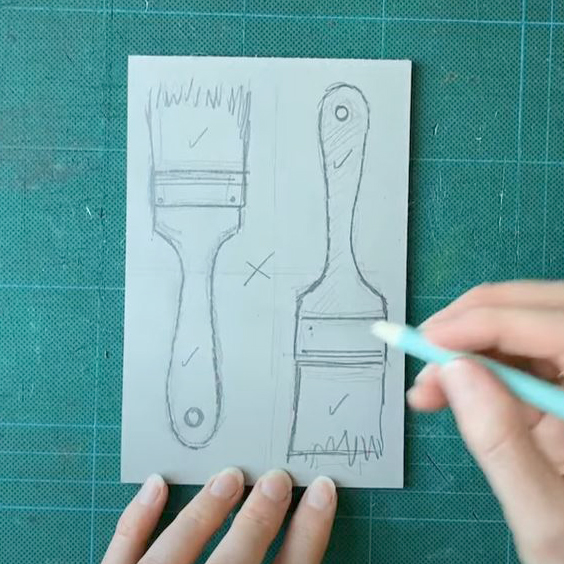
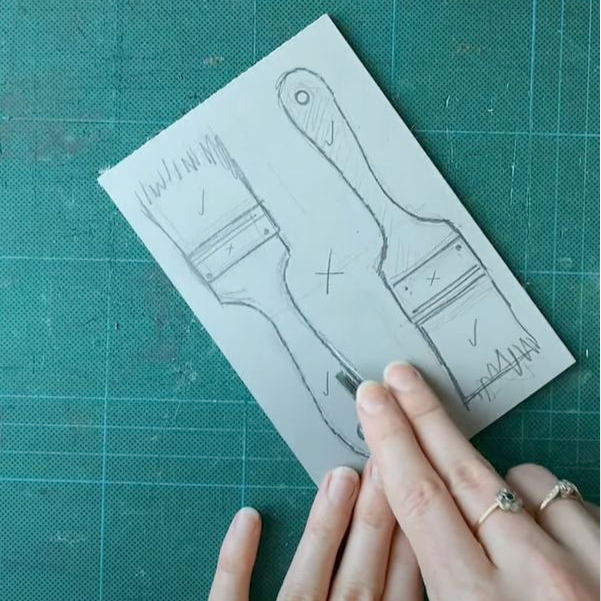
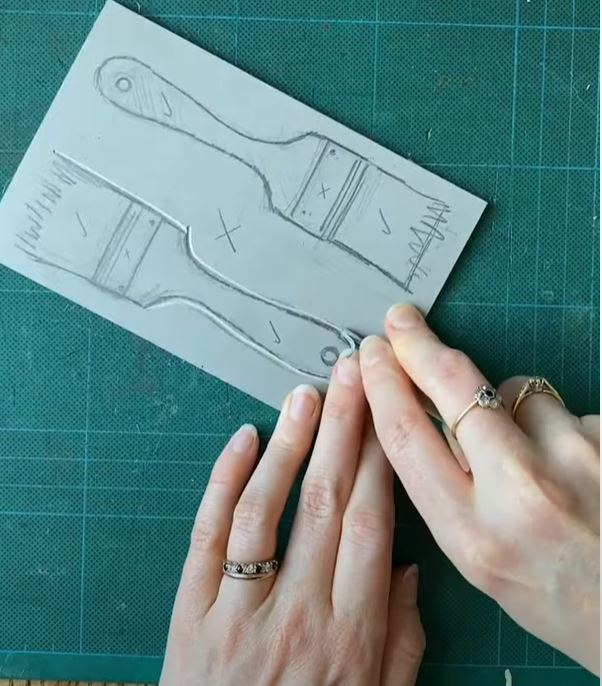
The next step is to decide which areas will print and which will be carved away. We are starting with a single colour block. This means that the design will be binary – the areas of the lino will either print or not. Print areas will be left as raised lino, the rest will be carved away. It can help to mark them on the lino, for example, drawing an x on areas to be carved.

When carving, you are likely to want to choose a few different shapes and sizes of tools. A V tool will be great for edges and detail. A small U tool can be good for thin lines and a large U is good for clearing away unwanted areas of lino. You may want to start by going around the edges of your main shapes with a V tool.

Make sure to hold the tools in your hand correctly. We want the handle in the palm of our hand, not like a pencil. You can use your forefinger to guide the tool by placing it further down the tool. Keep your other hand behind the tool at all times.

For carving curves, it helps to rotate the lino instead of the tool. We want to always be carving away from ourselves.

Use a large U tool to clear away large unwanted areas of lino. Try to get the surface as smooth as possible so it doesn’t pick up unwanted ink. This is called chatter (which can add interest to the print – some printmakers choose to include it in their work whilst others prefer to remove it all). Clearing areas in a direction that suits the print will help the design. The chisel in the Japanese Cutting Tool set can be used to skim off peaks if desired.

Pfeil Tools are excellent for carving tiny details – try the 12/1, 11/1 or 11/0.5 tools for the smallest details.

When you’re ready to print your block, roll out a little ink onto an inking plate. You only need a little. Roll out a square that is the size of your roller in height and width. The ink should make a slight zzzz sound and not be too squelchy. Water-based inks will dry quite quickly on the plate, roller and block so it’s best to just use a little ink at a time and to work quite quickly.

Roll the ink onto the block, taking care to cover all the areas of the design. Top up the roller with ink if necessary. Try to avoid areas of background if possible.

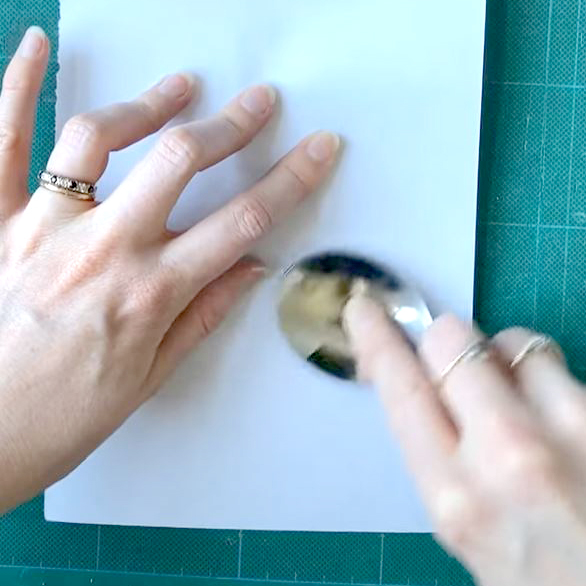
To take a print, place the block face up. Lay a piece of paper on top of the block, being careful not to move it or the image will smudge. You can take the print using a baren, spoon or just your hand. Rub all over the back of the design. Lightweight papers will usually give the most even results. Starting off with plain 80gsm copy paper will be fine for test prints while you learn.

Peel off the paper to reveal the print!

To take another print, re-ink the block and repeat. When you have finished printing, remove excess ink from the block with a damp cloth. Water-based inks can be cleaned with just water, Caligo inks need washing up liquid, some oil-based inks need oil to clean them or Zest-it Printmakers Cleaner. If water-based inks have started to dry on your plate or roller, you can use Zest It Printmakers Washdown to remove it.

You will need:
Lino (or other carving surface)
Lino Cutting Tools, we used Japanese Cutting Tools and Pfeil Tools
– A roller like this Abig Roller, Soft Rubber Rollers, or Hawthorn Rollers
Ink (like Schmincke, Speedball or Caligo)
– Pencil, permanent pencil
Tracing paper, blue carbon paper, red carbon paper (optional)
Inking plate
– Baren or spoon (optional)
– Paper on which to print (you can start with just 80gsm copy paper)
– Cleaning supplies like rags, washing up liquid (plus oil or Zest It Printmakers Cleaner for oil-based inks or Zest-it Printmakers Washdown for dried on water-based inks)

Meet the Maker: Buff and Blue Prints

My name is Hayley Anderson and I am a printmaker and artist from Lossiemouth in the North East of Scotland working under the name Buff and Blue Prints.

Describe your printmaking process.

I mainly work in linocuts and really enjoy the whole preparation process of the medium.  My inspiration usually comes from a single image which is then built and layered as the drawing stage develops.  I tend to start carving before I’ve drawn a final image onto the lino as I find that the pieces almost have a mind of their own when I’m in the process and other elements will start creeping in.  I’ve never really gone for a minimalist look and my prints tend to have several different shapes and patterns included in the composition. 

How and where did you learn to print?

I’m mostly self-taught although I was first introduced to the medium at college 20 years ago.  I remember thinking at the time it was far too complicated and time-consuming and basically didn’t try it again until I bought myself a beginner’s kit a few years ago.  Since then, it’s been a case of trial and error, plus obsessively watching other linocut artists process videos to try to pick up tips.  I’m still learning and really hope that I never get over the joy of managing to pull off a new technique.

Why printmaking?

I really enjoy the physical aspect of printmaking and that you can create something wonderful from very little.  I find carving lino an almost meditative practice and love to see the image develop from the tiny cuts and markings I make.   There’s also the added surprise element of pulling that first print, hoping that all the hours of carving have created the image in your head.  It’s probably my most favourite part.

Where do you work?

I work from my kitchen table at home in Lossiemouth, which tends to have mountains of different printmaking materials covering it.  I am a very messy worker but can still manage to create amongst the chaos.  Last year I made the decision to return to University to complete my BA Hons Fine Art and have just concluded year 2 at Moray School of Art which is part of the University of the Highlands and Islands.  When I return in September, I will have a dedicated studio space to work from so finally my kitchen will be free of inky equipment for the first time in ages!

Describe a typical day in your studio.

There really isn’t a typical day – as well as my own print projects and Uni work during term time I also take commissions to create brand stamps and printed bags for other businesses.  I’ve been lucky to work with some amazing independent businesses from a hand-poured candle company in Wales, a cruelty-free skincare brand from Australia and a local sustainable luxury cashmere bedding firm in Scotland.  I also teach Lino Printing workshops in my local area which I absolutely love.  It’s a joy to watch people create their very first prints and I’m always amazed by the gorgeous results.  I love that I have the mix of projects to keep me busy and it means that it never really feels like work.

How long have you been printmaking? 

I bought a kit around 4 years ago and starting experimenting.  I started small and to be honest, they were really terrible!  My very first stamp was a tiny cactus that was barely recognisable and took around 10 minutes to do.  My latest completed project took over a month of serious carving so I could say I’ve definitely improved in both patience and technique.  Like anything else, printmaking is all about practice and it’s lovely to look back on how far I’ve come.

What inspires you?

I love botanical shapes and have around 19,000 photos on my phone which are mostly of leaves and trees!  Most of my work will feature plants and leaves but recently I’ve started adding figures after taking part in some online life drawing classes.  I’m not a confident portraiture artist so it’s been a massive challenge to create faces that I’m happy with and I’m always scrolling through Instagram to look at how other artists create shading on lino portraits.

What is your favourite printmaking product?

Changing over to Cranfield’s Caligo Safe Wash inks was a game-changer for me.  Beforehand I was using water-based inks and had struggled to pull a decent print but now my work has vastly improved in quality.  Their metallic inks are a dream too and give gorgeous results.

What have you made that you are most proud of?

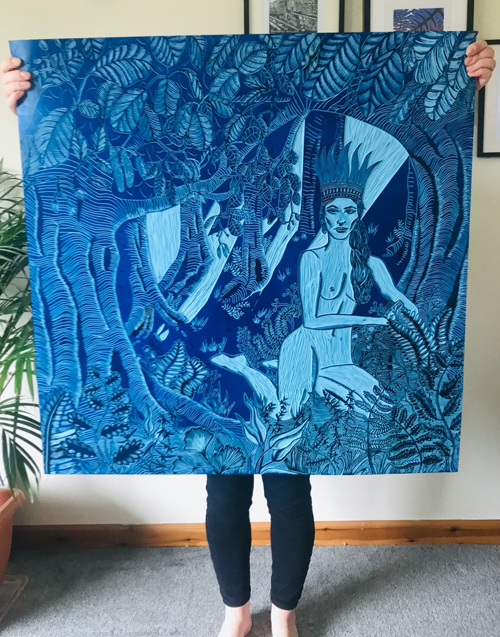
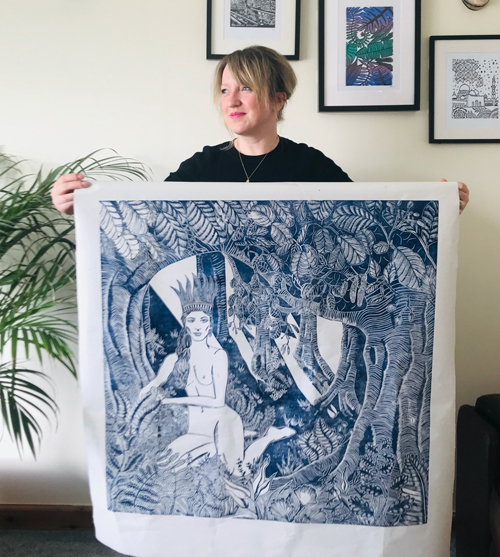
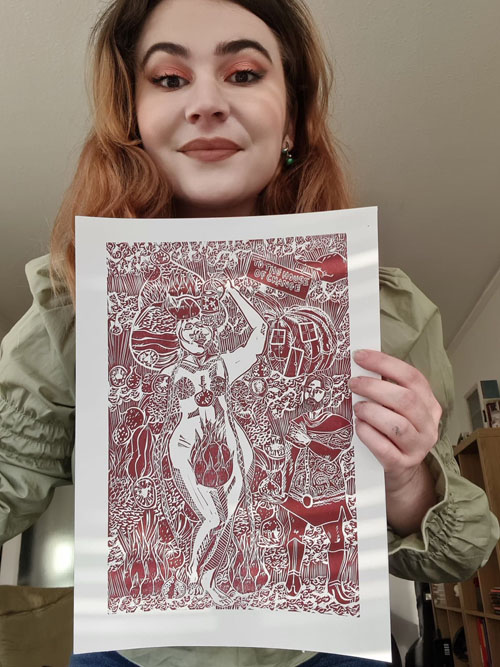
My most recently completed work The Forest Queen was a huge step up in size and style for me.  She’s a 76 x 76cm lino which is more than 4 times bigger than anything else I’ve done.  I did masses of research for all the different elements contained in the composition; from the crown she wears taken from a 1930’s stage production of Midsummer’s Night’s Dream to the trees in the background which was based on the Alders described as being magical in George MacDonald’s book Phantaste published in 1858.  I tried to emulate the style of classic botanists for the foliage surrounding the figure and create depth which was a departure from my previous two-dimensional compositions.  

Where can we see your work? Where do you sell?

I post regular updates on my Instagram and Facebook and show what I’m working on.  I love a time-lapse so quite often pop these up to show my progress.  I sell through my website which contains a variety of prints and linens within the collections.

What will we be seeing from you next? 

I’m currently working on a portrait of Hedy LaMarr who as well as being a 1940s movie star was also the inventor of frequency-hopping technology that was a precursor to the secure WI-FI, GPS and Bluetooth that we all take for granted now.  I’m trying to challenge myself to work on pieces with more fine detail over the next few months before returning to Uni in September.  I’m also hoping to return to holding classes locally now that meeting restrictions are starting to lift, I’ve really missed getting out and meeting new people.

Do you have any advice for other printmakers and creatives?

Embrace your own style and don’t compare yourself to others.  There are no mistakes in your work only the chance to change it for the better and enjoy the process.

To see more from Hayley follow her on Instagram.

How to Make a Set of Rubber Tangrams

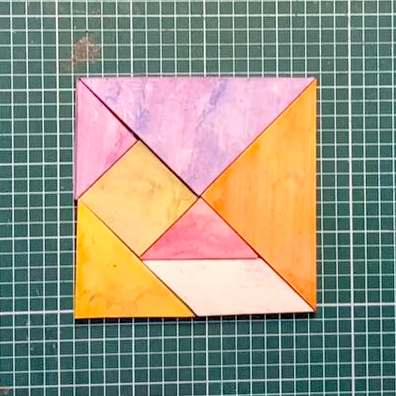
Tangrams are a set of seven puzzle pieces all cut from one square. The pieces can be rearranged into lots of different designs, making them a great activity for children. We can make our own set of tangram stamps from a square of Mastercut or other stamp carving material, to be stamped onto paper or fabric using Versacraft Ink pads.

Read on for instructions or scroll down to the video at the bottom of the page.

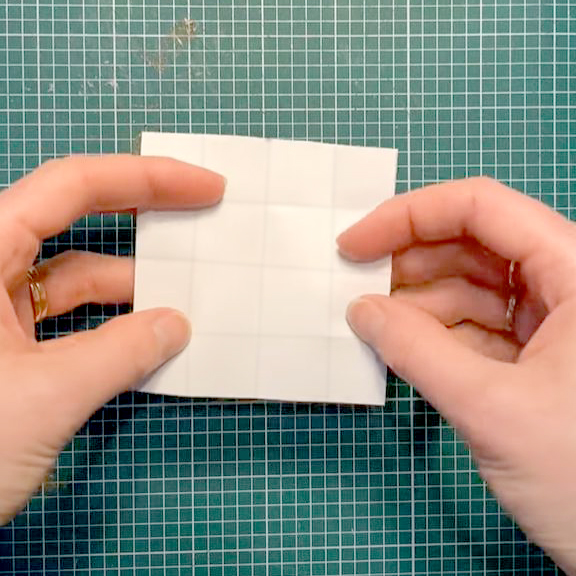
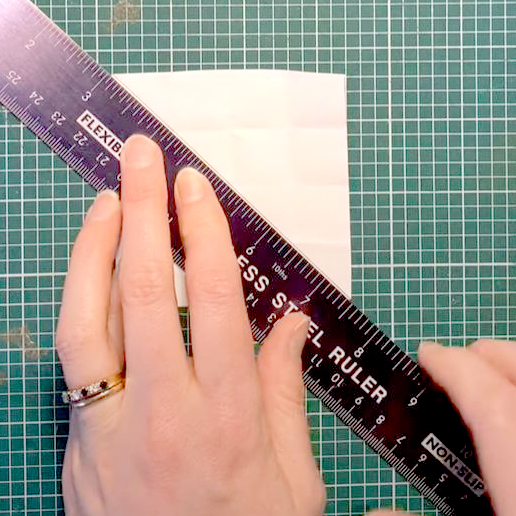
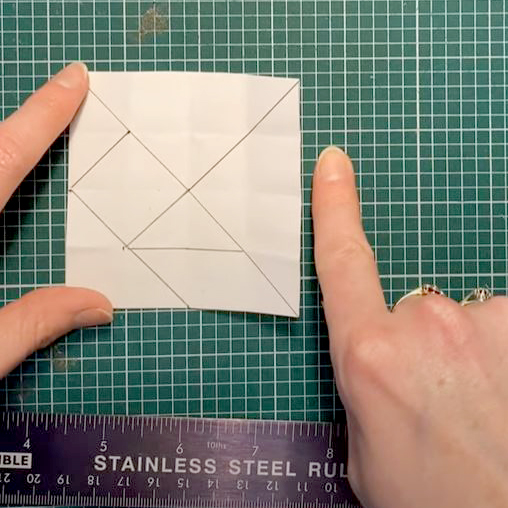
Start with a square piece of paper the same size as your Mastercut. Fold it in half and then half again so that it is divided up into four long strips. Fold it in the other direction into 4 strips too. You should now have a four by four grid when you open out the paper.

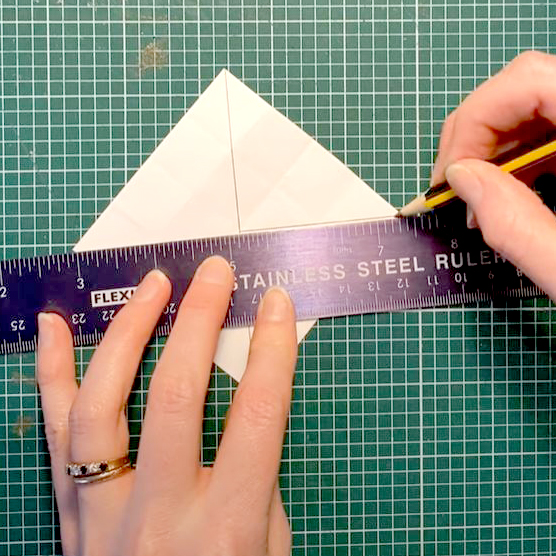
Use a ruler to draw a diagonal line through the centre of the paper from one corner to the other. Draw a line from the centre to another corner. This should give you your first two right angled triangles.

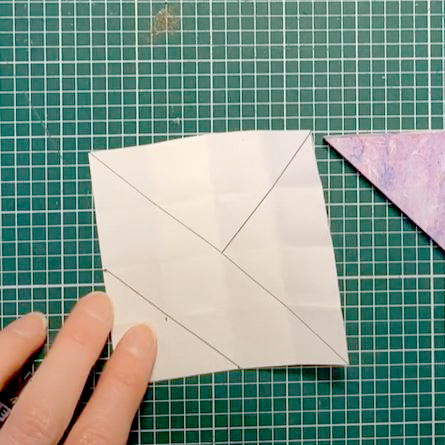
At the edges of the paper, on the sides of the largest triangle, mark a half way point. Connect these two marks to draw a smaller right angled triangle.

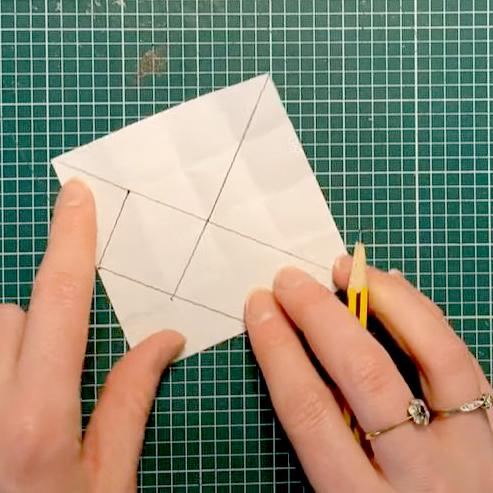
Connect a line from the centre point to the middle of the smaller triangle we just made. Create a small square up from the corner of the small triangle.

Divide the final section into a tiny triangle and a parallelogram.

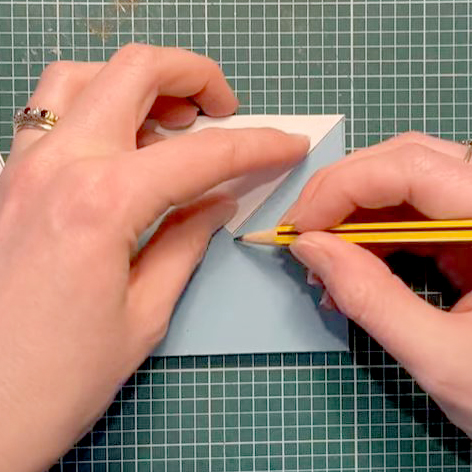
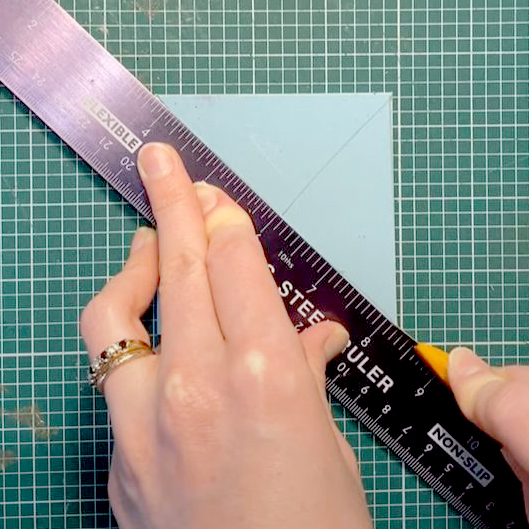
Cut these shapes up, careful to not lose their position, and transfer them onto the square of stamping material with a pencil. Use a metal ruler and a scalpel or craft knife to cut the pieces apart.

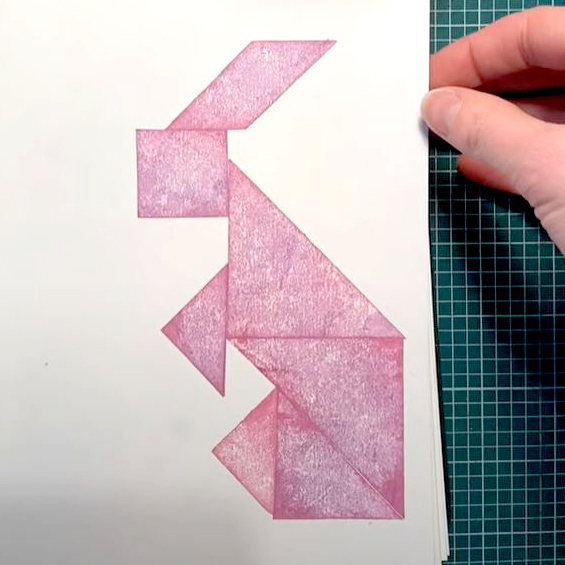
These pieces can now be used with Versacraft Ink Pads to create lots of designs! The game is to use each piece only once to make a picture, but you can use these shapes for whatever designs you can imagine.

For this project you will need:

Meet the Maker: Jack Hancock

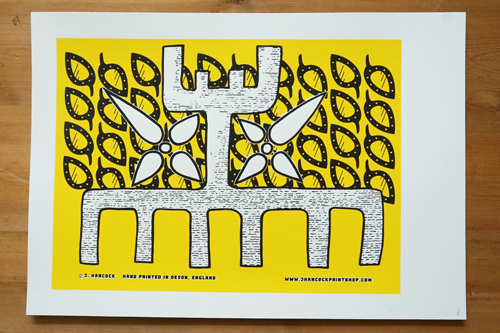
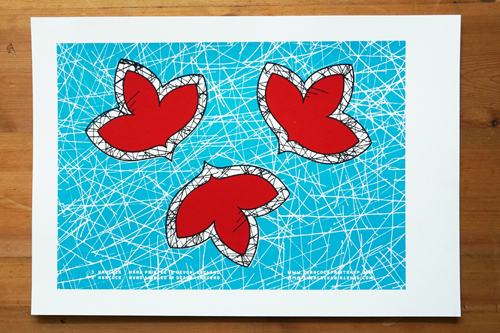
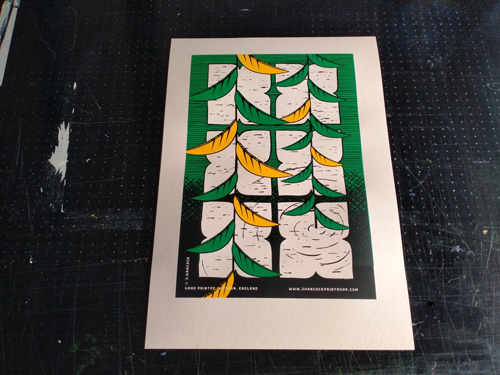
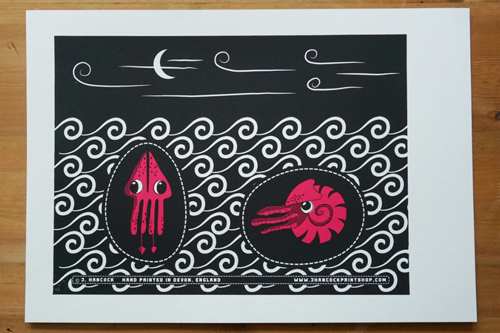
Hi, I’m Jack, I am an interdisciplinary artist, craftsperson and keen screen-printer. I live on the edge of Dartmoor in Devon with my partner and baby daughter. My day job involves making handmade pewter giftware. I try to squeeze printmaking in between work and family life.

Describe your printmaking process.

I would love to say free and spontaneous! But really my printmaking is meticulous. I don’t have my own studio so I spend a lot more time designing, drawing and prepping than actual printmaking. I have to use my studio time really efficiently so don’t have much time for experimentation. I always have the finished result totally planned out so as not to waste time and materials.

How and where did you learn to print?

I found it hard to get into screen printing and spent a couple of years wanting to start but not being able to afford any courses or equipment. I eventually found an affordable intro course at Gloucestershire Print Co-operative. The work I took away from that weekend I ended up selling at the gallery I worked in at the time. That must have given me the confidence to invest further but it was still a year or two before I got on a course at Print Club London and became a member there afterwards. The course there was much more in-depth and my time spent there as a member honed my skills.

Why printmaking?

I love the very definite lines and the flat, even layers of colour that I could never achieve with a paintbrush, I enjoy working with a very limited palette as well, making an image work with just two or three colours can lead to some interesting and striking design choices.

Where do you work?

I currently hire the facilities at The Printery in Plymouth. It is a very pleasant place to work, I recommend checking it out if you are in the area.

Describe a typical day in your studio.

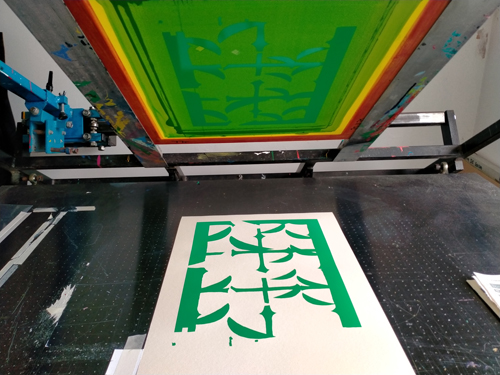
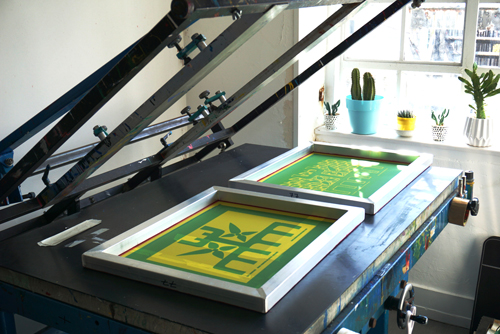
When I’m actually printing it’s very mechanical. I coat and expose my screens, lay down the colours, try not to get ink everywhere, wash and reclaim my screens, pack up, and go home as soon as the ink is dry. I always use a vacuum table and have a nice thick sheet of transparent film for registration.

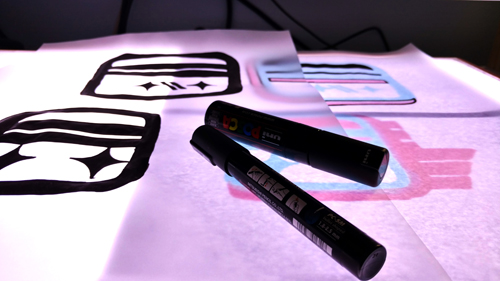
My drawing time is much more liberating. I do a lot of hand drawing, initial sketches in pencil and Pro-Markers and making positives with Posca pens on to tracing paper with a lightbox. I have been trying out using the computer more lately in an effort to speed things up but I still end up incorporating a lot of hand-drawn elements. I don’t think it’s made anything quicker, just made different things possible.

How long have you been printmaking?

I started screen printing in 2014. I started drawing with screen printing in mind a couple of years before that.

What inspires you?

My biggest inspiration to keep printing is seeing the crisp wet ink freshly laid on the paper. It looks so perfect and beautiful. The inspiration for my subject matter comes in many shapes and forms. Mythology and symbolism weave a thread through most of my work. Visual inspiration comes from a lot of the shapes and colours of 1970’s graphic design as well as the comic books I read as a kid; 2000 AD, Judge Dredd and the odd Manga comic I would come across before anybody knew what Manga was. I don’t read comics much now, but they burned an image on the back of my brain of halftones and incredible ink work.

What is your favourite printmaking product?

Speedball acrylic inks. They are so bright and opaque. I love using them.

What have you made that you are most proud of?

I don’t have one single thing I’m proud of. I’m proud of all the work I make if I have put my passion into it. I don’t feel like I have done my best work yet in print. The ultimate creative vision is like the pot of gold at the end of the rainbow, I keep chasing it but it keeps moving just out of reach!

Where can we see your work? Where do you sell?

My big project at the moment is starting my own online shop for my work that lets me sell completely independently. I am launching it with a collection of affordable poster designs and hope to introduce limited edition and fine art prints later on. It’s early days yet but hopefully, by the time you read this it will be online!

You can reliably find me on Instagram where I share my works in progress and new design ideas. Drop by and say hi!
What will we be seeing from you next?

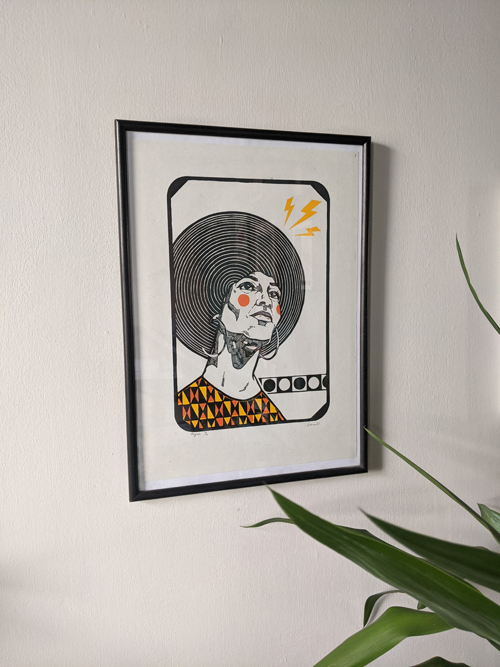
I’m really enjoying designing bright, high contrast posters at the moment. I have a couple of rules; no more than three colours and the image must fit in off the shelf frame sizes. Other than that, anything goes. I would like to end up with a varied catalogue of designs for people to browse through online. It’s really making me question myself as an artist. If I can do anything I like, what do I really want to do? Which styles do I want to work in? When I started, I thought I would just print everything that came out, but there is a growing pile of designs that have not made the cut. So even when anything goes, not everything goes!

Do you have any advice for other printmakers and creatives?

 Gosh, I don’t feel qualified to dish out advice! I was once told, “Knowing what you don’t want to do is sometimes more important than knowing what you do want to do.” I get a lot of mileage out of that one.

To see more from Jack follow him on Instagram.

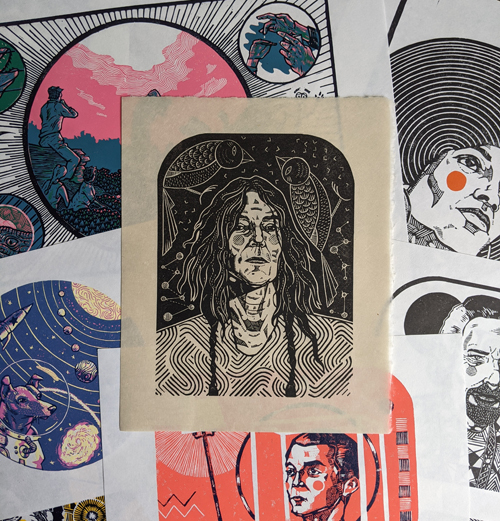
Meet the Maker: Moatzart

Describe your printmaking process.

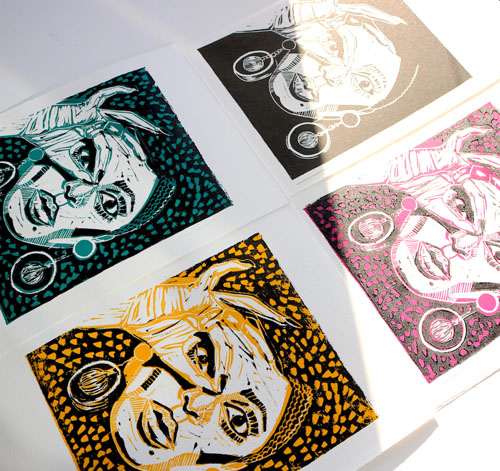
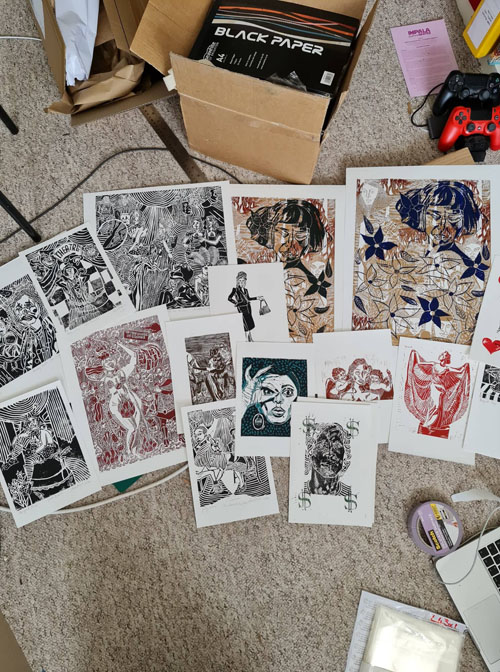
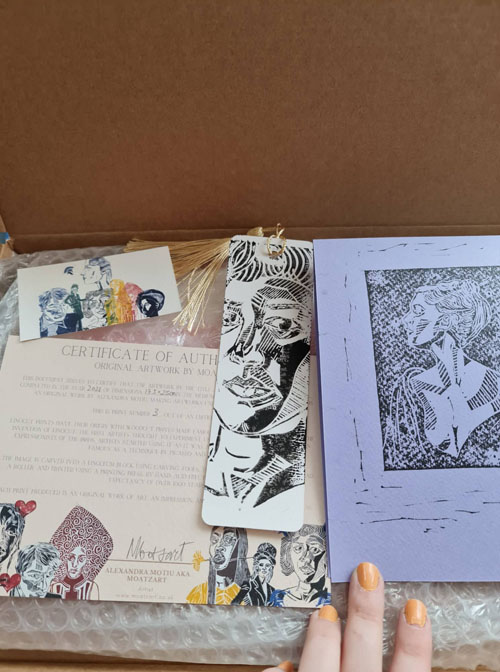
My printmaking process is quite straightforward. I start by sketching out a composition straight on the lino. I sketch this out mainly to see where everything goes, but I don’t do this in a lot of detail regarding how every element or character will look. I then start carving, and that’s when I make my decisions, I love “listening” to the lino block for this.

I look at reference photos throughout and carve the images and faces intuitively from the lino, which gives the characters a unique flair, which could not be achieved through any other process. I apply this to any other material I work with, be it wood or metal, and try to respect and “listen to” the medium I use and stay true to the tools and the marks they can make, which is ultimately what I think constitutes my “style”.

How and where did you learn to print?

I learned to print as an apprentice of a masterful Romanian contemporary painter and printmaker, Matei Serban Sandu, in my teen years. He introduced me to the technique as soon as he saw my first ever sketches, as I had just discovered I could draw when I was around 15.

I then went to university, studied a very conceptual art course, made more collage, installation and relational artwork, and didn’t make any prints for three years! I started printmaking again when Covid hit, and I have been making prints ever since, and I am now able to do this pretty much full time!

Why printmaking?

I get along so incredibly well with printmaking. I think this is because I like complicated works with many elements, and my work can be very chaotic. I think prints have, firstly, a very natural limit to what can be carved, and secondly, a nice and exact finish, no matter how all over the place all the elements are. They always appear as a nicely finished and considered piece of work, and this is an inherent quality of the process.

Where do you work?

When Covid hit, I lost some of the work I was doing for a few galleries. I started working in hospitality again, so I was furloughed a lot, which meant I had time to be a full-time working artist, and I constantly made prints all throughout! I had never been happier! Carving is also a very therapeutic practice so I think it helped a lot during these tough times.

I am now able to keep working full time as an artist, as my prints started selling through Instagram. I managed to get my work into a few galleries and shows, and I also started getting commissions! Gallery work has picked up again, so I do still pick up whatever part-time freelance work comes up.

Describe a typical day in your studio.

I divide my days into admin days and making days. So if it’s a making day, it will either be a carving or printing day. I have a home studio with a large A2 printing press, which takes up the whole living room when I print. So I keep my printing days few and far between, with a large to-do list so I make the most of them.

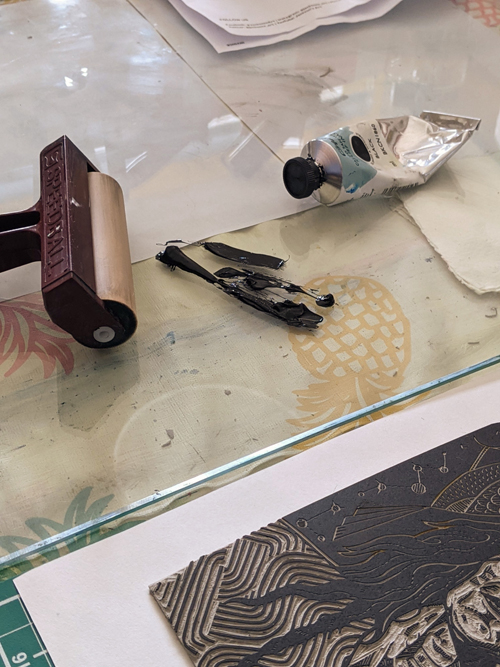
On carving days, I normally start by making a few smaller prints for some of my series, which I film as content for Instagram reels. I then go on to carve larger works, which I also document in some ways, but less so, as I want to be more focused and “in the zone”.
How long have you been printmaking? 

For two years during my A levels alongside Matei Serban Sandu, and now full time for one year. So not very long really.

What inspires you?

People are my biggest inspiration. I love portraiture, and I love stories, which is why my work is so illustrative. I like busy looking illustrations and artworks and grandiose scenes. I like work where you can look back at it for a long time and every time you discover something new.

The Chapman Brothers are definitely my favourite artists by far, as they have a YBA (Young British Artist) sense of humour but have the old masters’ practice. They deal with a lot of topics that interest me such as artistic authorship, even heaven and hell.

I take a lot of inspiration from very classical artists, such as Albert Durer or Francisco Goya in terms of printmaking. I love large paintings like the Wedding at Cana by Paolo Veronese (did you know that he included himself and some painters of the time in this painting, such as Tintoretto and Titian? I love this fact so much). I also do a lot of collages and I love the surrealist movement. Hannah Hoch, Victor Brauner (my favourite painter, incidentally Romanian), Max Ernst, DeChirico are some of my favourite artists. Nowadays, I love Toilet Paper Magazine and David Shrigley.

What is your favourite printmaking product?

Well, let’s say the products I use regularly, and that I don’t imagine will ever change, the Caligo Safe Wash Inks, my Pfeil tools, and the classic grey hessian backed Lino! I feel like once you have the inks and tools down, you stick with them in printmaking! The Abig rollers are also good for the price!

I love experimenting with papers like the beautiful new Khadi papers, they are to die for! I also love Awagami Factory papers!

What have you made that you are most proud of?

My most detailed prints are definitely my favourite. I am really excited about the series of work I am currently adding to and I think every new work I make becomes my favourite.
Where can we see your work? Where do you sell?

You can see and buy my work and other printed merch from my website. This is where my main shop is, including a blog and a gallery of all my work. I am also on view permanently with the IO gallery in Brighton, where you are also able to buy my work!
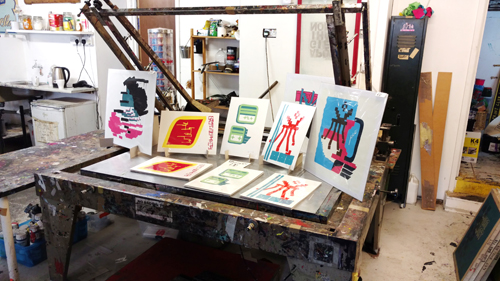
I have a few fairs coming up in Brighton as well, so if you follow me on Instagram, I will keep you posted!

What will we be seeing from you next? 
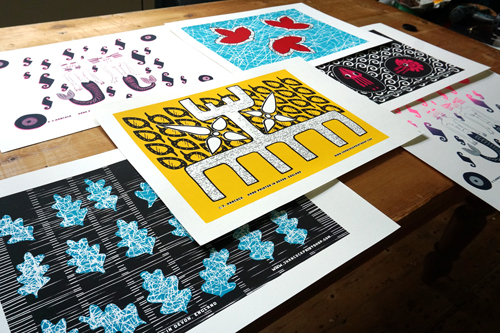
I have three main series I am adding to at the moment, and they are all equally wonderful. One based on Heaven and Hell, one on the children’s novel The Neverending Story, and one called They Are Dreaming, about dreams and ideals. I also have a few exciting collaborations in the works, so keep your eyes peeled.

As we slowly come out of lockdown I am excited to see what I can do with my work and hopefully set up some shows. I am new at being a full-time artist so I have a lot of plans and ideas, it feels like there are so many things I can do.

Do you have any advice for other printmakers and creatives?

I think people just starting out don’t realise how much artists actually steal from their surroundings. I know I was under the impression that everything came from an artist’s “imagination” (whatever that is), when it’s actually a load of research and looking at references, combining and deciding on things and experimentation.

A good tip I was once told, that I absolutely stand by, is to go as far back in time with your references as possible. Everything is copied and further copied from century to century, by artists admiring and responding to the artists before them, so if you make art like the artists of today your work will pale in comparison, as it is a copy of a copy of a copy. Always go to the source for inspiration, and your work will have depth. So if you’re interested in Abstract Expressionism, for example, go to the artists who first started the movement.

To see more from Moatzart follow her on Instagram!