Every year we buy so much gift wrap that is only enjoyed for seconds before being thrown away. Bridget’s furoshiki fabric wrapping can be used over and over again and makes a great addition to a gift! Furoshiki is a beautiful Japanese way of wrapping parcels for gifts and travel.
Use scraps of fabric leftover from previous projects for extra eco-friendly bonus points.
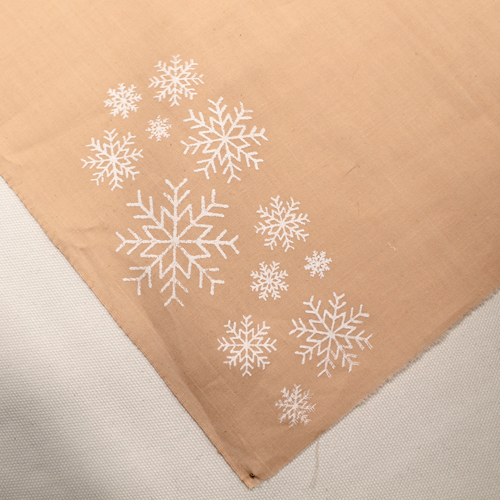
Bridget is using a thermofax with a snowflake design to enhance the fabric. You can find the template for Bridget’s snowflake thermofax here.

Pin a large square of fabric flat onto a padded surface.
Spoon a row of ink along the top edge of the thermofax. Using a thermofax squeegee at a 45-degree angle, drag the ink down the screen. You can pass the squeegee over the screen a couple of times to make sure enough ink has been pushed through the mesh. Bridget is using Speedball Fabric Screen Printing Ink in white. This white ink is slightly opaque and so shows up well on this fabric.
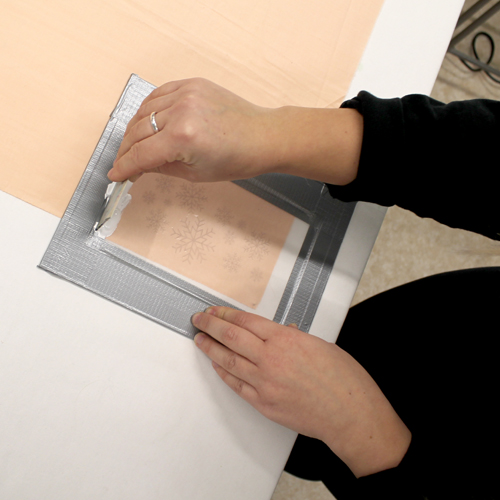
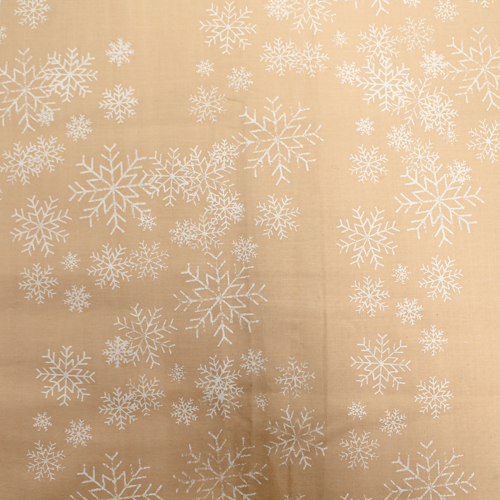
Lift the thermofax and place it in another area of the fabric. Print wherever you like for a scattered snowy effect.
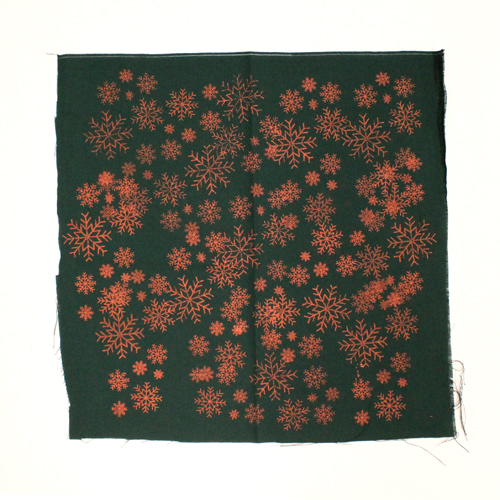
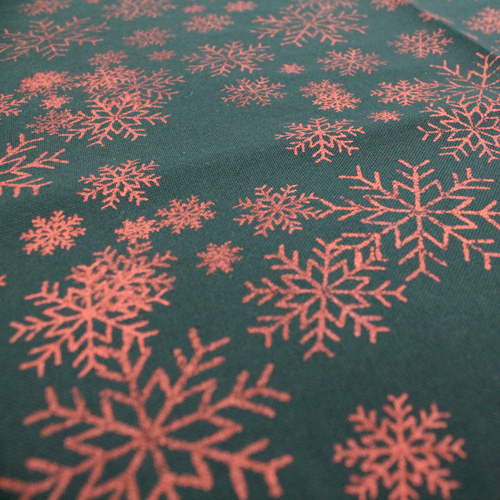
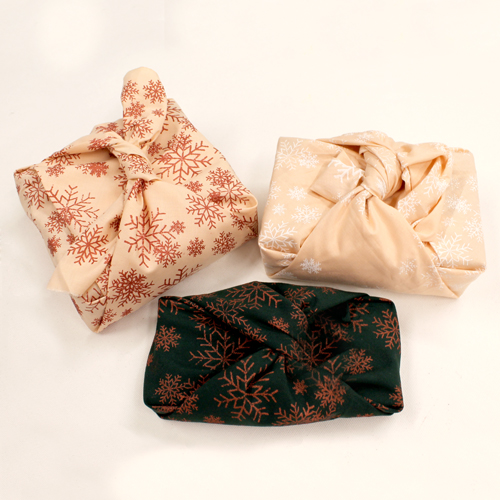
This beautiful red lustre coloured ink was mixed from Permaset Textile ink in Copper and Red. it shows up beautifully on this dark green fabric (an offcut from a handmade school skirt!)

When the ink is dry, iron the fabric on high heat for about 30 seconds to heat set the ink. This will make the print washable.
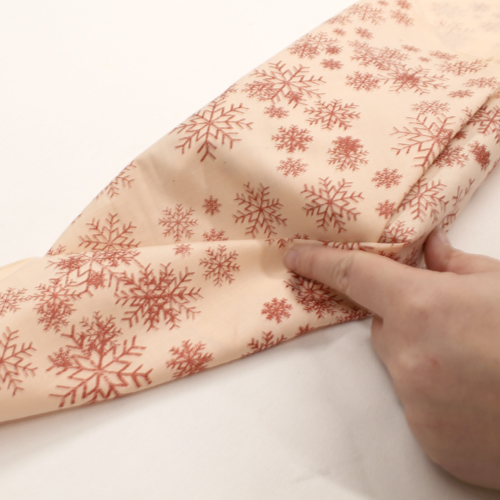
When ready to wrap a gift, lay the fabric print side down.

Place the gift in the centre. The fabric needs to be quite a lot larger than the item you are wrapping.
Fold one corner over the items and fold in the corner. If the item is not square, begin with one of the covers nearest the longest edge of the items.
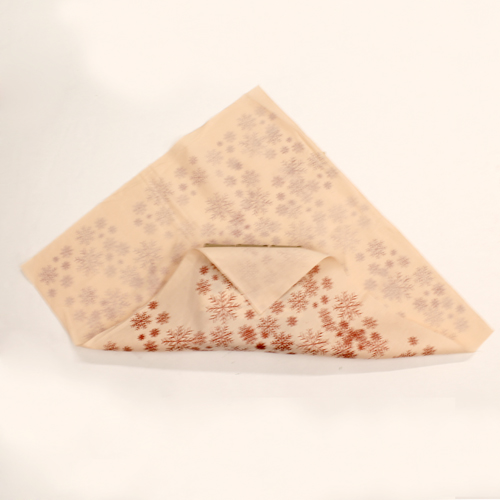
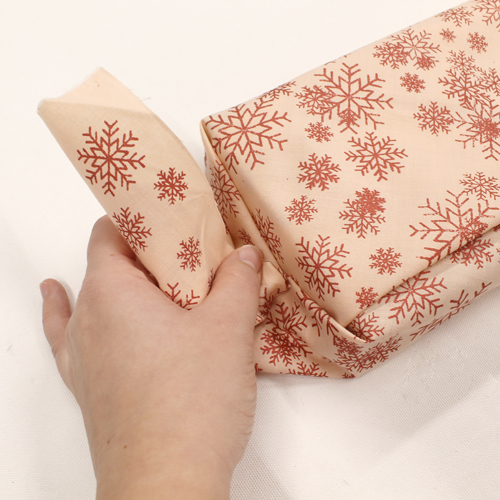
Repeat with the opposite corner, tucking the end in.
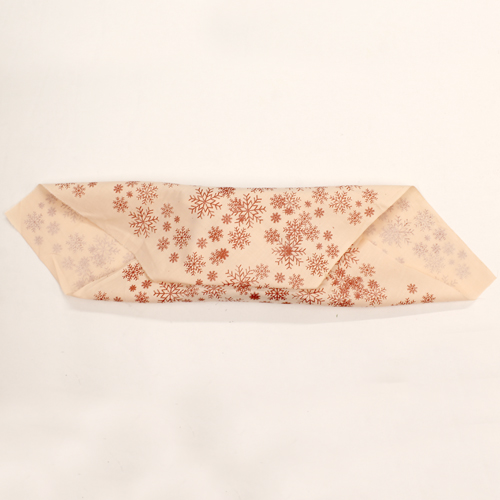
Fold in each of the sides as in the picture below.
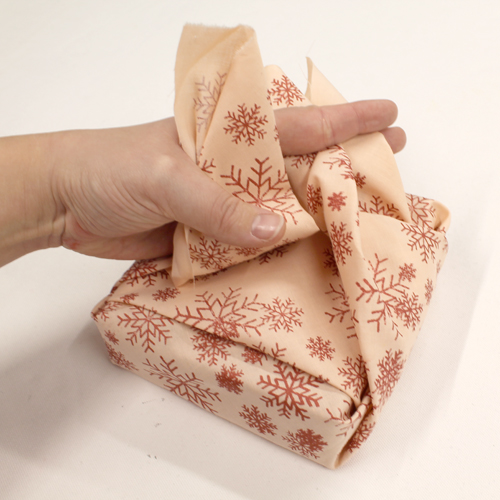
Pinch the sides together and bring it upwards around the edge of the gift.

Gather both ends in your hand.
Tie the ends into a knot at the top of the gift.
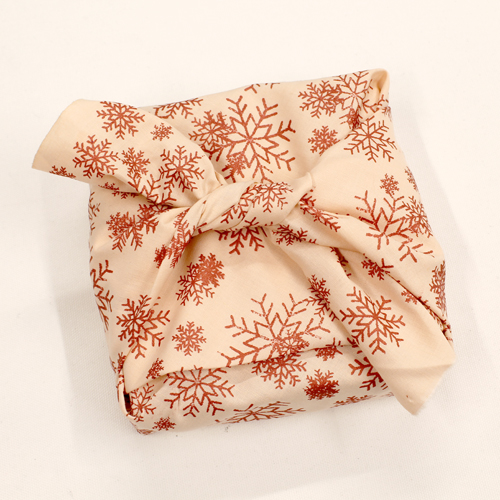
The ends can be tucked in for extra security or left loose.

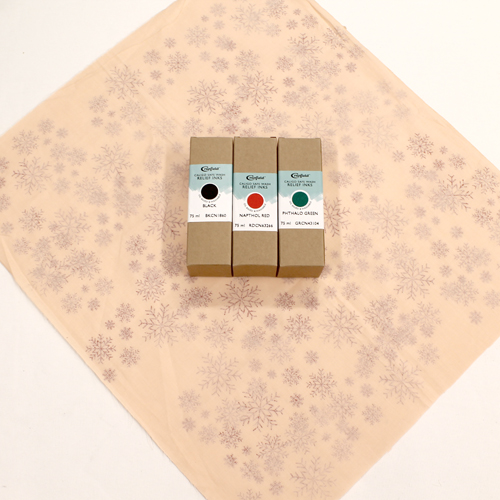
For this project you will need:
- Fabric in various size squares (much larger than the object you are wrapping)
- Thermofax (we can make one with your own design here or choose one of our ready-made designs) You can use Bridget’s Snowflake design too!
- Screen Printing Ink (such as this gorgeous Permaset copper ink or Speedball white ink) or Fabric Paint
- Padded surface
- Pins
- Thermofax Squeegee
- Iron
Made this project? Tag us on Instagram @handprinteduk and add the hashtag #printmakingforthepeople