Gum Arabic Transfer (also called paper lithography) is a marvellously fast technique in which photographic images can be added to sketchbooks, paper or mixed media pieces. This is one of the techniques used by Sue Brown in her fantastic work. We were lucky enough to have Sue teach in our studio and hope to have her back soon!
First, prepare an image to transfer. This needs to be a laser print or photocopy – inkjet printers will not work. Remember that images will print in reverse so you may want to flip the design (especially if it includes text). This needs to be a positive image – the black areas of the design will print.
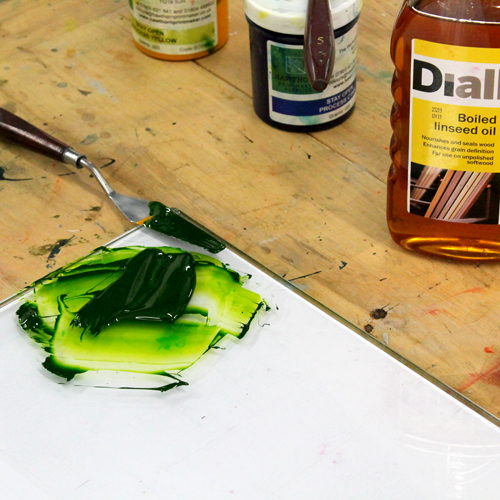
Start by mixing together your ink. Use Hawthorn Stay Open Inks. We are mixing a green from Process Yellow and Process Cyan.
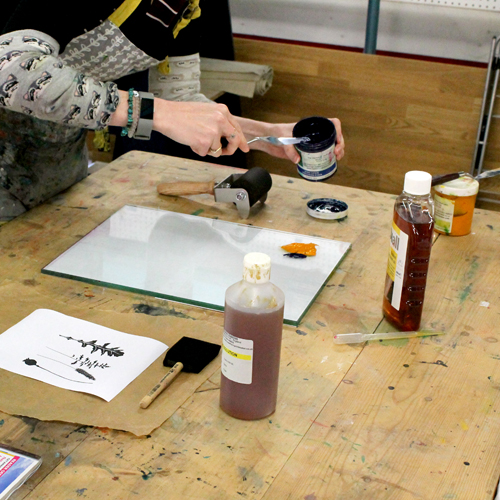
The ink needs to be slackened a little with a small amount of linseed oil which can be purchased from a DIY store. Here, we added about 6 pipette drops to about 1tsp ink. Different coloured inks will require varying amounts of oil.
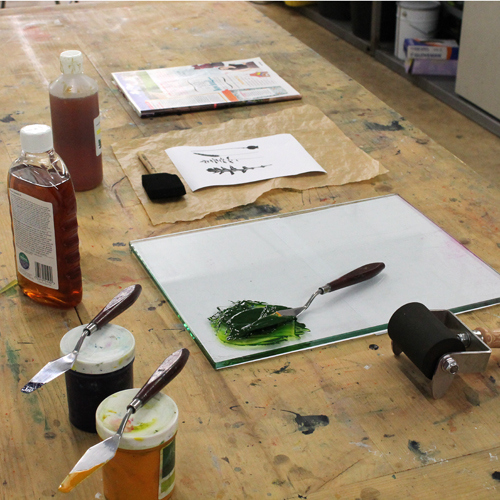
Lay out your materials for the remaining steps. A full list of materials and equipment needed can be found at the bottom of the instructions.
Using a piece of baking parchment as a base, lay your image face down and brush over the back lightly with gum arabic.
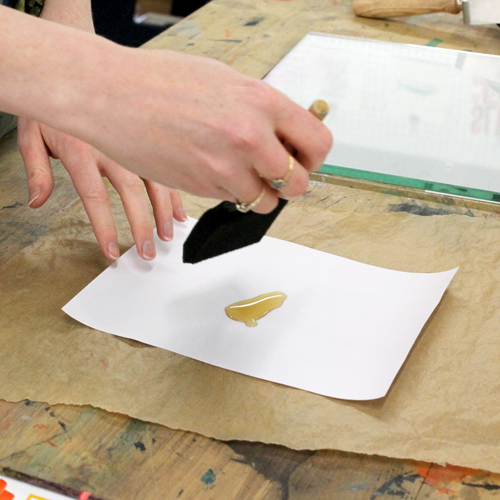
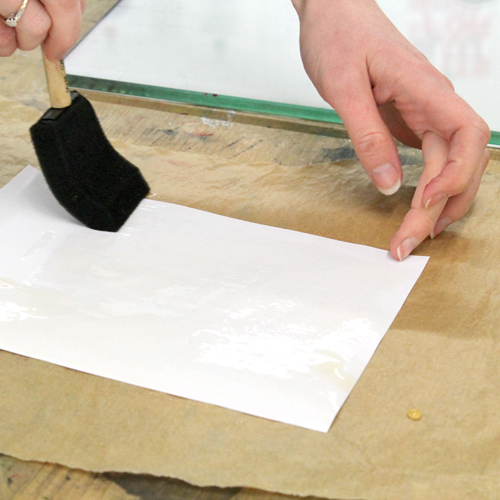
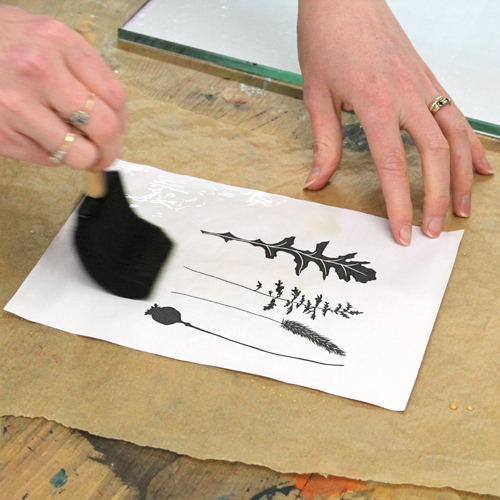
Flip the paper and lightly coat the front of the image with gum arabic.
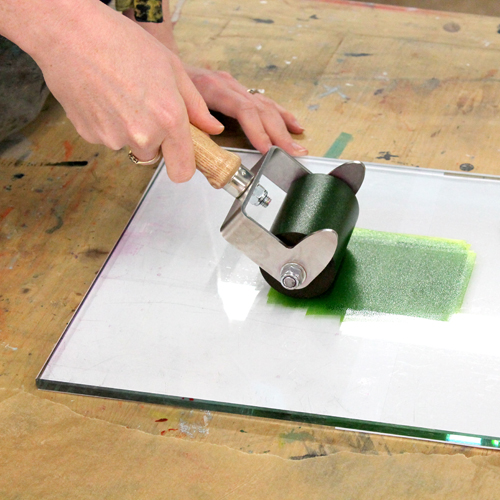
Use a soft roller to roll out a small square of your prepared ink to a suede-like texture.
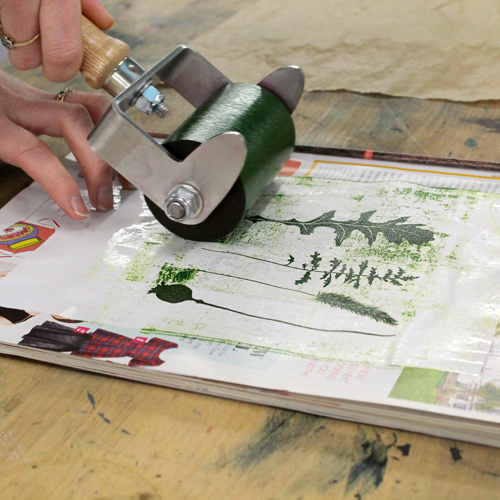
Move your image to a clean surface such as a shiny magazine page. Gently roll the ink onto the image. Roll from the centre of the paper outwards to avoid the paper curling around the roller. Build up the ink in light layers until you can see the image is inked up fully. The gum arabic on the white areas of the paper should resist the ink a little so you should be able to see your image clearly.
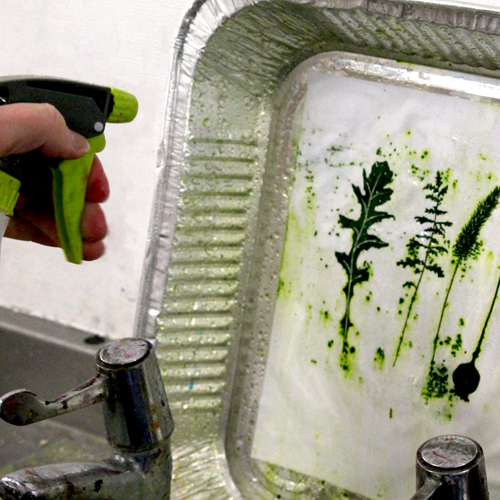
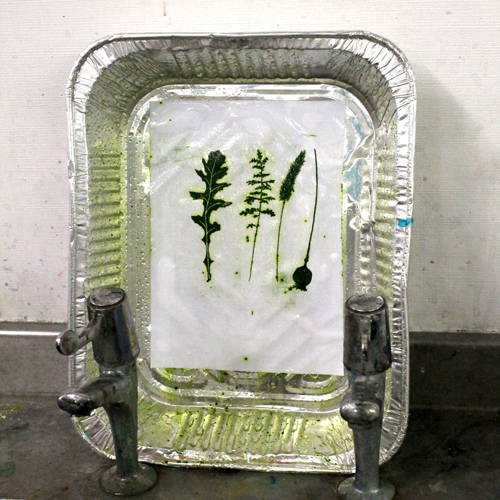
Place the inked up paper into a tray, upright over a sink. Spray water onto the paper. This should remove the gum arabic and take the unwanted ink with it. Spray the paper until the white background is as clear as possible.
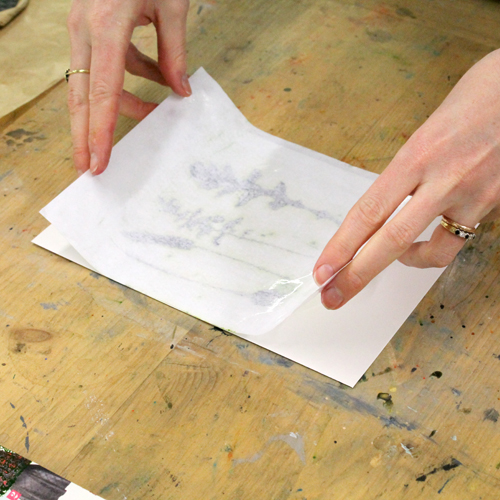
Place the image face down onto your printing paper or sketchbook (we are using Kent).
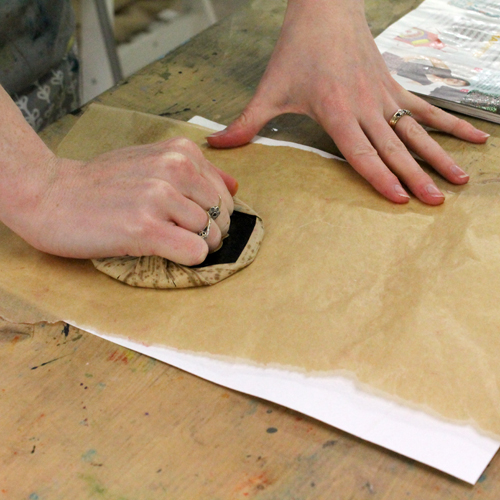
Cover with a sheet of blotting paper and then a piece of baking parchment. Use a baren or wooden spoon to hand burnish the print: rub all over the back of the paper. The baking parchment helps the baren glide over the blotting paper.
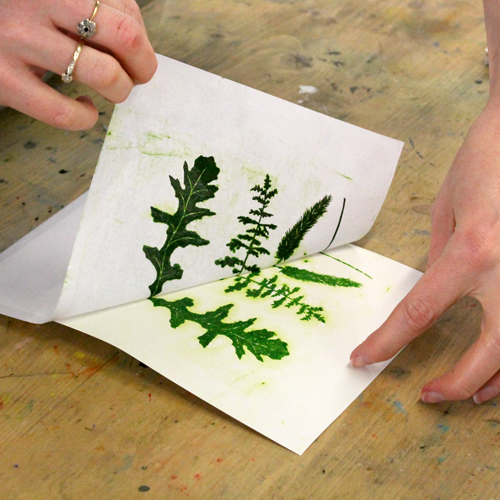
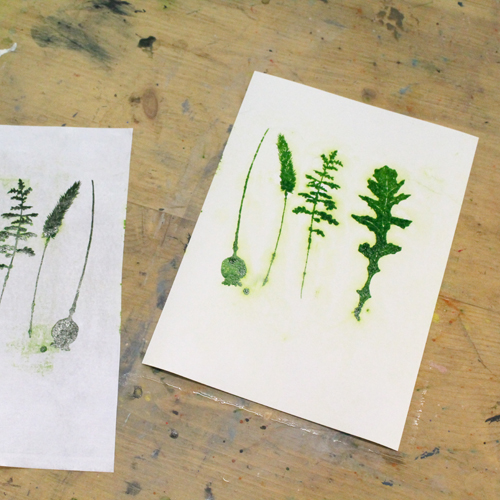
Peel the image away to reveal your print!
For this project you will need:
- Inking plate or inking tray
- Hawthorn Stay Open Inks
- Palette knife
- Linseed oil
- Soft roller
- Laser print or photocopy (not inkjet)
- Baking parchment (2 pieces)
- Foam brush
- Gum Arabic
- Tray (plastic, foil or enamel)
- Spray bottle full of water
- Old magazine
- Paper or sketchbook on which to print
- Blotting paper
- Baren or wooden spoon