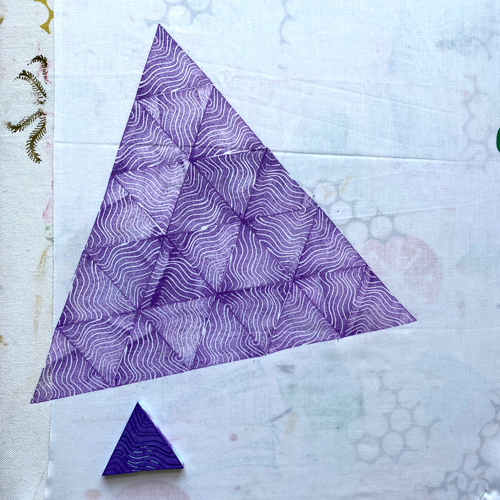
Using an equilateral triangle stamp creates an easily repeatable pattern that builds quickly whilst breaking up the typical grid structure often found in repeat patterns. This project is quick, easy and versatile. It’s important to use an equilateral triangle so that the edges will match up perfectly each time – if the sides are not equal in length the design will not build seamlessly.
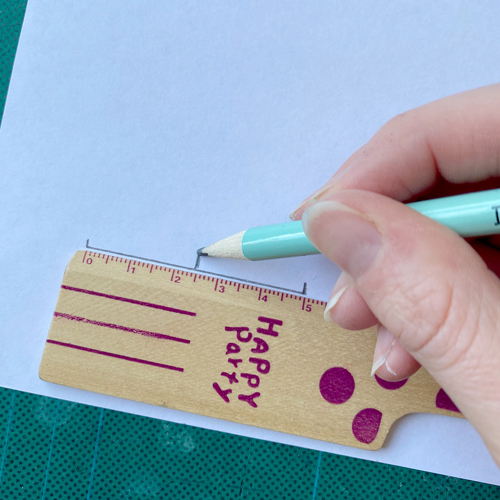
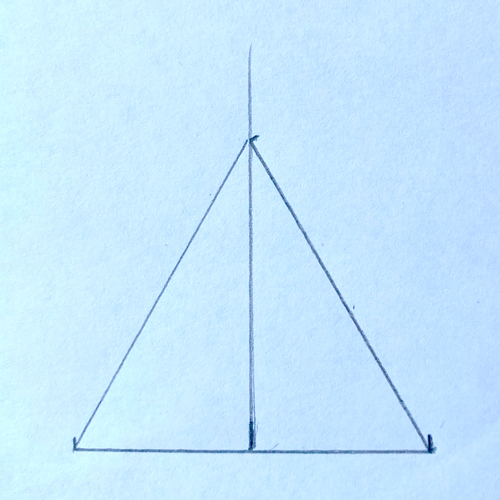
Begin by drawing one side of your triangle. Take note of the length of the line. Find the centre point.
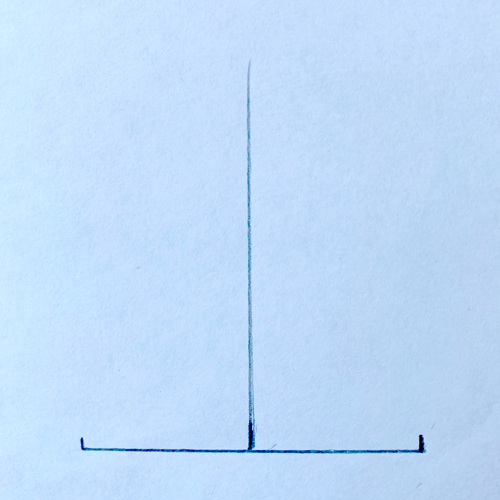
Draw a line straight up from the centre point. Make sure that it is at right angles to the first line (using the corner of another piece of paper can help check this).
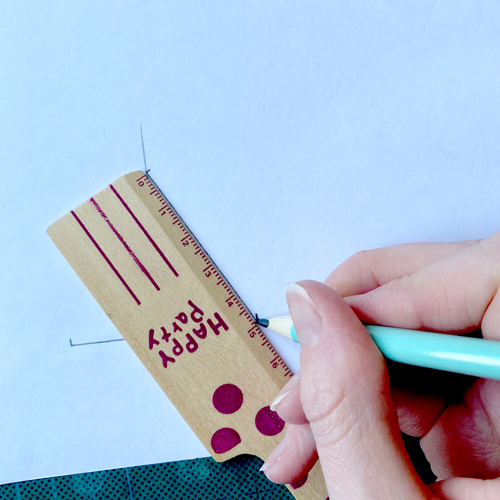
Use the ruler to draw from the end of the first line up to the second line, making sure it is the same length as the original line.
Repeat on the other side.
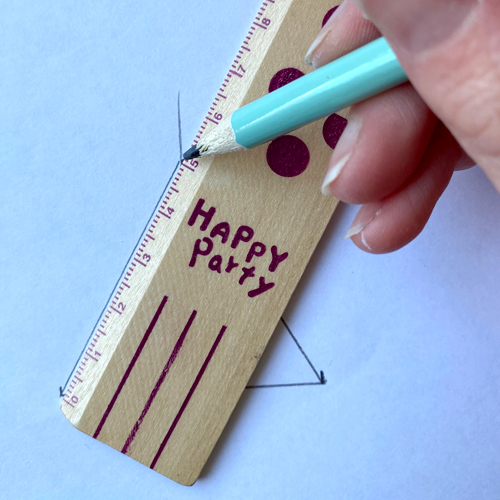
You should now have an equilateral triangle.
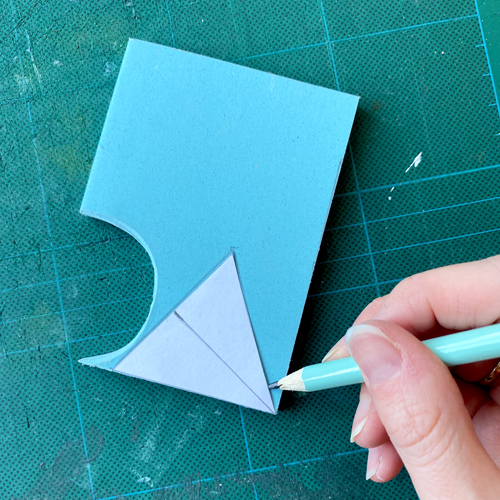
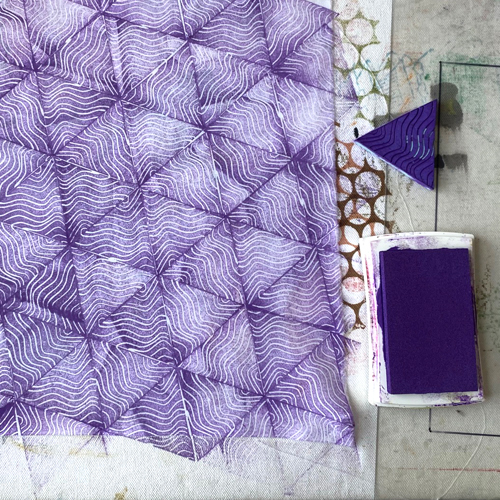
Cut the triangle out and draw around it onto a piece of stamp block. We are using Speedy Cut Easy.
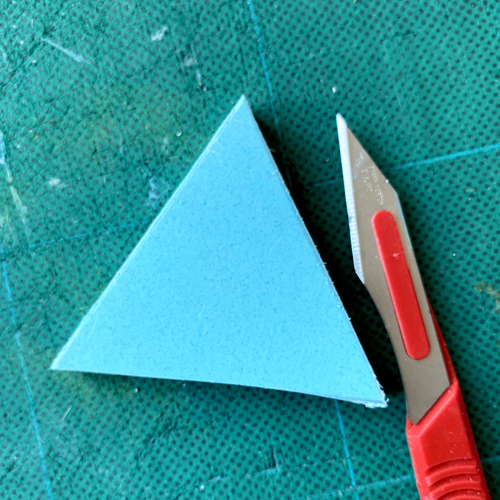
Carefully cut it out with a scalpel.
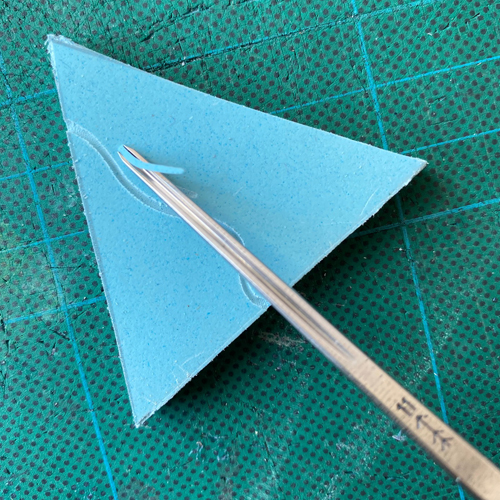
Carve a design into the block. We are using an 11/1 Pfeil Tool.
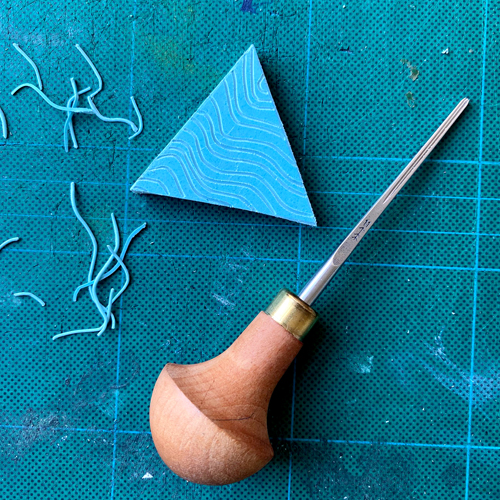
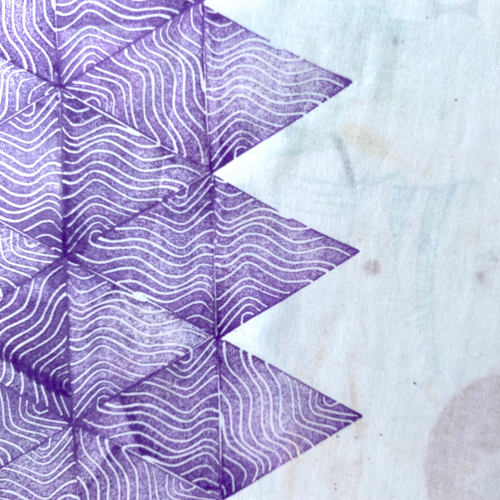
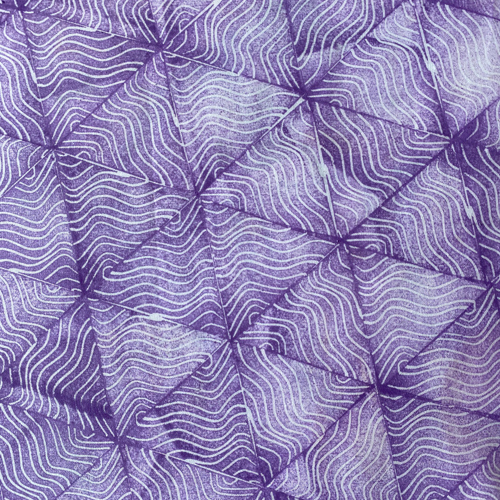
To print onto fabric, pin the fabric out onto a padded surface. Ink up the block by pressing it gently into a Versacraft Stamp Pad.

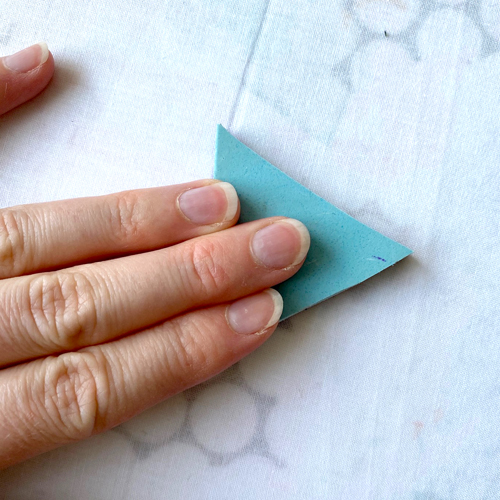
Press the stamp face down onto fabric to print.
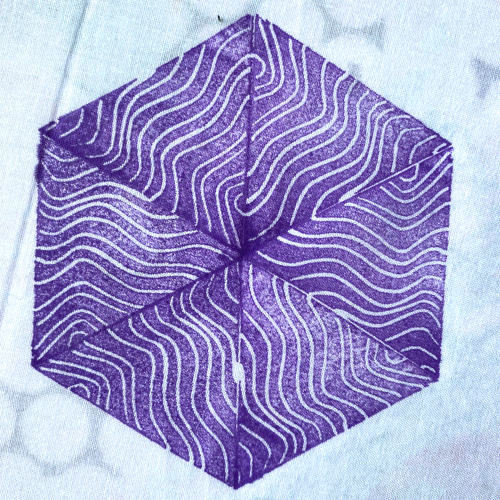
Repeat the stamping process to build up the design. All the sides will match up to build a solid design!

For this project you will need:
- Paper
- Pencil
- Ruler
- Scissors
- Speedy Cut Easy (or other stamp block)
- Lino Cutting Tool
- Padded Surface
- Versacraft Stamp Pad