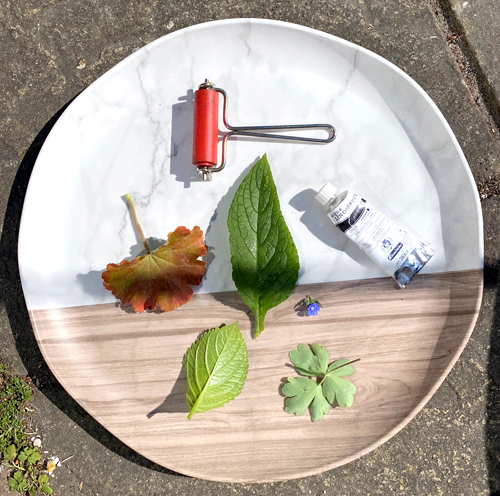
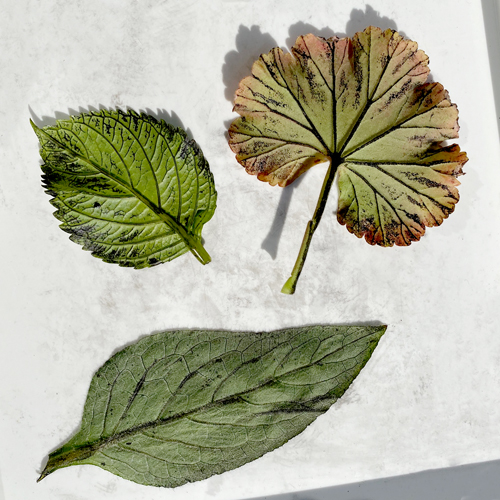
Printmaking doesn’t have to be tethered to a studio or kitchen table. This project takes you outside to gather and enjoy the natural materials around you! Go for a walk around the garden, your road or even just your house and collect a few leaves with different shapes and textures.
Use a tray or inking plate to roll out a small amount of ink. Water-based ink will create quick-drying prints but be aware that it will also dry quickly when rolled out on your tray if you’re printing in the sunshine so only roll a small amount out and top up if necessary. We are using Schmincke water-based ink here but an oil-based ink like Caligo Safe Wash will work brilliantly too.
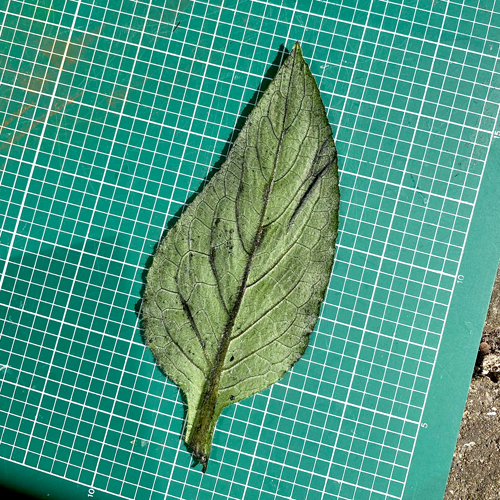
With a lightly inked roller (these wire–handled rollers are perfect for this), roll over the top of a leaf. Ink up the veined side to make the post of the texture. Use a magazine page, inking plate or sheet of acetate underneath catch the edges of the ink.
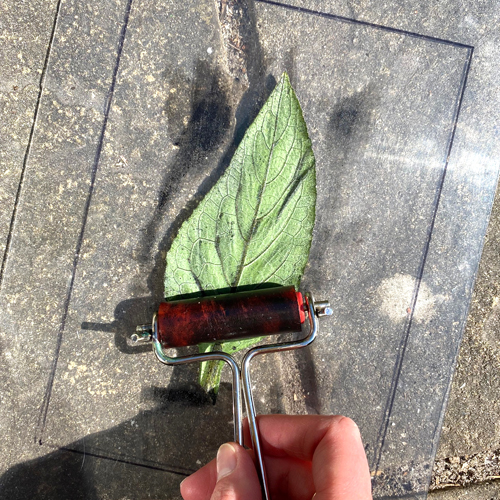
Place the leaf inked side up onto a smooth, clean surface – a cutting board is perfect.
Place a sheet of paper on top of the leaf. We are using Snowdon but anything will work – experiment with what you have. Rub all over the back of the paper with the flat of your hand. Use your fingertips to work around the stem of the leaf if you can feel it through the paper.
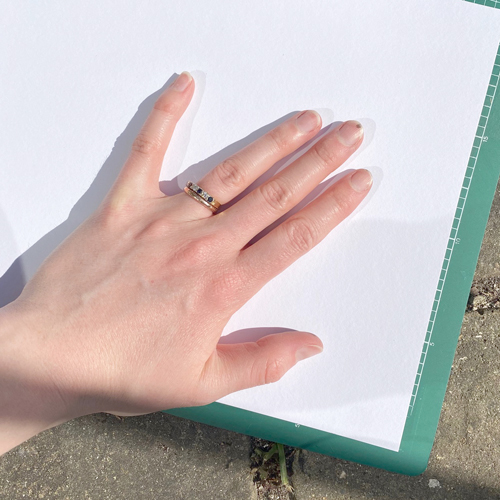
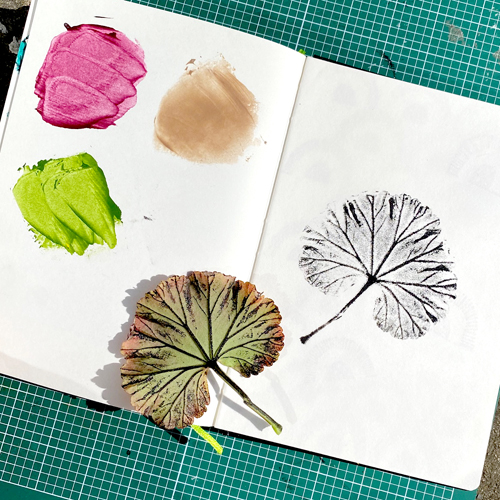
Lift up the paper and peel the leaf away to reveal the print!
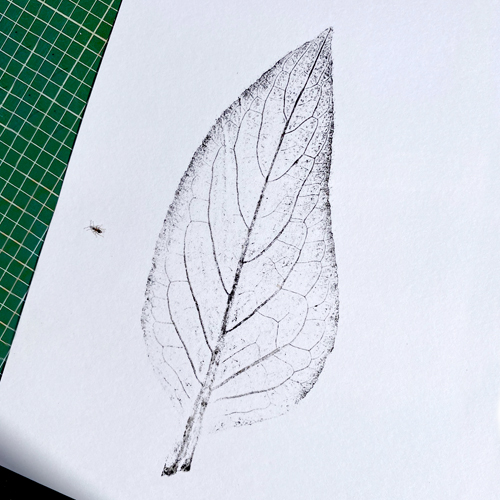
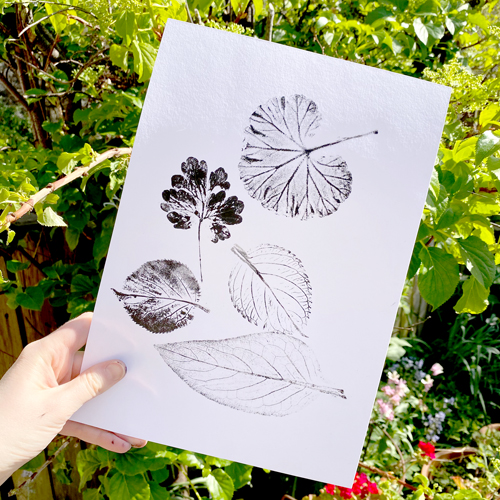
Use a variety of leaf shapes for maximum design points. Some leaves will pick up more ink than others.
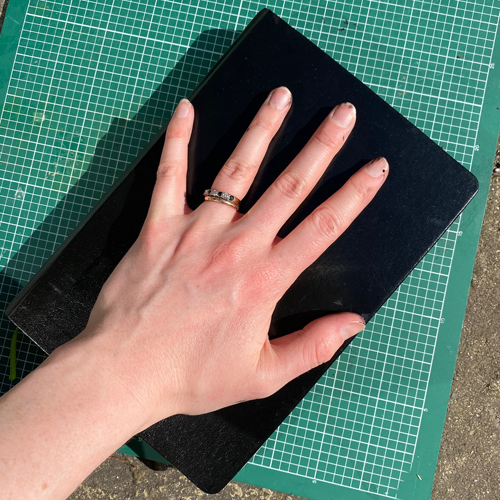
You can also make these prints easily in a sketchbook. Just ink up the leaf as before, place it face down on a page…
…shut the book and press (or step) firmly on the cover.
For this project you will need:
- Relief Printing Ink (we used Schmincke)
- Roller
- Inking tray, inking plate or other surface on which to roll the ink
- Flat, smooth surface such as a cutting board to lay the inked leaves
- Paper