Intaglio printmaking is a printmaking method using marks incised into a plate. Ink is worked into the recesses of the plate and is usually printed onto dampened paper through an etching press. Intaglio printmaking can create strong positive marks, interesting texture and tone – these results shouldn’t be missed out on if you don’t have access to a press! Read on for an at-home method for printing a tetra pak collagraph plate without a press.
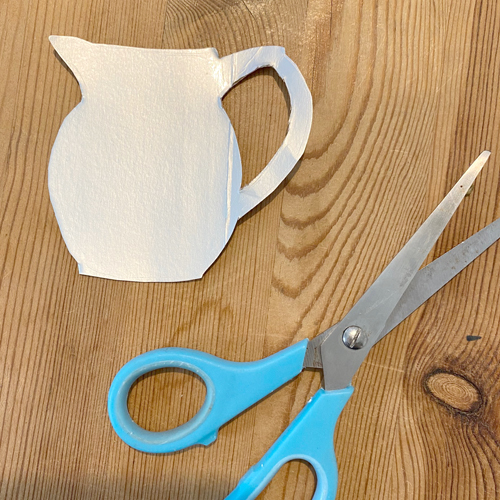
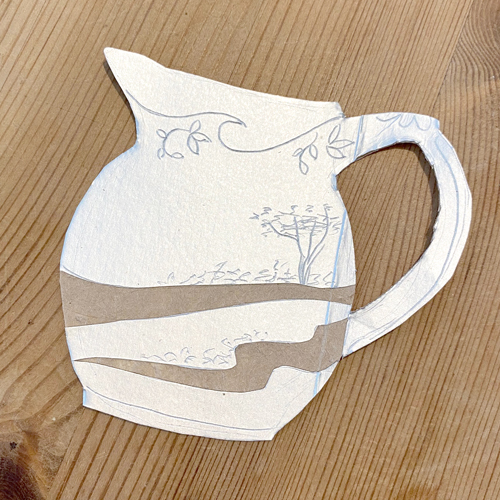
You’ll need to save a tetra pak from your recycling bin – UHT and plant milk cartons, juice cartons and passata packets are all examples of what can be used. Give them a good rinse and cut them to unfold into a flat plate.

The fold lines in the plate will usually affect the print so either avoid them or embrace them as part of the design for a quirk of the medium.
Use an etching needle to scratch into the plate. Any other tool sharp enough to score a mark without cutting the cardboard will do the trick – try a nail.
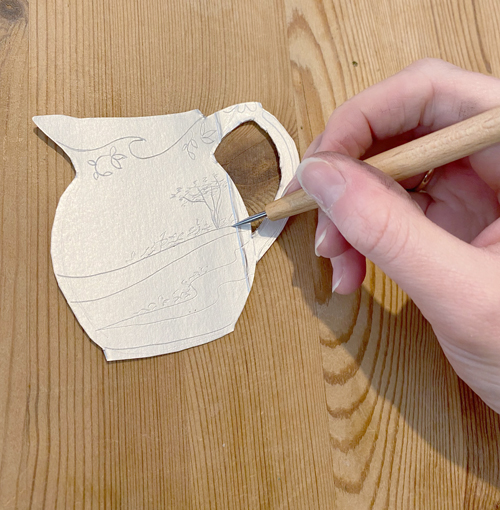
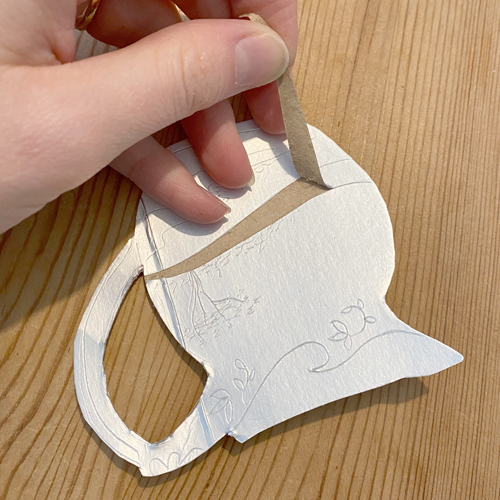
These scratched lines will hold ink and print as a positive mark. We can also create areas of dark tone by peeling away the wipe-clean plasticized surface to reveal the fluffy cardboard layer. Score the edges of a shape…
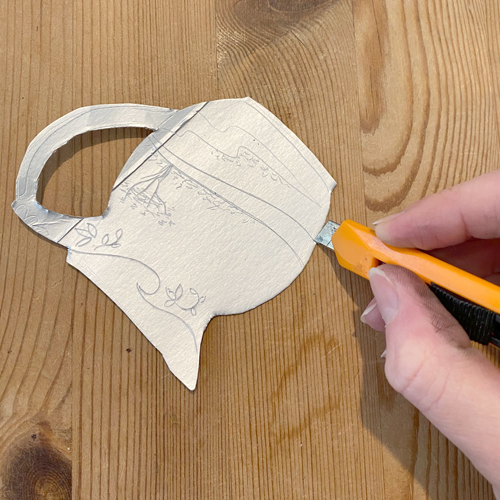
… and carefully peel the top layer from the card.
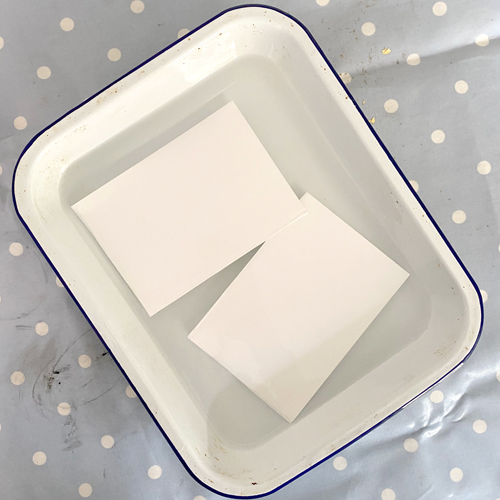
The intaglio printmaking method usually requires dampened paper. The damp paper helps to draw the ink from the plate. Damp paper is also softer and so can flex into the texture of the plate to reach the ink and create debossed plate marks. A thicker paper will handle being soaked without warping or falling apart. We’re using Snowdon which is a 300gsm cartridge printmaking paper.
Before beginning inking, soak the paper in a tray of cold water. The time it takes to ink a plate is usually around the right time to soak the paper but you can experiment with different lengths of time.
Apply ink to the plate using a piece of mountboard or old store card. Scrape it onto the plate and into the lines. Intaglio ink is best for this process – this is Akua Intaglio Ink in Carbon Black.
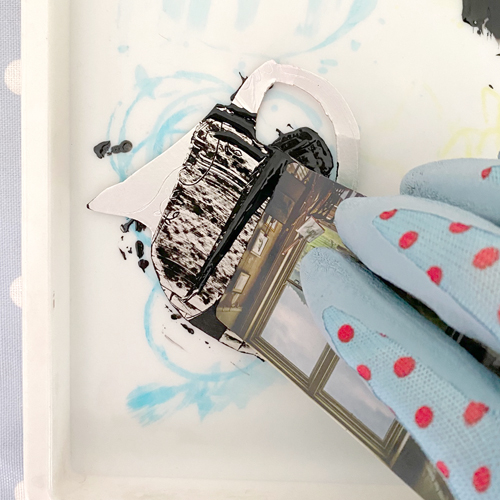
Next, we need to work the ink into the lines and texture of the plate whilst removing excess ink from the surface. Scrim or tarlatan is best for this. If you don’t have that, any gauze or netting can work – here we are using the mesh bag from a pack of onions!
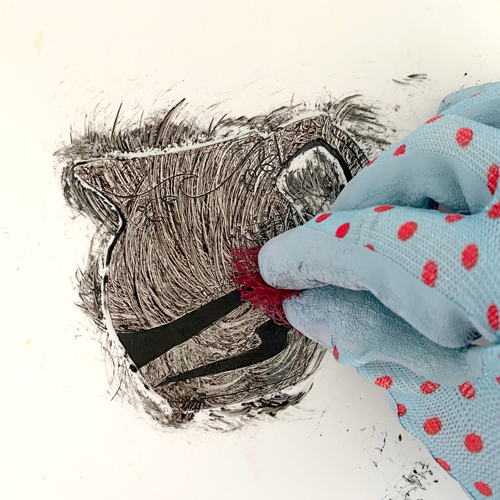
Polish the excess ink from the surface using tissue paper. This piece came from some packaging. Absorbent tissue will not work as well as it can remove too much ink. We want most of the ink to be cleaned from the smooth surface of the plate. Any remaining ink will give the image some tone. Take care not to clean too much or the ink could be removed from the lines.
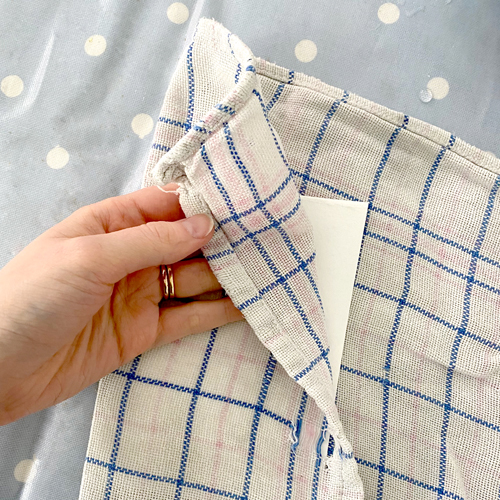
Remove the paper from the water bath and blot off the excess. We want the paper to be damp but not dripping wet. Blotting paper is best for this but a clean tea towel works well.
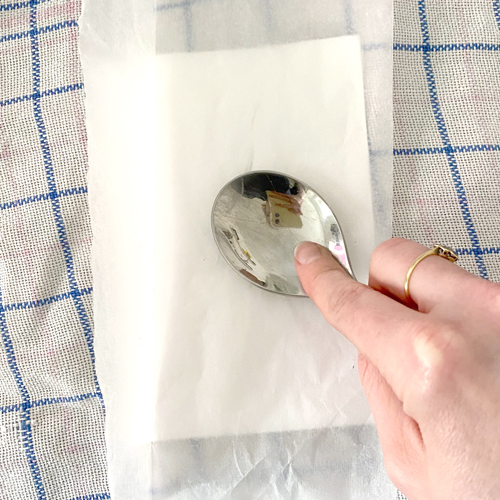
Finally, we are ready to take the print. An etching press would squeeze the paper against the plate. When taking a print without a press we need to try to keep the paper and plate from slipping. We don’t have this problem with relief printing as there is more ink on the surface to stick the two together. Placing the plate down onto a clean tea towel (although not your favourite one as the back f the plate is likely to be dirty), helps to reduce the slippage.
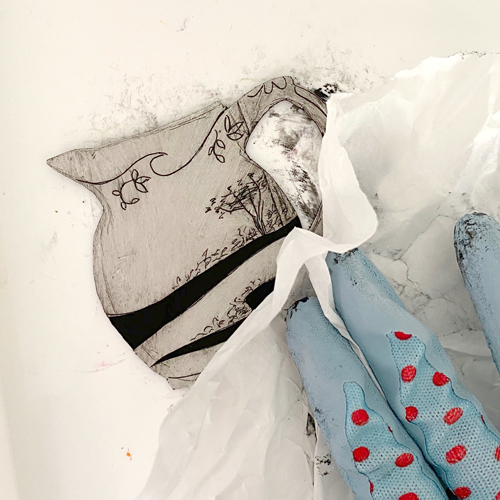
Place the damp paper on top of the plate. Cover with a scrap of baking parchment. This will stop the damp paper from pilling or slipping. Use a spoon to press all over the print. Press firmly but be very careful not to move the pieces around. Use your other hand to hold them still.
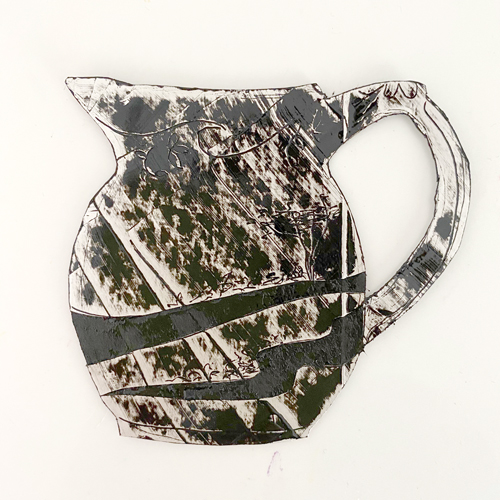
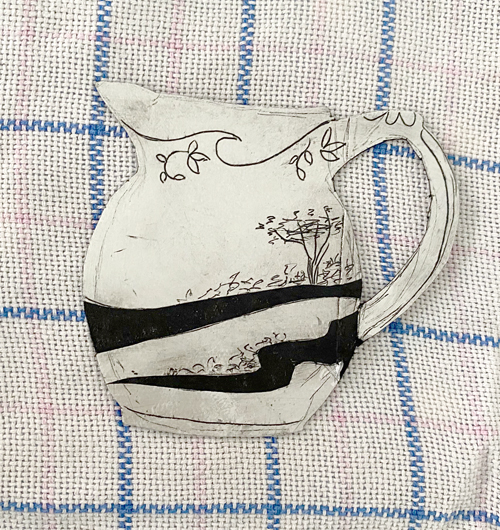
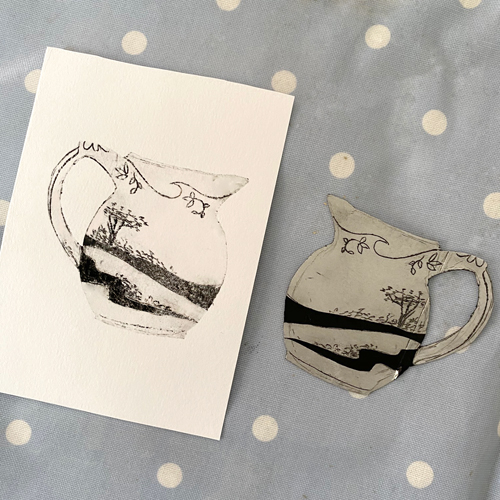
Peel apart the paper and plate to reveal the print!
For this project you will need:
- Tetra Pak
- Scissors
- Etching needle (or another sharp tool e.g. a nail)
- Akua Intaglio Ink
- Mountboard or store card
- Scrim (or similar e.g. vegetable net)
- Tissue paper
- Paper in which to soak paper
- Thick paper (we used Snowdon)
- Blotting Paper (or tea towel)
- Tea towel to rest plate onto
- Baking parchment
- Spoon