This week’s blog post has been created with Sophie, our fantastic work experience student!
Over this past week, I have been doing work experience. It has been an amazing opportunity and I have learnt some great new skills.
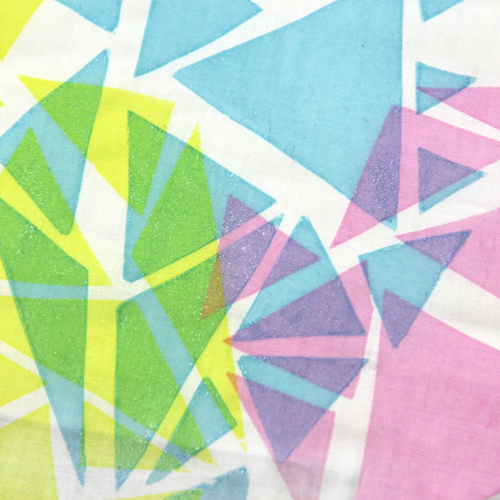
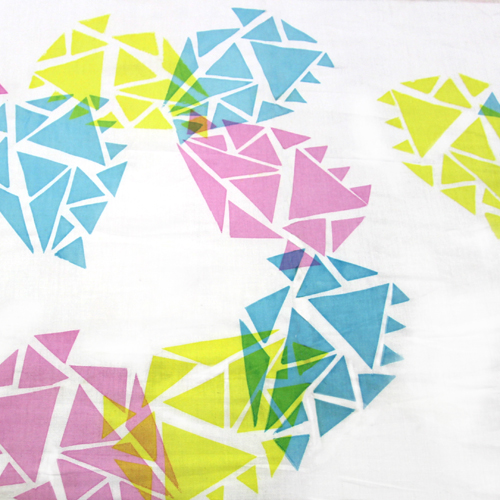
Yesterday I tried screen printing, I drew out my own designs which I used in three different colours to overlap in translucent coloured ink – pink, yellow and blue. I also did a different design where I layered up the same stencil in the same colour, going from lighter to darker shades. I really enjoyed the screen printing, especially seeing my first design go through the stages to get printed onto fabric.
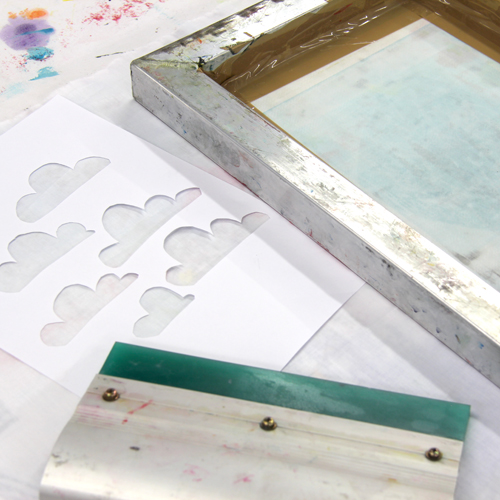
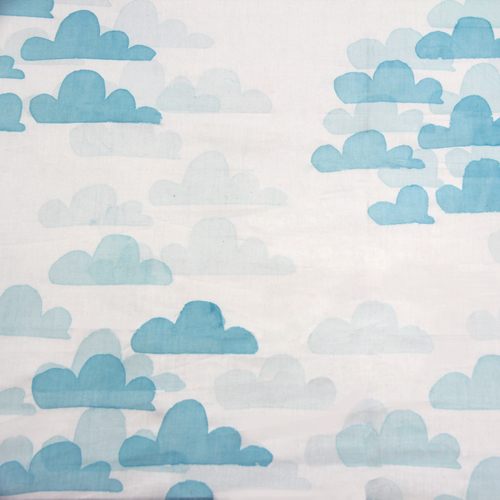
I used Pinterest to help me design my screen print – for more inspiration, you can see my Pinterest board here. My final templates were a series of triangles arranged at different angles which when printed in different colours overlapped to create different shades. My other print was clouds overlapped with shades of blue. Here is how I did it:
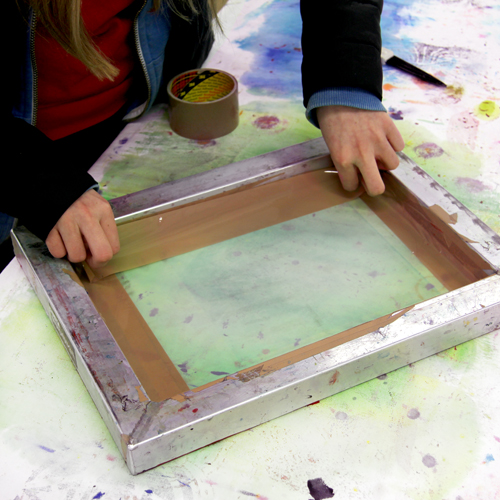
Start by taping around the edges of a 43T A4 screen. Tape the front and the back of the mesh, leaving an aperture just a little smaller than the stencil.
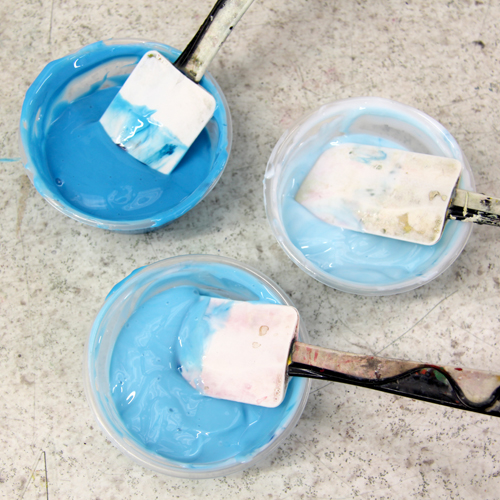
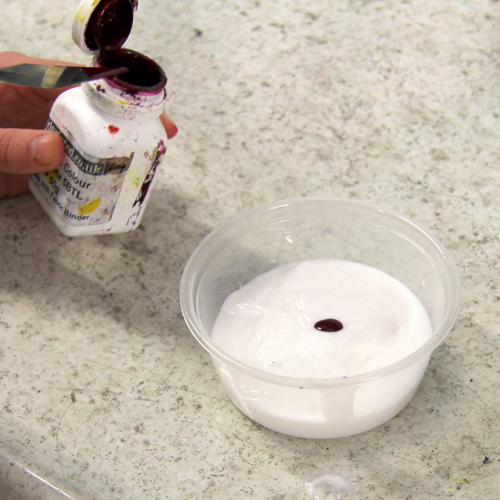
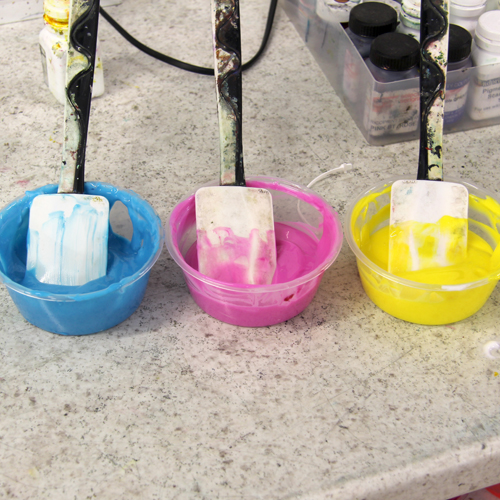
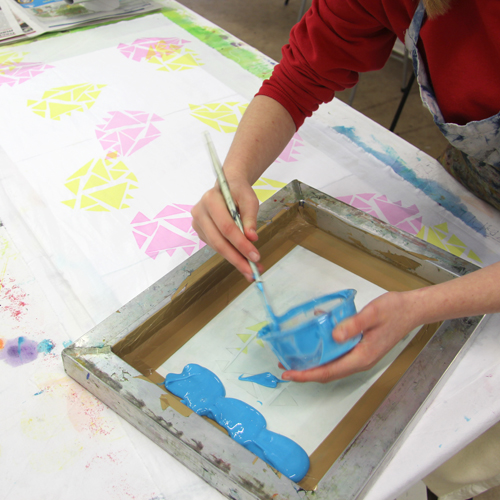
To mix up the inks, we started by measuring out 100g of Permaset Print Paste.
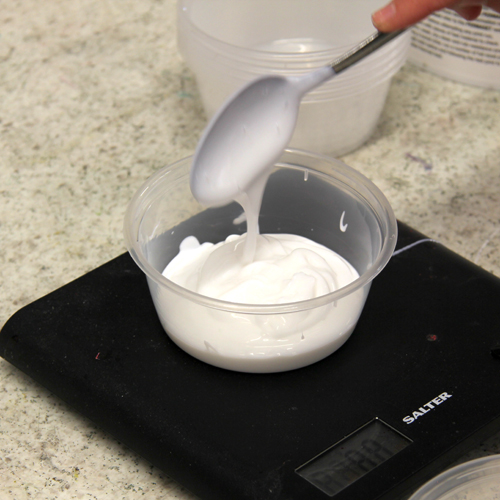
For the darkest shade of blue, we added 1 drop of Turquoise Pigment.
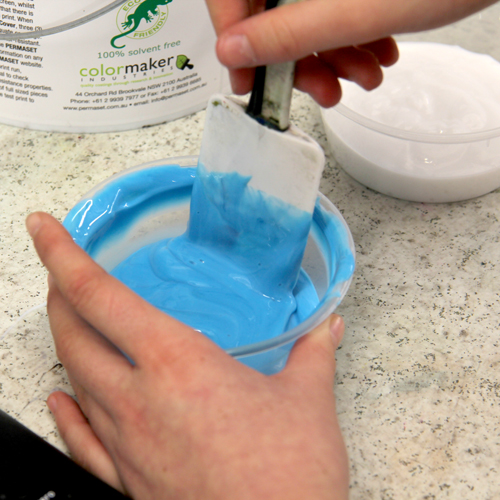
For the palest shade, we used a chopstick to add a small dab of pigment to 100g of print paste. We added two dabs of pigment to the middle shade.
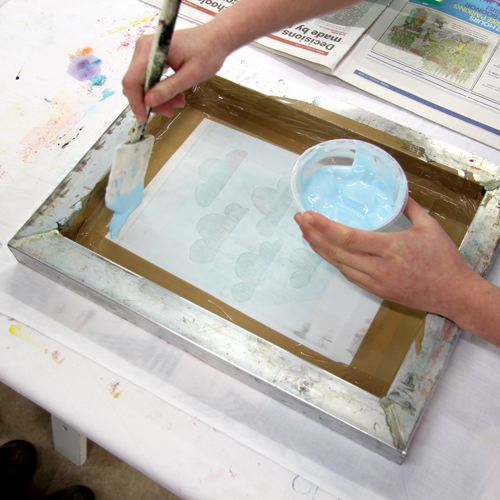
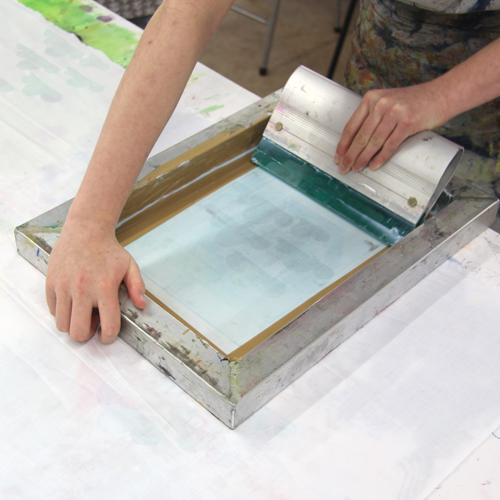
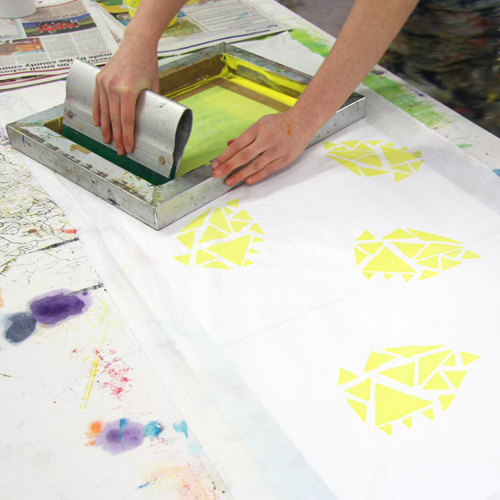
Using a padded surface, pin out some prima cotton. Place the stencil in the top right of the fabric. Place the screen on top, making sure there are no gaps left between the stencil and the tape. Place a bead of the palest shade of ink along the top of the screen.
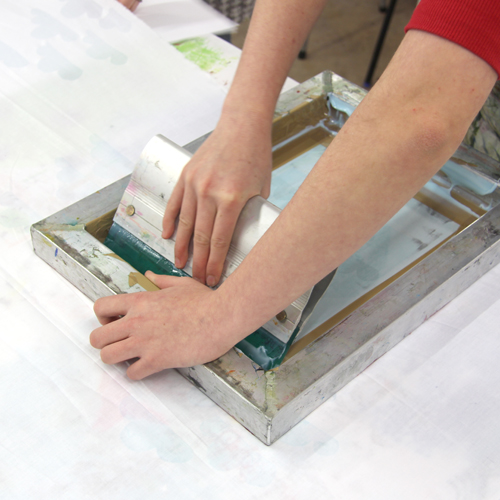
Holding the screen with one hand and the squeegee with the other, drag the squeegee at a 45′ angle down the mesh. Begin by pressing gently to flood the mesh and then finish by pressing hard. You should hear a zip sound.
Lift up the screen to reveal the print. The stencil should stick onto the mesh. Place the screen down on another area of fabric, making sure the screen doesn’t go down on a wet print. Print the design again.
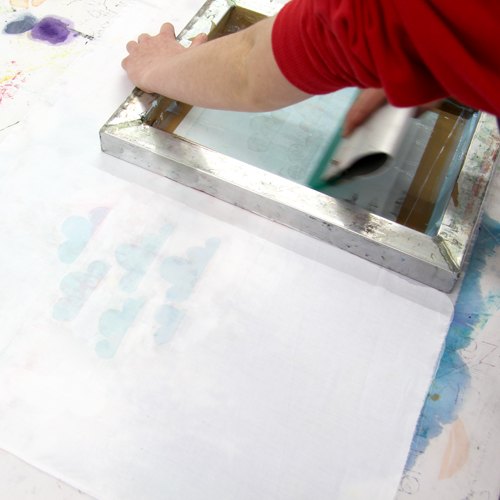
Continue to print the first layer, overprinting when the first layer is dry. The two layers of transparent blue overlay to create a darker shade.
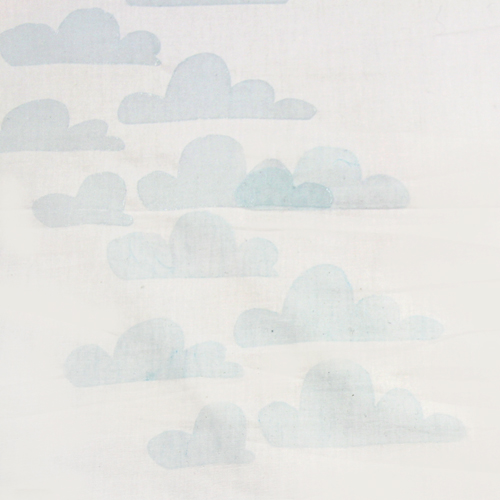
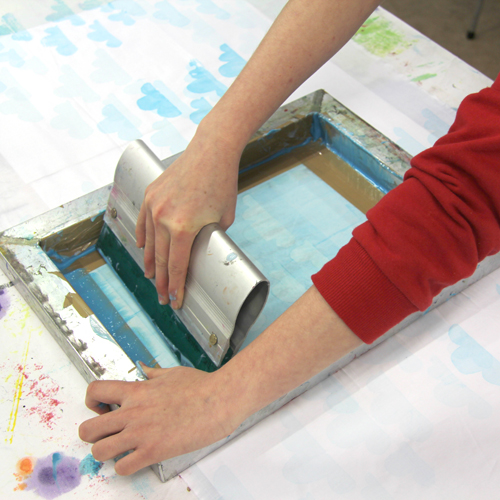
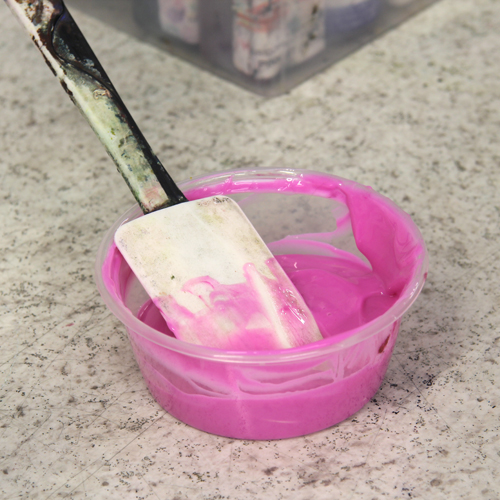
Scrape any remaining ink from the screen using a spatula. The stencil can stay attached to the screen because we are continuing to use blue ink. Add a bead of the next shade of blue and print all over the fabric. Repeat this with the third shade.
When you’ve finished, peel the stencil from the screen, remove any excess ink and clean the screen down with a damp sponge and cold water.
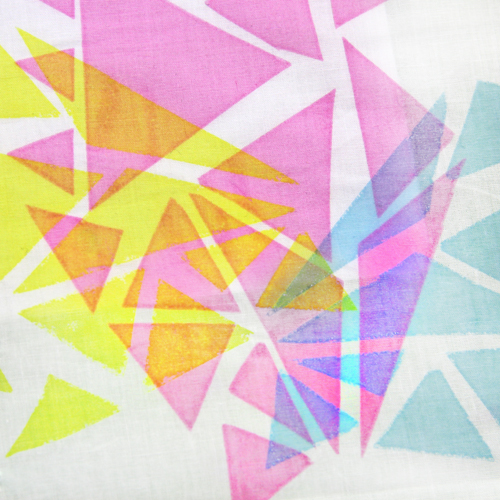
Sophie’s second printing project used Magenta, Turquoise and Yellow inks. These translucent primary colours overlap to create secondary colours. Each pot of ink was created using 100g of print paste mixed with one drop of pigment.
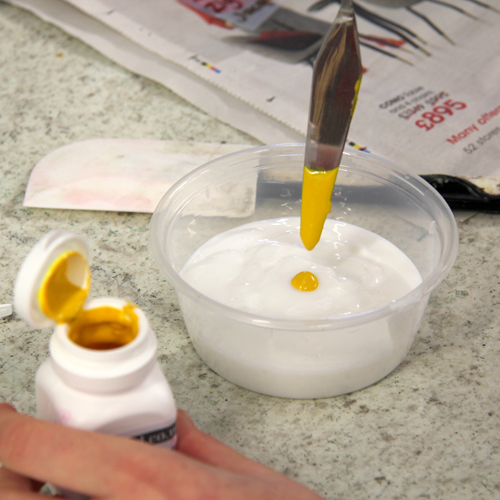
Sophie started with the yellow ink. The inks being used here are very translucent and so the colours underneath will show through each layer. If we were printing with slightly more opaque ink, we may want to print with the blue or magenta ink first as they will be stronger colours than the yellow.

When changing the ink colour for a new layer, clean the screen down and replace the stencil. Sophie cut three of the same stencil for this fabric.
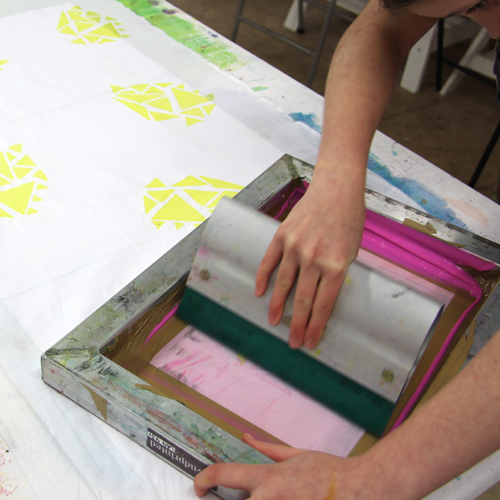
The translucent inks overlay to create new shades of green, purple and orange.

To do this project at home you will need:
- Scalpel
- Copy paper (80gsm works well)
- Cutting board
- A4 43T screen
- Parcel tape
- Scissors
- 225mm squeegee
- Padded surface
- Print Paste (or Fabric Binder)
- Pigment Colours (Turquoise, Magenta and Yellow)
- Spatula
- Palette Knife
- Prima Cotton
- Bucket of cold water and a soft sponge