Mono-screen printing is a great way of loosening up your printing style and producing a series of quick, spontaneous prints. Use as a standalone technique or in conjunction with photographic exposed screens, paper stencils and more.
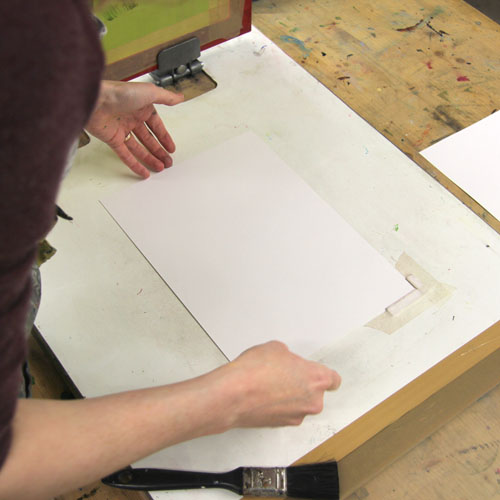
We are using a screen that has been exposed using photo emulsion to leave an open rectangle of mesh in the centre. You could tape around the edges to form an aperture in the centre instead. Our screen is attached to a board using hinge clamps to keep it in place. Before starting your design, place a black piece of paper (the same size as your printing paper) under your screen and position it in relation to the open area of the screen. Lift up the screen and mark where the paper sits on the board. This will show you where to place each piece of paper when you print.
Hold the screen a little away from the board by placing a pencil or paintbrush underneath the frame at the end without the hinges. This will keep the ink off the board and paper until you’re ready to print.
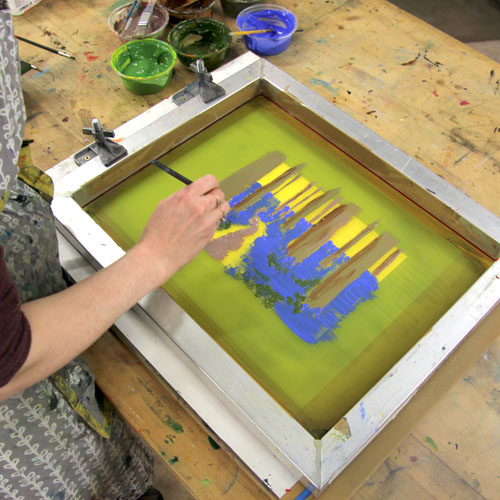
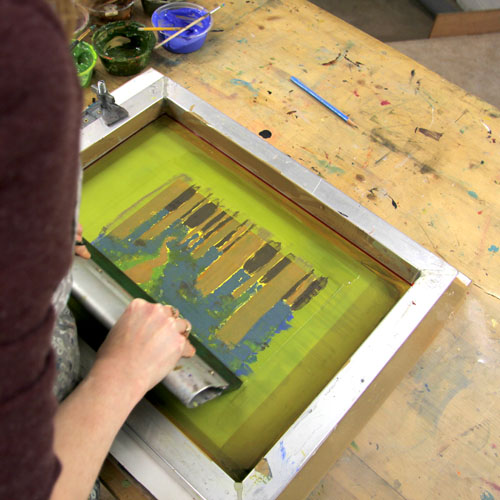
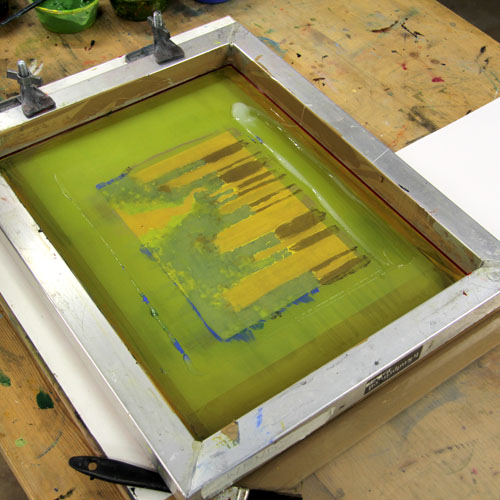
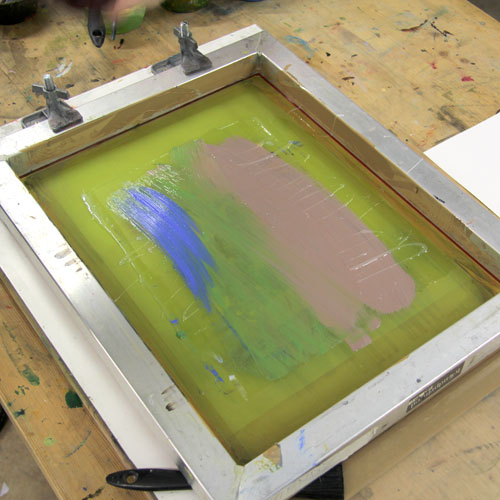
Using acrylic screen printing inks, paint a design onto the open area of the mesh. Be sure to use inks, not straight acrylic paints – you can make acrylic screen printing inks by mixing acrylic paint 50/50 with acrylic screen printing medium.
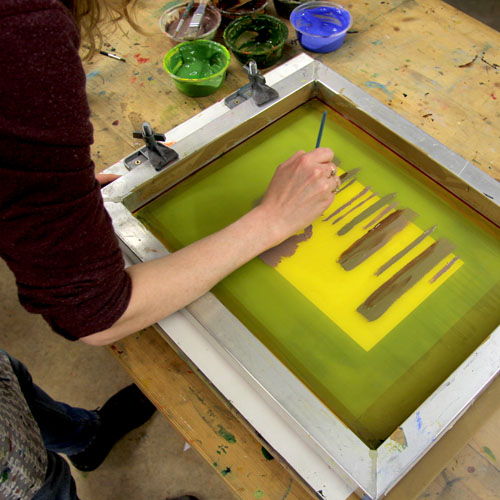
The design needs to fill the entire open area with no gaps at all. Any parts that you wish to remain white on the paper need to be painted with plain acrylic medium.
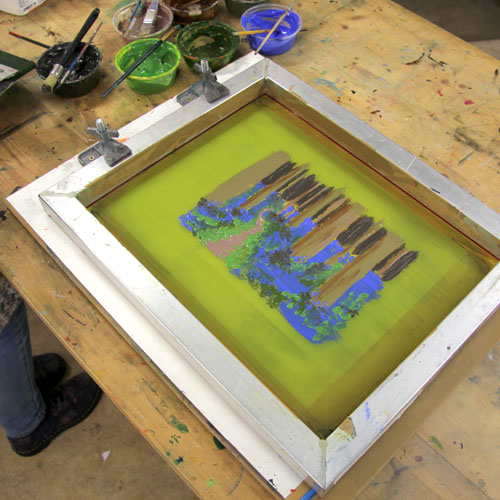
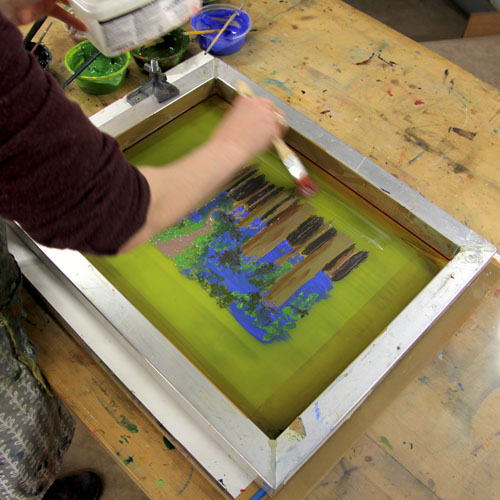
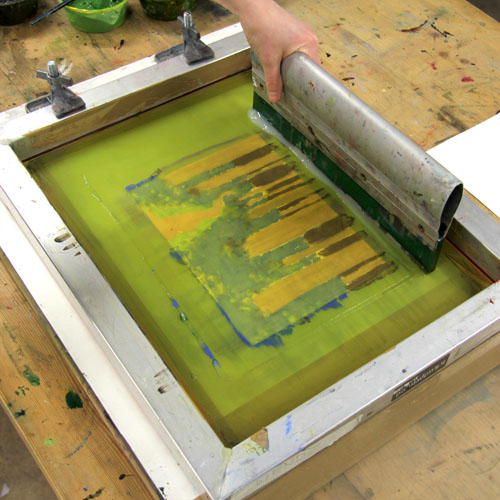
When the design is ready, use a brush to paint a row of acrylic printing medium along the top edge of your design, where your squeegee will start. You may wish to rotate the screen and drag your squeegee along the other direction. We are printing in this direction because of the vertical design of the trees.
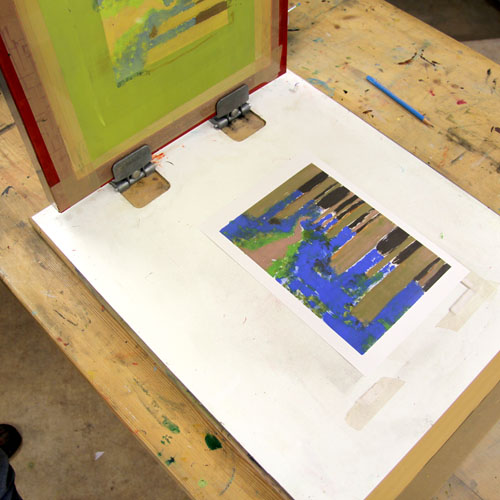
Life up the screen and place a sheet of paper on the board underneath, using your registration marks as a guide.
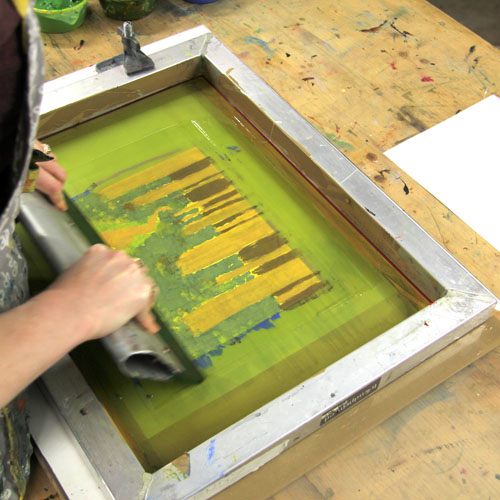
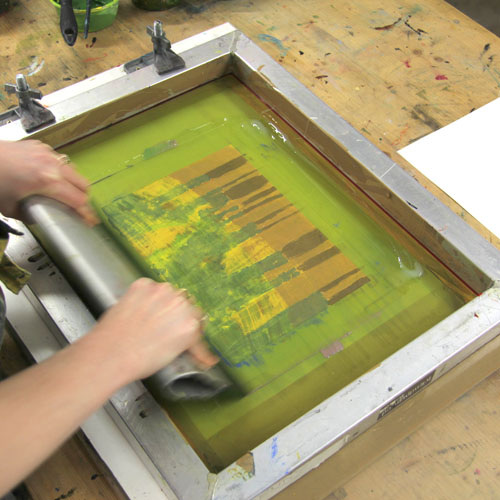
Remove the pencil or paintbrush holding up the screen and place the screen down. Starting with the squeegee above the line of acrylic medium, drag it down the screen at a 45′ angle. You will need to press quite firmly and should hear a zip sound.
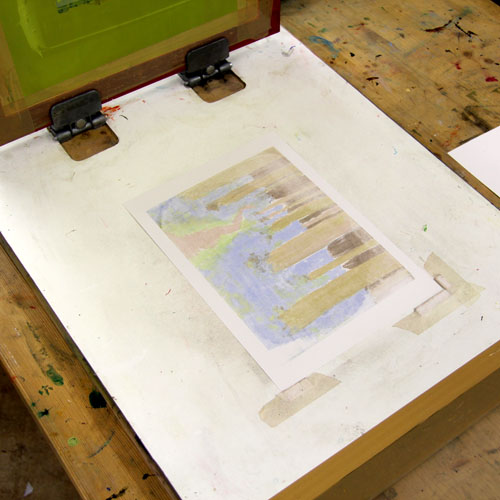
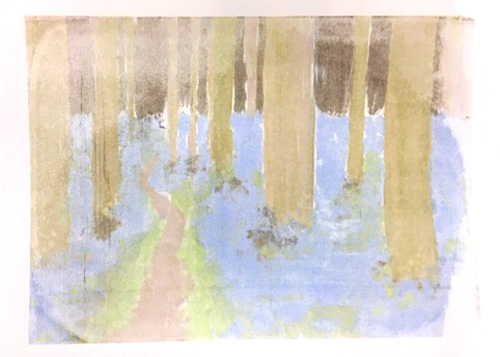
Lift up the screen to reveal the print underneath.
Between each print, be sure to clean the squeegee so no unwanted colours contaminate the print.
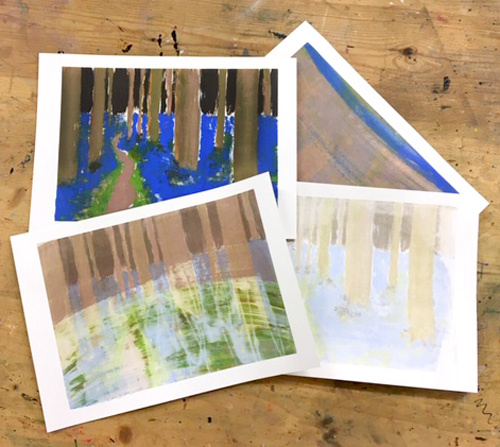
There will still be some residue of the painted design in the mesh which will show up in the next print. This can create some really interesting layered designs. We are going to print a ‘ghost print’ by printing the residue through the mesh without adding any more to the design.
Add a little more screen printing medium to the top of the screen, replace the paper and print through the screen as before.
This ghost print is a much paler version of the previous print.
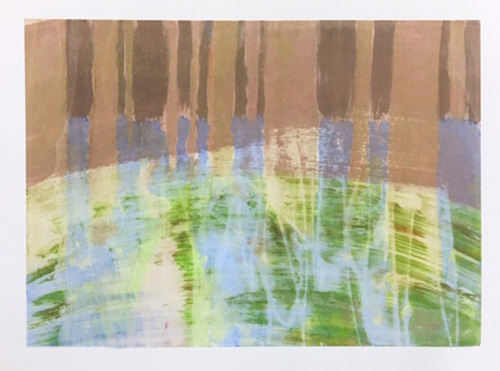
As well as making ghost prints, the design in the mesh can be used as a layer for a more complex design. Below, we have simply painted the screen with strokes of ink.
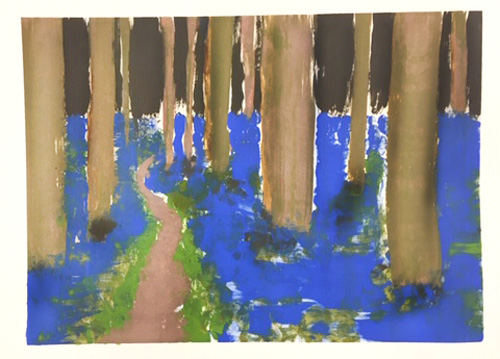
When printed, the previous layer and the new layer combine to make an interesting print.
Interesting results can be achieved by adding water to a paintbrush or drizzling plain acrylic medium onto the screen – experiment to find new marks and textures.
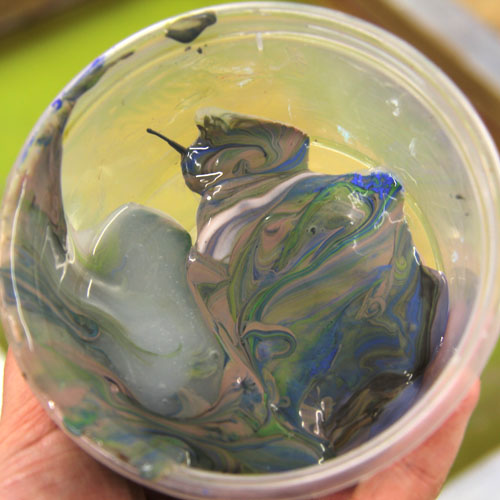
The marbled ink from your monoprint session can be collected and used for interesting marbled effects on other prints!
For this project you will need:
- Aluminium 90T A3 Screen exposed (or taped) with rectangle
- 315mm Squeegee
- Parcel Tape
- Hinge Clamps attached to a board
- Assorted paintbrushes
- Pencil or spare paintbrush to hold up the screen
- Acrylic Screen Printing Medium
- Acrylic Paints
- Pots in which to mix inks
- Paper on which to print
- Spatula