One of the great things about printmaking is that one design can be used to create a whole edition of prints. That being said, editioning is something that some printmakers can find frustrating if you just want to get on with the next design! Knowing how to edition, sign and number your prints can be complicated so here are a few general editioning guidelines to follow:
Original prints are not reproductions
Original prints are prints in the medium the artist originally used e.g. linocuts, collagraphs, lithographs, etchings, screenprints etc. This is not the same as a reproduction which is usually digitally printed. Editioning helps printmakers to distinguish their work from reproduction prints.
Don’t hand sign prints that are not original, such as giclee. Giclee and digital prints can include a signature within the artwork instead.
What is an edition?
An edition is a set of identical prints taken from the same matrix or matrices (printing surfaces). Editions can either be limited or open. Limited editions mean that no more of the same prints will be made.
The modern tradition of signing prints was first introduced by Whistler in the 1870s (Rosslyn, 2018).
Edition sizes
In general, the fewer prints in the edition, the more valuable the print and the higher the price.
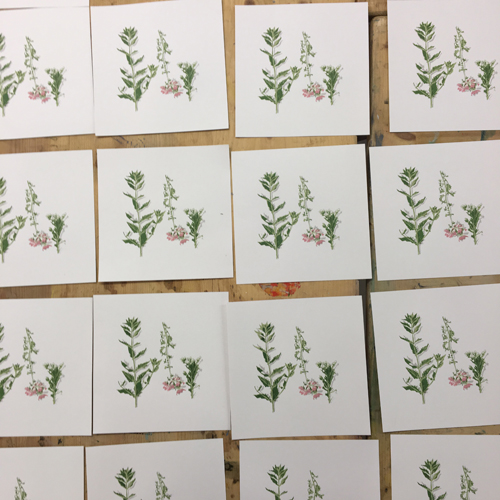
You may decide on the desired edition size at the beginning of printing. If so, it is usually a good idea to print a few more to allow for mistakes, misregistration, flaws, colour choice changes etc. When you have finished printing, the prints can go through a curation process in which flawed images are taken out (more on proofs later). The remaining images are the edition and therefore the edition size is set.
Occasionally, edition sizes can be partly decided by the number of prints the matrix can produce. Depending on the technique used, the matrix itself may not survive a large edition size. Collagraphs and drypoints, for example, can degrade with use and can be unable to produce a large number of identical prints.
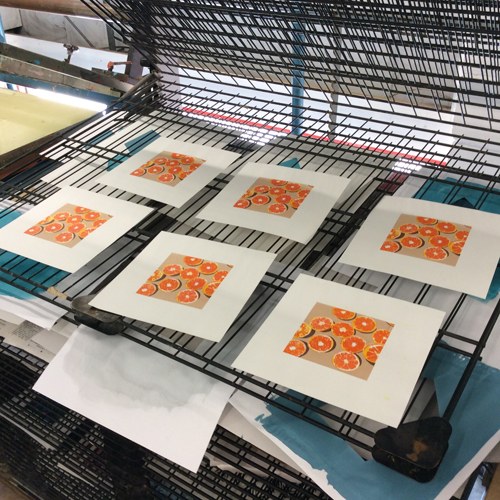
Some printmakers may choose to print the whole edition in one run. Others may choose to print a few and then continue printing the edition as prints sell. Some methods require the artist to print the whole edition together: reduction relief printing changes the original block as more layers are carved and printed, making it impossible to go back to print more. However you print your edition, it’s important to keep track of your edition size, how many you have printed and signed.
How to number, title and sign
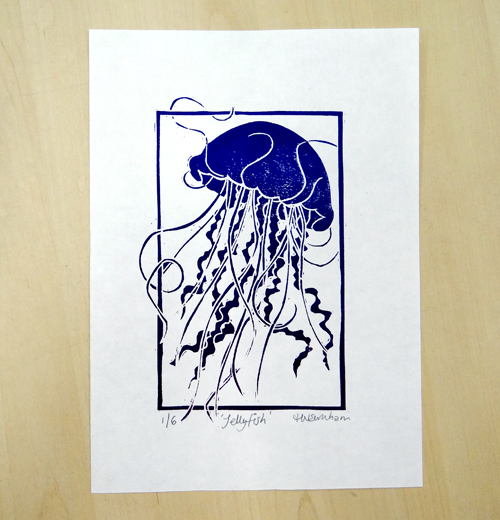
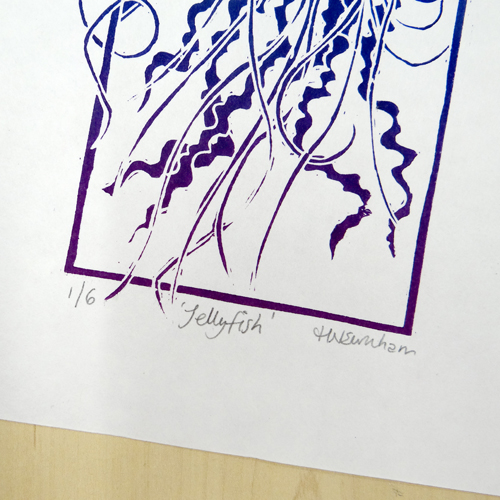
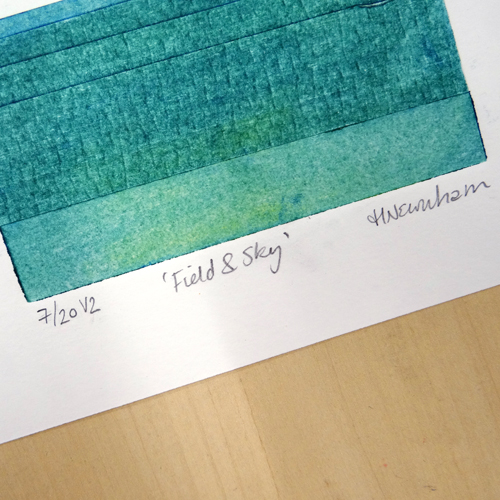
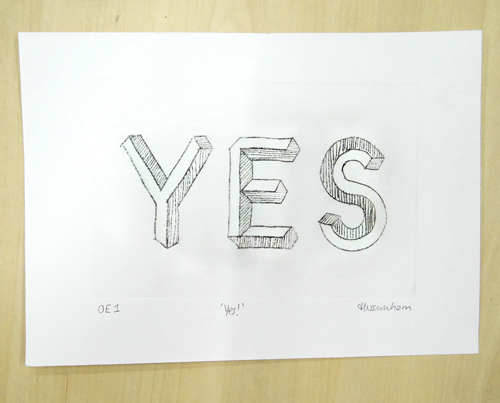
As a general rule, prints are numbered on the left-hand side at the foot of the print, the title (if given) is written in inverted commas in the middle at the foot of the print and we sign on the right-hand side. You can choose whether or not to include a date with this signature. Editioning should be written in pencil, not pen. This is a good idea as it is harder to forge pencil signatures and mistakes can be erased if necessary!
If the print bleeds to the edges of the paper, the print can be numbered and signed along the bottom edge of the image or on the reverse of the paper. Signatures can also be incorporated into prints, for example by carving initials into a lino block (in reverse of course!)
How to number prints
When we number prints, we usually use the x/y format where y is the total number in the whole edition and x is the individual number of the print being signed. For example, an edition of 10 prints would be labelled 1/10, 2/10, 3/10 etc.
Prints are not necessarily numbered in the order in which prints were taken: signing and numbering are often done when the whole edition is finished.
Other edition labels
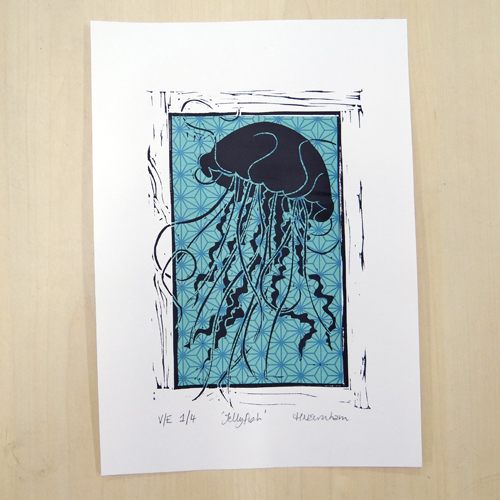
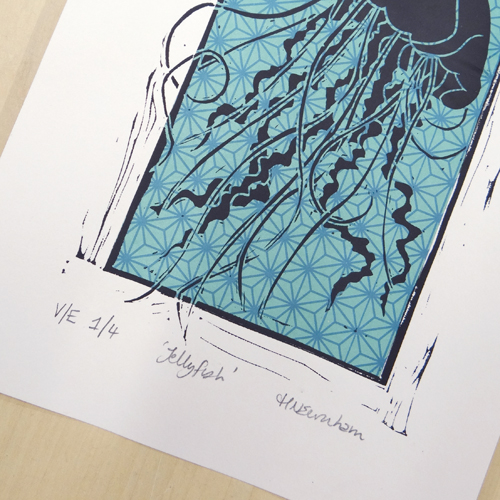
Variable Edition – VE or EV (or V/E, E/V)
Prints in your edition may vary, either by design or by the nature of the printmaking process you have chosen. Prints may be hand coloured or use chine collé, for example. Prints in editions like this can be labelled VE x/y (or EV x/y). If these prints vary a lot, you could choose to label each print 1/1 but this can make it more complicated for potential buyers to understand the rarity of the work you are selling.
Variations in print editions can also be marked with V1, V2 etc. denoting a different variety of print, for example, a different colourway. (Chesterman and Nelson, 2015).
Artist Proofs – AP, EA (Epreuve d’artiste) or PP (printer’s proofs)
(or A/P, E/A, P/P)
Artist proofs usually shouldn’t exceed 10% of the overall number in the edition. So, if there is an edition of 50, there should not be more than 5 artist proofs. Artist proofs are usually identical to the edition but may include slightly flawed prints omitted from the edition.
Open editions – OE (or O/E)
Open editions are unlimited and have no pre-determined number of prints. The artist may go on printing more if there is demand. Open editions may be marked as OE and can also be numbered OE1, OE2 etc.
Open variable editions may be marked as OVE1, OEV2 etc.
Bon a Tirer – B.A.T (‘Good to shoot’)
The first perfect print to come from the matrix (printing surface) is sometimes called a Bon a Tirer and is labelled B.A.T. This is usually made when the artist themselves is not printing the edition and so a B.A.T print is used to show the print from which the whole edition should be matched. There is usually only one of these.
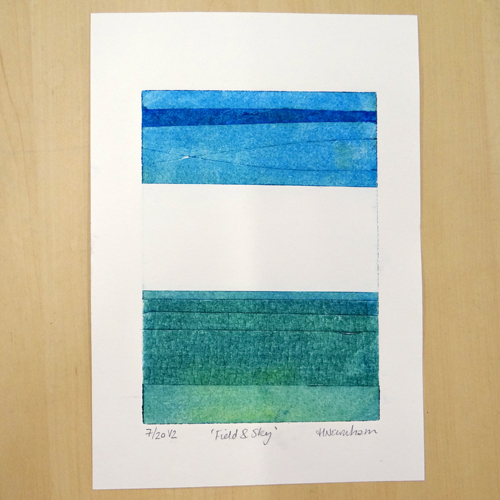
Trial Proof – TP (or T/P)
Test prints marked TP are usually used to check the development of the print in process. These can be sold and numbered, e.g TP1/5. Trial proofs can sometimes show the development of an image or feature different colours to the final chosen edition prints.
Chops and Stamps
Chops and stamps are seen more often in traditional Chinese and Japanese printmaking. That being said, some printmakers choose to use a stamp or chop to sign their work as a way of being more individual or adding more design elements to the finished work. Chops and stamps can be handmade or made commercially. If chops or stamps are used, they are often printing at the bottom right foot of the print, where the signature might have been.
(Chesterman and Nelson, 2015)