A multi-block linocut uses more than one piece of lino to create a layered image. Usually, each block is inked with a separate colour. Where the colours overlap, another colour can be achieved.
Multi-block linocuts allow you to partially print an edition and create complete test prints as you can go back to each block to print more. This is one of the advantages of using the multi-block method rather than a reduction linocut (where just one block is used and carved away between layers). Another advantage of multi-block over reduction linocut is the freedom you have when choosing colours: not all the layers have to be printed over the top of the previous colour and so cleaner and more contrasted colours can be used.
Multi-block linocuts can be tricky as each block must be cut accurately in order for the layers to register well.
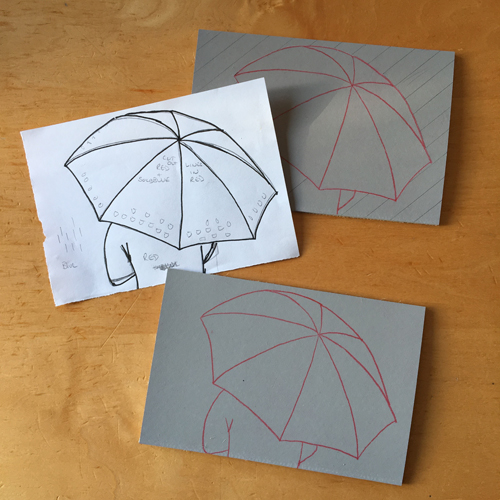
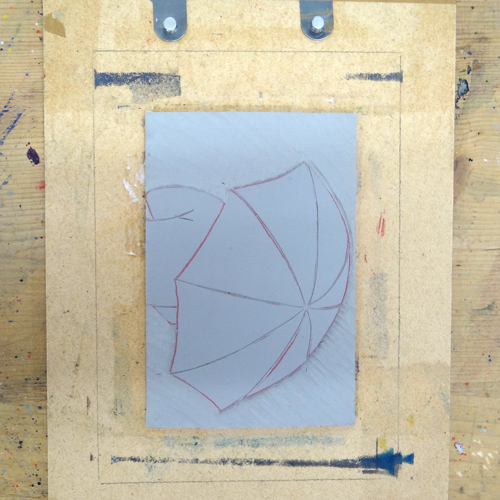
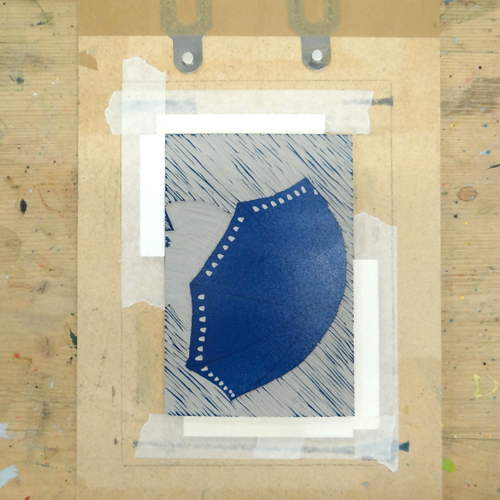
To begin our multi-block linocut, we need an accurate drawing cut to the same size as the lino. Here, we decide which area will be which colour and where they will overlap. This print consists of a cyan and a magenta layer. Try to choose two pieces of lino that are as close in size as possible. If the two blocks vary in size slightly, pick a corner from which to register the drawing. Remember this corner for later.
Use the drawing to transfer the design onto each block. Place red carbon paper onto the block and, with the drawing on top, draw over the design. It is important that this drawing is accurate so it is a good idea to use masking tape to secure the drawing to the block whilst you are drawing.
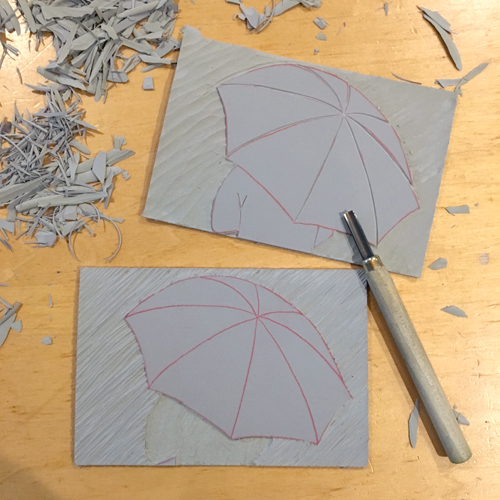
We want our umbrella to print from each block so it is being left uncarved on both blocks. The backgrounds need to be cut away from both blocks. We are using a large shallow U tool to carve the background from the magenta block (the top block in the picture below). We are using a shallow U tool to carve the background away from our cyan block. We want some of this cyan background to pick up ink and print like rain.
The coat of our figure is being printed in magenta so it is cut away from our cyan block and left uncarved on the magenta block. The spines of the umbrella are cut away from the magenta block.
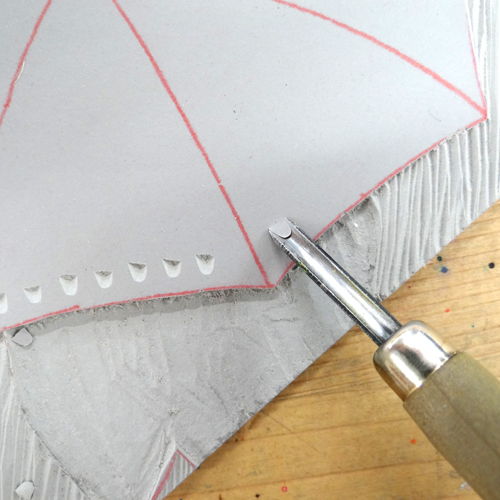
We are adding a little pattern to our umbrella on the cyan block. A small U tool can be used to create little half-moon shapes by digging the end of the tool into the lino and flicking up with the tool to snap off the piece. This technique only works with traditional lino as softcuts and vinyl will not snap.
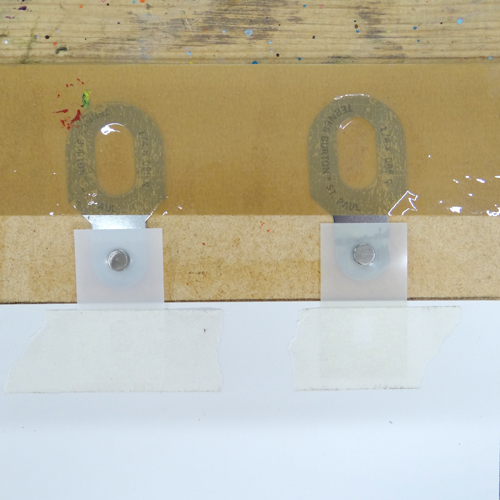
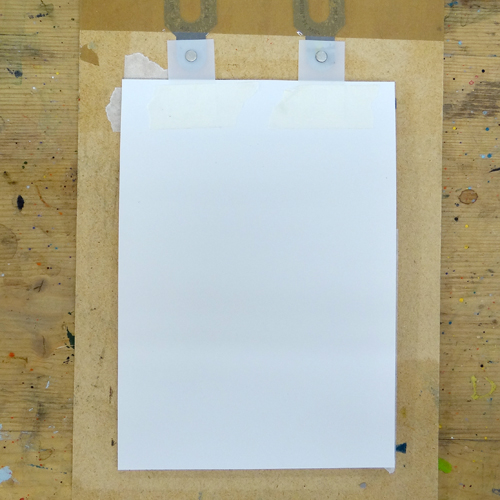
When the blocks are cut, we can prepare our registration board. We are using Ternes Burton pins and tabs to make sure our paper goes down in exactly the same place each time. Place a piece of the printing paper onto a board. Place a pair of Ternes Burton pins above and snap a tab onto each one. The bottom half of each tab should overlap the paper.
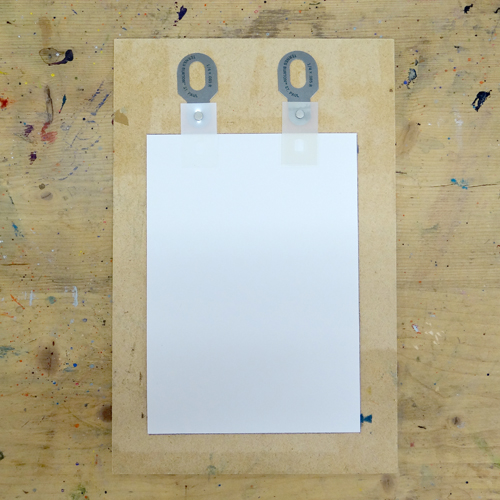
Use parcel tape to secure the pins to the board. Use masking tape to stick the two tabs onto the back of the piece of paper. It is useful to draw around your print paper whilst it is in position: this will help us to position our lino in the middle later.
Place each piece of paper down on the board, snap a new pair of tabs onto the pins and masking tape them to the back of the paper. Do this for your whole edition (although with a multi-block linocut you can always go back and add more prints later).
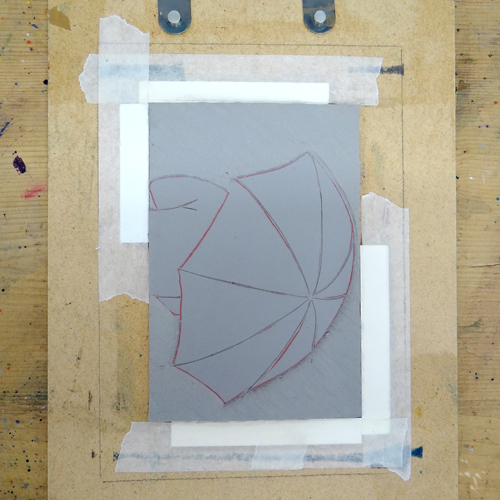
Place one of the lino blocks onto the board. Use your pencil marks to help to position it straight and in the centre.
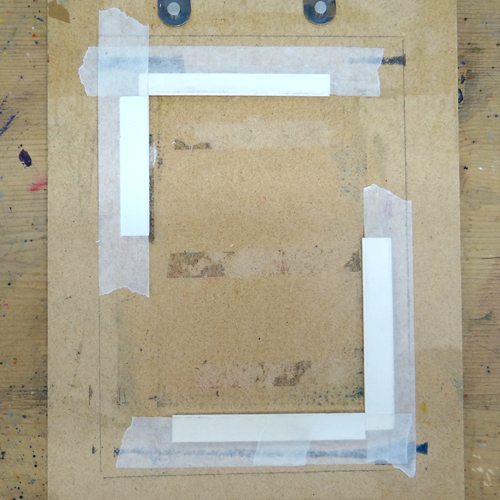
Use strips of mount board to create raised edges in which the blocks can be positioned. You can choose to create corners, as in the image below, or place one piece in the centre of each edge. Secure firmly with masking tape.
If your lino blocks vary very slightly in size, make sure they both fit into the slot. Mark the corner to which you registered the drawing on your blocks. When you place the blocks in the slot you’ll want to make sure they’re all hard up against this corner.
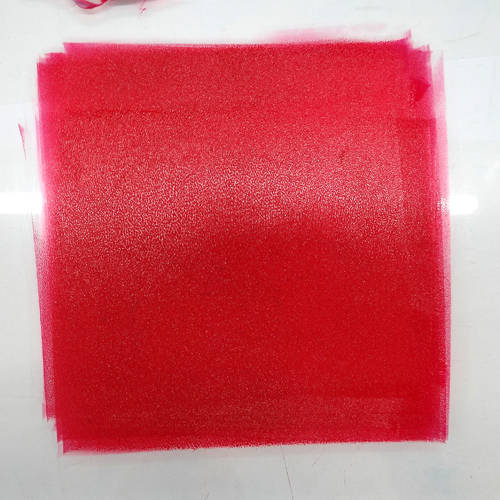
Our cyan block is being printed first. We are using Caligo Safewash Inks in Process Cyan mixed with a little extender. Roll out an even square of ink the same dimensions as the width of the roller.

Roll the ink onto the block and place it into the slot on the board. Make a note of which way up it goes: the top of our print is on the right.
Click the tabs on one of your pieces of printing paper onto the pins and, starting from the pinned end, gently lower the paper onto the block.
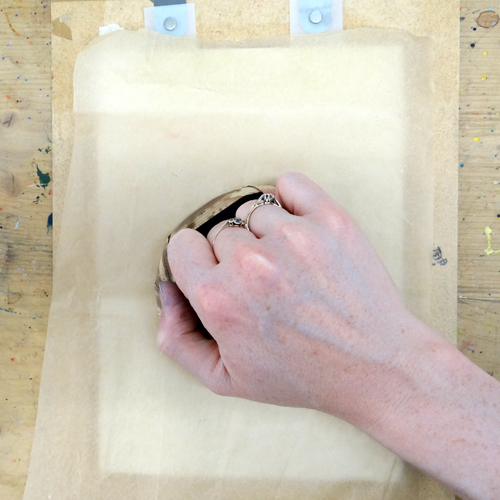
Put the whole board through a press (you may want to protect any blankets from the pins with a few sheets of newsprint as, although the pins are slightly lower than the lino, if the press is too tight they could mark them). Alternatively, cover the back of the paper with a sheet of greaseproof paper and hand burnish with a baren.
Repeat the inking and printing steps for each of the prepared pieces of paper. As this is a multi-block linocut, you can always go back and print more of layer 1 if you need to.
Our second block will be printed in Caligo Safewash Process Magenta Ink mixed with a little extender to make it a little more translucent.
We do not want any of our background to print in this colour so any ink that was picked up has been wiped away.
Place the second block into the slot on the board making sure it is in the same orientation as the first block.

Place the tabs of the paper onto the pins and gently lower it onto the inked block. Take the print through a press or hand burnish, as before.
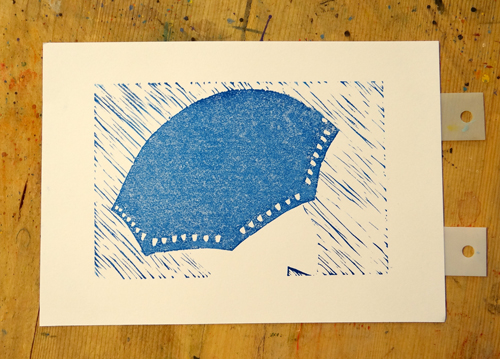
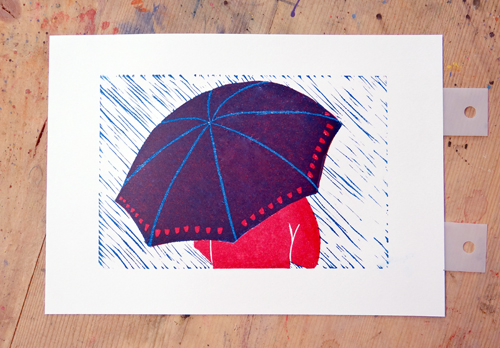
Where our cyan and magenta layers have overlapped we have a purple umbrella. The patterned cuts on the cyan layer let the magenta show. The cuts on the spokes on the magenta layer allow cyan spokes to show through.
For this project you will need:
- Sheets of lino
- Red carbon paper
- Pencil
- Paper for drawing
- Lino Cutting Tools
- Masking tape
- Parcel tape
- Board
- Ternes Burton Pins and Tabs
- Paper on which to print
- Caligo Safewash Relief Printing Ink
- Inking plate
- Roller
- Palette knife
- Press or greaseproof paper and baren