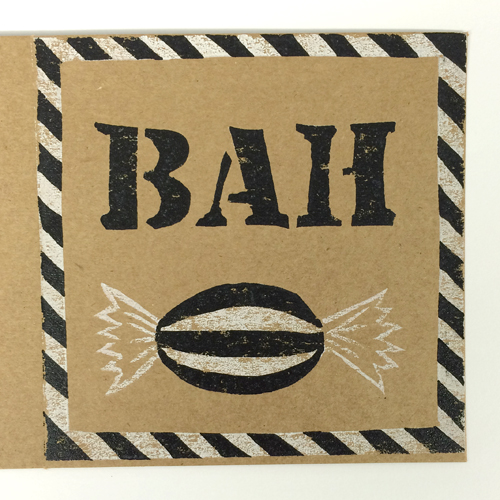
This two-layered lino card is quick, easy and so effective on square kraft cards.
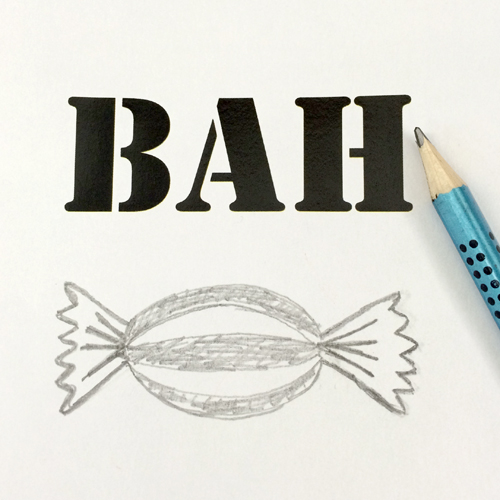
Print or draw your design onto paper. Trace your design so that it is in reverse.
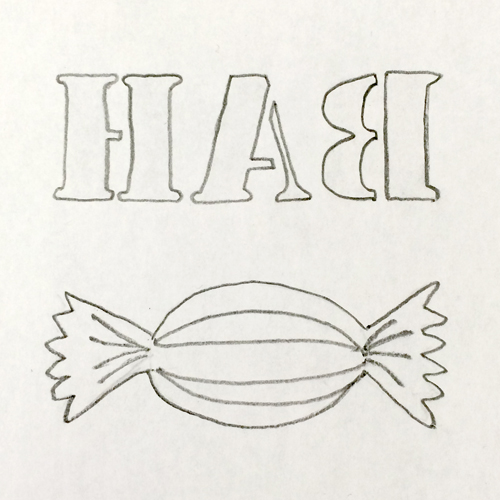
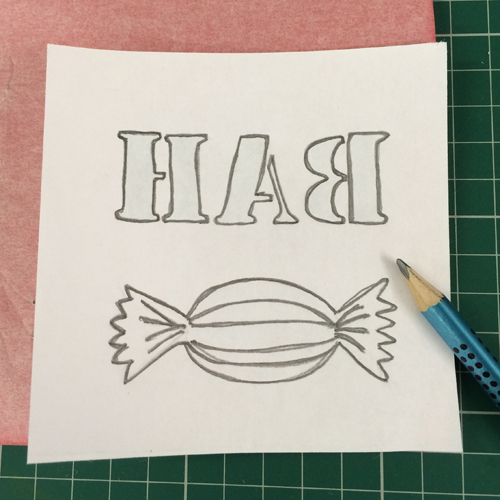
Use a piece of red carbon paper to transfer the design onto a piece of lino.
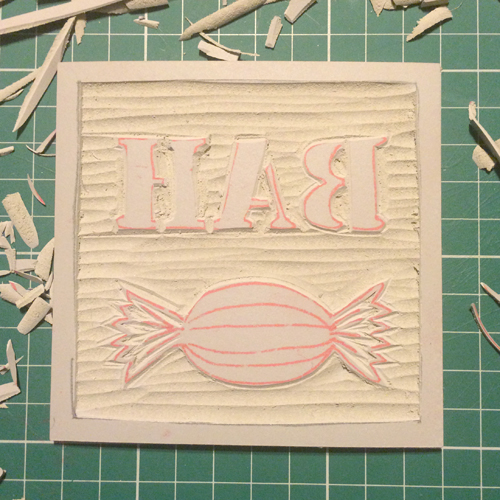
Carve out the unwanted areas of the design with a lino tool.
Ink up the lino using a roller. We used white for our first colour.
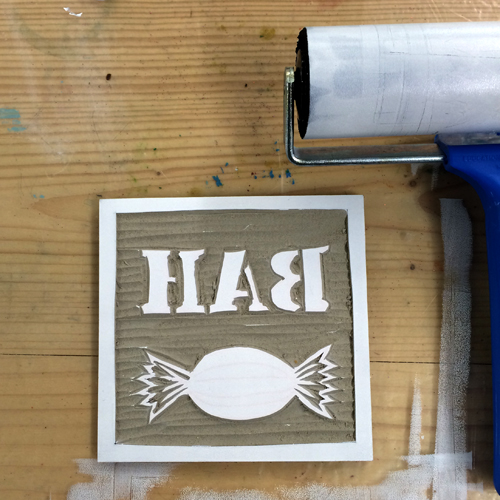
Place a card on top and use a baren to rub all over the back to transfer the print.
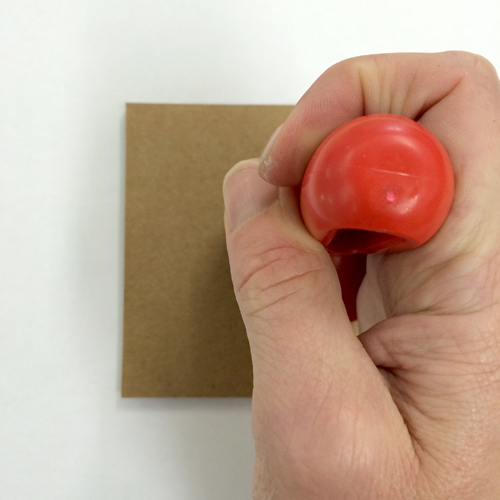
Lift off the card to reveal your first layer! Leave to dry. Print all of your cards with the first layer.
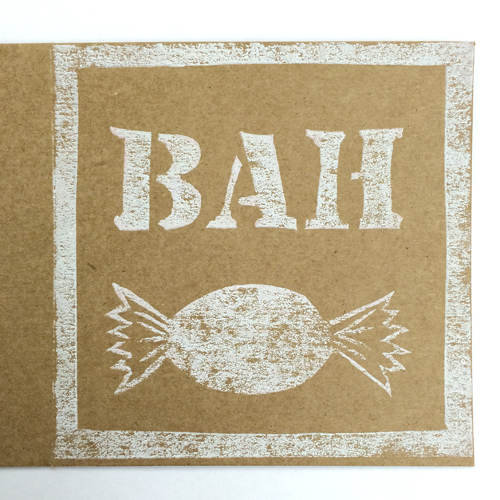
Use the lino tool so remove any areas of the print that you wish to remain white. We carved in stripes on our humbug and on the border. We also removed the cellophane sweet ends so that they would remain white.
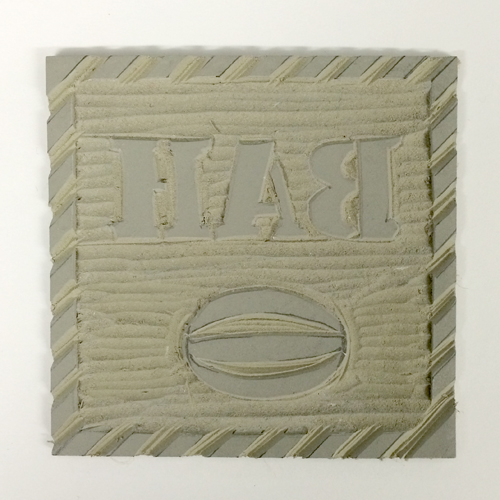
Ink up the lino with your second colour. We used black.
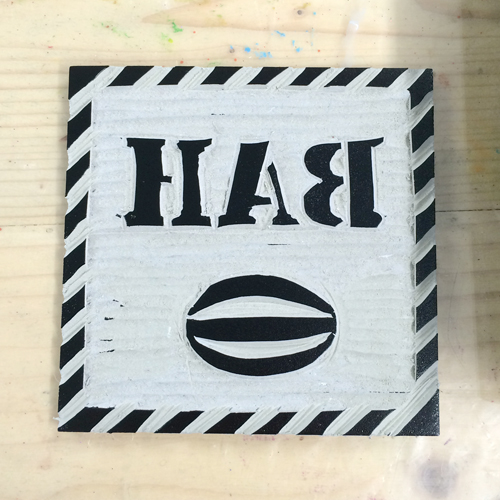
As before, place your card on top and transfer the print with a baren.
Lift off the card to reveal your print! Print over the top of each of your first layer cards.
To make these cards you will need:
- Sheet of lino
- Pencil
- Carbon paper
- Lino cutter and baren tool or separate lino cutting tools and baren
- Ink such as Caligo Safewash Relief Ink
- Roller
- Kraft Cards
