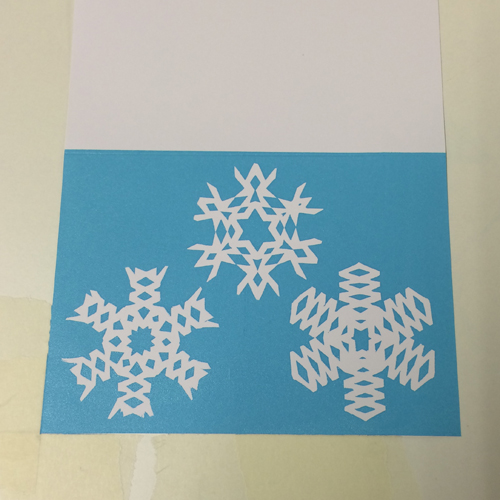
These cutout snowflakes make the perfect paper stencils for a screen printed card. Layered up with silver ink, these cards are so Christmassy, we couldn’t stop printing them!
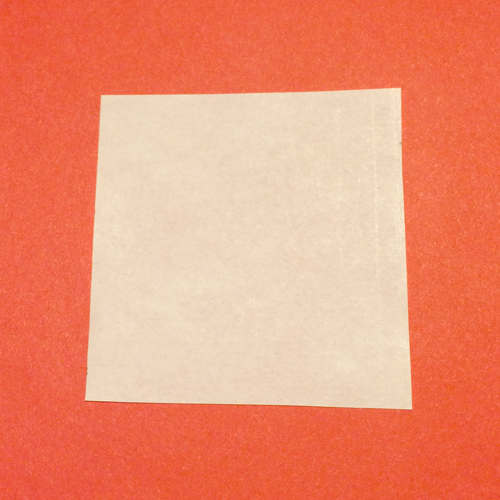
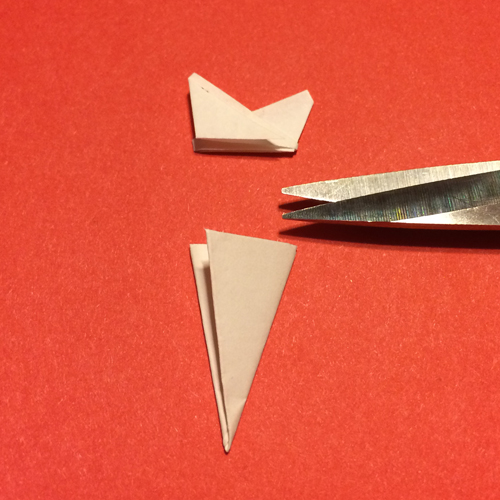
To make a snowflake, start with a small square of paper.
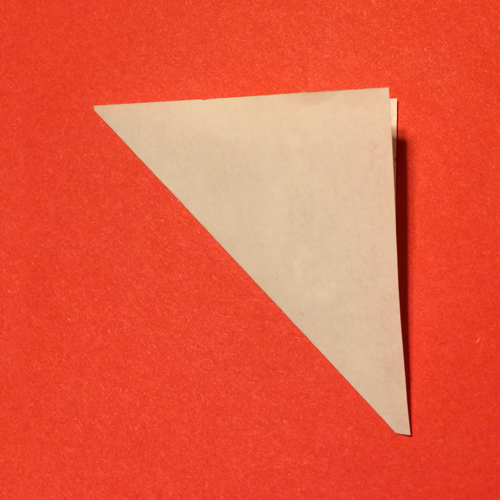
Fold in half diagonally and then half again.
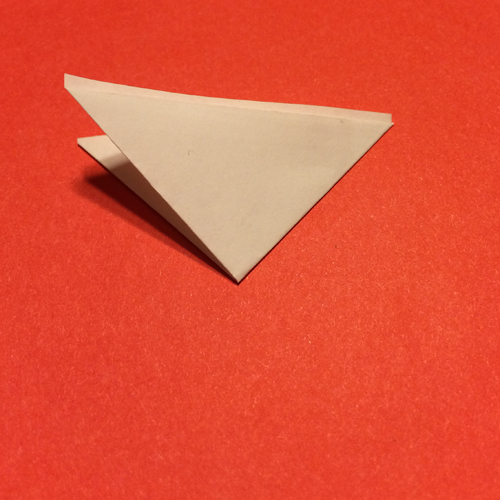
Fold the left side towards the middle and then the right side over the left – the pictures will help if you’re confused at this point!

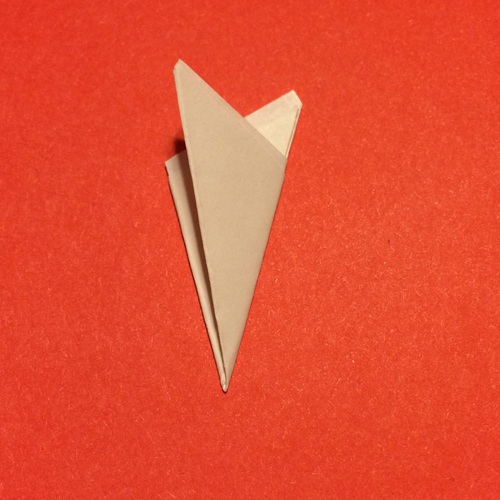
Cut off the pointy tips to make a folded triangle.
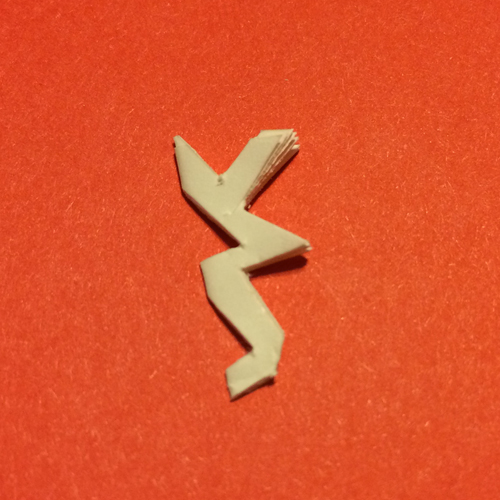
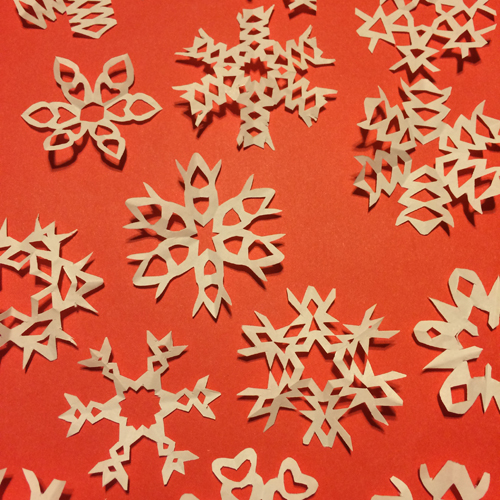
Cut shapes into the edges of your triangle and unfold to reveal your snowflake!
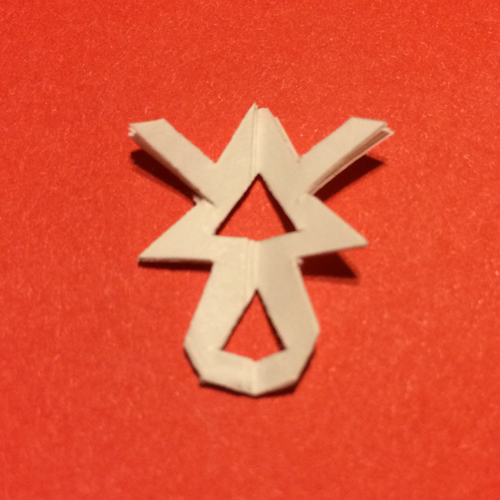
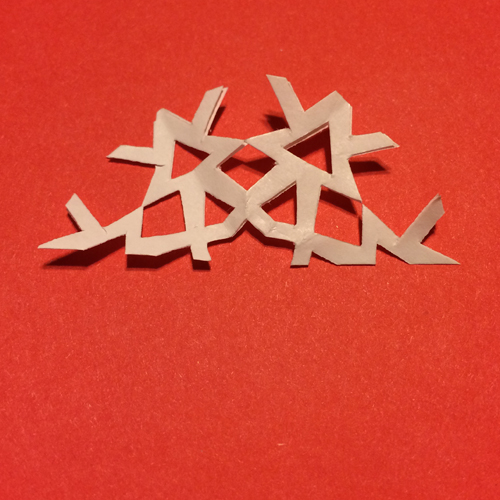
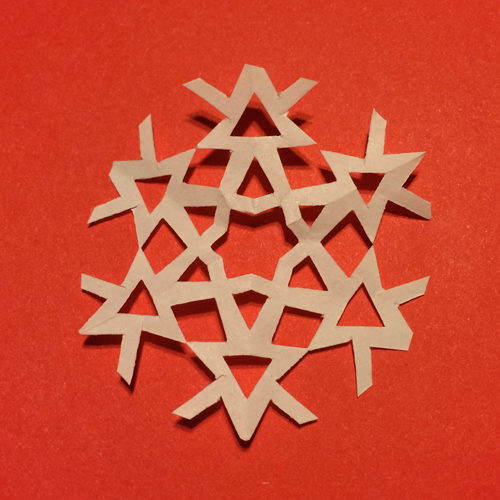
Make a selection of these snowflakes to be layered up on your cards – we made so many – they’re so addictive!
Place the card on a hard surface. If you’re using hinge clamps on your screen, use masking tape to mark where each card should be placed.

Use parcel tape to mask tape all over your screen, leaving an opening the same size and shape as your card.
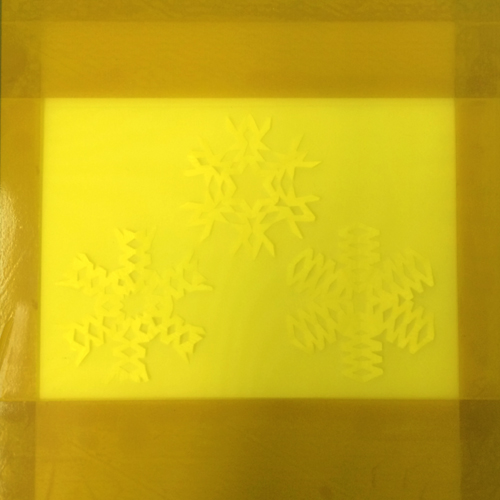
Place your screen on top of the card and stencils and print with a squeegee and screen printing ink.
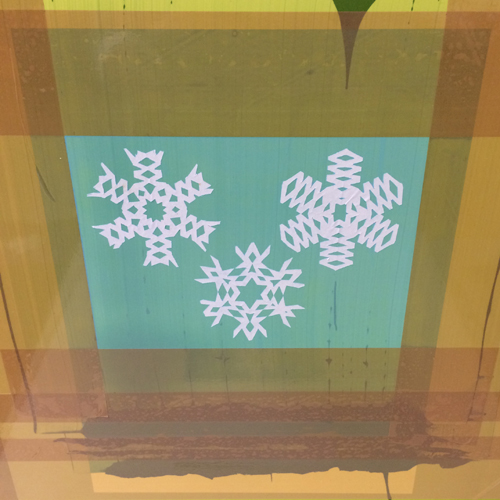
Your stencils should stick to the screen ready for the next print.
When the cards are dry, overlay more snowflakes on top and print with another colour. We with silver over our icy blue.

To make these cards you will need:
- Plain copy paper
- Scissors
- Acrylic Screen Printing Ink
- 90T Screen
- Screen Printing Board and Hinge Clamps
- Squeegee
- Parcel Tape
- Plain cards to print onto