Making your own stamps is so satisfying. You can build up your own collection of personalised stamps for all of your projects and what’s more personalised that a portrait! These adorable portrait stamps are perfect for your arts business, signing cards and letters, scrapbooks or just for fun! Create a collection of stamps of your friends and family or a self portrait stamp.
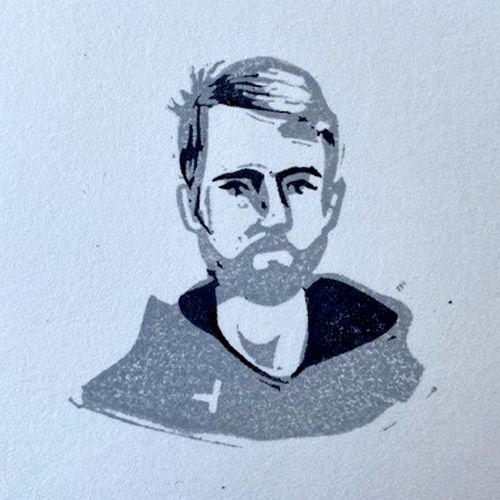
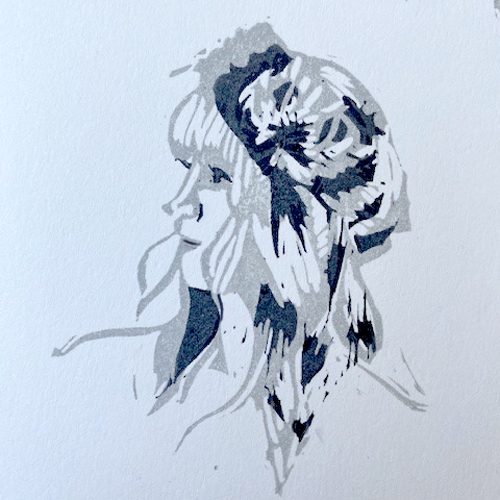
In this project we create pairs of portrait stamps to be layered over one another: one for mid tones and one for dark tones and details. If you’d like to make simpler single stamps you can stop after the first one – they’re lovely on their own.
Choose your stamping block – we are using Speedy Carve and Japanese Stamping Block which can both take very fine detail without crumbling and are dreamy to cut.
Begin by taking tracings from a photograph. For the first tracing, don’t worry about the detail, just shade in the mid tone and dark tone areas, leaving the highlights out, like in the image below.
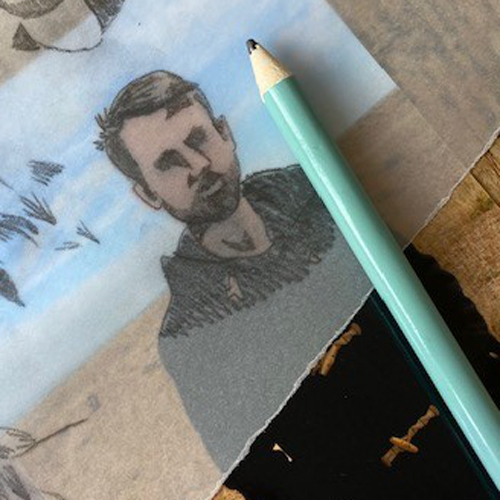
Transfer the tracing to the block by flipping it over and scribbling on the back.
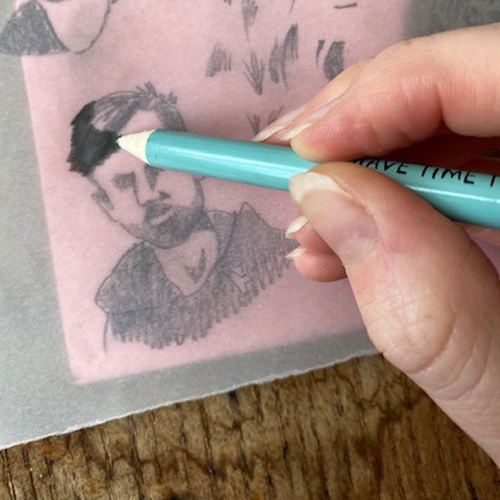
Begin carving by outlining the main shape with a fine tool. Pfeil tools are perfect for these stamps as their blades are precise and sharp. A 12/1 has been used here.
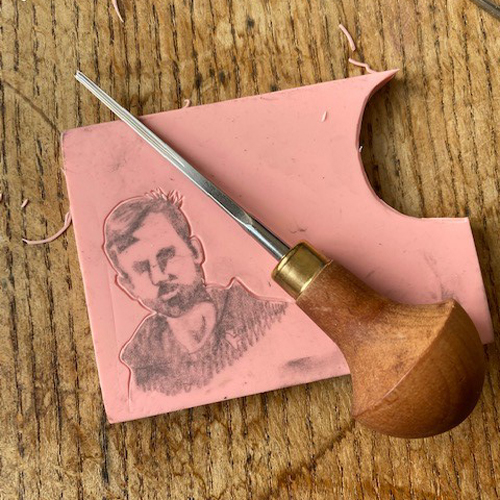
After outlining, carve away the detail. remove any areas that are not shaded.
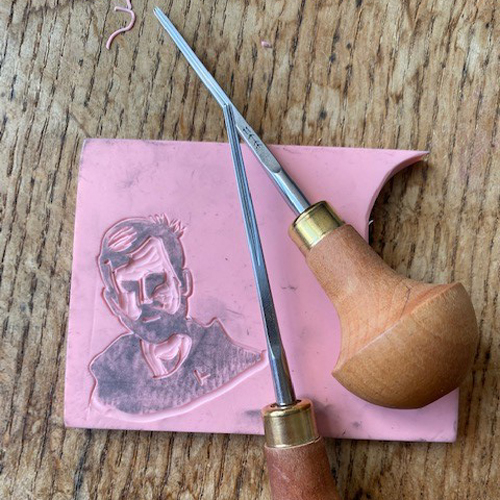
If creating a multi-layered stamp set, repeat these steps. The tracing this time needs to only be the darkest areas and a few detail lines: the eyes for example. If you are unsure of the final look of the design, err on the side of caution by adding a little more to the second stamp – you can always carve away more later but you cannot add it!
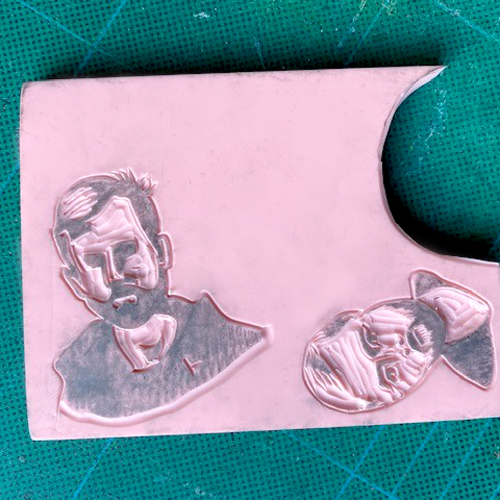
When all the stamps are carved, cut them out with a craft knife. The block should cut through like butter but be careful and use two or three swipes to get through the thickness of the block.
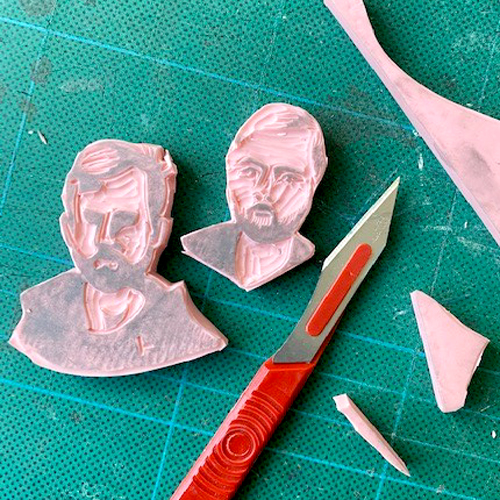
Ink up the stamps with an ink pad. Versacraft pads can be used on paper or fabric, Versafine pads are specifically designed for printing onto paper. Both will work really well. If printing a two layered design, choose a mid toned colour for this layer – cool grey is perfect.
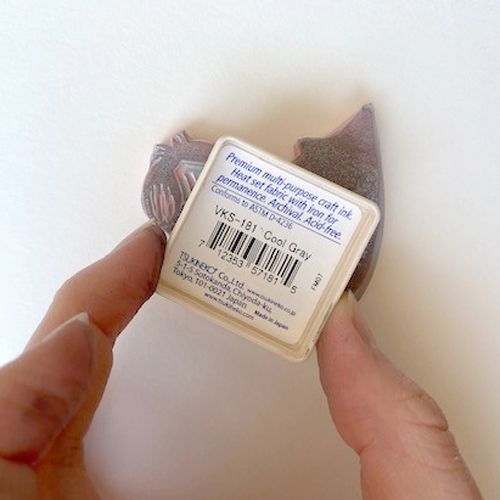
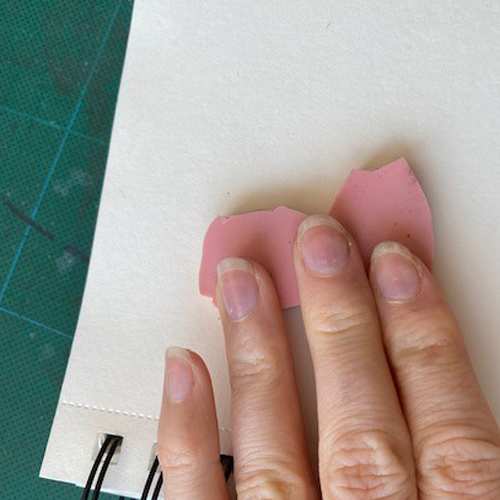
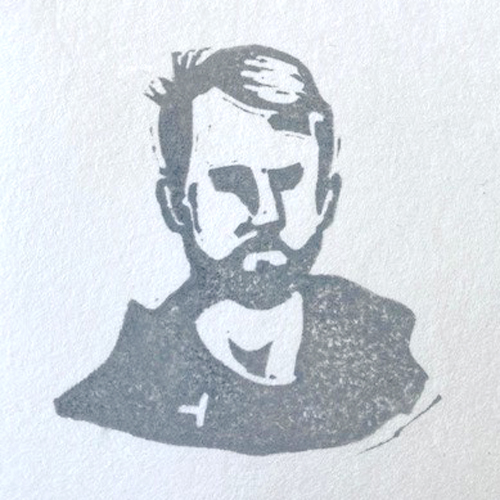
Use a dark colour for the second layer. We’re using a large Versafine Ink Pad in Black which is brilliant.
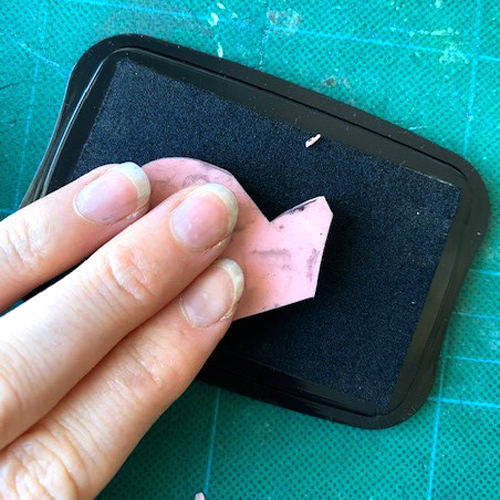
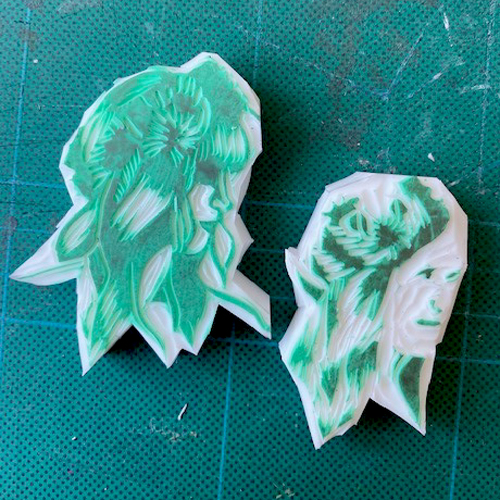
Japanese stamp pads have a coloured surface and a white centre so it’s easier to see where you’ve carved.
For this project you will need:
- Stamp Carving Material – we used Speedy Carve (pink) and Japanese Stamp Block (green)
- Cutting Tools – we used 11/1 and 12/1 Pfeil Tools
- Tracing Paper
- A photograph
- Soft pencil (2B or similar)
- Craft Knife
- Cutting Board
- Versacraft or Versafine Ink Pads in a mid tone and dark tone
